Powered by Blogger.
Showing posts with label SNSS. Show all posts

Watercolor Strength with Creative Worship


Hi friends! Today I'm popping in with a fun card I made with a watercolor background and emboss resist technique. I hadn't played with watercolors in a while, and Korin at Creative Worship stamps inspired me to get them out and play.

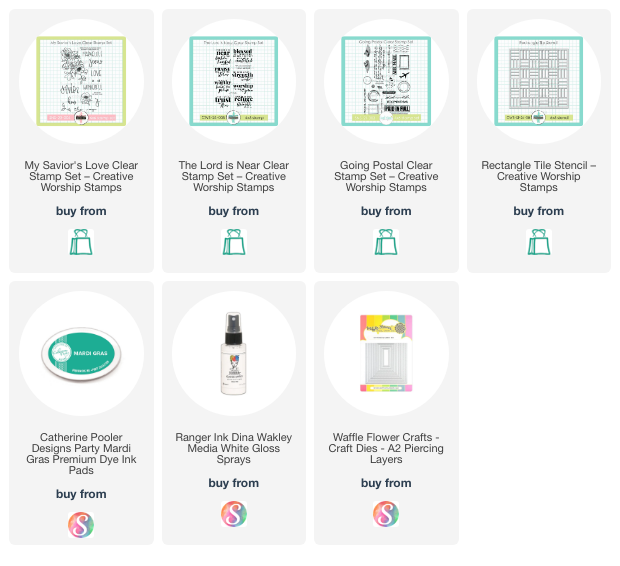
I started with a wash with teal watercolors. adding more color in the bottom left half of the card and up the sides. Once this was dry, I stenciled over the same bottom corner with the Rectangle Tile stencil and some mardi gras colored ink.  Next I pulled out the Going Postal set and added a bit of texture with the script stamp in black and the splatter stamp in mardi gras. After this, I splattered the panel with white paint spray.


Once everything was dry, I embossed the floral stamp from My Savior's Love in white, then added a little more highlighting with the watercolor ink to make the flowers stand out a bit more.  The verse is from The Lord is Near, embossed in black.

Once my panel was done, I roughly cut around my watercolor wash panel, then roughed up the edges before layering onto a white rectangle.  This panel was then popped up on foam for some dimension and adhered to a white card base.

Thanks so much for stopping by today! I hope you have a wonderful day!


Birthday Wishes and a Hop

Hello sweet friends! Today I'm excited to be taking part in an Instagram Hop with a bunch of other crafty friends to celebrate Creative Worship Stamps (formerly Sweet 'n Sassy Stamps) 17th year in business! Wow! Korin and I started our stamp companies only a few months apart, so it's hard to believe it's already been that long.


There's an awesome prize up for grabs along the hop, so you'll want to head on over to Instagram to start the hop. Their Black Friday Sale kicks off today as well, so it's a great time to grab any goodies you've had your eye on. It's been such a sad time lately in the stamp industry seeing so many small stamp companies close, if you are able, I urge you to support the amazing companies that are still around like Creative Worship Stamps.


A while after I closed Verve, I had the privilege to work closely with Korin behind the scenes at Sweet and Sassy Stamps for a few years. I also illustrated a line of stamps under the J Tilman Designs label. So for my card today I thought I would combine some of the stamps I illustrated with the Texture Tiles stamps that drew me in to the company way back when.


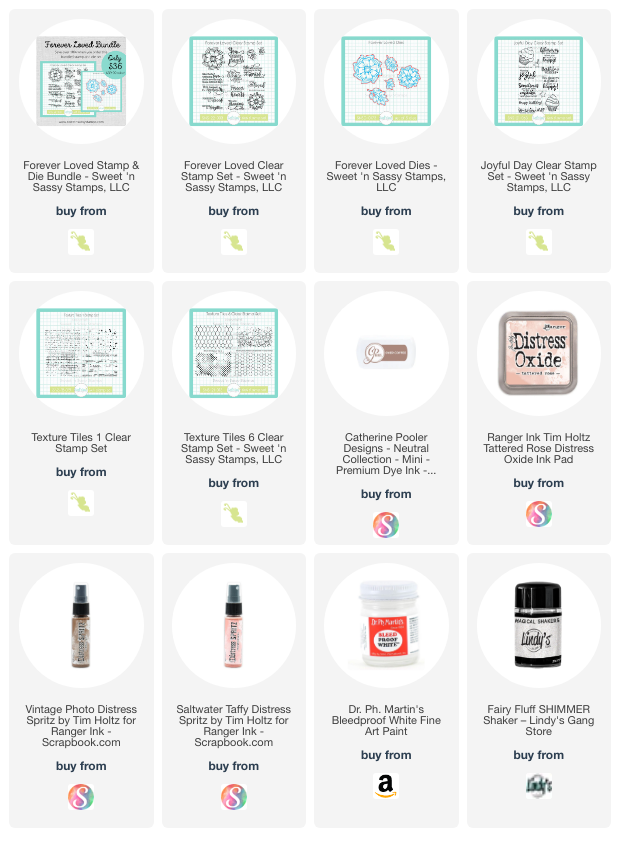
I started by stamping out the flowers and leaves from Forever Loved. I colored them up with Copic markers (R01, R20, R22, YG23, YG63, YG67), then cut with the coordinating Forever Loved Dies.

The background started with some neutral graph paper. I blended tattered rose distress oxide and over coffee Catherine Poolker inks, then did some smooshing with the same colors. Next I went in to add some texture with the Script and splatters stamp from the Texture Tiles 1 stamp set.  

For the sentiment, I created a banner with the opposite side of the same paper, embossing the sentiment from Joyful Day in brown, and then stamping over it with the splatter texture stamp.I then tore another strip of that paper and sponged with Over Coffee ink and then stamped with the crackle texture from Texture Tiles 6.  

I found a scrap of muslin and a mini doily in my stash, so decided to layer them up on the background, and then I pulled out some sprays to do some splattering.  I used Saltwater Taffy and Vintage Photo Distress Spritz as well as some watered down bleed-proof ink.  Once the background was how I wanted it, I layered on the flowers and sentiment, then finished off with a seam binding bow that I inked up here and there with tattered rose distress oxide and then painted with a light coating of fairy fluff magicals.

Thanks so much for stopping by today! I hope you have a fabulous day and enjoy the hop!
Bright Blooms


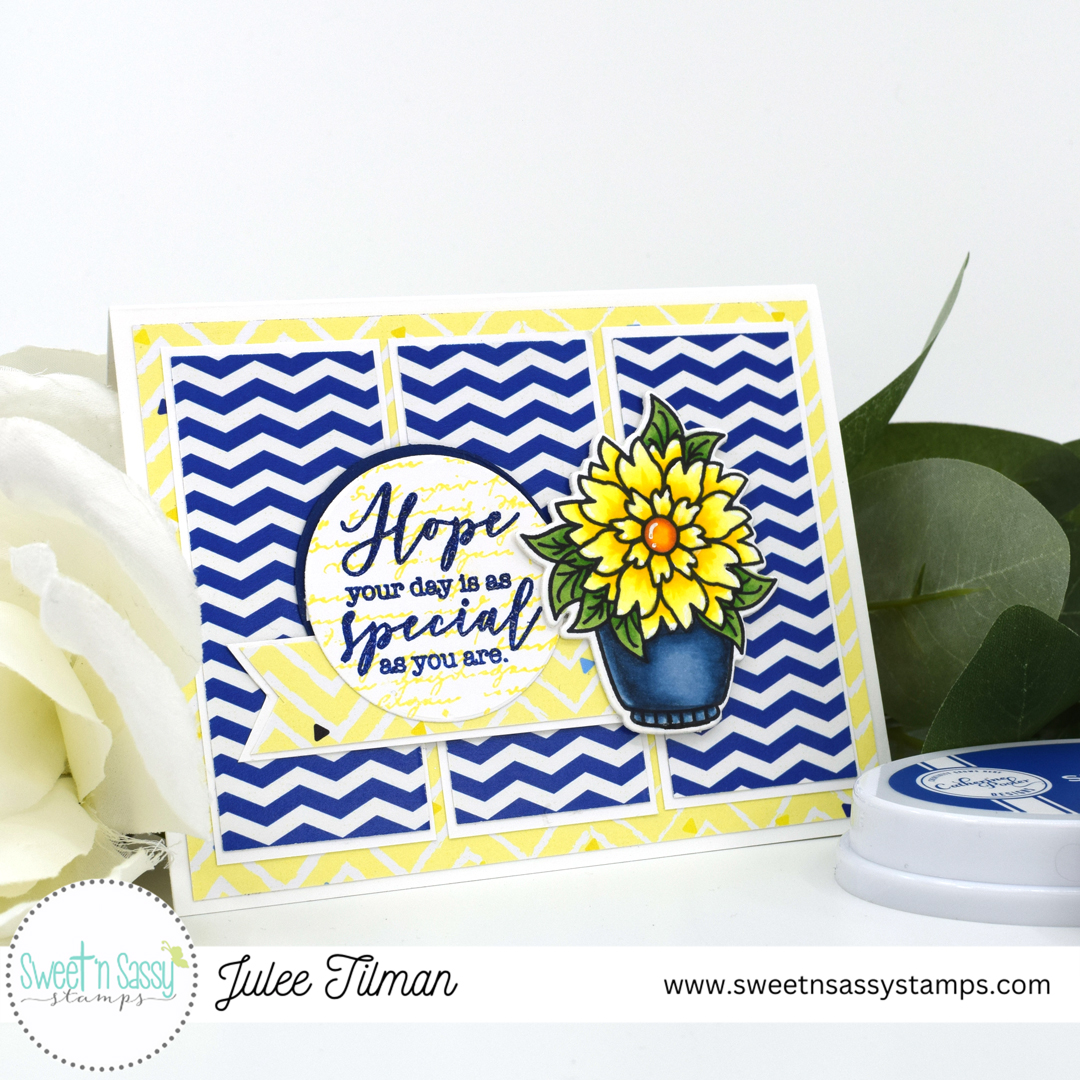
Hi friends! Today I'm sharing a bright little card to add a little sunshine to a dreary January day. It's definitely been cold and dreary here in Idaho. So I pulled out one of the stamp sets I designed for Sweet 'n Sassy Stamps and got to work with a fun yellow and blue color palette.

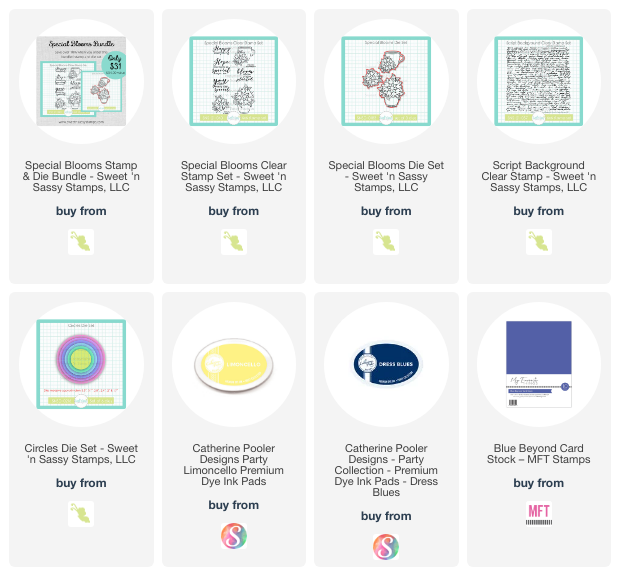
For the card, I started by stamping the image from Special Blooms in Memento ink, then coloring with Copic markers. I die cut with the coordinating dies, layering up three die cuts for dimension. The sentiment from the same set is embossed onto a circle die cut with dress blues ink and clear embossing powder. I then overstamped the circle with the Script Background stamp in limoncello ink.


The layout was inspired by Mojo Monday sketch #444. I used papers from an old paper pad from Not 2 Shabby. This one was called Lemon Brightness, but it's not currently available. I do love it, though, and am trying to use more of my ginormous stash of stamping goodies this year.


Thanks so much for stopping by today! I hope your day is as special as you are!


Christmas Sentiments Three Ways


Hi friends! Today I'm popping in to share a bit of inspiration with the new Christmas Sentiments set from Sweet 'n Sassy Stamps.

For this card I started with a background I had created previously with a clean up print  using the Peppermint Stripe Stencil. I then stamped the large flower from Poinsettia Greetings on the panel and on some white cardstock.


 I colored the white cardstock image with alcohol markers then fussy cut along the edge and attached to the striped panel and cut off the excess. The sentiment was then embossed in black in the corner and I finished off with a red mat and some sparkly enamel dots.


My second card today pairs the fun Christmas Cookies set with a sentiment from the Christmas Sentiments set. I colored the images with Alcohol markers and then cut them out. The sentiment frame is from the Decorative Frames set and cut with the coordinating dies. I colored it in with alcohol markers, then embossed the sentiment in white and used a white paint pen to add some "snow".  Papers were from my stash and I finished with a little green striped bow.


My third card uses the Peppermint Stripe Stencil over a watercolored background.  I embossed the sentiment in rose gold, then added a candy cane image from my Holiday Cheer set.

Thanks so much for stopping by today! I hope you have a fabulous day!

Gingerbread Girl


Hi friends! I'm back with another super sweet gingerbread card, this time featuring the girl gingerbread from the Sweet Holiday Wishes set.

These little cookies in the set are so fun to color.  I colored her up with Copic markers, giving her a little red and white striped dress with a bit of turquoise trim.  The sentiment from the set is stamped onto a die cut from the Bookmarks and More Dies. 


I used more of that same paper pack I used on my boy card earlier this week. Love it, and can't believe I hoarded it without using it for so long! I added a little ricrac with the same bookmark die set and coordinating papers, then finished off with a few sparkly enamel dots.

Thanks so much for stopping by today! I hope you have a fantastic start to your weekend.

***********
This post contains affiliate links to Sweet 'n Sassy Stamps. When you place an order after clicking one of these links, I may receive a small commission at no additional cost to you. Thanks so much for using my links and supporting this blog. 💙

Gingerbread Holiday


Hi friends! I’m popping in today with a sweet Christmas card using the most adorable gingerbread set from Sweet’n Sassy Stamps.

I started by stamping the gingerbread boy from Sweet Holiday Wishes and then coloring with a mix of Copic and Olo markers. I recently got a set of 12 colors of Olos to try and I’m a little bit obsessed! Now if I could only curb my craft spending long enough to save up for the full set! First world problems, right? LOL. Anyhow, while I was coloring, I also colored the little holly banner. This set has coordinating dies, although I didn’t have them available when I was creating, so I used my Scan ‘n Cut.
 

Next I pulled out an old pack of paper from Moda Scraps. It’s a favorite of mine that I’ve been hoarding for years. I pulled the layout together with the patterned papers, then embossed a sentiment from my Holiday Cheer set onto the circle die cut. A few sparkly enamel dots finish off the card.

Thanks so much for stopping by today. I hope you have a fabulous day.

***********
This post contains affiliate links to Sweet 'n Sassy Stamps and Taylored Expressions. When you place an order after clicking one of these links, I may receive a small commission at no additional cost to you. Thanks so much for using my links and supporting this blog. 💙


New Holiday Cheer


Hi friends! It's a brand new month, and this month I have a stamp set releasing from Sweet & Sassy Stamps called Holiday Cheer. It includes a couple of sentiments from a digi I released a few years back, as well as some new sentiments in the same fonts and a couple new images. I actually created this set last year, but it didn't make it in time for the holiday release. So I'm happy it's here now!


One of my favorite candies is peppermint, so candy cane season makes me happy. My favorite thing in the holiday season is vanilla ice cream with crushed candy cane pieces. So I had to start off with the candy cane image, coloring with Copics and accenting with a white gel pen.  There are also coordinating dies available for the coffee cup and candy cane images in the set. I also colored two coffee cups to add to my scene.


I pulled out the new Holly Layering Stencil and stenciled it onto a white rectangle in pink and green ink.  I then partially stamped the Script Background over it in the same colors of ink for a fun background.  I used the same technique for the sentiment from the Holiday Cheer set, cutting out with Circle Dies and then adding a stenciled holly sprig that I fussy cut.

Thanks so much for stopping by today! There are a bunch of new products in the Sweet & Sassy Stamps shop, so if you're curious, hop on over. All new releases are 10% off through September 9.

Grad Card Three Ways


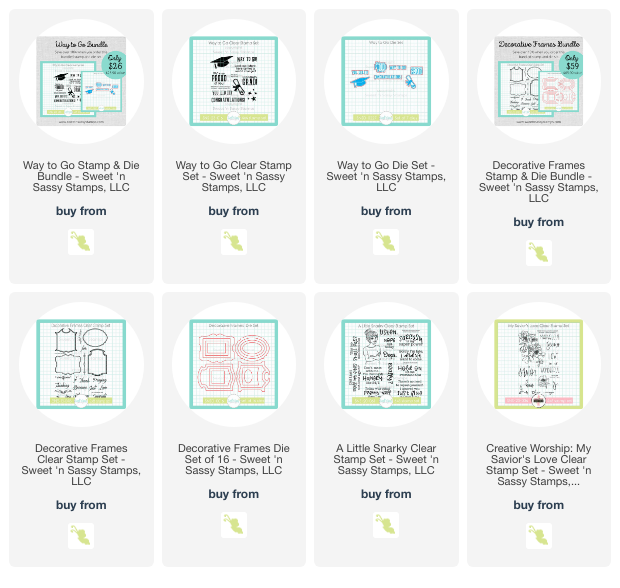
Hi friends! I'm popping in today with a few graduation cards featuring the new Way to Go stamp set from Sweet 'n Sassy Stamps. One set, three ways.

For this first card, I was scrolling through pinterest and saw a bunch of mushroom images watercolored with all colors of the rainbow.  I decided I wanted to give it a go. I haven't done anything but color with Copics for a while, so it was fun pulling out my Kuretake Real Brush Clean Color markers.


I started by stamping the grad hat from Way to Go in no line fadeout ink, then masking it off and stamping the flowers from the My Savior's Love set.  I then used the markers in a rainbow of colors, blending with a waterbrush to get that rainbow feel.  Once I was done with that, I pulled off the mask and watercolored the hat and tassel.

I chose a gel print clean up page I had in my stash to lay the image down and then embossed the Congratulations sentiment in black below the image.  I chose another background from my stash to mat it, and finished off with a teal card base.


Next up is a mini slimline card.  I stamped the hat from Way to Go, then masked it off and stamped the girl from A Little Snarky.  I colored with copics, then cut out with my Brother Scan 'n Cut. I love that the Way to Go Die Set cuts out most of the sentiments, making it easy to layer the sentiment and diploama below.  A little patterned paper and a few enamel dots and I was done.


The final card combines the Way to Go set with the Decorative Frames set.  I first stamped the frame in red ink, then cut with the coordinating die. Next I stamped the stars from Way to Go in either corner.  The we're so proud of you sentiment is die cut and popped up in the center. I added the diploma image in the corner.  A couple of red designer paper prints finish off the layout.

Thanks so much for stopping by today. I hope you have a fabulous start to your week!

Birthday Guy


Hi friends! It's time for the Sweet 'n Sassy Stamps May hop over on Instagram.  This month's theme is masculine, so head over to my Insta feed and look for this card to comment and hop along for a chance to win. Read on for the creative details.


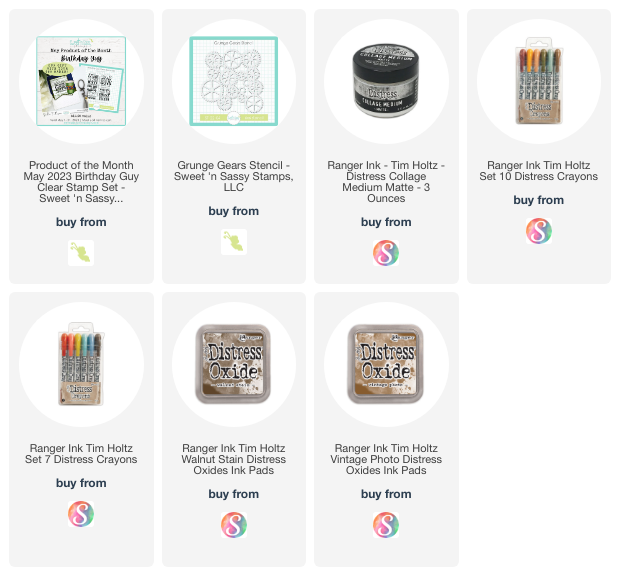
I've mentioned before that I really like creating masculine cards. A simple layout and color palette are usually where I start when creating masculine cards. Here, I took a mixed media cardstock rectangle and stamped this sentiment from Birthday Guy with archival ink. Then I coated the panel with collage matte medium, then used Distress crayons to create a background in light greens and browns.  This is matted with a rectangle cut from another mixed media session.


The background is mixed media cardstock stenciled with the oh so cool Grunge Gear Stencil.  I used walnut stain and vintage photo inks for blending.

Thanks so much for stopping by today! I hope you have a fabulous day. Be sure to hop along over on Instagram to see what all the other designers have come up with to inspire you.


Jaded Blossom May Release Blog Hop


Hey Everyone!  Welcome to Jaded Blossom's May Stamp Release Blog Hop! If you're here from Candace's blog you're in the right place, if you're just passing through start at the beginning because you don't want to miss a thing.  I also have the complete line up at the bottom.

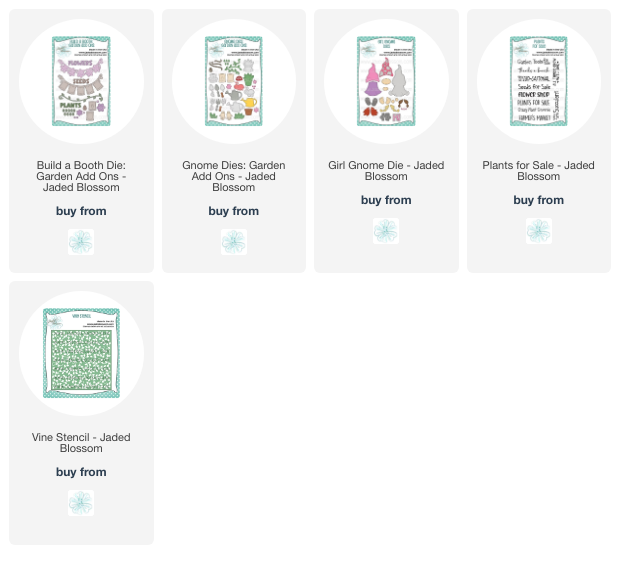
Hooray for release day! All of the products we've been sneaking this week are not available in the shop. For my card,  I couldn't wait to dress up the Girl Gnome. I cut the hat and dress from patterned paper, then all the other pieces from white cardstock and colored with Copic markers. I just love the little vines for the hat in the NEW Gnome Dies: Garden Add Ons. I decided to have her holding a flower seed packet, and added some coordinating flowers to her hat.


Next up I created the watering can, then got to work on the background. I used the NEW Vine Stencil tone on tone on a spring green paper. Don't you just love the look of all those pretty vines? Swoon. I added a sentiment from the NEW Plants for Sale set. embossed onto a die cut from the previously released Word Bubbles Dies and then decorated with portions of the vine from the NEW Build a Booth: Garden Add Ons.  

Thanks so much for stopping by today! Take a look at the fun deals we have in store, then hop along to Nicole's blog.


Regular Price for the Release Package is $155.99

FREEBIE OFFER: CHUBBY CARROT WITH OUTLINE DIE
1) Free with orders $60 or more (before tax/shipping)
2) Order MUST contain at least 1 new release item
3) Freebie offer is Thursday and Friday Only, while supplies last


BLOG CANDY

One lucky winner will get to pick a stamp set of their choice!
Just leave a comment on all the blogs along the hop!
The more blogs you comment on the more chances you have to win!

Now on to the HOP....

Next up is Nicole

Just in case a link goes astray along the way, here's the entire line up:

One of the Good Ones


Hi friends! Guess what time it is? It's Spring/Summer Coffee Lovers Hop time!  Woot! Woot! Can you feel me bouncing up and down with excitement? I LOVE seeing all the coffee loving goodness in the blogosphere. This hop is a traditional industry hop where we get to head to each of the Super Sponsor blogs to see their eye candy and giveaways. Sweet 'n Sassy Stamps is one of the Super Sponsors, so today I'm sharing a fun little caffeinated creation using their new April Stamp of the Month, Birthday Guy. You can head to their hop post and enter their giveaway, then hop along.


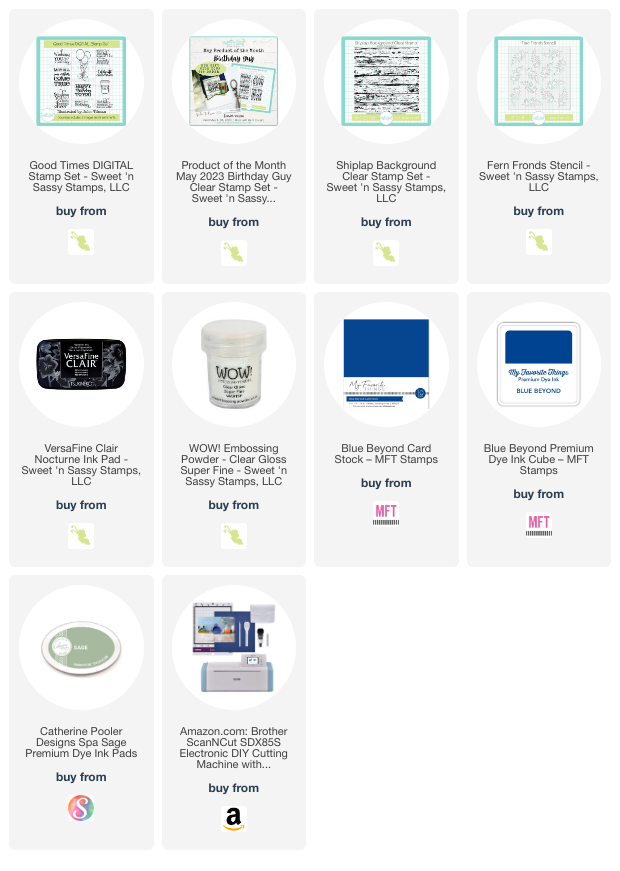
First things first... the coffee.  I started out by printing out the star cup from my Good Times Digi.  I colored it with Copic markers, challenging myself to try to get a corrugated look on the coffee cozy. When I was finished coloring, I cut the image out with my Brother Scan 'n Cut.


The sentiment from Birthday Guy is embossed onto a piece of cardstock that I cut into a fishtail banner. I then stamped  the Shiplap Background in green in the background. The navy panel behind is stenciled tone on tone with the Fern Fronds stencil, and I added it all to a panel that was dry embossed with an old Cuttlebug Stars embossing folder.

Thanks so much for stopping by today! It's 5th grade State Fair project time, and the boys and I are deep in clay, paint, and mess-making trying to prepare their state floats and booth displays. Wish us luck!

Pile it On

Hi friends! Welcome to a brand new month. There's a brand new release at Sweet 'n Sassy Stamps today, and I'm helping out with their release this month.


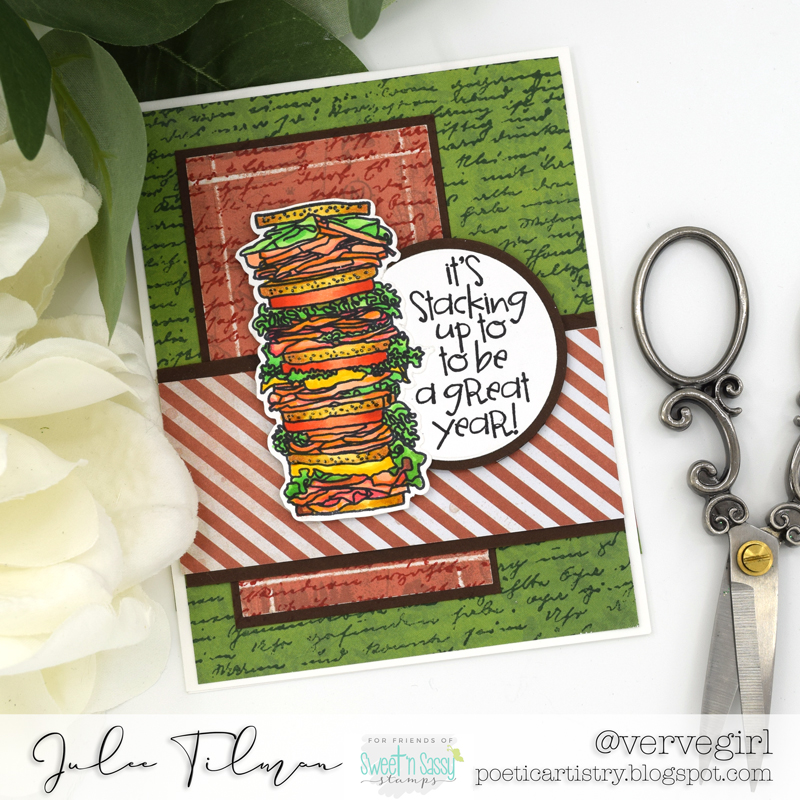
Today I'm sharing a couple of cards I created with the the new Pile it On stamp set. I think this is such a unique set and had a lot of fun coloring up these images.


The papers for this first card are from the Vintage Lakeside Simple Stories pad, and I over stamped them with coordinating inks using the previously released Script Background stamp. I really enjoy making masculine cards, probably because I don't have to fuss with the embellishments.  Here I added a little accent to my tall rectangle by scoring a frame 1/4" from the edge on all sides, then lightly sanding to reveal the white core of the paper.  the sentiment is stamped onto a Circle die cut.


For my next card, I colored and cut out the hamburger image with Copic markers. This set has coordinating dies! Yay! I used papers from the Dog Gone Cute paper pad from Doodlebug. I used a Border Dies 2 die cut from Jaded Blossom for the brown dotted portion, then dry embossed the white panel with a stars Cuttlebug embossing folder.  

The Happy Birthday sentiment from the set fit perfectly on one of the cut apart tags from the Dog Gone Cute paper pad, and I embellished with a mini brad.

How about you? Do you like creating masculine cards? Why or why not? I'd love to hear from you.