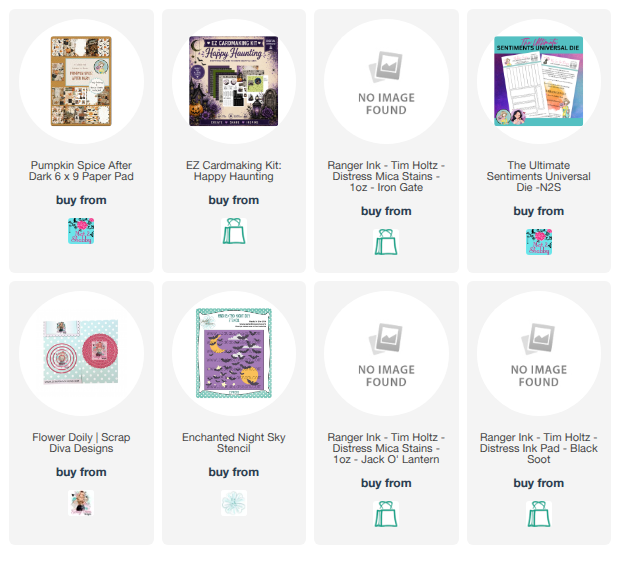
Hi friends! Happy National Coffee Day! Today I’m popping in with a spooky fun caffeinated creation. this is one of 6 cards I created with the Pumpkin Spice After Dark paper pad. I’m sharing all six over on my YouTube channel, and I’d love for you to stop by and say hi! Watch below or on my channel.
Sentiments Universal Die. I had fun with the wide grosgrain, some mica splatters, and some black doily die cuts. Thanks so much for stopping by today. Hope your cup overflows.
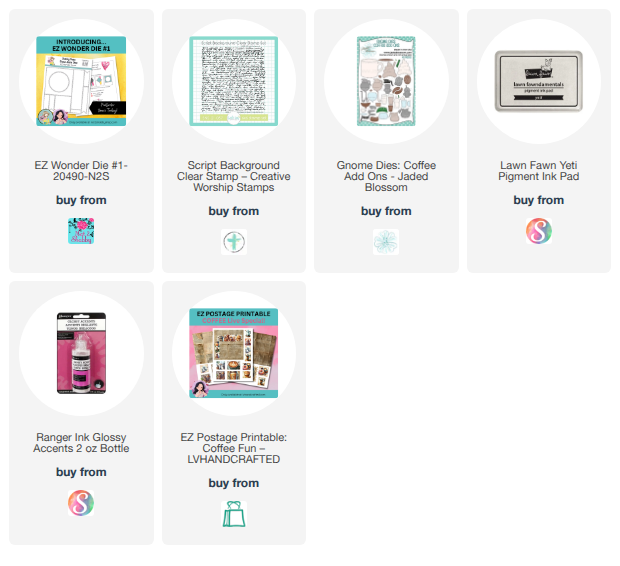
Hey friends! Today I have a super fun new release to share with you! It's the Coffee Girls EZ Postage Printable from LV Handcrafted. You all know how much I love coffee, so it's no surprise that I've been having a blast in the studio playing with these fun papers and images!
This card came together super quick. I cut the EZ3 postage grid from one of the extra pages in the printable. I love the coffee image so much, I didn't want to cover too much of it up. So I picked this darling girl that was cut from the EZ Guide page. I matted her with a teal cardstock, then placed her in the bottom section. Remember, you don't always have to stay within the lines with these collages... I sure don't!
I finished off with a stamped sentiment. This is from one of my old Verve sets... Sentimental Wishes. I finished off with a teal mat and an A2 card base. I've got a short little reel up on Instagram if you want to see the inside and a peek at some of the other cards I made. Well, that is if I was tech savvy enough to schedule it correctly! 🤣🤣
Hey all! There is a brand-new release over at LV Handcrafted today, and it is totally up my alley! As a coffee lover through and through, I am so excited to share the Coffee Cups EZ Cardmaking Kit Printable. It is absolutely darling and perfect for sending a "perky" hello to your friends.
✨ FLASH SALE: TODAY ONLY (MAY 5)
To celebrate the release, you can get ALL EZ Printables for 50% off!
🎟️ Use code: VERVEGIRL at checkout to snag your favorites at half price.
Hurry—this offer is only valid today, May 5!
Card Details: A Perfect Blend
I couldn't wait to dive into the coffee cup print, so I used that as my main background panel, cut to 4" x 5.25".
The Focal Point:
I used the EZ Wonder #1 Die on the EZ Guide page and again on some black cardstock.
To add a little interest to the black square, I stamped it with a script background stamp using white pigment ink.
I then layered the coffee cup circle right in the center for a clean, graphic look.
The Finishing Touches:
I tucked a small sentiment into the corner and added a few cardstock coffee beans. To give them a realistic "roasted" shine and some fun texture, I coated them with glossy accents.
More Coffee Inspiration
If you love coffee as much as I do, you’ll definitely want to check out Linh’s other coffee-themed designs, like the EZ Postage Printable: Coffee. And keep your eyes peeled—there is another super fun coffee-themed EZ Postage Printable coming later this month!
Thanks so much for stopping by today! Grab your favorite mug, head over to the shop, and take advantage of that 50% off code while it lasts.
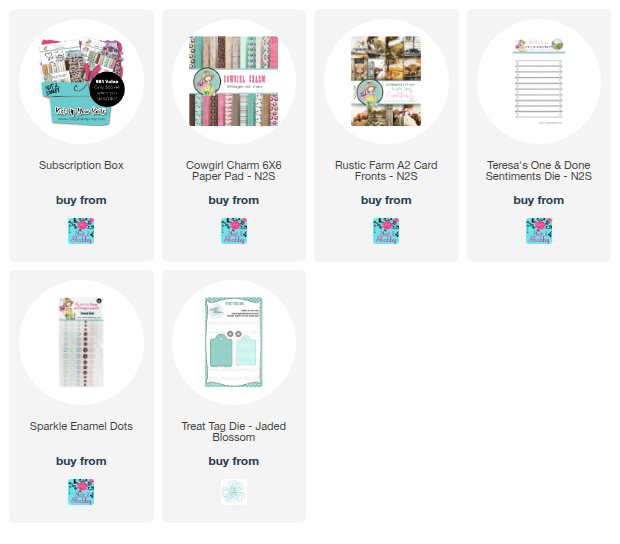
Hi friends! Today I'm back with a card for the Fall/Winter Coffee Lovers Hop. I had fun creating with the Cowgirl Charm paper pad and the 6x6 stamp set in the November Box of the Month from Not 2 Shabby.
I colored up the cow images with Copic markers, fussy cutting the one for the card to pop her up as my focal point. I added dark brown mats to my layered rectangles of Cowgirl Charm Paper, then grounded the focal image with a sentiment from the Rustic Farms A2 Card Fronts and cut with the One & Done Sentiments Die.
I've been on a bit of a tag kick lately, so made a matching tag with coordinating papers and the cute cow image. I used another die cut from the One & Done Sentiments Die and a sentiment from Mini Messages. to finish it off.
Thanks so much for stopping by today! I hope you have a fantastic day!
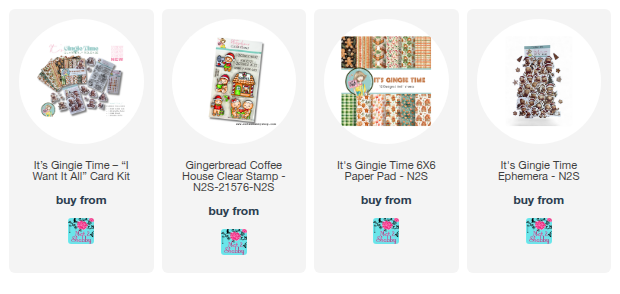
Hi there friends! I'm back today sharing a bit of inspiration with the It's Gingie Time Card Kit. I just love the Gingerbread Coffee House stamp set in the bundle, so sat down of an afternoon to color my little heart out.
This little cutie was first. He's so cute holding up his sweet beverage. Since I colored the mug green, I picked the gorgeous green gingham print from the It's Gingie Time Paper Pad and these fun holly wrapped gifts for the background. The dotty paper was placed horizontally to break up the layout and have a place for my gingie to rest. I added the sentiment, tucked a few colored holly sprigs under him and finished with an ephemera cookie.
My second card uses the same stamp set and papers. These two little cuties at the coffee shop look like they are on the cutest little coffee date. Hubby and I tried a new coffee shop the other day and they were selling little onesies that said, "cutest little coffee date". Soooooo cute! Anyhow, I decided to color them up in teals to go with my favorite paper in the pad... the heart cookie background. I kept the layout simple with just some thin mats and a ribbon slider through the sentiment label.
Thanks so much for stopping by today! I hope you have a fantastic day!
Snowy days, hot cocoa, and brown paper packages tied up with string! ❄️☕🎀 These are a few of my favorite things.... to craft (I'm not particularly in love with the fluffy white stuff in real life!) 😆
But, boy do I ever love adding the white splatters to approximate snow! I had so much fun layering up these papers and collage elements from the Special Delivery paper pad into a fun holiday scene. The Santa approved seal from the Merry Mail stamp of the month was the perfect accent.
Thanks so much for stopping by today! I hope you have a fantastic day!
Hi there my sweet friends! There's a brand new quarterly release in the Not 2 Shabby shop today and it's super adorable! If you're into all things gingerbread, then this release is definitely for you.
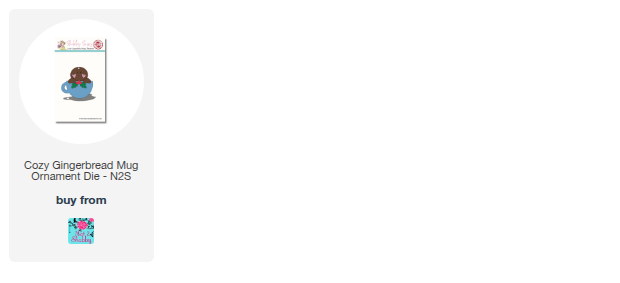
There's an adorable paper pad, a stamp set, ephemera, and a pack of enamel dots that all coordinate! Or you can save a little by purchasing the I Want it All Bundle. I've been trying to dig into my stash a bit more, so immediately thought of the Gingerbread Ornament Die I bought last year and never had time to use. If you're interested, I just checked and it's in stock as of the writing of this post. I mean I couldn't resist it because there's a mug!!!
I die cut the mug from one of the patterned papers and then inked around the edges for a little shading. The gingerbread pieces are cut from colored cardstock and also shaded around the edges with coordinating colors. I arranged the hands so my gingie girl is holding a gingerbread cookie (a snowflake, because we're not into gingerbread cannibalism around here!) 🤣
I then chose a gingerbread paper from the pack as my background and double matted. I finished off with the brewing up holiday cheer stamp from the Gingerbread Coffee House stamp set and a couple of sparkling enamel dots.
So glad you could stop by today! I hope you have a fantastic start to your week!
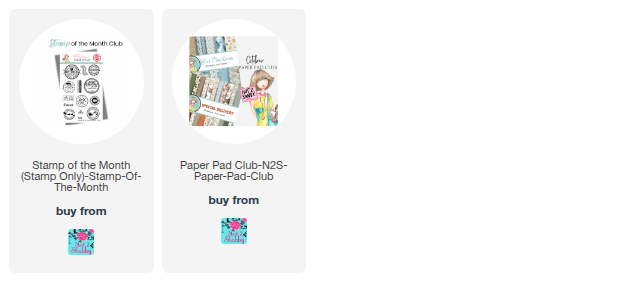
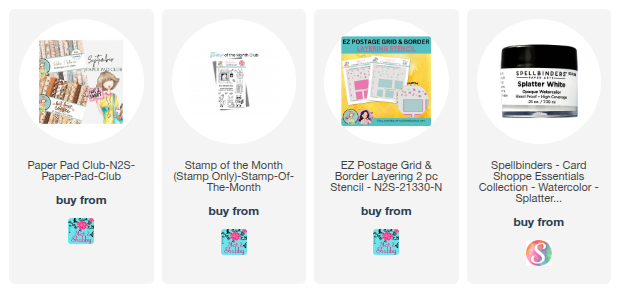
Hi friends! Can you believe it's already October? October happens to be my favorite month of the year. I love the crisp mornings and evenings, and bright, warm afternoons we have here in Idaho. And the colors are just beautiful. That's the real world, but in crafting land October is the unofficial start to the Christmas season. When I saw the beautiful products in this month's Paper Pad Club and Stamp of the Month, I just knew I had to start with this gorgeous blue and gold paper from the Blue Christmas Paper Pad.
I started by stamping the hot cocoa circle image from the stamp of the month in white onto navy cardstock and then embossing in white. I cut with a pinking circle die from my way back stash. I selected a couple papers from the Blue Christmas pad and cut them down to size, matting with more navy card stock. I then used some navy and sand inks to stencil the "air mail" border onto my card base using the EZ Postage Grid & Border Layering Stencil. I love the finished look!
I fussy cut the cocoa loving girl ephemera so there wasn't a white border, then deepened the shading on the image with Copic markers. I popped her up on dimensional foam and then gave the whole card a good splattering with white splatter ink.
I finished off with a few iridescent snowflake sequins from my stash. Such a fun card to create!
Thanks so much for stopping by today! Be sure to head on over to the Not 2 Shabby Shop to see all the new goodies in the shop!
Hi friends! Happy National Coffee Day! Today I'm popping in with a little caffeinated craftiness featuring stamps from the Not 2 Shabby September Box of the Month and Critter Cafe stamp set. I just love these little coffee critters and thought they would look perfect hanging out at the coffee cart!
All of the images are stamped in alcohol safe ink and then colored with Copic markers in an orange, teal, and brown color palette. Football season is my coloring season, since I often gather up my supplies, stamp out images and then color them while the family is watching football. I like to cheer on the teams, but am okay with missing a few plays, especially since they always replay the important ones.
I kept the layout for this card really simple because I really loved the contrast of the vibrant colors and all that white space. A sentiment and a bit of ribbon finishes things off.
On another note, this weekend is The Paper Escape! I'm so excited to share my first class with you. Below is the link to the retreat playlist so you won't miss a thing. If you haven't registered yet, there's still time. The first three days are free, but the bonus ticket gives you access to a fourth day with two live classes and a livestream wrap-up with instructors. Many of our fabulous sponsored prizes will be given on this day! The bonus ticket also gives you access to a PDF printable with measurements and step by step instructions for all of the classes. A great value for just $20! And a great way to support our instructors.
Hey friends! Ready for some inky fun? Today I have a process video up of creating an emboss resist background for these Artist Trading Cards using inks and sprays. You can watch it on the blog below or on my YouTube Channel. I hope you'll check it out!
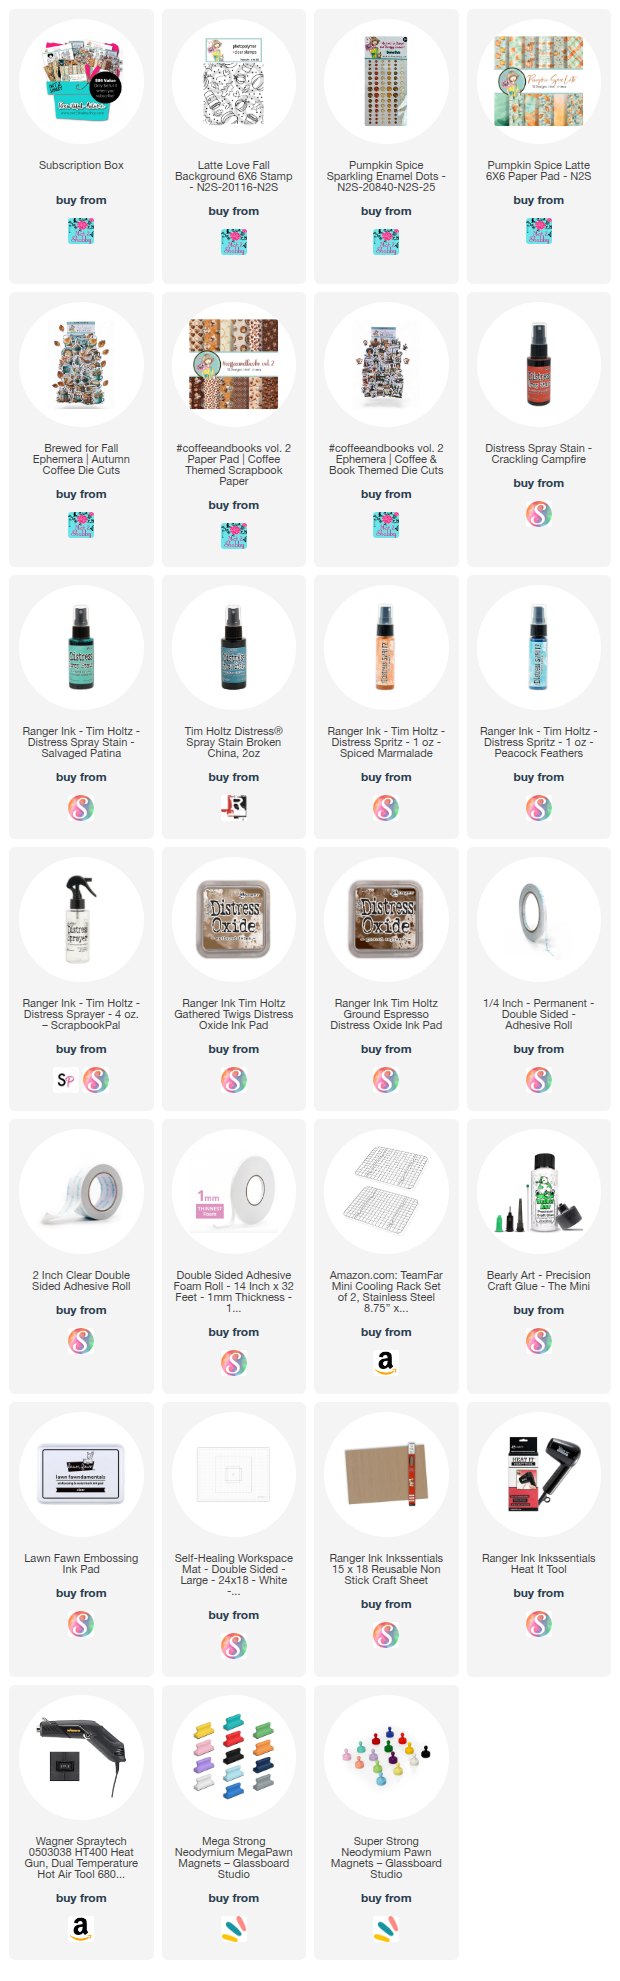
I used the Latte Love Fall Background stamp from Not 2 Shabby for the embossing, then a mix of distress sprays, distress spritz, and some distress inks to create the background. The images and sentiment are all from stamps in the September Box of the Month and I finished off with a few Pumpkin Spice Sparkling Enamel Dots.
Thanks so much for stopping by! I hope you have a fantastic day!
Hey friends! How's September treating you. The air is chilling just a bit around here and I'm definitely ready for warm drinks and cozy blankets in the mornings. Today I'm sharing a trio of cards I created with this month's Not 2 Shabby Box of the Month. I used the same paper collage technique I used in my last video for the backgrounds on all of these cards.
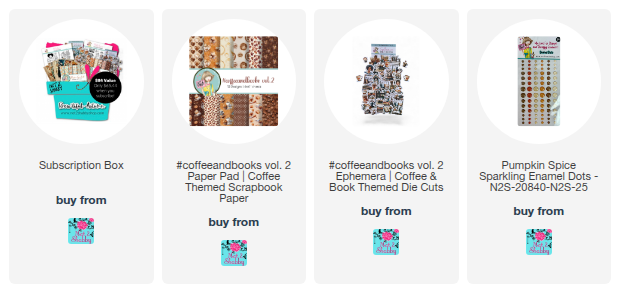
This first card, I wanted to bring that dreamy feeling of quiet morning moments to the background, so overlaid a panel of vellum over the #coffeeandbooks Vol. 2 papers. I embossed the sentiment onto the vellum, then created a little scene with a few ephemera pieces and accented with sparkle enamel dots.
I approached this second card the same way, minus the vellum overlay. I added a sentiment across the bottom to sort of "ground" my collage elements, then finished off with sparkle enamel dots.
For the third card, I added a little softness to the background with a couple of mini doilies. The sentiment sign seemed like the perfect destination for this sweet young reader.
Thanks so much for stopping by today! I hope you have a fabulous day!