Powered by Blogger.
Showing posts with label Tall & Skinny. Show all posts

Ready, Set, Color! Join Me at The Paper Escape: Summer Break with OLO

Get your favorite alcohol markers ready and clear your crafting desk, because an incredible weekend of creativity is just around the corner! I am absolutely thrilled to invite you to The Paper Escape: Summer Break with OLO—a spectacular virtual coloring retreat designed to bring pure joy to your coloring journey and take your skills to the next level.

This virtual retreat is a fantastic partnership between The Paper Escape and OLO Markers. The fun officially kicks off on August 1st, and it is completely FREE to watch on YouTube with unlimited replay access. Whether you are an absolute beginner just dipping your toes into the world of alcohol markers or you've been blending for years, there is something special lined up for you.

We are even hosting a LIVE Q&A session with OLO’s very own Lori Craig! As a veteran coloring instructor with more than two decades of experience, Lori is ready to share her ultimate tips, tricks, and industry secrets while answering all of your burning questions live.
The Ultimate Upgrade: The Digital Kit Ticket

While the physical retreat kits completely SOLD OUT in record time, you don't have to miss out on the VIP experience. You can still grab a Digital Kit Ticket, which is your exclusive pass to the ultimate creative weekend upgrade!

🎫 Why the Digital Kit Ticket is a Must-Have:
  • Exclusive Access to the Live Bonus Day: A Digital Kit Ticket gets you an official invitation to our private Bonus Day on August 2nd for an extra day of premium live coloring with Meg and interactive crafting with our amazing event host, Linh (@lvhandcrafted)

  • The Digital Coloring Workshop PDF: A comprehensive, downloadable guide packed with step-by-step instruction to follow along at your own pace.

  • Pre-Colored Digis: Ready-to-use pre-colored digital images (drawn by yours truly!) that are perfect for quick card layouts, background practice, or instant cardmaking inspiration.


For a tutorial on how to make today's featured card, check out my YouTube video.

Don't Have OLO Markers? No Problem!
If your marker collection consists of other brands, please don't let that stop you from joining the fun! We want everyone to participate, which is why Meg has put together a comprehensive Color Conversion Chart mapped out for Copic, Altenew, and Ohuhu markers. To unlock access to this handy chart, all you need to do is register for a ticket—whether you choose the Free Ticket, the Digital Kit, or were lucky enough to snag a physical kit.

Choose Your Experience & Register Today:

FREE Ticket: Officially registers you for the event, unlocks the color conversion chart, and enters you into our exciting freebie and giveaway drawings.

Digital Kit Ticket: Unlocks the color conversion chart, the full Workshop PDF, the pre-colored digis, and your live pass to the August 2nd Bonus Day!

Spaces for the live interactive portions are filling up fast, so secure your spot, download your digital goodies, and let's get ready to color together this weekend!


Tiny Note Big Heart


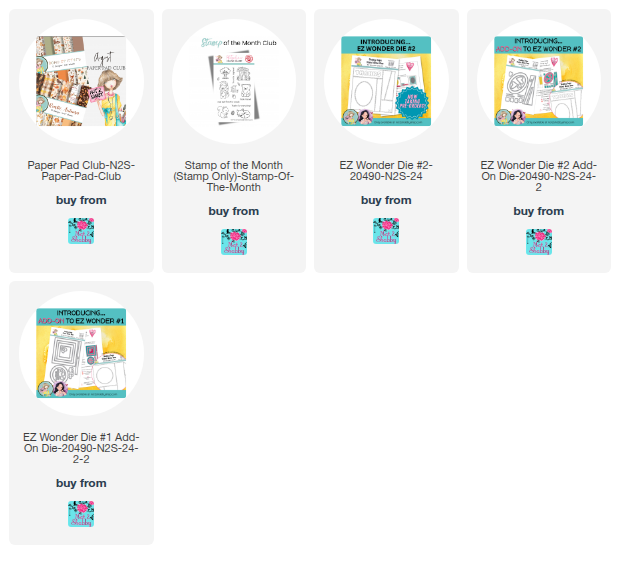
Hi, friends! I'm popping in with two little notecards that were so quick and easy to make, featuring the Boho Critters Paper Pad (part of the August Paper Pad Club) and EZ Wonder Die #2 from Not 2 Shabby! I'm obsessed with this tiny bird print!


For the first card, I used the square from the EZ Wonder die  since I loved how it framed the bird perfectly! I added a mat, a partially embossed backdrop, and then the 'tiny note, big heart' sentiment. So simple and sweet. A few puffy heart stickers finish off this 3.5 x 5" card.


The second card uses the other angled die-cut piece paired with a gold foil piece to form a rectangle. I used the same sentiment on a banner from the EZ Wonder 1 Add Ons, with some heart die cuts from the EZ Wonder 2 Add Ons that I made super sparkly with Stickles! These were so much fun to make!

Thanks so much for stopping by today! 

Tropical Smiles + Video Hop


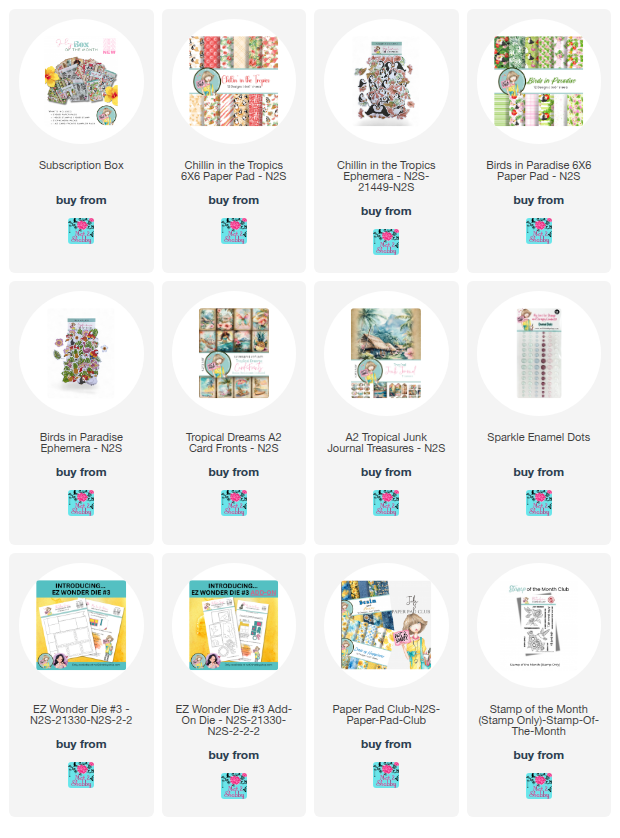
Hi friends! It's the 10th of the month and time for the Not 2 Shabby Shop July Giveaway Hop over on YouTube. This month I'm working with the Box of the Month and am just loving all the tropical vibes!  You can watch me make today's card below on the blog, or on my YouTube channel.


My card today features the Chillin' in the Tropics paper pad and ephemera as well as the stamp sets in the box. As always, the papers and ephemera are available to purchase individually, but the stamps are exclusive to the box.


For my layout, I chose to use the postage grid from the EZ Wonder #3 Die as strips for a mini slimline card.  I folded the grid in half and then tore the two pieces apart along the circles for two clean strips.  I then used the EZ Wonder #3 Add Ons to cut some patterned paper for the sections in the grid. I stamped one of the sentiments onto a white cardstock die cut, then added some ephemera and a colored stamped image to finish things off.

Thanks so much for stopping by today! I hope you have a fabulous day!


Gift Card Pocket Card


Hi friends! Today I'm popping in with a quick little gift card pocket mini slimline card. Now there's a mouthful to say! LOL Basically, it's a card with a front pocket and a removable gift card holder element.

I used the Pink Christmas papers in this month's Not 2 Shabby October Paper Pad Club. This snowman ephemera from the Pink Christmas Ephemera pack is so cute!I had to add him to the front and tuck in some little gift ephemera to create the scene.


The gift card insert uses a gift card die which I cut from patterned paper, then matted with gold foil cardstock.  I tucked in the gift card and then tied a string and a little tag around it to give it the look of a present.  The tag uses one of the sentiments from the Mini Messages stamp set that just released as part of the Festive Christmas I Want it All Bundle.

Thanks so much for stopping by today! I hope you have a fabulous day!


Mini Slimline Fun


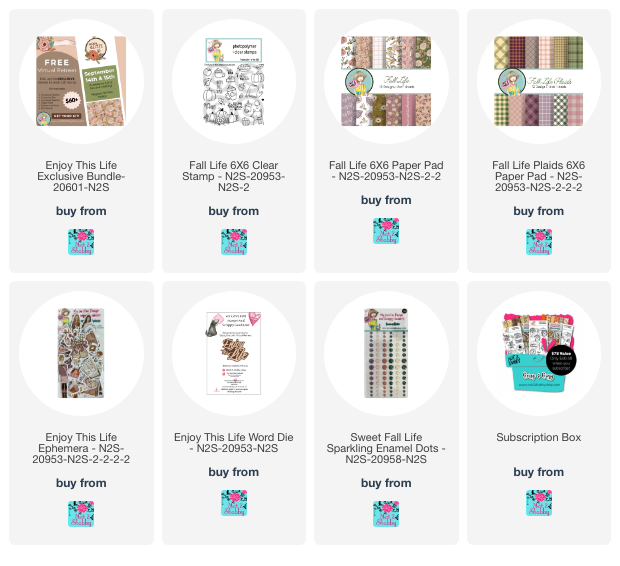
Hi friends! Today I'm popping in with a set of cards I made following Alicia's (Call Me Crafty Al) exclusive Sheetload of Cards for the Not 2 Shabby Fall Virtual Retreat. If you follow the cutting instructions, you can make 8 total cards, but since 4 is about my max of mass producing, I did a half a sheetload.


For all the cards I used the Enjoy this Life Exclusive Bundle and the add-on Fall Life Plaids Paper. This is a fabulous kit and most of the items are available individually as well.


I did also sneak in the snuggle weather sentiment from the September Box of the Month, because it just felt perfect for these cozy images.


I had a lot of fun putting together these little collages of images to make them all have their own unique look, but a cohesive theme.


Thanks so much for stopping by today! I hope you have a fabulous day!

Hedge-hugs


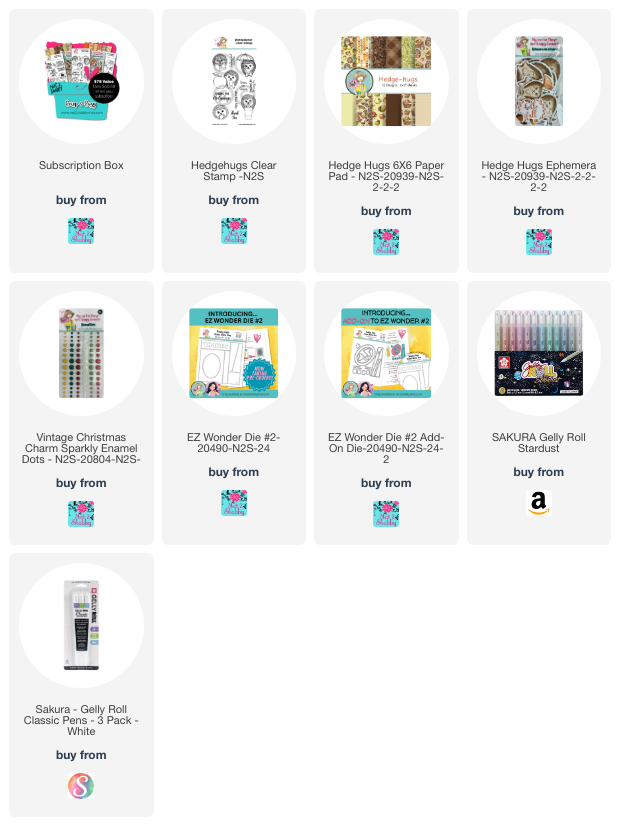
Hi friends! Happy Friday! I love fall pumpkins so much, I've pretty much been focused on fall all month long. Today I'm turning my focus to the hedgehogs in the Not 2 Shabby September Box of the Month. This little guy reading his book in the Hedgehugs stamp set just makes me smile.


I decided to make a shaker element with the oval dies from the EZ Wonder #2 and EZ Wonder Add Ons 2 dies and pulled out some stylized rectangle dies from my stash to finish the card. I tucked in a couple of pieces of ephemera to ground my little hedgehog, then added a few sparkling enamel dots on the outer edges for accent.


My second card features a couple of my favorite pieces of ephemera from the Hedge Hugs Ephemera Pack. I dressed them up  with gel pen accents, then used some paper scraps I had left over from other cards to create this fun mini slimline card.

Thanks so much for stopping by today! I hope you have a fabulous day!


Jaded Blossom April Release Hop


Hey Everyone!  Welcome to Jaded Blossom's April Stamp Release Blog Hop.  
If you're here from Cindy's blog you're in the right place, if you're just passing through you'll want start at the beginning so you don't miss a thing. 
 I also have the complete line up at the bottom, if a link goes astray along the way.

Here is what I made:

Are there any How I Met Your Mother fans out there? Every time I see this sentiment from the Born to Ride set I giggle and think legend.... wait for it..... ary! I embossed it in silver onto black cardstock and then cut with the coordinating Born To Ride Outline Dies.


I thought this sentiment would go well with a biker girl, so I pulled out the Girl Gnome Die and the new Gnome Dies: Motorcycle Add Ons and got to work.  I cut the bike from some shiny black and foil papers from Christmas and Halloween Recollections paper pads.  I cut her leather jacket from mushroom cardstock and inked with black soot distress ink. Her shirt and bandana are done with some red patterned paper, with a bit of Copic marker shading.

The background for my mini slimline card is an old scrap of paper from a Tim Holtz 12 x 12 pad from years gone by.  I splattered it with a healthy dose of silver glimmer metallic ink and black india ink, then layered everything together to finish it off.

That's all from me. Thanks so much for stopping by! I hope you've enjoyed the peeks this past week. Be sure to leave a little love in the comments as you hop about for a chance to win the hop giveaway!

Your next stop on the hop is Rosemary


Regular Price for the Release Package is $161.99

FREEBIE OFFER: Fixing Everything Tag
1) Free with orders $50 or more (before tax/shipping)
2) Order MUST contain at least 1 new release item
3) Freebie offer is Thursday and Friday Only, while supplies last


BLOG CANDY

1 Lucky Winner will get to pick a stamp set of their choice!
Just leave a comment on all the blogs along the hop!
The more blogs you comment on the more chances you have to win!

Now on to the HOP....

Just in case you get lost here is the entire hop list:


Three Garden Secrets


Hi friends! Have you seen the new February release at Not 2 Shabby? There are definitely some good vibes and springtime feels waiting for you in the shop. This month I'll be featuring the Stamp and Die of the Month as well as the Paper Pad Club.


I'm not much of a fan of winter, so spring can't come fast enough for me! So glad I can bring a little spring to my craft room any time I want. The Garden Secrets paper pad in the February Paper Pad Club is just perfect for stepping in to spring. I chose it to make a few quick slimline cards and paired it with a few sentiments from the Happy Spring stamp set.

A while back, I saw a fun video from Karen Aicken with the instructions to make three mini slimline fun fold cards from three 6 x 6 papers with no scraps. I pulled it out of my "to be tried" pile, and got to work with the papers and cut aparts included in the Garden Secrets paper pad.


First off I pulled out the cut aparts in the paper pad with my Brother Scan 'n Cut and then selected three prints I thought would work together. I cut the papers down, made the folds on my card bases, and got busy gluing things down. Next I cut a few circles and scalloped circle mats to create a little ensemble for the card focus.  I used the cut aparts, accenting with sparkle enamel dots and some sparkle glitter glaze. The sentiments are from the Happy Spring stamp set and embossed in black.

I love this layout because it means the inside is decorated already. I just added a sentiment circle using the Happy Days sentiment to finish things off.

Gnomes for Days


Hi friends! Today I'm back with a fun and easy card featuring the Brewing it Up paper pad and ephemera from Not 2 Shabby. Having been stamping for decades, I originally thought ephemera was kind of cheating when it came to cardmaking. But as I've been using it more and more, I've changed my mind and think it's kind of brilliant. There are so many times when I don't have the time to color up an image, but I want to create. That's when I reach for the ephemera and paper pads!


I loved the 6x6 Brewing it Up paper with the line of gnomes so much I didn't want to cover up to much of it. I chose to create a mini slimline card so they could span the card.  Then I chose a coordinating gnome from the Brewing it Up ephemera pack to pop up on foam tape for my focal point.

To add a little pizazz, I accented the paper and ephemera with some glossy accents and white and gold paint pens.  This little bit of detail takes the card from simple to something special.  I finished off with that 'Tis the Season sentiment from the Drink Happy Thoughts set that I love so much.

Thanks so much for stopping by today! I hope you have a fabulously creative weekend.

Lemon Brightness

Hey friends! Today I'm popping in to share a card I made for a recent swap.  I just love the Lemon Brightness paper pad and ephemera, and thought of it first when I saw the theme was stripes.


The girl in the Lemon Brightness Ephemera is my favorite, so I had to have her as my centerpiece.  I selected a few patterns from the paper pad. I think the yellow stripes are from another pad, (maybe Make it Iced from last year's coffee box) but I don't think it's available right now.


I stamped the lemon and you're the zest sentiment from the gorgeous Lemon Squeezy set on a circle die cut, then matted with yellow cardstock.  The other papers are matted with navy cardstock and I finished off with some sparkly enamel dots from the Let's Get Cool collection. I seriously love these!

Thanks so much for stopping by today! I hope you have a fabulous day. I have my first physical therapy session, so hopefully my pain tolerance is up for it! LOL

- Julee

Grad Card Three Ways


Hi friends! I'm popping in today with a few graduation cards featuring the new Way to Go stamp set from Sweet 'n Sassy Stamps. One set, three ways.

For this first card, I was scrolling through pinterest and saw a bunch of mushroom images watercolored with all colors of the rainbow.  I decided I wanted to give it a go. I haven't done anything but color with Copics for a while, so it was fun pulling out my Kuretake Real Brush Clean Color markers.


I started by stamping the grad hat from Way to Go in no line fadeout ink, then masking it off and stamping the flowers from the My Savior's Love set.  I then used the markers in a rainbow of colors, blending with a waterbrush to get that rainbow feel.  Once I was done with that, I pulled off the mask and watercolored the hat and tassel.

I chose a gel print clean up page I had in my stash to lay the image down and then embossed the Congratulations sentiment in black below the image.  I chose another background from my stash to mat it, and finished off with a teal card base.


Next up is a mini slimline card.  I stamped the hat from Way to Go, then masked it off and stamped the girl from A Little Snarky.  I colored with copics, then cut out with my Brother Scan 'n Cut. I love that the Way to Go Die Set cuts out most of the sentiments, making it easy to layer the sentiment and diploama below.  A little patterned paper and a few enamel dots and I was done.


The final card combines the Way to Go set with the Decorative Frames set.  I first stamped the frame in red ink, then cut with the coordinating die. Next I stamped the stars from Way to Go in either corner.  The we're so proud of you sentiment is die cut and popped up in the center. I added the diploma image in the corner.  A couple of red designer paper prints finish off the layout.

Thanks so much for stopping by today. I hope you have a fabulous start to your week!