Lavender & Honey - 4 Cards 1 Kit
Adventure Awaits
New Coffee Cup Girls
https://collabs.shop/zre5dh
Coffee Lovers Rejoice: New Release & 50% Off Flash Sale! ☕✨
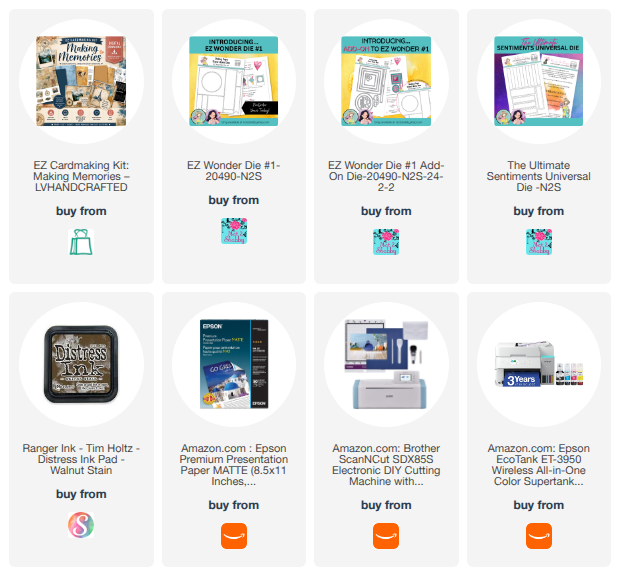
Hey all! There is a brand-new release over at LV Handcrafted today, and it is totally up my alley! As a coffee lover through and through, I am so excited to share the Coffee Cups EZ Cardmaking Kit Printable. It is absolutely darling and perfect for sending a "perky" hello to your friends.
✨ FLASH SALE: TODAY ONLY (MAY 5)
To celebrate the release, you can get ALL EZ Printables for 50% off! 🎟️ Use code: VERVEGIRL at checkout to snag your favorites at half price. Hurry—this offer is only valid today, May 5!
Card Details: A Perfect Blend
I couldn't wait to dive into the coffee cup print, so I used that as my main background panel, cut to 4" x 5.25".
The Focal Point:
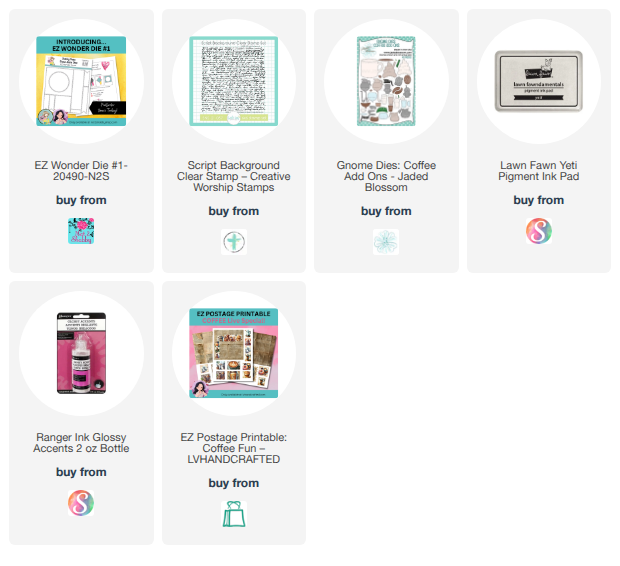
I used the EZ Wonder #1 Die on the EZ Guide page and again on some black cardstock.
To add a little interest to the black square, I stamped it with a script background stamp using white pigment ink.
I then layered the coffee cup circle right in the center for a clean, graphic look.
The Finishing Touches: I tucked a small sentiment into the corner and added a few cardstock coffee beans. To give them a realistic "roasted" shine and some fun texture, I coated them with glossy accents.
More Coffee Inspiration
If you love coffee as much as I do, you’ll definitely want to check out Linh’s other coffee-themed designs, like the EZ Postage Printable: Coffee. And keep your eyes peeled—there is another super fun coffee-themed EZ Postage Printable coming later this month!
Thanks so much for stopping by today! Grab your favorite mug, head over to the shop, and take advantage of that 50% off code while it lasts.
Bloom in Your Own Beautiful Way
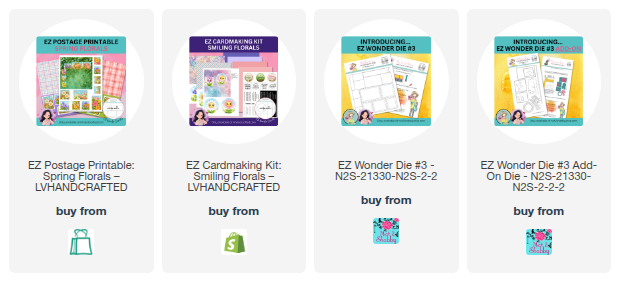
Hi friends! I’m popping in today to share a fresh project using the brand-new Spring Florals EZ Postage Printable. This gorgeous set is officially releasing today, and I have a little surprise to help you celebrate the launch!
✨ Flash Sale: 50% OFF TODAY ONLY!
You can grab this entire printable set for half price, but you’ll need to act fast!
🔗 My Shopping Link: https://www.lvhandcrafted.com/VERVEGIRL
🎟️ Use code: VERVEGIRL at checkout for 50% off—valid today, April 15, only!
While these are designed to coordinate with the EZ Wonder 3 (EZ3) die, you can absolutely use them without the dies if you prefer fussy cutting.
I hope this gives you some fun ideas for your new printables. Don't forget to use the code VERVEGIRL before the sale ends tonight!
Thanks for stopping by, and happy crafting!
Wander Often, Wonder Always
Hey, crafty friends! Spring has officially sprung in my neck of the woods. I’ve been soaking up the blossoms on the trees and was so excited to get back on the tennis courts—until I took a bit of a tumble. I sprained my ankle pretty badly on day two, so I’ve been "holed up" in my craft studio resting. The silver lining? Plenty of time to create!
I pulled out the gorgeous Chubees Cardmaking Kit for this one. I fell in love with the honeycomb paper and decided to use it for the entire postage grid. To bring it to life, I fussy-cut sunflowers and a bee from the EZ Guide page to accent the patterns.
Don’t you love it when a plan comes together? While digging through my stamps, I rediscovered an older Bee Grateful (retired) set from Not 2 Shabby. I had a hunch the bee image and sentiment lines would fit the Ultimate Sentiments die cuts—and it was a match made in heaven! The image also fit the longest panel on my postage grid perfectly, like it was meant to be.
The Finishing Touches
Dimension: I added another bee stamp to a honeycomb paper circle, colored it with Copics, and topped it with Glossy Accents and glitter.
Inking: Each panel is inked with Warm Honey for a soft, sunny glow.
Layout: Everything is mounted on a dark brown postage grid (cut with the EZ Wonder #3 Die) and finished with a bright yellow mat and enamel dots.
🏷️ Crafty Deal: Want to grab these printables? Use code VERVEGIRL at checkout for 10% OFF your EZ Printables!
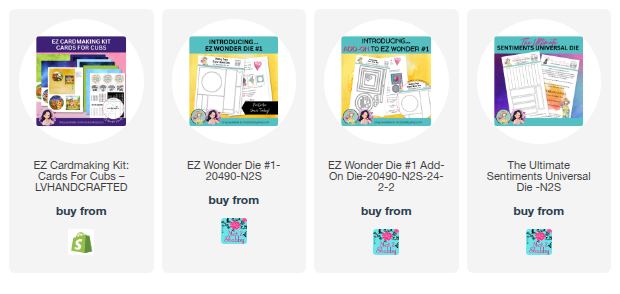
New EZ Cardmaking Kit: Cards for Cubs
https://collabs.shop/jbtcpd
Sweet Vintage Vibes for Valentine's Day
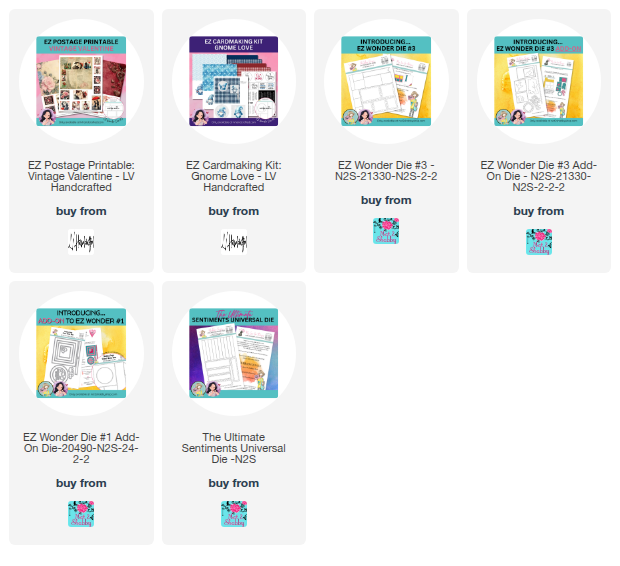
The Postage Grid: Cut using the EZ Wonder Die #3 from one of the pages in the collection.
The Layers: I matted the vintage couple and the heart and roses images on black EZ Wonder #3 Add-ons die cuts and added the fussy-cut heart and bottle as one of my vignettes.
The Sentiment: A little "crafty surgery" went into this! I snipped my sentiment from the Gnome Love Card Kit in half and created custom-width black banners by double-die-cutting them with the EZ Wonder #1 Add-ons.
The Glow-Up: A white gel pen for detail and Stardust Stickles for a hint of magic.
Does this collection tug at your heartstrings as much as mine? Let me know in the comments!
Gnome Love Card Kit! Download & Create 4 Adorable Valentine Cards
Hey crafty friends! How is your January treating you so far? The kids still have one more day of winter break, so I am definitely still in holiday mode over here. However, I had to pop in and share some exciting news from the LV Handcrafted shop!
Gnome Love Card Kit!
![]() |
| EZ1 Gnome Love Card Making Kit |
There is a brand new EZ Cardmaking Kit now available in the LV Handcrafted shop, and if these little gnomies pull at your heartstrings as much as they do mine, you are in luck.
If you're browsing the shop and find other printables you love, don't forget to use my code:
PROMO CODE: VERVEGIRL Enjoy 10% off printable EZ postage, EZ cardmaking kits, and sentiments!
✂️ One Session, Four Cards: The Gnome Love Card Kit
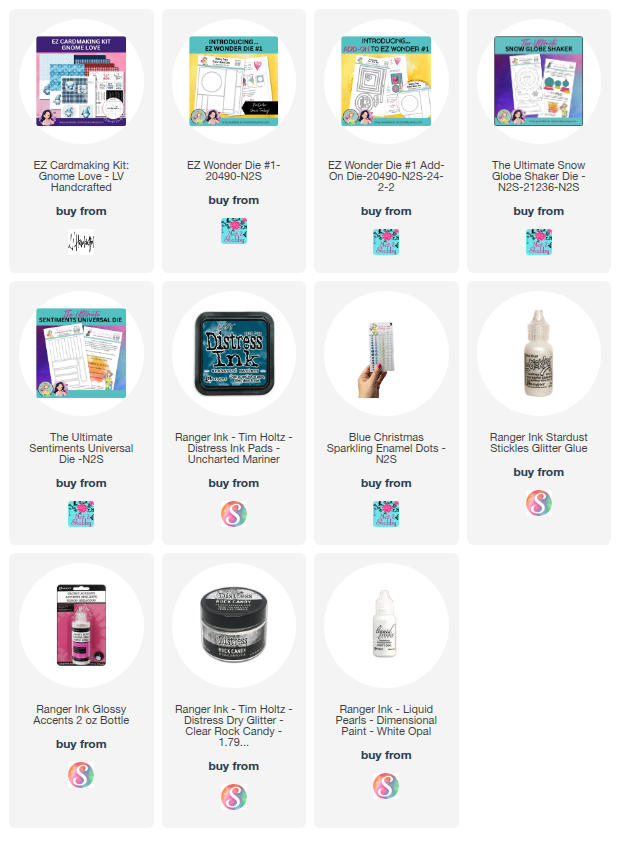
Using the sweet little Gnome Love Card Kit along with my EZ Wonder Die #1 and its add-ons, I was able to whip up four complete cards in just one crafty session!
This kit is designed for efficiency and cuteness. It includes:
An EZ guide laid out for perfect cutting with the EZ Wonder Die #1.
6 individual gnome images, plus 2 on the EZ Guide.
2 half sheets of patterned prints.
2 full sheets of patterned prints.
2 full sheets of solid colors.
1 sheet of sentiments (designed to work perfectly with the Ultimate Sentiments Die and other EZ add-ons).
💙 Card Spotlight: Blue Gnome Smiles
The Image: I cut the gnome image using the dies from the Ultimate Snowglobe Shaker Die.
The Sentiment: I used the Ultimate Sentiments Die for the cut and then inked it with Uncharted Mariner Distress Ink to make it pop.
The Details: I matted the sentiment with a frame from the same set and added die-cut hearts and two banner ends from the EZ Wonder Die #1.
The Sparkle: To finish, I added some rhinestone hearts and a tiny bit of Stickles to the gnome for that perfect touch of shimmer.
💌 Card 2: The Perfect Pair
For my second card, I focused on this sweet little gnome couple. I framed them using the EZ Wonder Die #1 and its add-ons to create a clean, layered look.
The Layout: I added a panel at the bottom featuring a coordinating heart print to ground the image.
The Sentiment: I used the kit's sentiment, cut and matted with the Ultimate Sentiments Die.
The Finish: You know I love my sparkle! I added just a hint of Stickles to give the couple a little extra magic.
🏁 Card 3: Plaid, Hearts, & Dimension
The third card makes great use of the pieces cut from the EZ Guide. That plaid print is definitely a favorite of mine!
Edging for Contrast: To create a clear distinction between the light blue heart print and the white card base, I inked the edges with Uncharted Mariner Distress Ink.
Handmade Details: I hand-cut a heart from one of the patterned prints and coated it with Glossy Accents and Rock Candy glitter for a thick, sugary shine.
Embellishments: I finished the look with more Stickles and a few Sparkle Enamel Dots for extra texture.
❤️ Card 4: Gnome One Compares
The final card used up the rest of my EZ Guide cuts—nothing goes to waste!
Background Interest: I ran some white cardstock through my die machine with a heart embossing folder to give the backdrop plenty of texture.
Angles & Shapes: I tilted the plaid square on an angle for a more dynamic feel, trimming off the excess. I then layered my fussy-cut gnome over a simple scalloped edge framed circle.
The Final Touches: I added banner ends to the corners and used the punny "Gnome one compares to you" sentiment. For the sparkle factor, I applied White Liquid Pearls to the scalloped circles and, of course, a bit more Stickles on the gnome.
Which of these four layouts is your favorite? I'd love to hear your thoughts in the comments!ome.
Ready to get your gnome on? Head over to the shop to grab your free kit before the clock strikes midnight!