The Autumn Greetings virtual retreat starts today at 11am Mountain on YouTube! I'm teaching a super fun hide and reveal card, plus three more of my teamies will be teaching today, too! Today's classes are FREE to watch and we'd love to have you come join us.
We're all teaching with the Autumn Greetings Retreat Kit. There's a handful of those left in the shop to purchase, but you can play along with any supplies you want. All of the projects are easily adaptable to different themes and supplies.
Day 2 classes are for paid ticket holders and retreat kit owners. You can still purchase a Class Only Ticket in the Not 2 Shabby shop to gain access to tomorrow's day of classes from Kristie Marcotte, Call Me Crafty Al, LV Handcrafted, and Jamie Peters, owner of Not 2 Shabby.
On today's card, I recreated the class project in a Christmas theme. Here's the view when you first open the card. I've added a place to write a message and a few little ephemera accents.
Then you open the reveal card and find a gift card holder! So much fun, and perfect for the holidays.
Thanks so much for stopping by! Hope to "see" you at the retreat!
Hi there friends! Today I'm over on the Not 2 Shabby Shop blog sharing a quick and easy gift card holder tutorial. Hop on over there for all the dimensions and instructions on how to make one yourself! While mine is valentine themed, this little project is perfect for any holiday.
Here's a peek at the inside. I left a space to jot a note, then tucked in a little gift card.
Thanks so much for stopping by! I hope you have a fantastic day!
Hey friends! It's the 10th of the month and time for our monthly Not 2 Shabby Inspiration Video hop over on YouTube. Today I'm making this adorable little treat box with a 6 x 6 piece of patterned paper and the August Paper Pad Club selections. You can watch it below on the blog or on my YouTube channel.
Hi friends! This week has been a whirlwind. Right before the school year starts, my twins made the big decision to move into separate bedrooms. That meant giving up a big chunk of my craft storage, half of my office for a study room, and spending the week completely reorganizing! So, for today's video, I'm sharing the process of making this box in real time, without a voice-over or much editing. I hope you still enjoy seeing the creative process unfold!
Want to know how I made this adorable box? It's SO easy with an Envelope Punch Board! It's not my original idea, but I remembered making one a while back and knew it would be perfect for these sweet Boho Critters papers and ephemera from the August Paper Pad Club!
Here's the gist:
Start with a 6x6 piece of paper.
Line up the left edge with the board's ruler and punch and score at 2" and 4".
Repeat for two more sides.
On the final side, just punch at 2" and 4" – no scoring! The triangle section without a score line is the top of your box.
Cut two small slits along the score lines on either side of the bottom triangle section to create tabs.
Burnish your score lines, assemble, and fill with treasures!
It's so quick and easy, I made two!
Thanks so much for stopping by today! I hope you have a fabulous day!
Hi friends! I'm popping in today with a super fun project I created during the Not 2 Shabby Cottage Rose Retreat. This sweet little notecard box was from Jamie's workshop. Retreat videos are still available for free. Here's the link for the Day 1 video (time stamps for each workshop are in the video description box).
I used the gorgeous May paper pad club papers and coordinating ephemera to create the bag and four mini note cards. Sentiments are from the Tea Lovin' Gnomes bundle. I accented with a bit of dimensional foam tape and some sparkling enamel dots.
Thanks so much for stopping by today! I hope you have a fabulously creative day!
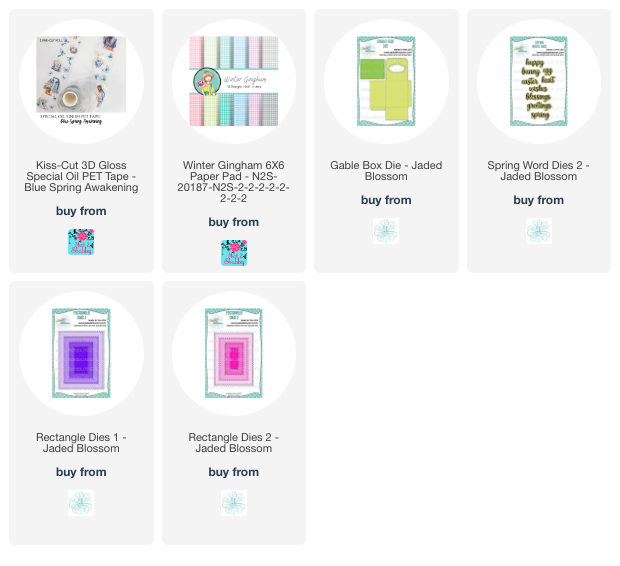
Hello crafty friends! Welcome to another week! Today I've got a sweet little Easter treat box to share with you. I know it's barely St. Patrick's Day, but in the crafty world we always seem to be working at least one holiday in the future. I just absolutely fell in love with this dreamy little bunny sticker from the Blue Spring Awakening PET tape and couldn't wait to create something to show him off.
The box is created with the gable box die from Jaded Blossom, cut from white cardstock. I paired it with paper from the Winter Gingham, popping in a bit of bashful blue and pacific blue cardstock stitched rectangle die cuts as mats as decoration for the sides.
I used the same blue ginham for the sentiment tag, using the Spring Words Die for the Easter and a sticker from Blue Spring Awakening for the blessings. I finished with some stickers around the edges for decoration, tucked in some treats and tied with a taffeta bow.
Hello friends! Today I'm excited to share a couple of Easter treat boxes I created using papers from Your Paper Insider. Their quarterly subscription boxes are packed with a variety of beautiful cardstock and specialty papers, perfect for all sorts of papercrafting projects. I used their papers to create these fun boxes with the Octagon Treat Box and Easter Treat Box Add On dies from Jaded Blossom.
I was very impressed with the quality of this cardstock. It die cut cleanly and effortlessly, and the smooth surface was ideal for blending inks. I added some depth and dimension to this adorable bunny with a bit of Copic marker shading on the bow and ears. White gel pen highlights and black gel pen dots for freckles provide the finishing touches.
I couldn't resist making another box! This time, it's a cute little chick with a fabulous bow! I used some fancy Tarasen paper layered over pink pearl paper for the bow. The beak is my favorite part - I blended orange inks on yellow cardstock and then added glitter glaze. It's so sparkly! These boxes were a breeze to assemble, and I had a blast making them!
If you're interested in these papers, I've linked the box that I received below. You can buy older boxes individually or you can subscribe for a little discount. Thanks so much for stopping by today! I hope you have a fabulous day!
Hi friends! I'm excited to share the tutorial for the masculine version of the pop-up gift card holder I showed you last week. It uses the same dimensions as the feminine version, but with a few changes to make it perfect for guys. I opted for a belly band over the simple ribbon closure. (For those who are curious about the closure, I wrapped the ribbon around the folded project and secured it on the back with adhesive, then covered it with a 3" wide scrap of patterned paper.) On today's version, I also swapped out the rounded corners for straight edges for a more masculine look.
Today's video is part of a giveaway hop for Not 2 Shabby on YouTube. I hope you enjoy the video! Don't forget to enter the giveaway for a chance to win. Click the link in the video description box for all the details. Here's the link to my video: https://youtu.be/kdXJRLEtFuo
I actually started making these pop-up holders years ago, and I can't remember where I first saw it, so I can't take credit for the original idea! If you're curious, I made a square greeting card version back in 2017, and you can check it out on my old blog post. People always seem to love receiving these pop-ups, so I decided to make a masculine version today for some birthdays I have coming up this week.
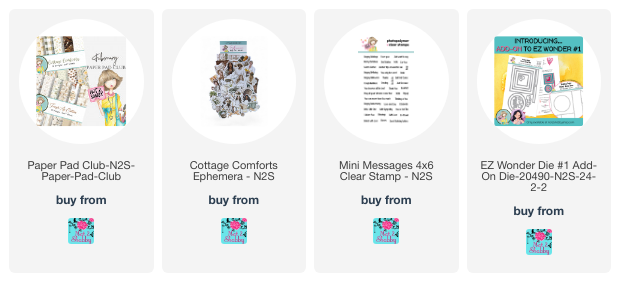
I chose some neutral pattern papers from the Cottage Comforts Paper Pad and always artichoke cardstock as my base. The measurements for this project are below.
Main Holder:
1 - 4.25" x 10" card stock panel, scored on long edge at 2", 5", 6", and 7" 2 - 4" x 2.75" panels of 1st pattern paper
2 - 4" x 1.75" panels of 2nd pattern paper
1 - 4" x 2.75" white cardstock panel for inside note
Belly Band:
1 - 1.25" x 9.5" panel of cardstock, scored on long edge at 2.5" and 7"
1 - 1" x 4" panel of patterned paper (optional mat for belly band)
The sentiment on the belly band is from the Mini Messages stamp set and cut with the EZ Wonder Add On #1 dies. The guy with the mug ephemera is part of the Cottage Comforts Ephemera pack and added on foam tape to pop up on the belly band.
The sentiment on the inside is from the Inside Birthday Greetings set from last month's Box of the Month. The ephemera on the pop up are cut aparts from one of the patterns in the Fresh as Cotton paper pad in this month's Paper Pad Club. I cut it out with my Brother Scan 'n Cut.
This was a super fun project and I hope you'll pop over and let me know how you like it over on YouTube. Have a wonderful start to the week!
Hi friends! It's been quite a week with everyone in my household under the weather. We're on the mend now, but there wasn't a lot of crafting happening with my boys home from school. But today I have a fun little birthday duo to share with you featuring the February Not 2 Shabby Paper Pad Club. The pop up gift card holder is a style I've used for years. Not my original idea, but I also can't remember where I saw it first. Look for a quick process video with a more masculine take on the holder next week.
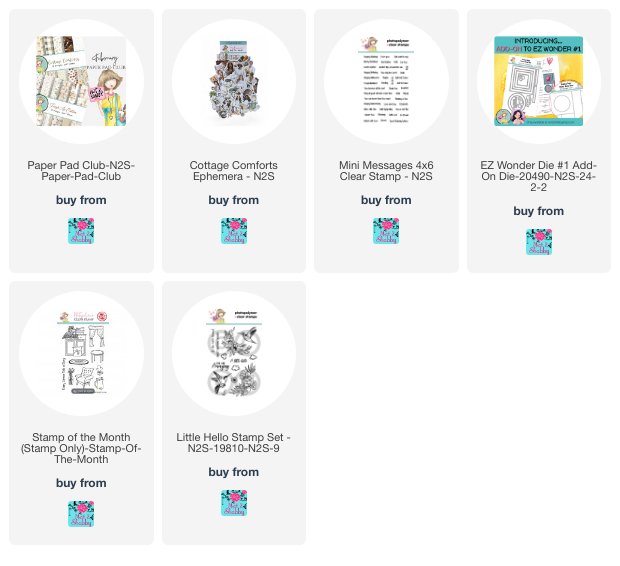
I absolutely love the patterns in the Fresh as Cotton paper pad, so that's where this project began. I paired it up with some tip top taupe cardstock, using a simple layout for the card so the Cottage Comforts ephemera piece could shine. I love to add textile embellishments like buttons and twine to farmhouse cards. The chicken wire embossing on the card base is one of my favorites and I popped the ephemera piece up on foam tape over a BoBunny mini lace doily.
For the gift card, I used the same Fresh as Cotton paper, but pulled in a second pattern. I went with a ribbon closure, adhering seam binding under the patterned paper and wrapping around the holder. Rounded corners give a pretty, feminine vibe.
On the inside I added the Cottage Comforts ephemera and a Starbucks gift card I thought would pair well with it. I like to have a little place for a note, so left one of the panels as white cardstock and stamped the vase from the February Stamp of the Month in the corner. The birthday banner is cut with the EZ Wonder Die #1 Add ons and the sentiment is from a previous stamp set.
Thanks so much for stopping by today! I hope you have a fantastic day.
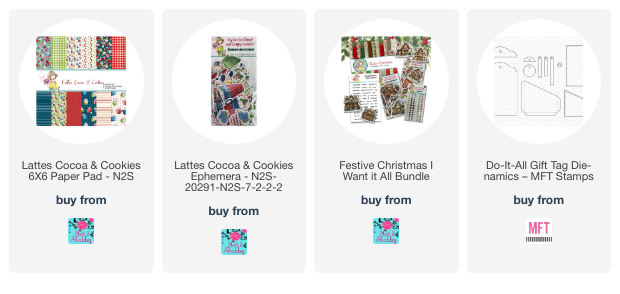
Hi friends! It's crunch time for the Christmas crafting, so today I have a few more little treat holders I finished over the weekend to share with you. I selected the Lattes Cooca and Cookies paper pack and ephemera and got started using Angie from Stamping with Amore's tutorial for these adorable little treat holders.
I picked out some coordinating colors of cardstock in midnight muse, gumball green, and cherry cobbler and got to work. I love these papers and ephemera and everything came together so easily. The sentiment is from the Mini Messages set in the Enjoy this Life Bundle. I stamped it onto a die cut, then embellished with some doodlebug enamel hearts.
A bit of string and some jingle bells finish things off. I added two Ghirardelli peppermint bark squares to the inside and am excited to give them out.
Hope you're having a wonderful start to your week. Thanks for stopping by.
Hi friends! Today I'm joining some crafty friends in their weekly This or That hop on Instagram. Each week we have two themes to choose from. This week's options were skiing or apres-skiing. Since I don't ski even a little bit I went for the stay warm in the lodge and drink hot cocoa by the fire answer to this week's challenge. So that would be me before, during, and aprés skiing! 😂If you've got time, head over to my Instagram page to hop.
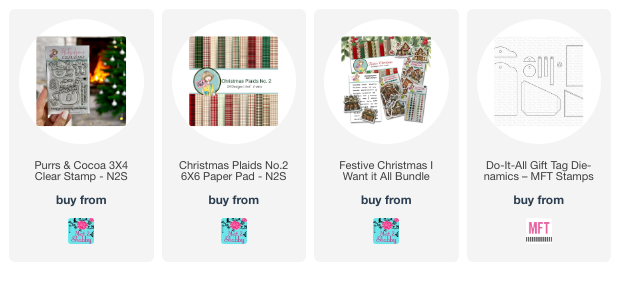
I started with the adorable little Purrs & Cocoa set from Not 2 Shabby. I hadn't had a chance to use it, and was super excited to stamp out the images and color them up with Copic markers in a color palette to match the Christmas Plaids No. 2 paper pack.
The box design is a simple one from Angie at Stampin with Amore. I love her little treat box tutorials! I followed her directions, then just decorated with the pattern papers and stamped images. I did make my patterned paper layer a touch smaller so I could add a thin white mat behind it for some contrast. The colored image was cut with my Brother Scan 'n Cut and I popped it up on foam tape for some dimension. Instead of patterned paper I decided to add the sentiment on the bottom flap. Doesn't it fit purr-fectly? 😊
For the inside, I added a die cut heart and stamped the to and from sentiments from the Frosty Friends stamp set, then filled with mini Twix bars.
I've been doing a little re-organization project and came across some Stampin' Up! mini envelopes for 3 x 3 cards, so decided to create a coordinating card, with another image from this darling Purrs & Cocoa set. The sentiment is from the Mini Messages set that was part of the Festive Christmas I want it All bundle. I stamped it onto a die cut shape, then layered everything together and added some pinstripe peel off stickers in gold to set off the horizontal panel.
Thanks so much for stopping by today! I hope you have a purr-fectly wonderful day!