Powered by Blogger.
Showing posts with label Blog Hops. Show all posts

May Jaded Blossom Release Blog Hop


If you're here from Cindy's blog you're in the right place, if you're just passing through start at the beginning because you don't want to miss a thing. I also have the complete line up at the bottom.

This release had me feeling all splashy and sassy, so I did lots of ink sprays, blending, and splatters in turquoises and greens. For the background, I stenciled over a smooshed background with the Mermaid Silhouette Stencil Freebie, then added more ink, sprays, and splatters.


The main die cut elements for the focal circle are from the Gnome Dies: Mermaid Add Ons set, cut from watercolor paper and painted with shimmerz paints. I used a bit of that dirt I used in yesterday's card to ground my plants, then popped them up on a vellum circle splattered with coordinating paints. I added this to a scallop circle with a stitched circle cut out of the center to make a frame.

The sentiment is from the Mermaid to Be Friends stamp set and cut with the coordinating outline dies. Thanks so much for stopping by today!


Next up on the hop is: Rosemary


Regular Price for the Release Package is $146.99


FREEBIE OFFER: Mermaid Silhouette Stencil
1) Free with orders $50 or more (before tax/shipping)
2) Order MUST contain at least 1 new release item
3) Freebie offer is Thursday and Friday Only, while supplies last

BLOG CANDY

One Lucky Winner will get to pick a stamp set of their choice!
Just leave a comment on all the blogs along the hop!
The more blogs you comment on the more chances you have to win!

Now on to the HOP....

Just in case something goes amiss, here is the entire line up:


Three New Card Sketches


Hi friends! It's the 10th of the month and time for the Not 2 Shabby monthly product hop and giveaway! Hooray! You can view my hop video below or on my YouTube channel.  In the video, I create three cards featuring three sketches I designed. I've included a link to a FREE PDF down below that includes the sketches, panel measurements, and cutting guides. When following the cutting guides, you'll have very little scrap left over when using two sheets of 6 x 6 patterned paper.


This first sketch was designed with a trio of rectangles for the focal and sentiment area. These can be any shape that fits within the 2D panel's measurements. I originally created it with hexagons on this tea & honey card I shared earlier this month. I think this sketch would be great with circles, too. Lots of options to play with!

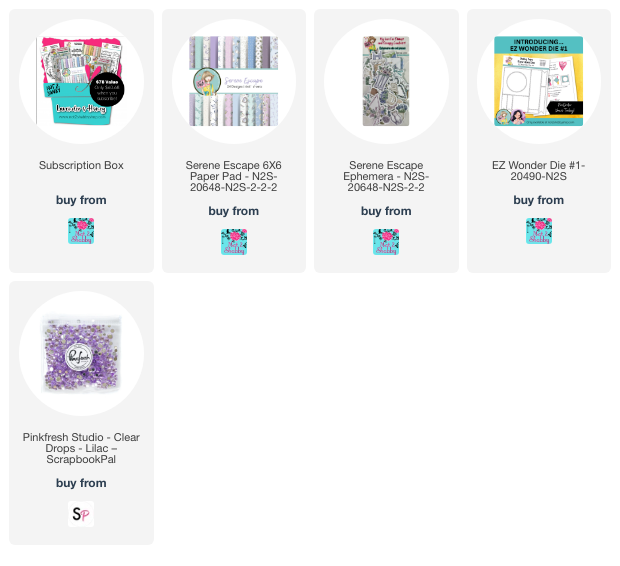
For my sketch 1 card, I replaced the focal point with ephemera pieces from the Serene Escape Ephemera.  I paired it with papers from the Serene Escape Paper Pad. Both the sentiment and the lavender stamping on the sentiment panel are from the Lavender Skies stamp set in the May Box of the Month. I added rounded corners to my rectangles to reflect a more feminine feel to the card. I also added some inking to the edges of the patterned paper panels as a way of adding contrast without adding the bulk of more paper.


For the second sketch, I replaced the focal point panel with a piece of ephemera on dimensional foam.  I matted the layers, adding some pinstripe Love from Lizi peel-offs to the seam between the back two panels. The sentiment is from Lavender Skies and embossed onto a die cut pennant from the EZ Wonder Die #1.


For the final card, I used a card base that was embossed with a chicken wire embossing folder for a bit more texture.  The focal circle was sponged with speckled egg ink and I added the girl ephemera.  To make the sentiment stand out on the patterned paper, I covered it with vellum and embossed the sentiment on the vellum.  I finished off with some sparkling enamel dots.


Download PDF of Card Sketches and Cutting Guides here: https://bit.ly/JTDSketches1-3

Please use #JtDSketches on social media if you share your creations.

Thanks so much for stopping by today! I hope you have a spectacular day.


Favorite Color Collab


Hey friends! I can't believe it's already May. The school year is winding down for my boys and that means there are ALL the activities to attend, projects to finish, and things to do. There hasn't been a lot of time for crafting, but I do have a little something to share with you today and tomorrow. Yay!

Today I'm participating in a crafty fun collab hop over on Instagram with a few of my crafty friends. The theme of the hop is to create with our favorite color.  If you've been around for a while. you can probably guess my favorite color is aqua. It's such a calm color and it goes well with so many others. One of my favorite color combos is aqua and soft purple. The Serene Escape paper pad from the Not 2 Shabby Box of the Month is the perfect aqua/purple combo, so that's what I chose to work with.


I love the Serene Escape Ephemera piece of the girl holding a bunch of lavender and knew I wanted to make it the star of the show.  I used a scalloped frame die to frame it, then gussied it up with some Stickles.

I layered a few scraps of papers from the pad together for the layout, accenting the cross pieces with some silver Love from Lizi peel-offs.  The sentiment is from the Lavender Skies stamp set in the May Box of the Month and I embossed it onto a pennant cut with the EZ Wonder Die #1.  A little more stickles and some lilac clear drops finish things off.

Thanks so much for stopping by today! I hope you have a fantastic day. If you have a minute, be sure to hop on over to my Instagram page to enjoy the hop.

Jaded Blossom April Release Hop


Hey Everyone!  Welcome to Jaded Blossom's April Stamp Release Blog Hop.  
If you're here from Cindy's blog you're in the right place, if you're just passing through you'll want start at the beginning so you don't miss a thing. 
 I also have the complete line up at the bottom, if a link goes astray along the way.

Here is what I made:

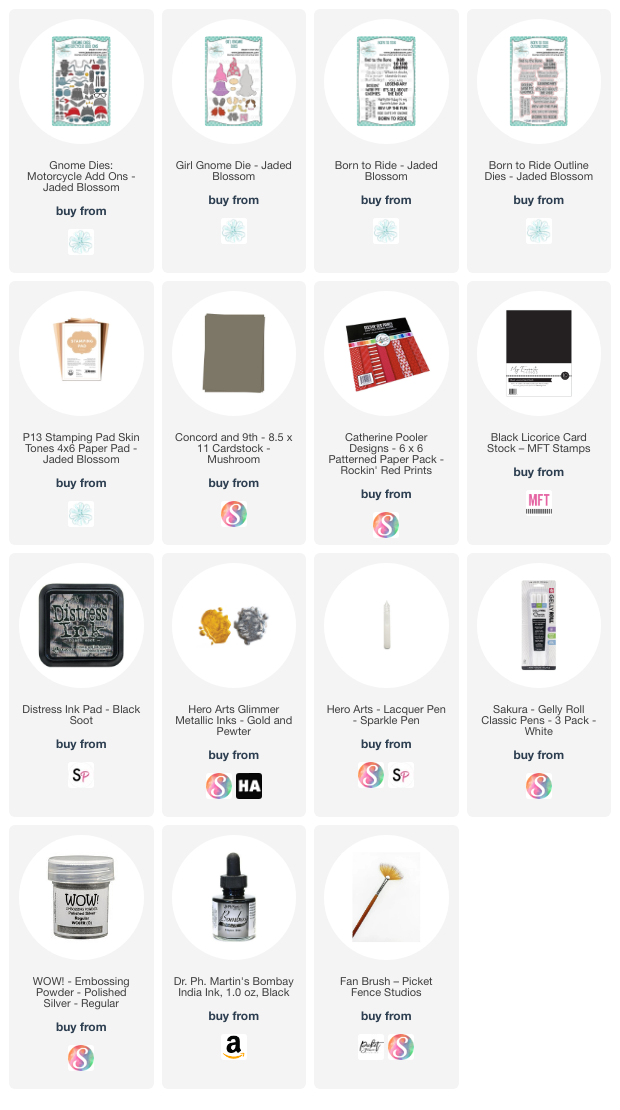
Are there any How I Met Your Mother fans out there? Every time I see this sentiment from the Born to Ride set I giggle and think legend.... wait for it..... ary! I embossed it in silver onto black cardstock and then cut with the coordinating Born To Ride Outline Dies.


I thought this sentiment would go well with a biker girl, so I pulled out the Girl Gnome Die and the new Gnome Dies: Motorcycle Add Ons and got to work.  I cut the bike from some shiny black and foil papers from Christmas and Halloween Recollections paper pads.  I cut her leather jacket from mushroom cardstock and inked with black soot distress ink. Her shirt and bandana are done with some red patterned paper, with a bit of Copic marker shading.

The background for my mini slimline card is an old scrap of paper from a Tim Holtz 12 x 12 pad from years gone by.  I splattered it with a healthy dose of silver glimmer metallic ink and black india ink, then layered everything together to finish it off.

That's all from me. Thanks so much for stopping by! I hope you've enjoyed the peeks this past week. Be sure to leave a little love in the comments as you hop about for a chance to win the hop giveaway!

Your next stop on the hop is Rosemary


Regular Price for the Release Package is $161.99

FREEBIE OFFER: Fixing Everything Tag
1) Free with orders $50 or more (before tax/shipping)
2) Order MUST contain at least 1 new release item
3) Freebie offer is Thursday and Friday Only, while supplies last


BLOG CANDY

1 Lucky Winner will get to pick a stamp set of their choice!
Just leave a comment on all the blogs along the hop!
The more blogs you comment on the more chances you have to win!

Now on to the HOP....

Just in case you get lost here is the entire hop list:


April Not 2 Shabby Video Hop


Hi friends! It's time for the April YouTube video hop for the Not 2 Shabby Shop! Today I'll be sharing cards made with the  April Stamp and Die of the Month, April Paper Pad Club, plus the Never Say No to Coffee Ephemera Pack. Hop along on YouTube and enter the giveaway to win a $25 gift certificate to the Not 2 Shabby Shop.

I made three cards for today's hop, and have uploaded a video of me making this first card.  All three cards are done in a similar fashion using either stamped images or ephemera. You can watch the video below or on my YouTube channel.


The background technique is super easy and great for using up scraps. I used new papers, but cut them down into 6" x 3" sections to work with for the card. Start by laying down one scrap at an angle, gluing to the card base and cutting off the excess. Continue your way around the card base leaving a small border in between each paper until you've filled the entire card.  For this card, I stamped several of the images from the Cup of Thanks Stamp of the Month, colored with Copic markers and then cut with the coordinating dies. I also embossed the bean images and the sentiment in white on brown cardstock  and then die cut.

I grabbed a Verve pennant die from my stash, cut from red cardstock, then glued everything together for a quick and oh so easy card.


For this second card, I pulled some pieces from the Never Say No To Coffee ephemera, and an embossed sentiment from the stamp of the month. For this one, I gave a bit of an accent between each panel by laying down some Love from Lizi pinstripe stickers in the grooves.


For the final card, I used the same papers and more ephemera pieces and accented with a bit of those Love from Lizi peel offs across my pennant element.

Thanks so much for stopping by today! I hope you have a fabulous day!


Jaded Blossom Off Road Mini Release


Happy Thursday! It's time for our new mini Off Road release over at Jaded Blossom! 


We have six new items available! Check them out HERE

Here is what I made using the new items.. 

For my project  I cut the Car Dies: Off Road Vehicle pieces from Sno Cone, brown, black, and yellow cardstocks.  For the sno cone pieces, and the gnome hat I sprayed some speckled egg distress spray on my mat and then smooshed the cardstock into it for a little spotty look. I did the same for my gnome hat, also incorporating a little mud with some walnut stain distress spray, then sponging with a little scorched timber, speckled egg and antique linen distress inks. The route 66 for the license plate is from the previously released Gnome Crossing set.


The background was created from a ghost print spraying the leftover ink on your stencil with water and then pressing your cardstock into it.) of the new Tire Tracks Stencil.  I then spritzed the whole panel with water and smooshed into some antique linen and walnut stain inks I had on my mat. I then added some antique linen and walnut stain ponging around the panel and cut with the Card Mat Dies.

The sentiment is from The Road Less Traveled, stamped in brown and embossed with clear embossing powder. I then cut with the coordinating die and snipped between the two words to make it fit in the space I had left over.

Thanks so much for stopping by today! Be sure to head to the shop to see all the goodies and specials.

**please note the bundle does not include any of the MDF Gnomes**
 

We also release two new sets of MDFs! These are the Boy Gnome and Girl Gnomes with stands so you can stand them up. 


**please note these MDFs are not included in the release package**

Make sure to check out all the design team projects by clicking on their names below.

March 2024 Jaded Blossom Release Blog Hop


Hey Everyone! Welcome to Jaded Blossom's March Stamp Release Blog Hop.
If you're here from Nicole's blog you're in the right place, if you're just passing through start at the beginning because you don't want to miss a thing. I also have the complete line up at the bottom.

As I mentioned earlier this week, my twins are celebrating their 12th birthday this weekend with a bowling party with some of their school friends. I made the tennis card from day 1 for one son, and today's card is for the other one. I love how flexible the Add On sets are. You can always create cards from them with or without the gnomes, which I think is just incredi-bowl! Haha!

I started by cutting out a few of the bowling pins and their coordinating stripes from the Gnome Dies: Sport Add Ons 1 and then glued them together.  Next I cut the bowling ball pieces, sponging with some green inks, then coated with a layer of glossy glaze and sprinkled glitter.  My favorite ball at our alley is lime green and sparkly, so I just had to add that detail to the card.

The sentiment is from the Root for the Gnome Team set and I embossed it in dress blues ink and then cut with the coordinating Root for the Home Team Outline Dies.  I then cut two more sentiment die cuts from navy cardstock and offset them just a touch on the top and bottom of the embossed sentiment piece for a slight border.  The patterned papers are from an old Echo Park paper collection. I just love those fun stars.


Regular Price for the Release Package is $155.99

FREEBIE OFFER: Go Team Stencil
1) Free with orders $50 or more (before tax/shipping)
2) Order MUST contain at least 1 new release item
3) Freebie offer is Wednesday and Thursday Only, while supplies last

BLOG CANDY

1 Lucky Winner will get to pick a stamp set of their choice!
Just leave a comment on all the blogs along the hop!
The more blogs you comment on the more chances you have to win!

Now on to the HOP.... 

Your next stop is Cindy

Just in case you get lost here is the entire line up:


Jaded Blossom February 2024 Release Blog Hop


Hey Everyone!  Welcome to
Jaded Blossom's February Stamp Release Blog Hop.  
If you're here from Cynthia you're in the right place, if you're just passing through start at the beginning because you don't want to miss a thing.  I also have the complete line up at the bottom.


Today I have two projects to share. The first card features the new Gnome Friends: Bunny Die and the MDF Gnome: Bunny.  *I cut the pieces from colored cardstock an sponged around the edges with distress ink.  I have him holding a carrot from the Wheelbarrow Dies: Easter Add Ons and wearing some glasses from the Glasses Die set. I tied a twine bow on the bunny's loop, then attached to my car with repositionable glue dots so it can be removed easily.  The sentiment is from the Some Bunny Tag freebie. I curved it to match the shape of the Mini Tags 2 Die I chose.


My second project is a little treat bag topper using the XL Topper Die. I chose pink crdstock and some Doodlebug paper for the topper.  Then I stamped the Some Bunny Tag freebie and the separate bunny image. The tag is cut with the Treat Tag Die and I cut the bunny with my Scan 'n Cut, colored with copics and then popped up on dimensionals.  The 5x5 inch treat bags were perfect to hold a bunch of Starburst jelly beans (my favorite) to finish off this little treat.

Thanks so much for stopping by today! Have fun hopping!

Next on the hop is... Cynthia


Regular Price for the Release Package is $147.99

FREEBIE OFFER: Some Bunny Tag
1) Free with orders $50 or more (before tax/shipping)
2) Order MUST contain at least 1 new release item
3) Freebie offer is Thursday and Friday Only, while supplies last

BLOG CANDY

1 Lucky Winner will get to pick a stamp set of their choice!
Just leave a comment on all the blogs along the hop!
The more blogs you comment on the more chances you have to win!

Now on to the HOP....

Just in case you get lost here is the Entire Line Up: