Powered by Blogger.
Showing posts with label Faith. Show all posts

Watercolor Strength with Creative Worship


Hi friends! Today I'm popping in with a fun card I made with a watercolor background and emboss resist technique. I hadn't played with watercolors in a while, and Korin at Creative Worship stamps inspired me to get them out and play.

I started with a wash with teal watercolors. adding more color in the bottom left half of the card and up the sides. Once this was dry, I stenciled over the same bottom corner with the Rectangle Tile stencil and some mardi gras colored ink.  Next I pulled out the Going Postal set and added a bit of texture with the script stamp in black and the splatter stamp in mardi gras. After this, I splattered the panel with white paint spray.


Once everything was dry, I embossed the floral stamp from My Savior's Love in white, then added a little more highlighting with the watercolor ink to make the flowers stand out a bit more.  The verse is from The Lord is Near, embossed in black.

Once my panel was done, I roughly cut around my watercolor wash panel, then roughed up the edges before layering onto a white rectangle.  This panel was then popped up on foam for some dimension and adhered to a white card base.

Thanks so much for stopping by today! I hope you have a wonderful day!


Quick Christmas Card with EZ Wonder Dies


Hi friends! Today I'm popping in to share a quick little card featuring the new Rejoice paper collection and stamp set, as well as the EZ Wonder Dies from Not 2 Shabby.

I cut my EZ Wonder pieces from a sheet of Rejoice paper and a sheet of gold foil cardstock.  I wanted the square die cut to fit tilted inside of the circle cut out, so I grabbed the EZ Wonder #1 Add On and used the largest circle die centered over the opening in the paper to cut a thin circle frame. I set the frame aside for another card and then got to work on the card.


The true story sentiment is from the Rejoice stamp set and is embossed in gold onto a 2" square of white cardstock.  I added the two gold banners staggered underneath the sentiment, then popped the panel and banners up on dimensional foam tape.  

The branch image and the angel are cut aparts from one of the pages in the Rejoice paper pack. I fussy cut them with scissors and then added them to either side of my card. The focal panel and images are glued to a white panel embossed with a snowflake embossing folder and then added to a top folding A2 card base.

If you'd like to watch me make this card I have a very short video you can watch on my YouTube channel.


Thanks so much for stopping by today! I hope you have a fabulous day!


Christmas Joy and a Video


Hi friends! Happy Saturday! Hope your weekend is off to a great start. I'm popping in today to share a card and video I made with some new goodies from Not 2 Shabby. I always love to make faith-based cards for Christmas and as soon as I saw peeks of the new Rejoice stamp set and paper pad I had to have them!


These two products along with a few other fun holiday goodies are part of the Better than Black Friday release. And you guessed it... it coincides with a sale, but you need to hurry since it's only through November 17!  I'll add the coupon code details at the bottom of this post.

Lately I've been putting some more planning into my crafting time, and I'm hoping to start creating more videos in the coming year. So today I'm testing out a real-time video. I am not the fastest crafter in the universe, so it's a relaxed pace "craft with me" style of video. Let me know what type of videos you prefer - relaxed pace or heavily edited and sped up. You can view the video below or on my YouTube channel.


The technique I use in the video is a masked off watercolor background. I used some liquid watercolors and some Lindy's magicals (I believe those specific colors are now retired), but you can use any kind of water based medium or ink for this effect. I love the way a vivid watercolor background looks with a stark white embossed image or stamp, so this set was perfect for that.


I also used the EZ Wonder Die #1 and the EZ Wonder Add On #1 to create my card, dressing things up with some fun dry embossing folders from my stash. Jamie just opened up pre-orders for another round of the EZ Wonder dies, so if you've been waiting, it's a great time to claim one.

Thanks so much for stopping by today! I hope you have a fabulous rest of the weekend. As promised here are those coupon codes.

Not 2 Shabby Shop Black Friday SALE Info:
 • 10% OFF with Code: BETTER10 
• No minimum, but if you spend $60 (after discounts) receive the Free “Purrs & Cocoa” Stamp Set

• 15% OFF with Code: BETTER15 Spend $75 (after discounts) 
Unlock 15% OFF + Free US Shipping + Free "Purrs & Cocoa" Stamp Set

• 20% OFF with Code: BETTER20
Spend $150 or more (after discounts) Unlock 20% OFF + Free US Shipping + Free “Purrs & Cocoa” 
Stamp Set

Ready to treat yourself? Just grab a coupon code, fill your cart, and let the savings begin. 🎨
Sale Ends 11/17 - Shop Early for the Best Selection!

Rejoice and Be Glad


Hi friends! I'm popping in today with a card featuring my new In the Psalms set. This set sold out it's first run, and is almost sold out of the pre-order for the second run. So if you've had your eye on it, I'd advise snatching it up real soon.

I went a little bit shabby on this card, dressing up a background I created with the Foliage Silhouettes set and some ink splatters. the verse from in the Psalms is stamped onto a die cut from Decorative Frames Dies. I used the same foliage stamps around the edges, then traced around the edges with a white paint pen.  I dressed things up with some adhesive diamond runners, vintage lace, seam binding, some paper flowers and a button from my stash.


Thanks so much for stopping by today! I hope you have a wonderful start to your week.  My boys and hubby are off school and work this week, so we've got some fun family time in store. Blessings!
15 Years of SNSS


Hi friends! Today I'm super excited to be participating in the Sweet 'n Sassy Stamps 15th Birthday Hop over on Instagram. Korin and I started our businesses within a few months of each other, and it's hard to imagine that it's been 15 years already! SNSS is sending out a big thank you to everyone with the chance to win $100 of stamps from their current line by commenting on today's Birthday Hop posts on Instagram. Head over to the Sweet 'n Sassy Stamps Instagram page to start the hop. 

I have three cards to share featuring my new In the Psalms set today. It was supposed to be a set of 4, but sadly the aqua one had a mishap with a cup of coffee prior to the photo shoot and was not salvageable! Mark and I joke that I should start a YouTube channel called The Clutzy Stamper, because I'm always having some sort of catastrophe when I'm stamping! Haha!


All of my backgrounds were done with watercolor paints from Altenew. I embossed the sentiment over the watercolor in white and then splattered on some bleed proof white ink.  This pink card also features a flower image from my Forever Loved stamp set and coordinating dies, colored with Kuretake Zig real brush markers.


This next card was watercolored, then stamped with the Script Background stamp set. Next I embossed the verse in white embossing powder and hand tore around the edges.  I added this to a dry embossed background, then accented with a section of the Wildflowers 2 Die. I watercolored it, then accented with some Copic markers.


For the final card, I also embossed an image from Botanical Branches next to the verse, then watercolored the leaves with more pigment to make them really stand out.

Thanks so much for stopping by today! The first run of the In the Psalms set sold out quickly, but there are more on the way very soon.  You can pre-order now so you're sure to get one once they're back in stock.

My New Stamp Set - In the Psalms

Hi friends! Sweet ‘n Sassy Stamps is celebrating 15 years in business this month. Hooray! And I’ve got a brand new J Tilman Designs set that just released there. It’s called In the Psalms. I have a ton of cards made, but unfortunately I’ve been sick in bed the past few days, so haven’t been able to photograph most of them. I do have one card to share that I got photographed before I fell sick.


This one started with a gel print I made with my Diamond Tile Stencil. I cut it down to size and then blended black soot distress ink around the edges. I then embossed the scripture verse in black in the center.  For a little interest at the bottom I stamped one of the Scene Silhouettes: Tall Grass stamps along the bottom and embossed with Uncharted Mariner embossing glaze.


For the back panel I coated one side of a 3D embossing folder with twisted citron ink, then ran it through my die cut machine upside down to deboss it. I then blended around the edges with Uncharted Mariner. I finished with black mats and layered everything together on an A2 size card base.


New releases are 10% off through November 9, so it’s the perfect time to snatch up this In the Psalms set. Also this month all stencils are buy 2 get 1 free. My Peppermint Stripe and  Diamond Tile Stencils are in stock as of the writing of this post.

Comforting Cards


Hi friends! It's time for our monthly Instagram hop at Sweet 'n Sassy Stamps. Head on over to my Instagram feed for a chance to win a gift code to the Sweet 'n Sassy Stamps shop! Today I'm sharing a couple of cards using my Forever Loved stamp set and coordinating dies.

First up is a clean and simple card. I created the background with the She's a Gem watercolor palette from Rachel Beth Designs, smooshing and splattering to my heart's content. I embossed the Matthew 5:4 verse from Forever Loved in black over the background.

Next I colored up the flower and a few leaves with Zig markers, then cut with the coordinating dies. I layered it all together, and then popped up the whole background on a foam sheet and adhered to a regular A2 card. A few white gel pen accents and some stickles for the flower center and this card was done.


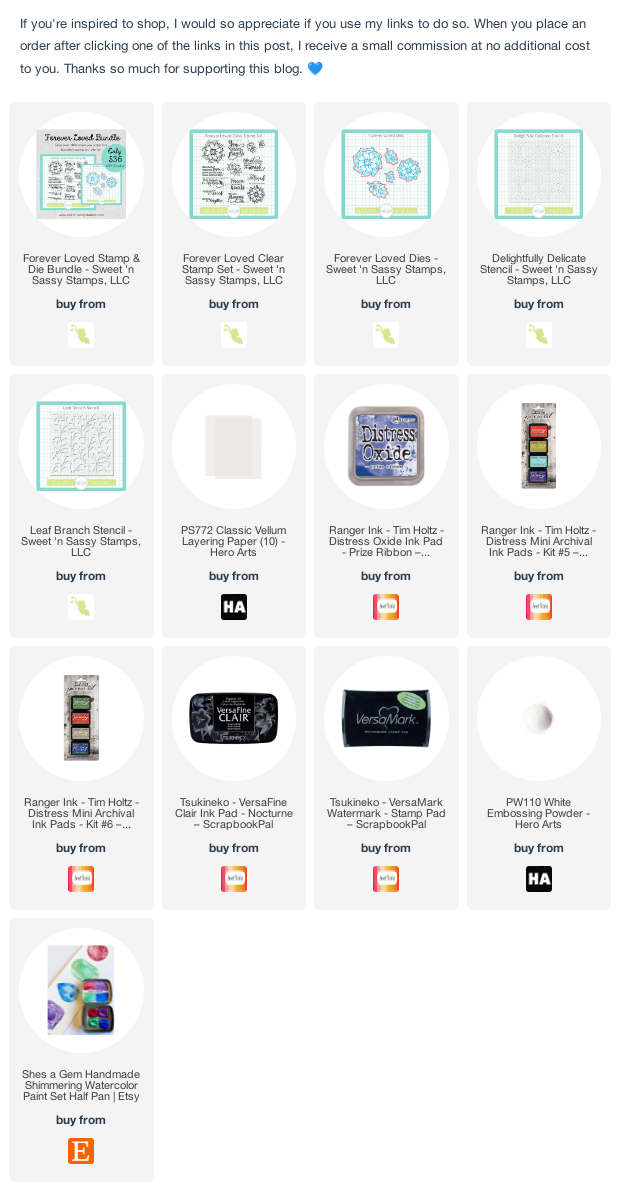
My second card is a little more involved, this time embossing the leaves and flowers with white embossing powder on vellum cardstock.  I then blended archival inks onto the back of the vellum die cuts, until I was happy with the saturation.  I set those aside and started work on the background, picking up some smooshed prize ribbon distress ink.  I had a lot more ink on my desk than I wanted so I dipped the Delightfully Delicate Stencil in the ink and then laid it onto my background to get a bit of a pattern going.  I then added some light stenciling with the Leaf Branch Stencil around where I wanted to place my flowers.
Next I used a circle die to cut out a circle on one side of the background.  I embossed the thoughts and prayers sentiment in black, then laid this down on a panel of cardstock and popped the rest of the background up with foam tape for some dimension. I then layered all the vellum die cuts and adhered to the cardstock, then cut off any extra bits before adding to my card base.

Thanks so much for stopping by today! I hope you have a super creative day!


Mixing and Matching


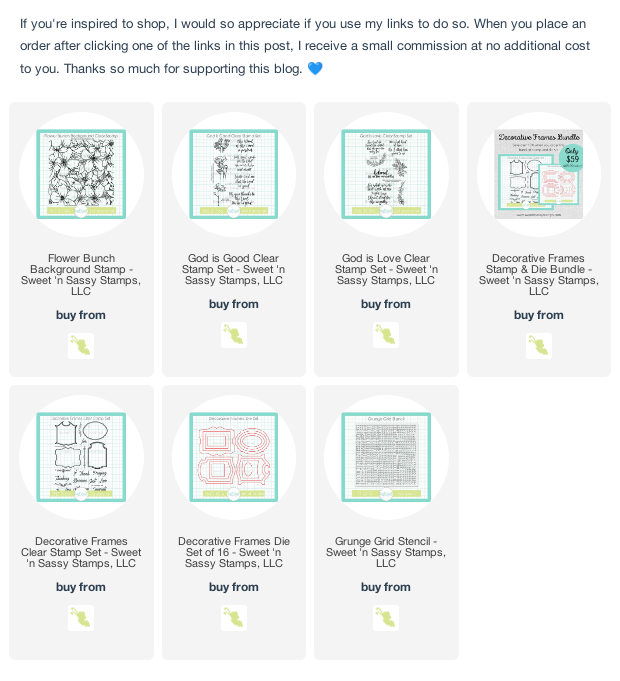
Hi sweet friends! I'm popping in today to share a fun card with you. This one's a mish mash of several different Sweet 'n Sassy Stamps sets. I love to mix & match, and SNSS stamps all work so beautifully together.  For this card I started with the gorgeous Flower Bunch Background. I stamped it in black, then colored really loosely with alcohol markers. I cut off just one section of my colored panel to use, then fussy cut one of the flowers from the other section of the background to add to my collage of elements around the sentiment panel.

The sentiment and stemmed floral are from the fabulous God is Good set and the branch is from the new God is Love set, both illustrated by Deeds. Isn't she just knocking it out of the park with her new sets?  I cut these images with a 0.4" border with a  Scan 'n Cut machine. The sentiment is framed using a stamp from the Decorative Frames stamp set, and then cut with the coordinating dies

I really love the contrasting look of pairing stripes with floral images. Something about those straight lines next to all the curvy floral goodness make me happy! So I pulled out the new Grunge Grid Stencil.  and lightly blended with pink and soft aqua dye inks for a fun lavendar-ish blend. I finished by layering everything onto an A2 size card base and adding a bit of sparkle with a Wink of Stella glitter pen.

So, how about you? Do you love to mix up your stamp sets, or do you usually stamp with just a single set? I'd love to know in the comments.

Thanks so much for stopping by today!

-Julee

Vintage Doily Love


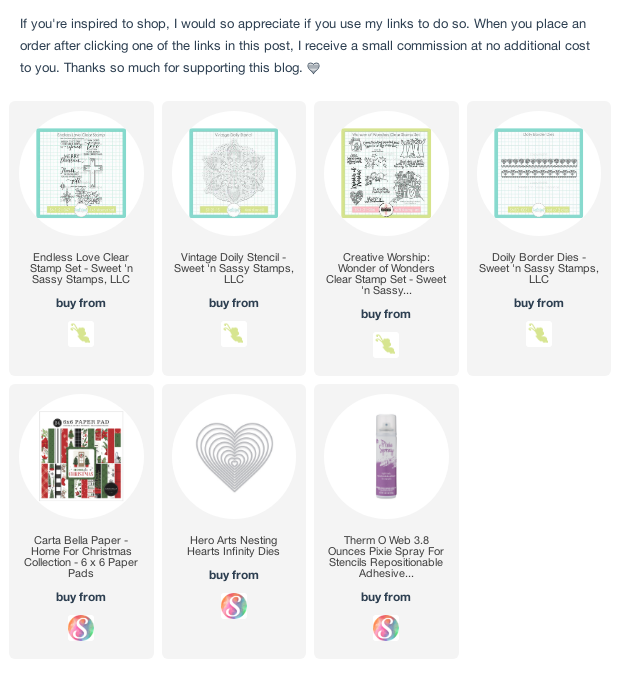
Hi friends! I'm popping in today to share a couple of cards I created recently with the new Vintage Doily Stencil and my Endless Love set. This stencil is absolutely dreamy!


For my first card I stamped the cross and poinsettia (doing a little masking) from Endless Love on white cardstock and then colored with Copics. I then masked off the main parts of the cross and poinsettia (not worrying about the smaller branches) and inked over with antique linen and the doily stencil. I loved the warm glow of it so much that I decided to use the same ink and stencil for my card base layer. I finished off with some foam tape under the cross image and the Merry Christmas sentiment centered below.

My second card uses the same poinsettia stamp and cross image from Endless Love, but this time I stamped the poinsettia multiple times and then colored and cut different portions of the flower to get some variations in size. I colored and cut the cross image, then layered one of the smaller poinsettias in the center. The sentiment is from the new Wonder of Wonders set and I stenciled the background with antique linen and the Vintage Doily Stencil.  A few strips of patterned paper and one of the Doily Border Dies finishes things off.


Thanks so much for stopping by today! If you haven't already checked out all the fun new holiday products at Sweet 'n Sassy, be sure to hop on over there.

Winter Blues Pinecone Edition


Hi friends! Today I'm popping in with a couple of cards I made with the September Sweet 'n Sassy Stamps release. I must be in my blue period as an artist, because I just can't stop reaching for blues as I create my holiday cards this year.

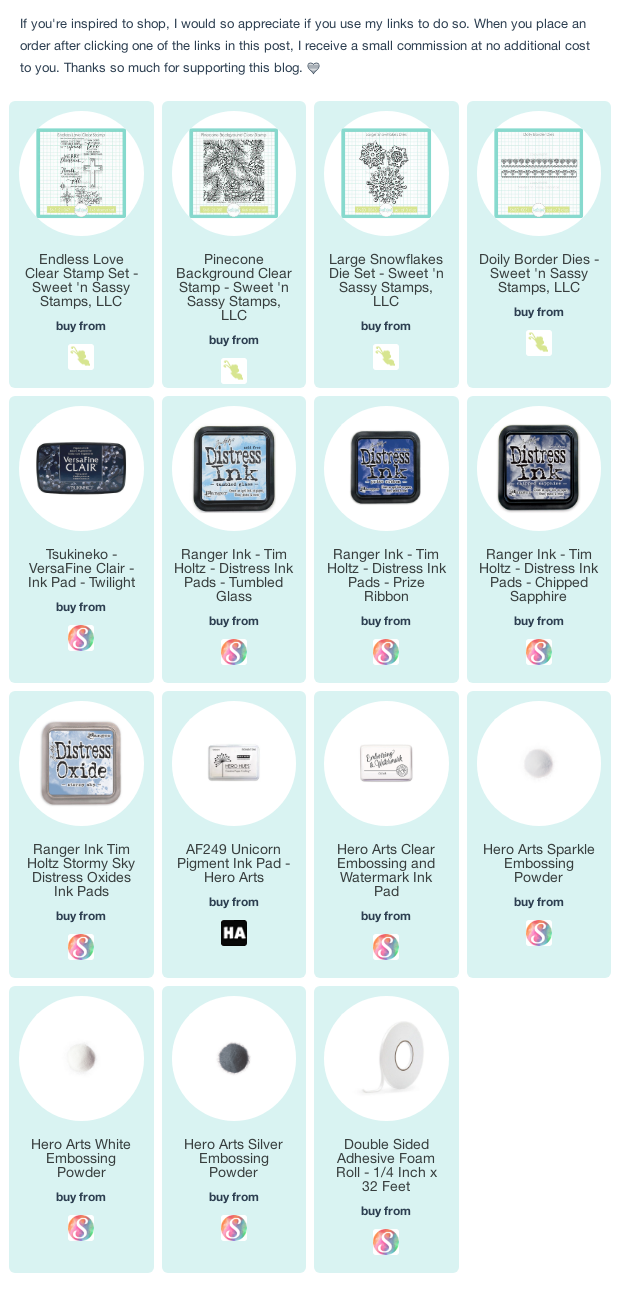
I recently watched a video from Mindy Eggen and couldn't get the technique out of my head. So I started off this card with white cardstock and tumbled glass, prize ribbon and chipped sapphire distress inks.  I blended with just a spotlight of the lighter color in the center, blending outward for a vignette look.  After that was dry I stamped the Pinecone Background over the card in white pigment ink.  I just love the soft, frosty look it gives.


Next I embossed the cross from Endless Love in silver on vellum cardstock.  I planned to just overlay the vellum over the background, but it didn't stand out as much as I wanted, so I inked a scrap of cardstock with tumbled glass ink, then adhered the vellum to it and cut out.  I popped the cross up on thin dimensional tape to make it pop, then finished off with the Merry Christmas sentiment embossed in silver under the cross.  A bit of shiny silver cardstock and a white card base and another Christmas card is in the books.


For my next card, I wanted to showcase some of the dies in this release.  For the background I had intended just a blue on blue stamped background, but when I decided the first blue was too light, and went to re-stamp the Pinecone Background with a darker blue, my mat shifted in my MISTI and I got a shadowy effect.  I liked how it looked, so decided to re-align and stamp with white pigment for a fun frosty background effect.


The snowflake is actually two different snowflake dies from the Large Snowflakes Die Set.  I die cut  each snowflake design three times and layered for dimension and stability, then coated both snowflakes with embossing ink and embossed with a clear sparkle embossing powder.  I then layered the smaller snowflake on top of the larger one with thin dimensional tape and finished off with some blue rhinestones for accent.  The decorative border strip is one of the dies from the Doily Borders Dies and I finished off the card with a sentiment strip embossed with a sentiment from the Christmas Wordfetti set.

Thanks so much for stopping by today! I hope you have a fantastic day!

Endless Love


Hi friends! I'm super excited to announce the release of my second stamp set with Sweet 'n Sassy Stamps... Endless Love. This set is a faith inspired Christmas set celebrating the reason for the season. I hope you love stamping with it as much as I have!


First up is a mini slimline card using two of the images and the title sentiment from the set. I colored the images with Copic markers and gel pens, then hand trimmed and added to a panel of patterned paper. The sentiment is cut with a circle die and matted with the same pattern paper. Foam sheets and a white panel add some dimension to the finished card.


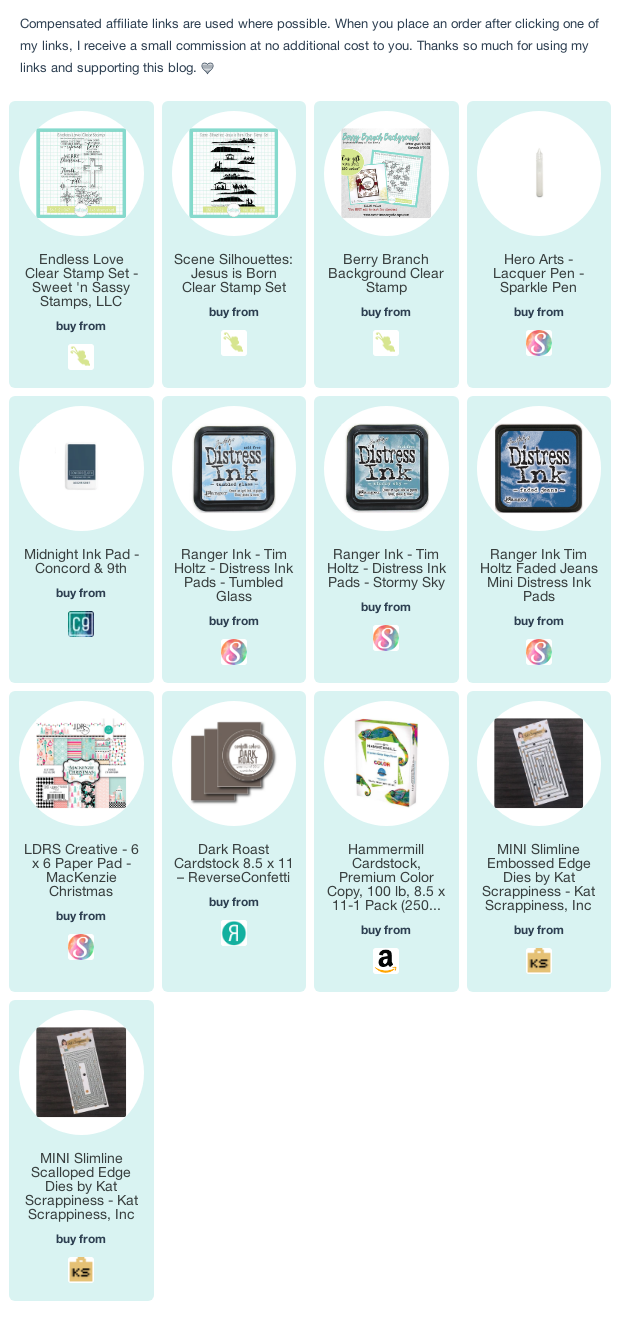
For my next card, I paired the star and sentiment from Endless Love with a previously released SNSS set, Scene Silhouettes: Jesus is Born. I stamped the shepherds on the hill in midnight ink, then masked off the lower section of white on a cardstock panel.  I ink blended with tumbled glass, stormy sky, and faded denim until I achieved the night sky I was looking for.  Next I placed the stamp and sentiment together, fussy cutting the teeny star to pop up on a foam dot.  I then matted my panels with silver cardstock and adhered to a white card base. Super simple, yet very striking.


My next card uses the flower spray and sentiment from Endless Love, paired with a background created with the Berry Branch Background. This 4 x 4 background stamp is the September Stamp of the Month. It's available to purchase individually, or you can get it as a free gift with a $60 order this month. Y'all know I'm a fan of blues and aquas, so that's the color combo I went for on this mini slimline card. The branches and flower images are colored with Copic markers and I blended some stormy sky around the edges of the background panel to tie it all together.


I couldn't leave out the Merry Christmas sentiment from my original makes, so I created one more card pairing Endless Love with the Berry Branch Background. This time I went with more traditional colors and added a bit of bow and a couple of jingle bells for accent.


Thanks so much for stopping by today! I hope you've been inspired by my makes. May you have an incredibly blessed weekend!