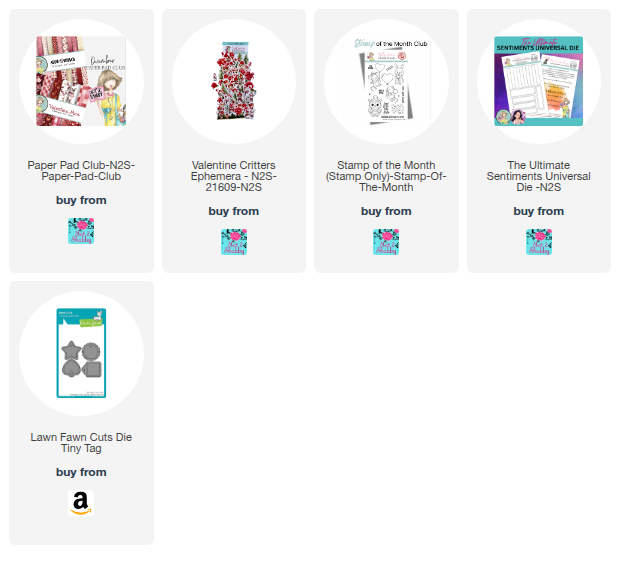
Hello friends! Get ready for some major cuteness because these little Valentine mice are the Not 2 Shabby December Stamp of the Month.
I made these little charmers the star of the show with a subtle blended background of Salvaged Patina and Peacock Feathers oxide inks then accented with white splatter. I stamped the mice onto the background, and then colored a second set (stamped on Bristol paper) using Karin markers and a waterbrush. I added a few highlights with watercolor pencils for extra detail.
To finish, I fussy cut the mice and their hearts, then popped up their heads using dimensional foam for a sweet paper tole effect! Thanks so much for stopping by today! I hope you have a fantastic day!
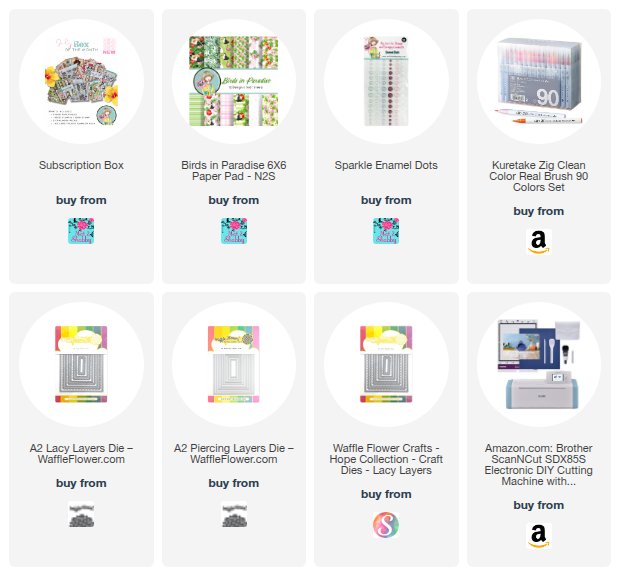
Hi friends! Have you had a chance to check out the fabulous new July goodies from Not 2 Shabby? This month's box theme is tropical and I'm just loving all of these gorgeous products. For today, I have a quick little card I created with the Birds of Paradise paper pad and one of the stamp sets in the July Box of the Month. If you like to watch the process, I do have a quick video for you below or on my YouTube channel.
I absolutely love this beautiful hibiscus image, so stamped it out in Versafine ink and then colored with Zig Clean Color Real Brush markers and a waterbrush. I cut it with my Scan 'n Cut and while I was at it cut a black mat with a .08" border to add some contrast. I did the same with the sentiment, using a pencil to connect any letters that weren't connected.
Once things were cut out, I laid down my stamp over the stamped image to use as a mask, then splattered ink from the markers I used to color for a splashy background. I tied in the black with a black mat around the Birds in Paradise print, then added to a skinny stripe patterned paper from the same pad. Sparkly enamel dots add the perfect finishing touch.
Thanks so much for stopping by today! I hope you have a wonderful day!
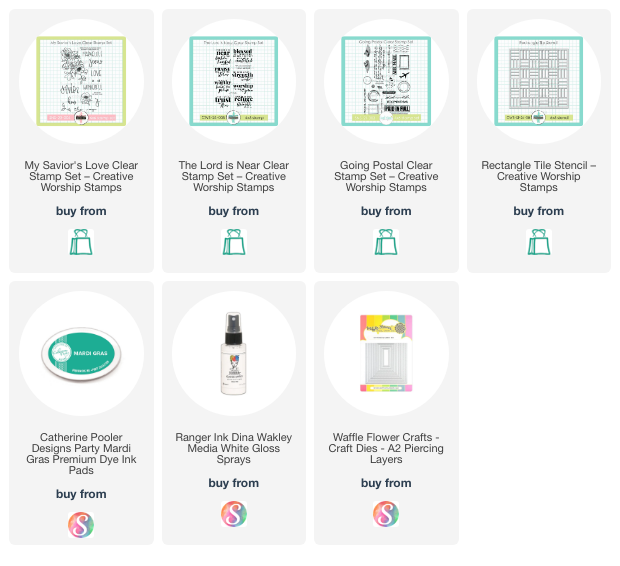
Hi friends! Today I'm popping in with a fun card I made with a watercolor background and emboss resist technique. I hadn't played with watercolors in a while, and Korin at Creative Worship stamps inspired me to get them out and play.
I started with a wash with teal watercolors. adding more color in the bottom left half of the card and up the sides. Once this was dry, I stenciled over the same bottom corner with the Rectangle Tile stencil and some mardi gras colored ink. Next I pulled out the Going Postal set and added a bit of texture with the script stamp in black and the splatter stamp in mardi gras. After this, I splattered the panel with white paint spray.
Once everything was dry, I embossed the floral stamp from My Savior's Love in white, then added a little more highlighting with the watercolor ink to make the flowers stand out a bit more. The verse is from The Lord is Near, embossed in black.
Once my panel was done, I roughly cut around my watercolor wash panel, then roughed up the edges before layering onto a white rectangle. This panel was then popped up on foam for some dimension and adhered to a white card base.
Thanks so much for stopping by today! I hope you have a wonderful day!
Hello friends! I hope you had a wonderful Christmas. We had good food and good times with family and now my craft room is overflowing with many new goodies! I can’t wait to try them all. It’s sure to be a fun filled crafty new year.
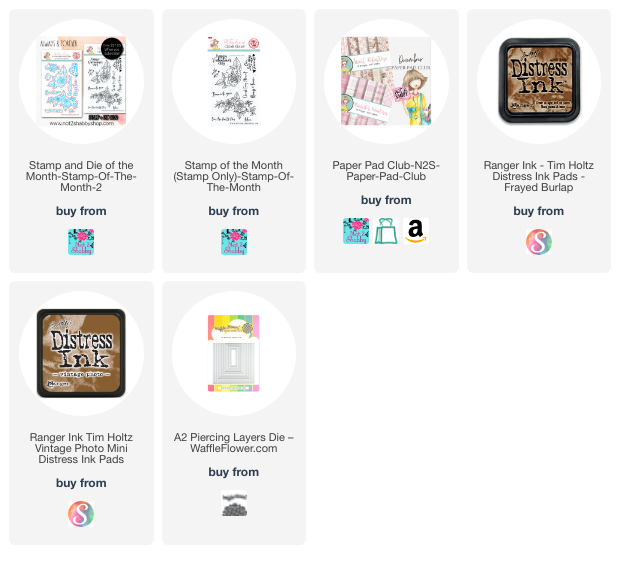
Today I’m sharing a card I made with the December Stamp of the Month from Not 2 Shabby. These rose images made me want to watercolor so I pulled out my Gansai Tambi palette and got to work.
I started out with a panel of Distress Watercolor paper and I stamped the rose images randomly around the panel with Versafine Clair black ink. Once that was dry, I went in with a wash of a light brown in all the white space around the flowers. I then watercolored the flowers, then stamped the Adore sentiment in the open spaces for some texture.
I had originally planned to cut the background in strips and use them on separate cards, but after I cut them I changed my mind. So I inked around all the wedges and then realigned two of the strips together to form the background.
Next I pulled out more Distress watercolor paper and stamped the focal flower and sentiment. These were both cut with coordinating dies and then watercolored in the same manner with a brown wash in all the white spaces. I added a panel of Sweet Valentine paper that I sponged with distress inks as a backdrop, then finished with some Kraft matting. My final accents were lots of splatter and a few flat back pearls from my stash.
Thanks so much for stopping by today! I hope you are inspired to go get crafty.
Hi friends! Happy Saturday! Hope your weekend is off to a great start. I'm popping in today to share a card and video I made with some new goodies from Not 2 Shabby. I always love to make faith-based cards for Christmas and as soon as I saw peeks of the new Rejoice stamp set and paper pad I had to have them!
These two products along with a few other fun holiday goodies are part of the Better than Black Friday release. And you guessed it... it coincides with a sale, but you need to hurry since it's only through November 17! I'll add the coupon code details at the bottom of this post.
Lately I've been putting some more planning into my crafting time, and I'm hoping to start creating more videos in the coming year. So today I'm testing out a real-time video. I am not the fastest crafter in the universe, so it's a relaxed pace "craft with me" style of video. Let me know what type of videos you prefer - relaxed pace or heavily edited and sped up. You can view the video below or on my YouTube channel.
The technique I use in the video is a masked off watercolor background. I used some liquid watercolors and some Lindy's magicals (I believe those specific colors are now retired), but you can use any kind of water based medium or ink for this effect. I love the way a vivid watercolor background looks with a stark white embossed image or stamp, so this set was perfect for that.
I also used the EZ Wonder Die #1 and the EZ Wonder Add On #1 to create my card, dressing things up with some fun dry embossing folders from my stash. Jamie just opened up pre-orders for another round of the EZ Wonder dies, so if you've been waiting, it's a great time to claim one.
Thanks so much for stopping by today! I hope you have a fabulous rest of the weekend. As promised here are those coupon codes.
Not 2 Shabby Shop Black Friday SALE Info:
• 10% OFF with Code: BETTER10
• No minimum, but if you spend $60 (after discounts) receive the Free “Purrs & Cocoa” Stamp Set
• 15% OFF with Code: BETTER15 Spend $75 (after discounts)
Unlock 15% OFF + Free US Shipping + Free "Purrs & Cocoa" Stamp Set
• 20% OFF with Code: BETTER20 Spend $150 or more (after discounts) Unlock 20% OFF + Free US Shipping + Free “Purrs & Cocoa”
Stamp Set
Ready to treat yourself? Just grab a coupon code, fill your cart, and let the savings begin. 🎨 Sale Ends 11/17 - Shop Early for the Best Selection!
Hi friends! Today I'm super excited to be participating in the Sweet 'n Sassy Stamps 15th Birthday Hop over on Instagram. Korin and I started our businesses within a few months of each other, and it's hard to imagine that it's been 15 years already! SNSS is sending out a big thank you to everyone with the chance to win $100 of stamps from their current line by commenting on today's Birthday Hop posts on Instagram. Head over to the Sweet 'n Sassy Stamps Instagram page to start the hop.
I have three cards to share featuring my new In the Psalms set today. It was supposed to be a set of 4, but sadly the aqua one had a mishap with a cup of coffee prior to the photo shoot and was not salvageable! Mark and I joke that I should start a YouTube channel called The Clutzy Stamper, because I'm always having some sort of catastrophe when I'm stamping! Haha!
All of my backgrounds were done with watercolor paints from Altenew. I embossed the sentiment over the watercolor in white and then splattered on some bleed proof white ink. This pink card also features a flower image from my Forever Loved stamp set and coordinating dies, colored with Kuretake Zig real brush markers.
This next card was watercolored, then stamped with the Script Background stamp set. Next I embossed the verse in white embossing powder and hand tore around the edges. I added this to a dry embossed background, then accented with a section of the Wildflowers 2 Die. I watercolored it, then accented with some Copic markers.
For the final card, I also embossed an image from Botanical Branches next to the verse, then watercolored the leaves with more pigment to make them really stand out.
Thanks so much for stopping by today! The first run of the In the Psalms set sold out quickly, but there are more on the way very soon. You can pre-order now so you're sure to get one once they're back in stock.
Hi friends! How has the summer been treating you? It’s hard to believe my not so little anymore boys are starting 5th grade tomorrow! I felt a little sad to see there are no longer crayons on their school supply list. My babies are growing up!😭 But today we get to drop off their supplies and meet their new teacher and the whole family is super excited. Anyhow, on with the card details...
Today’s card started with a smooshing session with some Catherine Pooler inks. I did lots of layers, drying in between each color until I was happy with it. Next I trimmed it down with the Card Mat Dies and set it aside while I did some coloring.
The corn image is from the Aww Shucks set that was a freebie with the last Jaded Blossom release. There’s a new release coming this week! I stamped it in Versafine Clair ink and then watercolored with Catherine Pooler inks. I then fussy cut and added a few white gel pen accents. The sentiment is from the Happy Fall Gnomie set and stamped directly onto the smooshed background. I finished off with a bit of string and a button for embellishment.
Thanks so much for stopping by today. I hope your day is a-maize-ing!
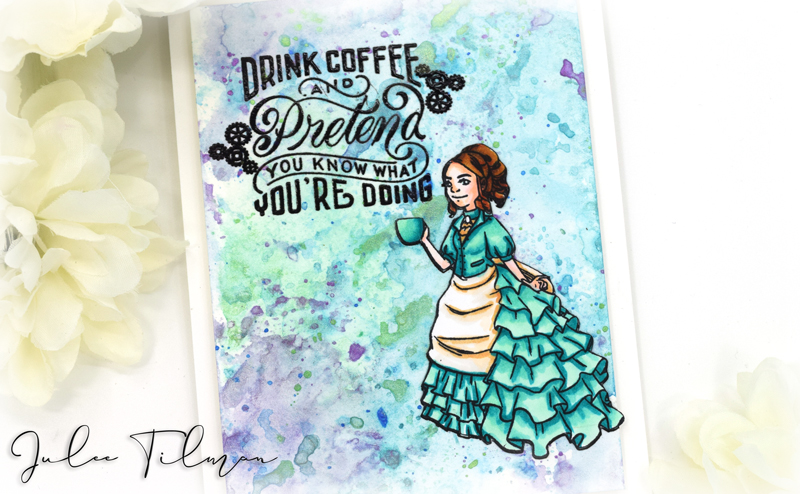
Hey all! I'm back again today with a coffee loving creation. This year I've had to cut back on creating, work, and computer time do to some neck and shoulder issues. So I keep jokingly saying that this is my plan for 2022... drink coffee and pretend to know what I'm doing. Haha! But seriously, a little slower pace and time to enjoy my coffee is definitely doing my soul some good.
This Sweet Sentiment stamp set has been sitting on my "to use" pile for at least 6 months, so I finally picked it up to have a play the other day. Now that I look on the website, I believe the physical set is retired, but you can still purchase it as a digital stamp set. I colored the main image up with copic markers and then tried my first cut with my Scan 'n Cut. I had intended to cut with a border, but missed that option in my eagerness to cut. LOL. But it did a great cut and I only needed to clean up a few little areas. I'm definitely loving my new Scan 'n Cut and don't know why I was so hesitant to try it out!
Anyhow, Sweet Sentiment is a local to me stamp company, and so I decided to create my background with another local company's handmade watercolors. Designs by Rachel Beth makes some beautiful watercolors, and I picked these up over the holidays. It's the She's a Gem palette, and they have such a gorgeous shimmer to them. I just wanted to play, so used the blue, green, and purple colors in the palette to do a smooshed background. When I was happy with it, I embossed the sentiment in black and stamped the girl image below it and pieced my colored and cut image on top with just a bit of her dress trailing off the side.
This was a super fun card to make and reminded me that I need to play more with watercolors.
Thanks so much for stopping by! I hope you have a fabulous day!
Hi friends! Today is the monthly Sweet 'n Sassy Stamps hop over on Instagram, so be sure to hop on over there for more inspiration from the team and a chance to win a $25 gift code to the shop! Winner will be drawn from comments across the hop and announced on the SNSS Instagram page on June 16. Here's a direct link to my hop post on Instagram... https://www.instagram.com/p/CP5uoeprfRx/
On the hop today, I'm sharing a couple of cards with the gorgeous new Botanical Branches set. For the first one, I pulled out a watercolor palette to color up the main image as an olive branch. I trimmed by hand with a slight white border, then added a bit of twine to the stem.
I created a mini slim background using the Fern Fronds Stencil in a few different distress inks, then then over stamping randomly with the Psalm 23 Background stamp. I went with black accents for the mats, and a white embossed sentiment for contrast. The finished size is 3.5 x 6"
For the second card I stamped the same image a few times on kraft cardstock then colored with prismacolor pencils. I rarely use colored pencils, but I love the way they pop on kraft cardstock! This was a super fun and pretty simple image to color with just a few pinks, greens, and a white pencil. I added some texture to the background with distress ink and the Script Stencil The sentiment from Truth Quotes 1 is embossed onto vellum to finish things off, since I couldn't bear to cover up the coloring!
Compensated affiliate links are used where possible. When you place an order after clicking one of my links, I receive a small commission at no additional cost to you. Thanks so much for using my links and supporting this blog. 💙
Hi friends! Today I'm popping in to share a shabby little card with the July Sweet 'n Sassy release.
I started by coloring this beautiful flower image from the Flower Garden set with Zig clean color real brush markers. I then blended speckled egg distress ink around the edges and set aside.
I chose a background paper from the Sky collection from 49 and market (I'm totally smitten with this paper), then added a bit more interest to it with the Texture Tiles 3 set and speckled egg ink. The paper pad has some fun little image pages that you can fussy cut, so I cut the little chevron element from that, then matted my image panel with crumb cake cardstock that I tore on one edge and also added some interest with the Texture Tiles 3 set and also a bit of dry brushed gesso. This panel is wrapped with twine and I accented with a paper flower and button.
The little butterfly was stamped, colored, and fussy cut, then added as a little accent to the top right corner. I finished with a sentiment from Encouraging Thoughts.
Thanks so much for stopping by! I hope you've been inspired.
Compensated affiliate links are used where possible. When you place an order after clicking one of my links, I receive a small commission at no additional cost to you. Thanks so much for using my links and supporting this blog. 💙
Hi friends! I'm popping in today with a card I made with one of the add-ons from the July My Monthly Hero release. When I saw theJuly Word Fancy Die, I just couldn't wait to use it. It's my birth month, and we also host our family for the 4th of July every year, so July is kind of a big deal around here.
The background is done smooshing some of the leftover liquid watercolor inks from a card I made for theJuly My Monthly Hero Release Blog Hop. If you haven't checked out the hop, you really should! There's a $50 gift card to Hero Arts up for grabs! Anyhow, I brushed the leftovers onto a piece of plastic packaging and then smooshed onto watercolor paper. I loved how it turned out, so decided to turn it into a slimline card.
The July word die is cut from white cardstock three times and then adhered together with liquid glue. I then coated it with embossing & watermark ink and embossed with sparkle embossing powder. I wanted a bit of a shadow around it, so used the negative of the die cut as a stencil to paint the darkest color of ink, trying to be a bit heavy handed so it would bleed just a hint outside. Then I adhered my embossed die cut over the top and outlined with a black pen to make it pop.
The sweet little girl is from the previously released Wish I May Stamp & Cut. I stamped her on the end of the card, then stamped the "dandelion" a little ways from her hand and connected with a black pen to make it look more like a sparkler. A thin black mat around the panel and a slimline cardbase and I was done.
Thanks so much for stopping by today! I hope your day sparkles!
Compensated affiliate links are used where possible. When you place an order after clicking one of my links, I receive a small commission at no additional cost to you. Thanks so much for using my links and supporting this blog. 💙
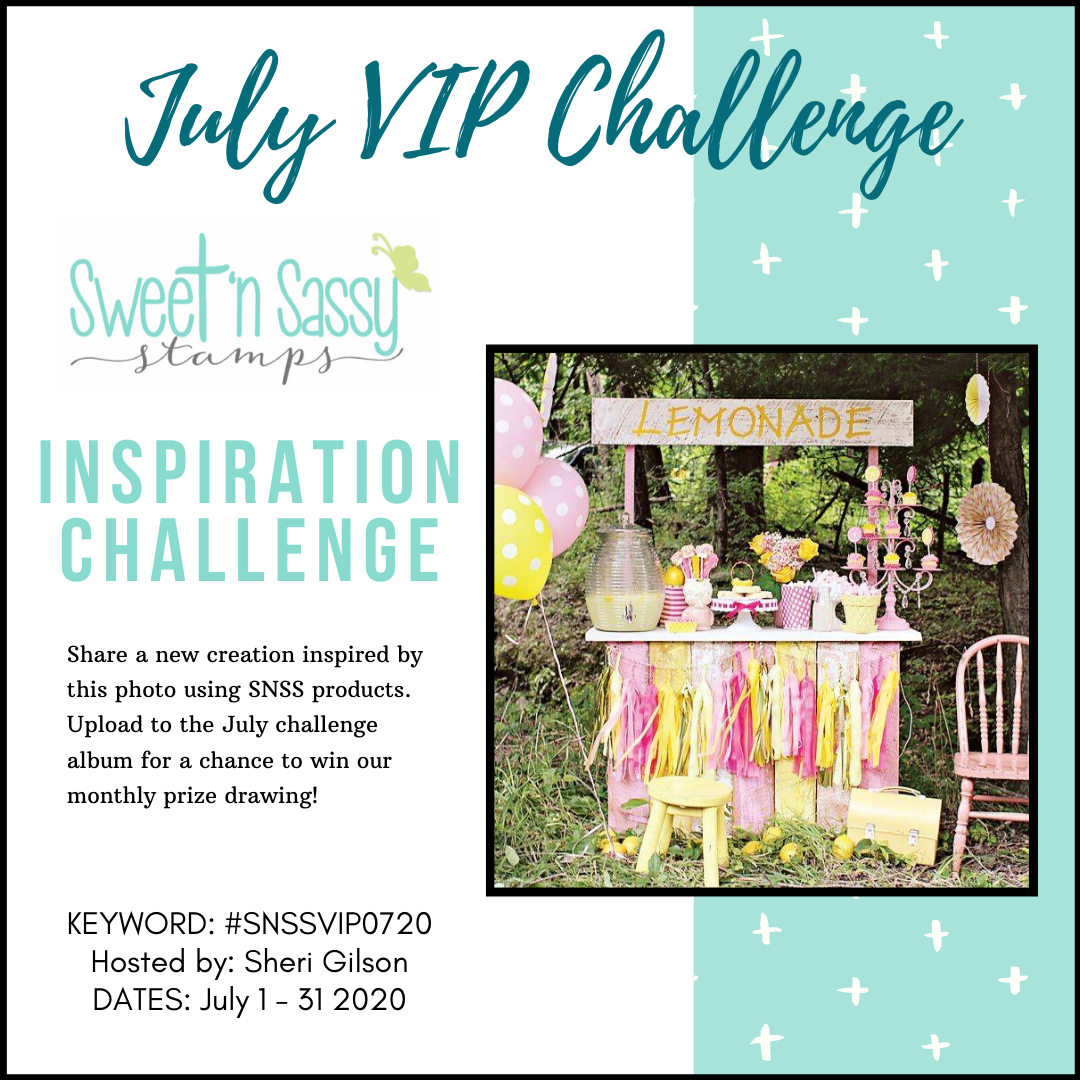
Hi friends! Today I'm popping in to share a card featuring one of the fabulous new sets from the July Sweet 'n Sassy Stamps release.
As soon as I saw the peeks of the Bee Sweet set, I fell in love with that little honeycomb pattern. I couldn't wait to color it up, and this month's inspiration challenge in the SNSS VIP Facebook Group was the perfect starting point.
I stamped the honeycomb and bee image on smooth bristol paper with Versafine Clair ink, then colored with Kuretake Clean Color Real Brush markers and a waterbrush. I added a little crystal clear lacquer to the wings and sprinkled with glitter for some shimmer. I then hand trimmed around the images and set them aside while I worked on the background.
I used the same color of markers to color a segment of my gel plate, then spritzed with water and pulled a print. I then spritzed the gel plate with water again, brayered, and smooshed the outer edges of the card onto the plate repeatedly until I had as much color as I wanted. Once everything was dry, I embossed with a honeycomb embossing folder, then lightly sanded the raised edges so that the honeycomb print would stand out more.
The sentiment is embossed in white on black, then I layered it all together. A thin black mat and some distressed edges finish things off.
Thanks so much for stopping by today! If you haven't checked out the new release over at Sweet 'n Sassy Stamps, you're going to want to go take a peek. I am totally smitten with this month's stamps!
Compensated affiliate links are used where possible. When you place an order after clicking one of my links, I receive a small commission at no additional cost to you. Thanks so much for using my links and supporting this blog. 💙
Hi friends! It's time for your friendly reminder about the TCP Tuesday challenge. The April challenge is "Share Hope" and you have through the end of the month to play along for a seriously cool prize!
To play along, upload your design to the Inlinkz link up on The Cat’s Pajamas blog
The Cat’s Pajamas products are NOT required, but we do LOVE to see them!
Winner is announced the first Tuesday of the following month and will receive a $50 gift voucher to The Cat's Pajamas store.
Last week I cleared out the last remnants of the Verve office (aside from my desk) to make room for two little boys to do their school work. Our little one room school house is working pretty well. In the process of moving things out, I relocated an entire cart filled with watercolor supplies back into my craft room. Since I hadn't used my Caran d'Ache Neocolor II crayons in ages, I decided to dust them off and play.
I did a simple technique of scribbling onto watercolor paper, spritzing with water, and then smoothing out with a wet paint brush. After it had dried, I laid a stencil down and removed color with a wet wipe. I kept the first card pretty simple, just adding the sentiment and arrow stamps from the Big Word Basics set.
For the second card I used the same technique, but tried layering two different stencils. I matted the panel with black and stamped the Dumbledore quote from the Snapes Aliveset. It seemed like a really fitting sentiment for these unsettling times. When I was pulling the set out, I noticed I had this little panda from the I'm Not Fat set colored and cut out, so decided to add him, tucking a little light bulb that I turned into a torch behind him for the light.
Thanks so much for stopping by! Click on over to the Cat Pack links on my sidebar to see what my other teamies are sharing today. Then create a little handmade kindness and link it up to the challenge.
Compensated affiliate links are used where possible. When you place an order after clicking one of my links, I receive a small commission at no additional cost to you. Thanks so much for using my links and supporting this blog. 💙