Hi friends! Today I'm popping in with some more inspiration with new goodies from the
November My Monthly Hero release.
For the background I used the leafy circle silhouette from the awesome
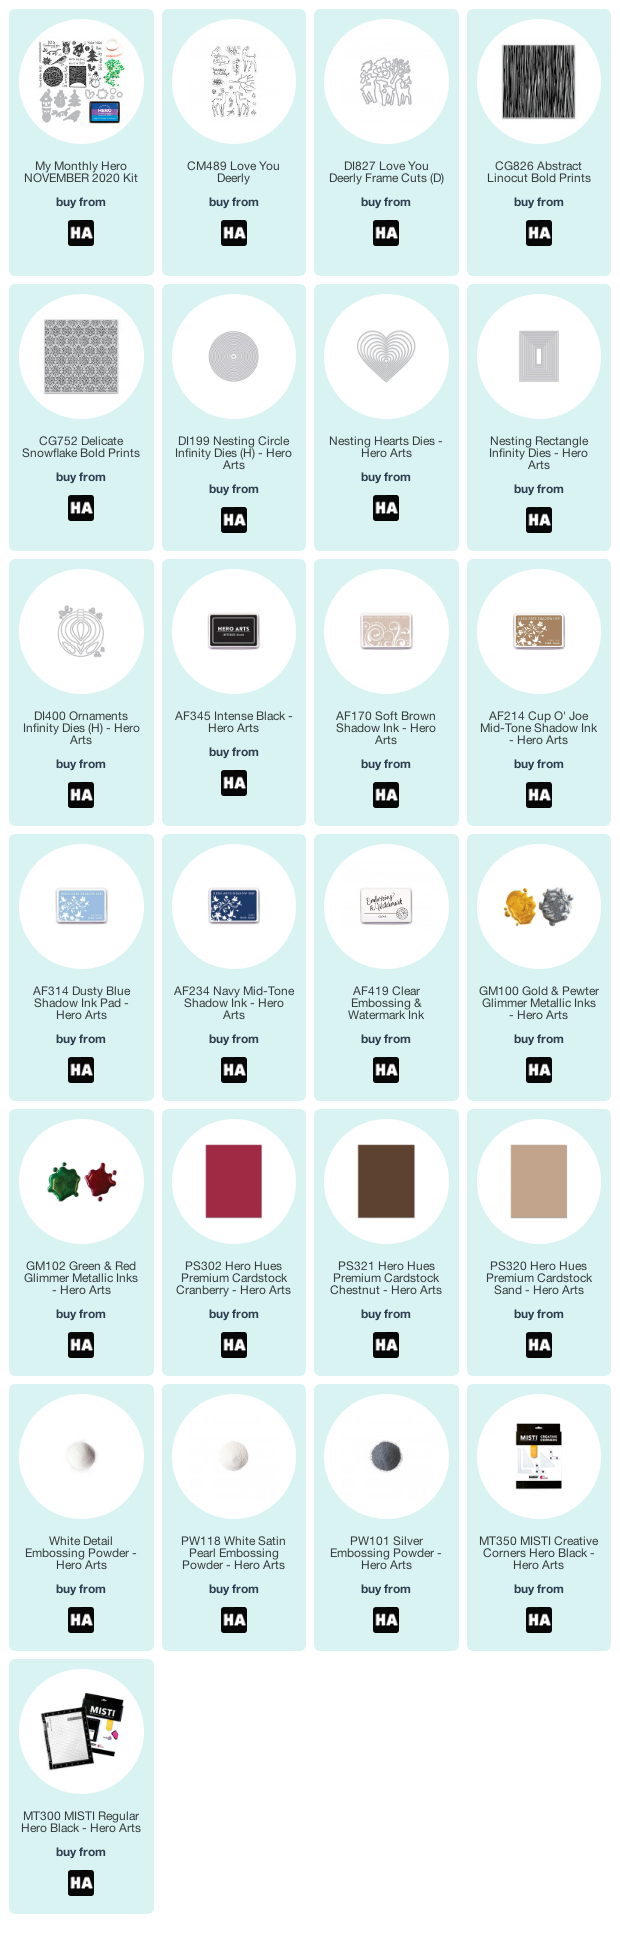
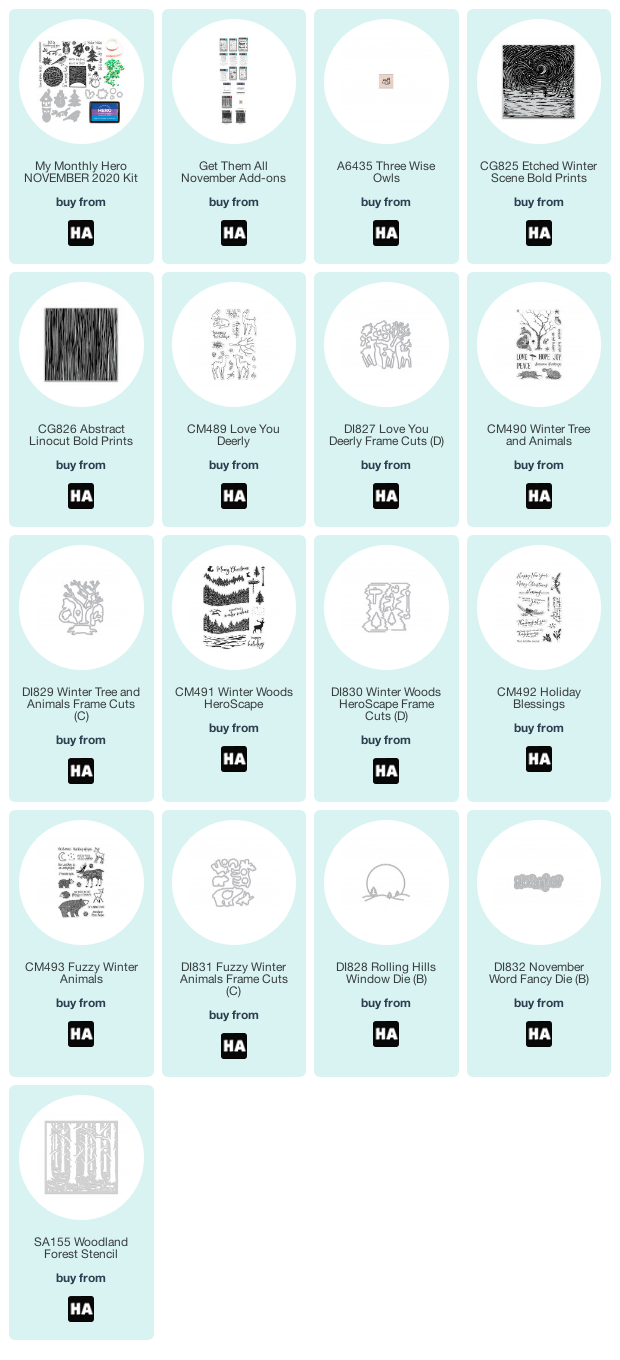
November MMH Kit, stamped in dusty blue and then stamped again after swiping the edges of the stamp while still on my MISTI with navy ink. I then cut a circle from a post it note to mask off the stamped image. I stamped the
Abstract Linocut Bold Prints background in soft brown, then swiped over it in different areas with cup o' joe to get a woodgrain look. I sponged a little with the same color inks, then pulled off the mask.
The sweet little mistletoe from the
Love You Deerly set hangs from the top of the circle, then I embossed the sentiment on red cardstock and cut with the
Nesting Hearts Infinity Dies. I love how this turned out and will be giving it to hubby for our anniversary. It's five days before Christmas so will go well with the holiday theme.
As of my writing this on Wednesday night, the
November kit is still available. It's a super fun kit and if you haven't hopped yet be sure to check out the
November My Monthly Hero Release Blog Hop for more inspiration with this kit and a chance to win a $50 gift code to Hero Arts.
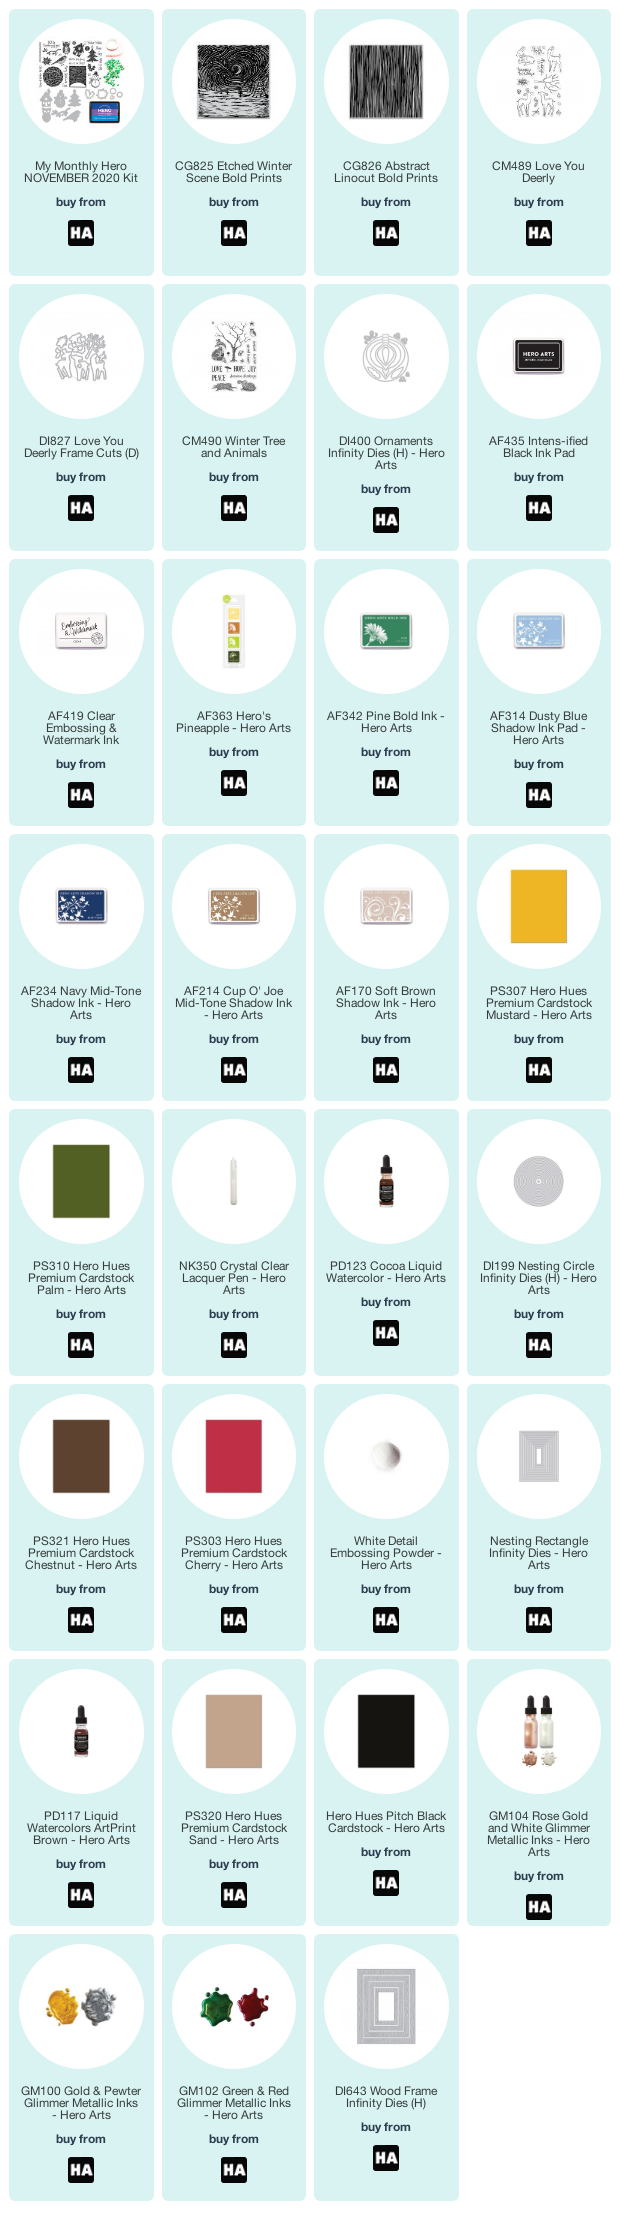
My second card for today is a slimline design featuring images and die cuts from the November kit, as well as some previously released goodies. I started with the bird image from the kit, stamped in cup o-joe, then colored with copics and cut with the coordinating masking die (no fussy cutting and a perfect fit... yay!) I then cut the branch die and colored with liquid watercolor inks and glimmer metallic inks, then nestled the two die cuts together.
The ornament is from the
Ornaments Infinity Dies which I cut from white chipboard and then colored with red glimmer metallic ink for the bulb and gold glimmer metallic ink for the topper. The poinsettia is also from the kit, stamped in a light ink, then accented with the same colors of glimmer metallic ink before die cutting. I masked off the Peace on earth sentiment, then embossed in silver onto white cardstock and cut as a banner to layer under the poinsettia.
The ornament is then hung from silver cording on a panel I embossed in satin pearl with the
Delicate Snowflake Bold Prints. This is a 6 x 6 background, so I made sure to line the widest part of my ornament up to cover up the slight shift in pattern when I stamped the bottom portion. I added the ornament with a brad and then accented with a snowflake sequin and a mini pearl.
Thanks so much for stopping by today! I hope you have a fantastic day!
Compensated affiliate links are used where possible. When you place an order after clicking one of my links, I receive a small commission at no additional cost to you. Thanks so much for using my links and supporting this blog. 💙