Powered by Blogger.
Showing posts with label vintage/shabby chic. Show all posts

Adventure Awaits


Hey friends! It's been a minute since I posted here. My life is pretty much watching tennis right now with my boys playing in tournaments pretty much every week this summer. I love watching them, so it's a blessing, but I do miss my crafty time a little bit.


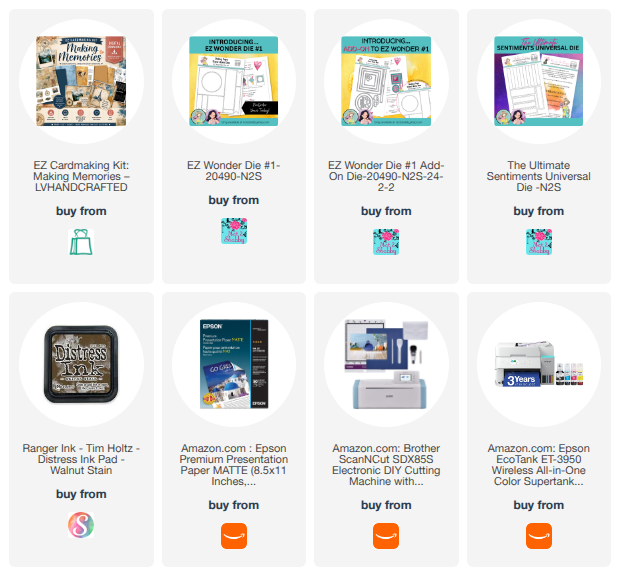
I did sit down the other day and made 10 cards with the new Making Memories Printable Cardmaking Kit from LV Handcrafted. I just love vintage ephemera and old maps, so this collection called my name.  Most of the card layouts come from Kendra's Card Challenge 22. I used almost everything I printed from the kit, except a few images that met a sad fate in a Scan 'n Cut accident. Haha. I pulled in a little gold and kraft cardstock, and sponged just about everything with Walnut Stain distress ink. Definitely a super fun crafty session.

You can see me walk through a full printed kit and share all 10 of these cards on this video: https://youtu.be/c6ED1TzmDoQ


I just love the images and sentiments in this kit. If they inspire you, you can grab them with my discount code VERVEGIRL in the LV Handcrafted shop. Thanks so much for stopping by!


Sweet as Honey Textured Card


Hey friends! I am back today with a  "bee-utiful" card that is just perfect for sending a little sunshine. When I create with ephemera, I like to level up some of the other elements. So here I used a honeycomb embossing folder to add a textured background to white cardstock.  

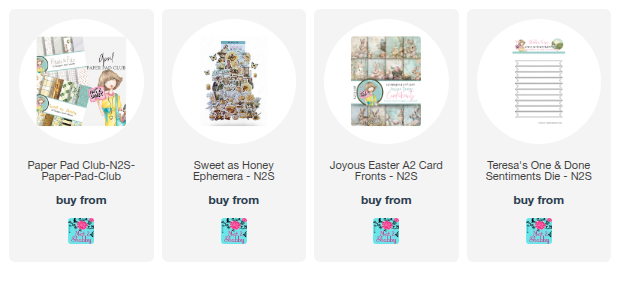
Adding all that white adds a lot of contrast when I add the layers of patterned paper from the Sweet as Honey paper pad, which is part of the April Paper Pad Club.

I tattered the edges of my layers to give a bit of texture, then elevated the two pieces of Sweet as Honey ephemera with some foam tape.  I highlighted with some Copic markers, then blinged things up with some glossy glaze and glitter. One can never have enough sparkle, right?

I finished off with a bonus sentiment from the Joyous Easter A2 card fronts, cut with the One & Done Sentiments Die.

Thanks so much for stopping by! I hope you have a fantastic day.

Vintage Merry Mail


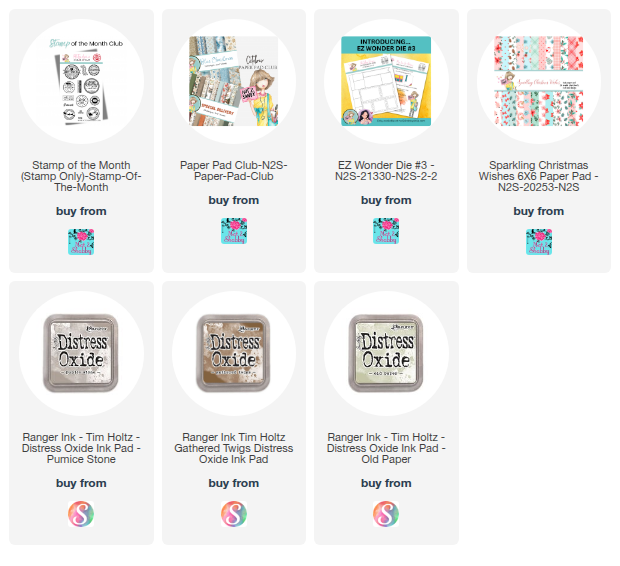
Hi crafty friends! Thanks for stopping by today! I've been having so much fun in my craft room with the Not 2 Shabby Paper Pad Club! I was wanting a vintage feel, so die cut the EZ3 postage grid from mixed media card stock and then smooshed with gathered twigs, pumice stone, and old paper distress oxide inks. It's kind of giving tea dye vibes, don't you think?

I chose one of the patterns from the Special Delivery paper pad for the two opposing corners, then used the Merry Mail stamp of the month to stamp directly on the other grid spaces.


I then went down a rabbit hole stamping all the images from Merry Mail in various colors onto cardstock, then antiquing with distress inks and cutting with a variety of circle dies. It was such a welcome distraction from all the other stuff going on in the world these days.

I wanted some poinsettias for my stamp cluster, so perused my paper and found some in the Sparkling Christmas Wishes paper pad. I highlighted with Copic markers for a deeper red and then fussy cut  to tuck into my focal cluster.   To finish off, I glued down the grid on an A2 card base, just a bit askew for a little interest.

So glad you could stop by today! I hope you have a fantastic start to your week!

Mixed Media Grow with Grace


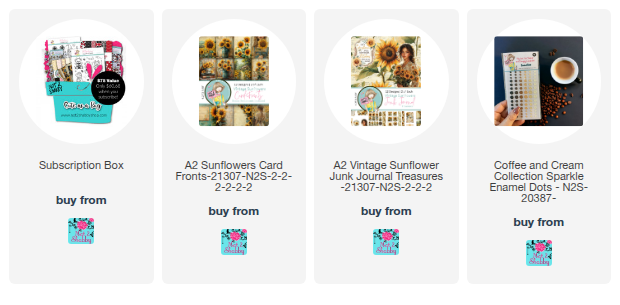
Hello crafty friends! Today I'm popping in with a fun mixed media card I made with the Vintage Sunflowers Card Fronts from Not 2 Shabby shop. There's a sampler pack of 6 card fronts included in the Box of the Month, or you can buy a full pack individually.  There's also a Vintage Sunflowers Junk Journal Treasures pack that coordinates with the card fronts.

As soon as I saw these card fronts, my brain went straight to my happy place - mixed media! I started by tearing one of the card fronts so the two sunflowers could really shine, and then I had fun collaging onto some mixed media cardstock.


Next came the messy part – blending everything into the background with a mix of brown inks and sprays, some white gesso, and beige paint. I even added a little texture in the corner with some brown texture paste through a stencil, though you can't see all that much of it now. I stamped some text and graph elements from my stash for a bit more interest and then inked around the edges to really make those sunflowers glow.

I carefully fussy cut one of the sentiments from the included cut-apart sheet. After distressing the edges with brown ink, I popped it up on some foam tape for dimension. For a little contrast underneath, I added some lace and a bit of cheesecloth that I'd dyed with antique linen spray. To finish it all off, I added some Coffee & Cream sparkly enamel dots and then matted the whole thing with brown cardstock.

Thanks so much for stopping by today! I hope you have a fabulous day! 


Cherry Blossom Duo with Not 2 Shabby


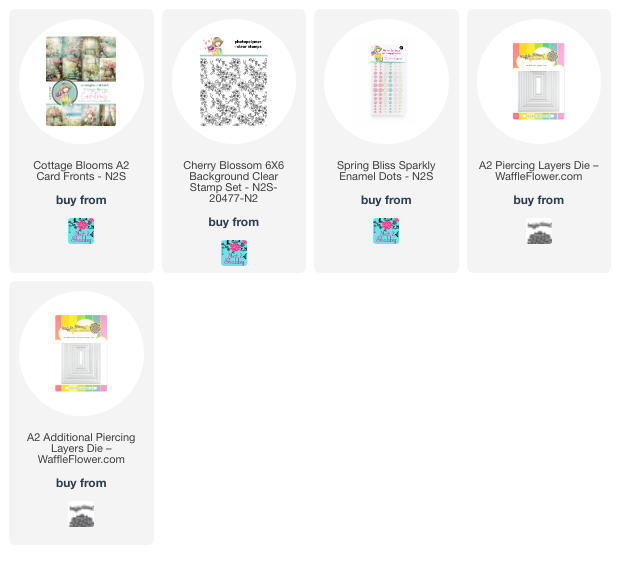
Hi friends! Today I've got a two-fer for you! I love the gorgeous images in the Cottage Blooms Card Fronts, but don't always make the kind of cards that use a whole background. So when I sat down to create, I decided to split this cherry blossom card front in two, so I could make two cards from it.


I absolutely love cherry blossoms, and love the soft, dreamy vibe to this card front.  I decided to pair it with the Cherry Blossoms Background, one of my all time favorite background stamps.  I chose blushing bride cardstock and ink to match the soft peachy pink in the image, then stamped the background on both a white panel and a blushing bride panel. I then cut down both pieces with rectangle dies to create the pieces and parts for the layouts, matting each of the cherry blossom images with white card stock.


I love that a sheet of sentiments is included in the Cottage Blooms Card Fronts pack! I cut them with a sentiment banner die from my stash and added them to the cards.  They seem to be the perfect choice for these images!  I finished off with a few Spring Bliss sparkly enamel dots for accent.


Thanks so much for stopping by today! I hope you have a fabulously creative day!

Teacups and Petals with Not 2 Shabby


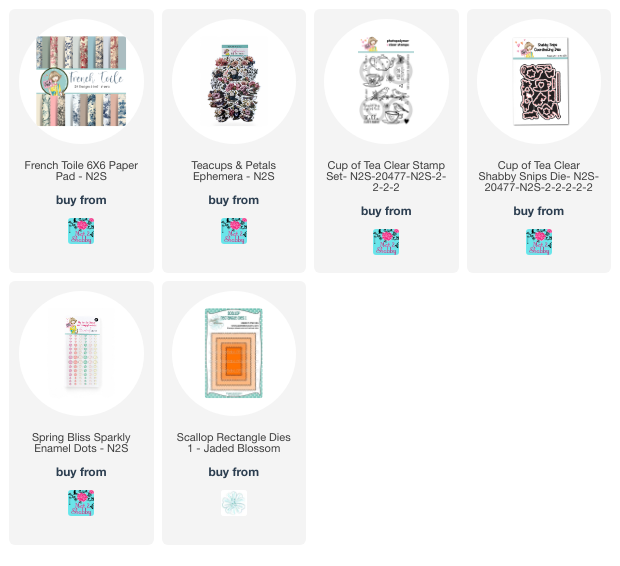
Hello friends! Today I'm popping in with another vintage style card using the French Toile papers. I absolutely love this big, beautiful teacup image from the Teacups & Petals ephemera, so decided to make it the star of the show.


I chose the pink pattern paper from French Toile using the front side for the horizontal strip. The back side has the solid pink, so I cut it with a scallop rectangle die, then dry embossed with a fleur de lis style embossing folder. After embossing, I used sand paper over the raised edges to highlight them.  This is a great way to add some pizazz to a solid colored paper.

I chose a sentiment from the Cup of Tea stamp set, embossing it in black, then cutting with the coordinating die.  I pulled in some black from the image by using black mats for my layers.  A bit of antique linen distress ink on natural colored cardstock ties in the cream in the French Toile paper. I finished off with some Spring Bliss sparkly enamel dots.

Thanks so much for stopping by today! I hope you have a fabulous day!

Parisian Vibes with Not 2 Shabby


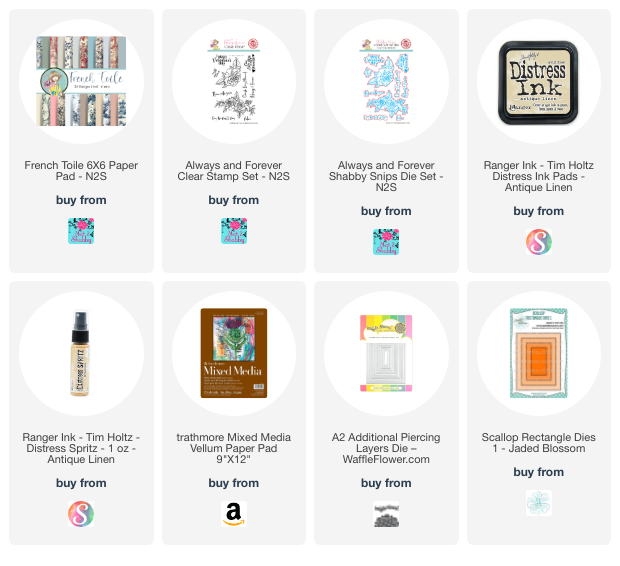
Hello friends! Today I'm bringing some Parisian vibes with the gorgeous French Toile paper from Not 2 Shabby! I've always had a fascination for all things Paris. I took four years of French in high school, hoping to go visit one day, but it hasn't happened yet.

So when I saw the beautiful Eiffel Tower image on one of the papers I knew I had to make a vintage style card.  I cut down the paper to the portion I wanted with a rectangle die, then added in some flair with a black scalloped mat.


For the background paper, I pulled out some mixed media paper and then did a light blending of antique linen distress ink, followed by some Antique Linen Distress Spritz.  I love the slight shimmer it gives in real life, but couldn't capture it in the photo.  

For the sentiment, I chose cherish every moment from the Always & Forever sentiment and added it right across the image.  I finished off with some black grosgrain ribbon angled against the background, then added a bit of gold glitter to the butterfly to make it pop.

Thanks so much for stopping by today! I hope you have a fabulous day.

Hope Blooms with Not 2 Shabby


Hi friends! It's time for a brand new quarterly release over at the Not 2 Shabby shop, and this one brings all the spring feels. Since our weather has been in the single digits with snow this past week, I'm sooooooo ready for a little spring in my life.

To celebrate the new release, we're having a giveaway hop over on Instagram!

Who's ready for SPRING? Leave the snow behind and check out some inspiration from our team featuring the BLOOM WITH GRACE release! To win a $25 GC to shop at N2S, be sure to head over to Instagram and follow the instructions in my post to enter the giveaway.


If you'd like to see the release up close, along with a peek at the projects I'll be sharing over the next few weeks, check out my video below or on my YouTube channel.


I had so much fun creating today's card with the new Time for Spring paper pad and ephemera! I just love the little bird ephemera piece, and I knew I had to use it with some of the gorgeous flower pieces. I used the EZ Wonder Die #1 to create the layout and added a touch of lace for a bit of extra charm.


The sentiment is from the darling new Enjoy the Ride stamp set, and the turquoise flower is from the adorable Violet the Hedgie stamp set. I colored it up with Copic markers for a pop of color, then accented with the new Spring Bliss Sparkly Enamel Dots. You can get Violet the Hedgie for free with a $60 purchase, or you can purchase it separately – it's so cute!

While I was creating, I made a flurry of cards, so be on the lookout for more spring inspiration! Thanks so much for stopping by! I hope you have a fabulous day!

Farmhouse Charm


Hi friends! It's been quite a week with everyone in my household under the weather. We're on the mend now, but there wasn't a lot of crafting happening with my boys home from school. But today I have a fun little birthday duo to share with you featuring the February Not 2 Shabby Paper Pad Club. The pop up gift card holder is a style I've used for years. Not my original idea, but I also can't remember where I saw it first. Look for a quick process video with a more masculine take on the holder next week.


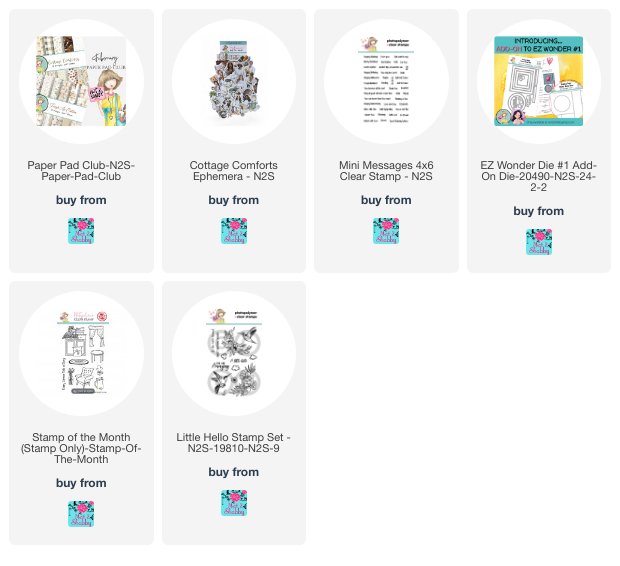
I absolutely love the patterns in the Fresh as Cotton paper pad, so that's where this project began. I paired it up with some tip top taupe cardstock, using a simple layout for the card so the Cottage Comforts ephemera piece could shine. I love to add textile embellishments like buttons and twine to farmhouse cards. The chicken wire embossing on the card base is one of my favorites and I popped the ephemera piece up on foam tape over a BoBunny mini lace doily.


For the gift card, I used the same Fresh as Cotton paper, but pulled in a second pattern. I went with a ribbon closure, adhering seam binding under the patterned paper and wrapping around the holder.  Rounded corners  give a  pretty, feminine vibe. 


On the inside I added the Cottage Comforts ephemera and a Starbucks gift card I thought would pair well with it. I like to have a little place for a note, so left one of the panels as white cardstock and stamped the vase from the February Stamp of the Month in the corner.  The birthday banner is cut with the EZ Wonder Die #1 Add ons and the sentiment is from a previous stamp set.

Thanks so much for stopping by today! I hope you have a fantastic day.