Powered by Blogger.
Showing posts with label Tea. Show all posts

Teacups and Petals with Not 2 Shabby


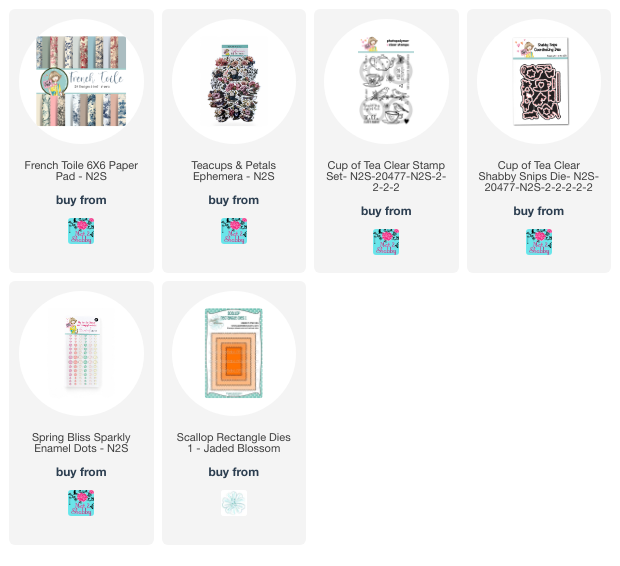
Hello friends! Today I'm popping in with another vintage style card using the French Toile papers. I absolutely love this big, beautiful teacup image from the Teacups & Petals ephemera, so decided to make it the star of the show.


I chose the pink pattern paper from French Toile using the front side for the horizontal strip. The back side has the solid pink, so I cut it with a scallop rectangle die, then dry embossed with a fleur de lis style embossing folder. After embossing, I used sand paper over the raised edges to highlight them.  This is a great way to add some pizazz to a solid colored paper.

I chose a sentiment from the Cup of Tea stamp set, embossing it in black, then cutting with the coordinating die.  I pulled in some black from the image by using black mats for my layers.  A bit of antique linen distress ink on natural colored cardstock ties in the cream in the French Toile paper. I finished off with some Spring Bliss sparkly enamel dots.

Thanks so much for stopping by today! I hope you have a fabulous day!

Love from Lizi Mini Note Cards


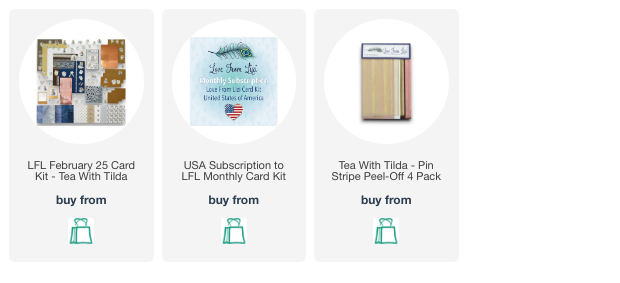
Hello friends! I'm excited to have the opportunity to play with the February Love from Lizi Card Kit this coming month as part of the Creator Collective. Get ready to sip and savor with "Tea with Tilda," this month's darling card kit! It's a delightful collection of products in a soothing palette of blues and neutrals, adorned with sweet florals and a charming mouse enjoying a tea party. What's not to love?

If you're curious about what is included in the kit, hop over to my YouTube channel or watch the unboxing video below. You can order the kit as a one time purchase while supplies last, or you can subscribe to the  kit to ensure monthly delivery.


I love working on little miniature creations, so the included 3.5" set of notecards was the first thing from the kit to call my name. I decided to create a trio of note cards using the darling ephemera, papers and embellishments in the kit.


I started by selecting a couple of my favorite patterned papers from the kit and matted them onto navy blue cardstock. To give the card a vintage feel, I inked the edges of the papers and ephemera with frayed burlap distress ink. The lace border is the perfect touch to ground the ephemera cluster, and the mouse image, popped up on foam tape, is just too cute! The sentiment, embossed in navy ink on a yellow half circle, adds a cheerful touch. I finished the card with a gold pinstripe peel-off and some glossy accents and glitter glue for extra sparkle.


To create the second card, I gave the papers a vintage look by distressing them with ink and adding a thin cardstock mat. I then mounted the charming Tea with Tilda ephemera piece on dimensional foam tape to add depth. Next, I layered the "Tea Time" sentiment, cut from elegant mirrored rose gold cardstock, above the ephemera. On a thinner strip of paper, I stamped the border stamp three times for a repeating pattern and added a touch of delicate texture with a piece of embroidered flower lace. Next, I used rose gold peel-off circles, coated with glossy accents, to mimic dewdrops on the flowers. To set off this panel, I accented both sides with some of the stone blue ric rac peel-offs.


For the third card, I layered mirrored rose gold cardstock with faux stone paper for the background, separating them with a rose gold pin stripe peel-off. I added a Tilda ephemera, the "let's have a spot of tea" sentiment, and finished with glossy-accented circle peel-offs. This kit is so inspiring, I'm already planning more projects 

Thanks so much for stopping by today! I hope you enjoyed these little creations and have a fabulously creative day!

Jaded Blossom Nov Sneaks Day 3


Hi friends! It's Day 3 of sneak peeks for the November release from Jaded Blossom. This one is one of my all time favorite releases because it's coffee/tea themed! Yay! We'll be sneaking peeks at all the new goodies leading up to release day... TOMORROW. Today we're sharing our makes with the NEW Gnome Dies: Tea Add Ons and the oh so lovely Latte Wishes freebie

We couldn't let the coffee lovers be the only ones having fun, so today we've got some tea add ons for our gnomies! Although I love my coffee, I do also enjoy tea. I'm linking up this little cup of tea card to the Fall/Winter Coffee Lovers Blog Hop today.

The Prima Misty Rose paper from my stash reminded me of the Old Country Roses china pattern on my tea set, so I used the Gnome Dies: Tea Add Ons to assemble the tea pot.  I colored up the Girl Gnome with Copic markers, then chose another patterned paper from the same pad for her hat.


Tea makes me think of doilies, so I pulled out a doily from my stash and layered it behind my gnome girl. I added a little soft gray sponging around my stitched rectangle, then assembled the tea bag, coloring with Copics and stamping tea from the previously released Tea for Two set on the bag. I used another sentiment from the set for the card, embossing directly on patterned paper. I accented with some crinkled seam binding and some sparkled enamel dots to finish things off.

Thanks so much for stopping by today! I hope you have a fantastic day. Here's the info about tomorrow's release.


  We have our Gotta Have it Now Package for $129.99

November 2023 Release will include:

2 - 4 x 6 Stamp Sets
3 - New Dies
1 - New Outline Dies
1 - New Stencils
1 - Stamp Freebie 

Ala Carte Items available on Thursday 12 am PST 

This Package is only available while supplies last!
*Freebie - Only Free Thursday and Friday with a $50+ purchase or While Supplies Last. Must also purchase at least one item from the new release*


Regular price for the release package is $139.93


Life Lemons and Tea

Hi friends! I'm popping in today to share a little Jaded Blossom inspiration with you! This one pairs a few old favorites with goodies from the June 1st release.


Did you get the gorgeous Lemon Stencil earlier this month? I love it so much! I used Limoncello and Chiffon inks for the lemon layers, then grass skirt for the leaves. Once I was done inking the layers I lined up the lemon stencil once more and went over it with translucent texture paste for some cool texture.

I pulled out the Cup of Tea set and decided to mask off the images on the tag and use the die cuts from the Build a Booth: BBQ Add Ons. I embossed the sentiment in black on vellum, then cut with the Luggage Tag, layering two pieces of vellum to give the tag some substance,  


Next I pulled out the gorgeous Floral Coffee Art set (I'm pretending it's a cup of tea for the purposes of this card) and got to work coloring with Copic markers.  I then cut it out with the Floral Coffee Outline Dies and popped up on foam tape for added dimension. I finished off with a little seam binding bow at the top of the tag.

Thanks so much for stopping by today! I hope you have a wonderfully creative week!

Can't Wait

Hi friends! How are you holding up? School's in our state have officially switched to online learning for the remainder of the school year, so I'm trying to juggle all my balls, but it's starting to look like more of a ball pit than a circus act! LOL But we're healthy, together, and have all we need, so can't complain.

My boys have been meeting up with some friends online to play xbox together a few times a week, so I got a little bit of me time yesterday afternoon! Hooray!


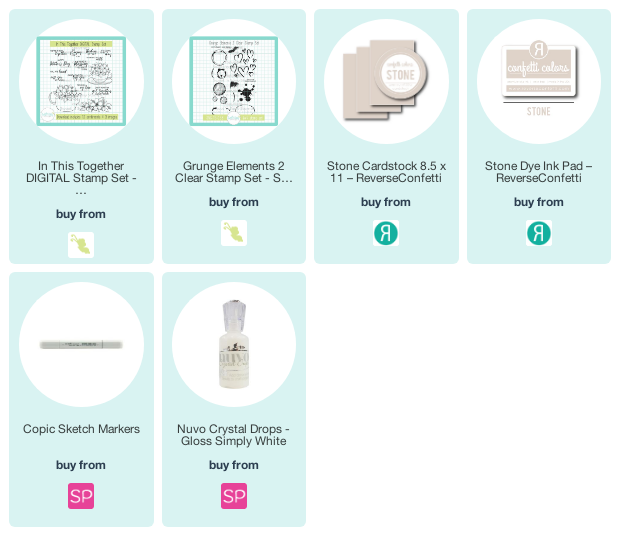
Today I'm sharing a fun new digital set that Korin just released in the Sweet 'n Sassy Stamps shop.  She had me at tea... and flowers... and wonderful sentiments.  Including a few very timely for our current situation.  I particularly love the can't wait to hug you one!


As soon as I saw this teacup I thought of a favorite one I used to have that was a soft aqua and yellow.  So I printed it out (there's a pdf for anyone who doesn't know how to resize and print individual digis) on my laser printer, then colored up with Copics and hand trimmed around the image.  I cut the sentiment with a rounded rectangle infinity die, then cut off one end.

The background is done with stone ink on stone cardstock and the fabulous little elements from the Grunge Elements 2 stamp set.  I added a bit of glitter to the flower centers, then popped the cup up on foam tape for a little extra dimension.

Thanks so much for stopping by today! I hope you have a fabulous day!

Compensated affiliate links are used where possible. When you place an order after clicking one of my links, I receive a small commission at no additional cost to you. Thanks so much for supporting this blog by using my links to shop. 💙

Getting Dirty and the Perfect Blend

If you're here for the Sweet 'n Sassy August Release Hop click here or scroll down.


So, I've got some big, exciting news today! I'm one of the new additions to the Splitcoaststampers Dirty Dozen design team! Finding SCS way back when literally changed the course of my life, and I would not be the stamper I am today without it.  I'm so excited to get to design for them for the next six months! Such a great honor. 😊

My first gallery is live today for Fan Club members. I've uploaded 9 projects with this month's theme that you won't see anywhere else.  I had a lot of fun creating!


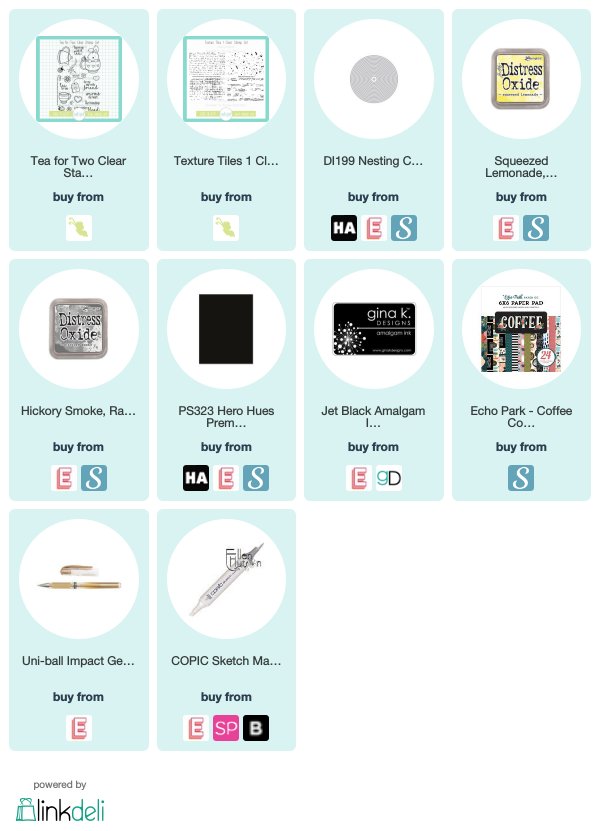
For my card on the blog today, I chose to use the Tea for Two set from Sweet 'n Sassy Stamps. It fits in with this month's Dirty Dozen theme. I just love the sweet images in this set and have crazy love for both coffee and tea. This particular card reminds me of a very special friend, so I thought this sentiment would be perfect.


To start the card, I colored in the fabulous pot, mug and tea bag images with Copic markers and then fussy cut.  To create a backdrop for the images, I stamped one of the backgrounds from this awesome set on a circle, then blended with squeezed lemonade distress oxide.  I matted this with a scalloped black circle die cut and then layered my images, tucking the little teabag string behind the pot.


The sentiment is stamped on a strip of white cardstock, then I accented it with the heart steam image from the set and then colored with Copics and a gold gel pen. The background paper is from the Coffee collection by Echo Park and I finished off with a black mat and a white card base.

Thanks so much for stopping by today! I hope you have a fabulous day!

Compensated affiliate links are used where possible. When you place an order after clicking one of my links, I receive a small commission at no additional cost to you. Thanks so much for using my links and supporting this blog. 💙

Sweet n Sassy Stamps August Release Hop

Welcome to the Sweet 'n Sassy Stamps August Release Hop!

There's another fabulous release in the SNSS shop that we've been stamping with and we're so excited to share our projects with you! Hop along and leave a little comment love for the designers linked later in this post and you might just be a lucky winnner! One lucky comment from all the comments along the hop will win a $10 gift voucher to the SNSS shop. Winner will be announced on the SNSS blog, Wednesday, August 21.

If you've arrived from the Sweet 'n Sassy Blog, you're already on stop 2. If a link misbehaves along the way head on back there for the full hop list. Alright, let's get hopping!

For my card today, I chose to create with the fabulous new In His Image stamp set. I love these craft supply images and wanted to splash some color around!

I started with the background, smooshing distress oxides onto the background using plastic packaging and spritzing a bit of water.  I then stamped, masked and stamped again to create a trio of paintbrushes and colored in coordinating colors with Copic markers.  Next I took the solid ink splat image and stamped it over each paint brush tip in distress oxides to match the background.


I fussy cut this out, as well as the paint palette image, which I colored in the same colors I used for the paintbrushes, then got to work on the sentiment.  I masked off the d in created and stamped create in black on an oval die cut.  I then accented with a few of the same colors and layered everything together. A super fun card to create!

Thanks so much for stopping by! Before you go, there's an AWESOME sale in the shop this week! Take a look...


Simply add THREE alphabet sets to your cart and you'll get one of them FREE! Woohoo!
Offer good through August 19. We've got over 20 alphas, including our brand new School Days Alpha  so don't miss out!

Here's a throwback card from earlier this year where I used an alphabet set set to spell out the word coffee. Love this alpha so much!


Okay, now it's time to see what the other designers have created for you today.

The next stop on the hop is the fabulous Cathy McCauley!


Compensated affiliate links are used where possible. When you place an order after clicking one of my links, I receive a small commission at no additional cost to you. Thanks so much for using my links and supporting this blog. 💙

Sweet Tea

Hi friends! Happy Friday! It's been one of those weeks that feels like I'm crawling to the finish line, ya know what I mean? I'm having a fun summer break with the kiddos, but am so ready for the 2 week break from daily swim lessons that starts today.


When I saw the new Life & Lemons set from Sweet 'n Sassy Stamps, I just couldn't wait to get it!  I just love the uplifting phrases, fabulous lettering, and fun citrus images. I drink my iced tea "unsweet" with lemon, but hubby loves his sweet tea. How about you? Do you like it sweet, unsweet, or not at all?


I started by stamping the lemon, leaves and mason jar images. I colored with Copics, then decided to draw a little straw for it. I'm super sloppy with a wide mouth jar, so a straw is definitely a MUST!  I drew a little on the colored image, then also drew the top portion on cardstock and cut out.


I fussy cut the images, then set to making the background for my tall & skinny card. I stamped the solid citrus image in squeezed lemonade randomly across the panel. I also stamped a couple extras on scratch card stock to garnish the jar and the second half of the sentiment. To give them a more realistic look, I coated the sections with crystal clear lacquer.  I finished with black mats and a few tiny enamel dots in the centers of the lemons in the background.

Thanks so much for stopping by today. I hope you have a fantastic start to your weekend. Be sure to stop back by tomorrow for a very special hop.

Compensated affiliate links are used where possible. When you place an order after clicking one of my links, I receive a small commission at no additional cost to you. Thanks so much for shopping from my links and supporting this blog. 💙

Second Time is the Charm

Hi friends! Hope you enjoyed the cards I shared on Monday for the Hero Arts August My Monthly Hero Blog Hop. If you haven't hopped yet, click that link and hop away - there's a super giveaway for a lucky commenter along the hop. I sure am honored to have been able to play along with this release. Since I had been on vacation, I only had a few days to create prior to the hop and since it had been a while since I stamped, I was a little rusty.  Here is one of the cards that didn't make the cut for my post. I loved all the pieces and parts individually, but together something felt a little off. Kellan told me "all those weird edges and too much stuff make it look silly"! So there you have it, if you want an honest, unfiltered opinion, ask a 6 year old! Haha!


I thought it was an okay card, but the different colors of gold and brown competing bothered me and there wasn't a defined focus to the card, so the eye didn't know where to land. Whatever the "something off" was, yesterday I decided to take it apart and try to fix things. Here are the two cards I made from salvaging parts of this card.


For this card, I took off the cup and spoon image from the Spill the Tea stamp set. They had been stamped with Intense Black and colored with Arteza brush pens, before cutting with the coordinating Spill the Tea Frame Cuts. To help the colors blend, I added a hint of the vintage gold wax I used on the spoon to the tea in the cup and arranged the spoon so it was farther away.  The spoon and the roses on the cup are coated with that Crystal Clear Laquer Pen that I love.


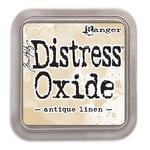
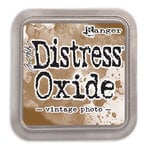
I stamped the tea-rific sentiment from the Kit-Tea Stamp & Cut onto a doily die cut from a Havana collection notecard.  I added the pink shading with a soft pastel from a box I got for my birthday, then sponged with antique linen, tea dye and vintage pohoto distress oxide inks.  The background is pieced together entirely from scraps from the Havana collection, which I shaded with the soft pastels and sponged with antique linen distress oxide to give a cohesive look.  I finished with a wrinkled seam binding bow, some linen thread and a metal button accented with vintage gold wax.


The card I was left with once I removed the parts for this card had really good bones. I loved the Havana collection papers, the newsprint tag and the placement of the buttons. So I decided to just rework it as it was by changing out the sentiment and image with these from the Kit-Tea Stamp & Cut set. I paper pieced the cup the kitty is in with some Havana papers, then colored her with Copic markers, adding a little Crystal Clear Laquer Pen to her nose and eyes and cut with the coordinating die.  I added a little paper bow made with the small Pink & Main stitched bow die as accent and I was finished.


Thanks so much for stopping by today! And I hope if you find yourself not loving a piece you've created, you'll think about taking the time to rework it. It's definitely a great exercise in creativity and worth the effort.

Affiliate links are used on this blog at no extra cost to you. Thank you for supporting me, and clicking on my links to shop! 


CM300 Spill the Tea - Hero Arts
[ HA ]
DI566 Spill the Tea Frame Cuts (D) -...
[ HA ]
DC243 Kit-Tea Stamp & Cut - Hero Arts
[ HA ]
Prima - Havana Collection - 6 x 6...
[ SBC ]
Prima - Havana Collection - 4 x 6...
[ SBC ]
Prima - Havana Collection - 3 x 4...
[ SBC ]
Arteza Real Brush Pens, 96 Paint...
[ AMZUS ]
Mungyo Gallery Soft Pastel Squares...
[ AMZUS ]
ZIG - Memory System - Wink Of Stella...
[ SBC ]
Ranger Ink - Tim Holtz - Distress...
[ SBC ]
Ranger Ink Tim Holtz Tea Dye Distress...
[ SBC ]
Ranger Ink - Tim Holtz - Distress...
[ SBC ]
AF345 Intense Black - Hero Arts
[ HA ]
NK350 Crystal Clear Lacquer Pen -...
[ HA ]
Prima - Finnabair - Art Alchemy -...
[ SBC ]
Small Bow Dies - Pink and Main LLC
[ PNK | AMZUS ]