Powered by Blogger.
Showing posts with label All Occasion. Show all posts

Sweet Watermelons and June Mood Board Challenge


Hi friends! Is June keeping you as busy as it's keeping me? Summer with the boys means lots of tennis, so my craft room is getting only sneaky visits! Good thing the new June Paper Pad Club from Not 2 Shabby is SO amazing – it's all about watermelons and adorable gnomes!

For this card, I started with that seriously delicious watercolor watermelon background. Next I grabbed a print with a bit more white space for contrast and sliced it into 1" x 3" strips. A quick mat with green cardstock, and then onto a vellum rectangle which helps soften that busy background beautifully.


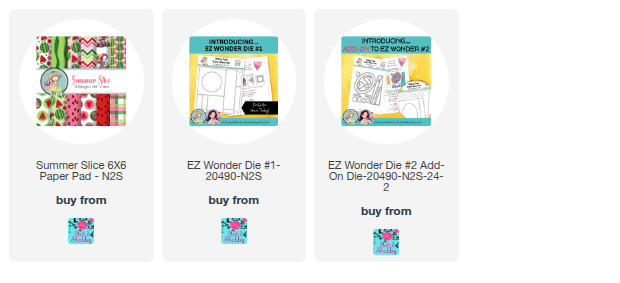
The charming gnome featured on this card is from the Summer Slice paper pad. Please note that for the initial month, the paper pads within the club are offered as a coordinated pair; however starting the next month they will be available for individual purchase. The sentiment is from the EZ Wonder #2 Add On and I die cut it onto a banner from the EZ Wonder Die #1 to finish things off.

If you're looking for a challenge this month, come play along with the June Mood Board Challenge at N2S for a chance to win a prize! Just use any N2S product and get inspired by the graphic below. Then link it up on the N2S blog.


Thanks so much for stopping by today! I hope you have a fantastic weekend!


Farmhouse and Butterflies


Hi friends! Happy Friday! I hope you're having a great start to your weekend. There are lots of good sales in the retail world, so if you're shopping I hope you shop victoriously. {grin}

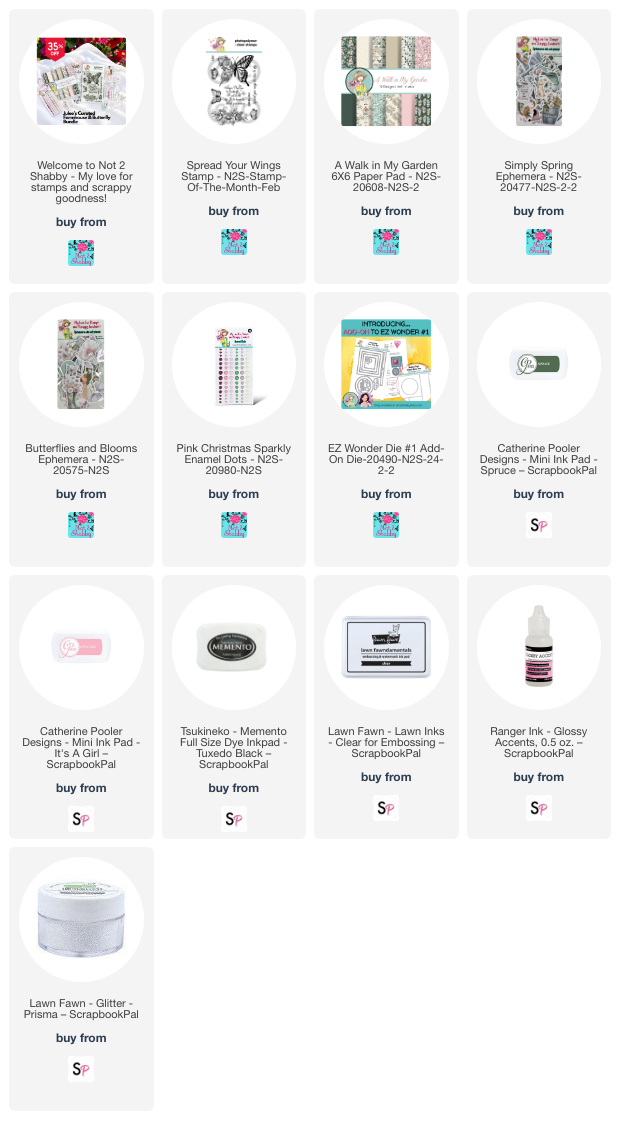
Speaking of deals, Not 2 Shabby has some fabulous Black Friday bundles up for grabs at a fantastic price. I  had the privilege of curating one of the bundles with a few of my favorite products and you can pick it up at a 35% discount right now! Some bundles are up to 50% off, so be sure to check them all out at the link above. Plus orders of $60 or more will get a free gift!


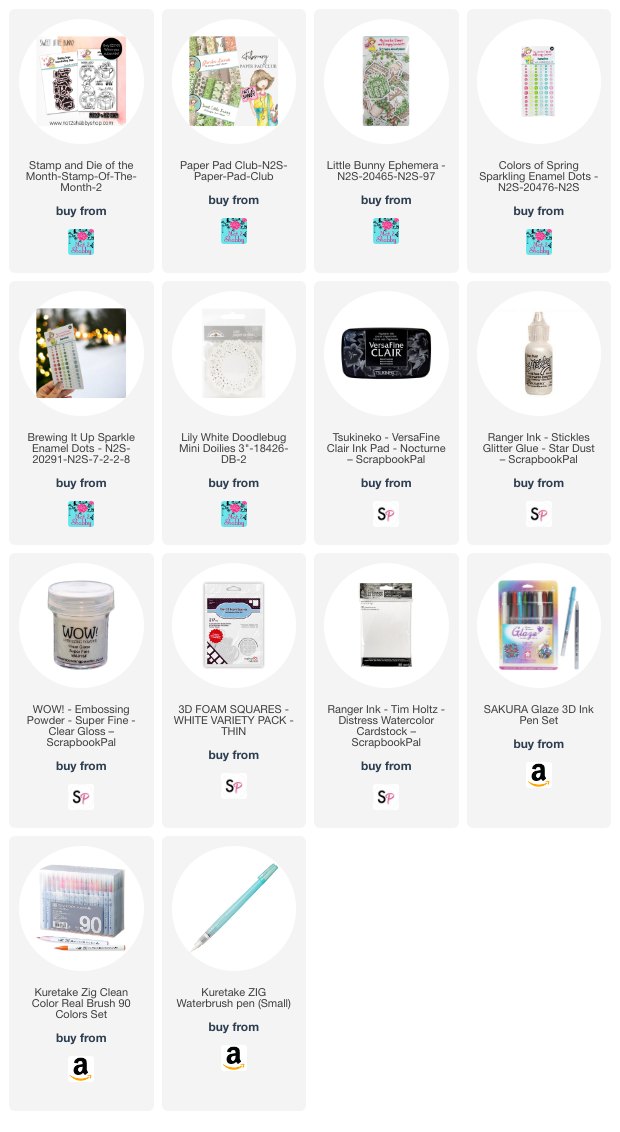
I think this bundle of beautiful stamps, paper, ephemera, and enamel dots would make the perfect gift for a crafty friend, but also is very versatile in the type of cards you can make with it.  I made three cards to share today for the launch of the sale.


The first card uses the big butterfly from the Spread Your Wings stamp set. I colored the buttefly with Copic markers and then cut with my Scan 'n Cut machine, accenting with some glossy glaze and glitter. I love that the A Walk in My Garden paper pad has both beautiful prints and several coordinating solid papers making it super easy to craft with. Here I used one of the peach solid papers and stamped the flower stamp in the background with a coordinating ink color to make my own patterned paper. I added a sentiment banner cut with the EZ Wonder Dies #1 Add Ons, then finished with a strip of designer paper and some sparkling enamel dots.


One of the beautiful things about Not 2 Shabby products is that they all mix and match so well. Neither of the ephemera packs that I selected for the bundle were specifically designed to coordinate with this paper pack, but they do so beautifully! (For even more options, you can extend your bundle by ordering the A Walk in My Garden Ephemera that was designed to go with this paper collection.) 

I started by embossing the sentiment in white onto one of the green solids in the paper pack. Next I cut it out using one of the square dies from the EZ Wonder Die #1 Add Ons. I then collaged different pieces from the two ephemera packs included in the bundle to make my little scene. I just love those butterflies, don't you? 


For my third card, I picked out a few of the scraps from my previous two cards and started playing. I didn't want to cut into a new piece of paper and didn't have enough for the green mat, so I swiped some Cathering Pooler spruce ink onto white cardstock to make the mat. Then I used the ink left on my craft sheet from swiping to create the smooshed background on distress watercolor cardstock.  

The hugs die is from the EZ Wonder Die #1 Add Ons and I stamped just the sending portion from one of the sentiments and cut it out to complete the sentiment.  I finished with a couple pieces of ephemera and some more of those fabulous sparkling enamel dots.

Thanks so much for stopping by today! I hope you found a little inspiration here. Have a wonderful day!

- Julee
The Best is Yet to Bloom


Hi friends! There's a gorgeous new bundle in the Not 2 Shabby Shop today. It's called the Rustic Blooms I Want it All Bundle and is absolutely lovely. It includes a gorgeous word die with shadow layer, a sentiment stamp set,  a beautiful paper pad and coordinating ephemera, and a new collection of Sparkling Enamel Dots. There's also a cute matching button included. Coordinating dies for the stamp set are available as an add-on.


I couldn't wait to start creating when it showed up in my mailbox and quickly got to work creating four cards. I used  Bourbon Creek Crafts No Scraps Sketch Set #4 (links to video with this sketch set on her YouTube channel) for the cutting guide and layouts (with a few minor tweaks).


For this first card I used the beautiful scripty hello die, cutting it from pink cardstock, layering it for dimension, and then adding a white cardstock shadow layer.  The papers in the Rustic Blooms Paper Pad are so beautiful and I loved these dreamy roses so wanted them to take the stage. I prefer portrait orientation for cards, so changed the 4B sketch to portrait and moved the sentiment to the bottom of the card. I finished off with some of the Sparkling Enamel Dots.


For the second card, I created it pretty much the same, except this time I used rose gold foil cardstock for the hello die cut, as well as as a mat for my rectangle grid.  To make things flow a little better with the rose gold I added just a hint of vintage photo inking around my four rectangles before adding them to the mat.


For the next two cards I used the 4A sketch, but swapped out the 3/4" strip that was intended for the inside of the card with one of the 1 3/8" strips. I just liked the look of the varied sizing a bit more. The larger strip gave me some paper to work with to create the banner elements on both cards, as well as still have a bit left over to decorate the inside.


For both cards I used the Flower Carts Ephemera for my focal image and added a sentiment from the stamp set embossed in white on brown cardstock, then cut with the coordinating dies.  I finished off with some glitter accents on the ephemera, then added a few sparkling enamel dots from the previously released Coffee and Cream Collection Sparkling Enamel Dots. 

Thanks so much for stopping by today! I hope you have a super amazing day.

Favorite Color Collab


Hey friends! I can't believe it's already May. The school year is winding down for my boys and that means there are ALL the activities to attend, projects to finish, and things to do. There hasn't been a lot of time for crafting, but I do have a little something to share with you today and tomorrow. Yay!

Today I'm participating in a crafty fun collab hop over on Instagram with a few of my crafty friends. The theme of the hop is to create with our favorite color.  If you've been around for a while. you can probably guess my favorite color is aqua. It's such a calm color and it goes well with so many others. One of my favorite color combos is aqua and soft purple. The Serene Escape paper pad from the Not 2 Shabby Box of the Month is the perfect aqua/purple combo, so that's what I chose to work with.


I love the Serene Escape Ephemera piece of the girl holding a bunch of lavender and knew I wanted to make it the star of the show.  I used a scalloped frame die to frame it, then gussied it up with some Stickles.

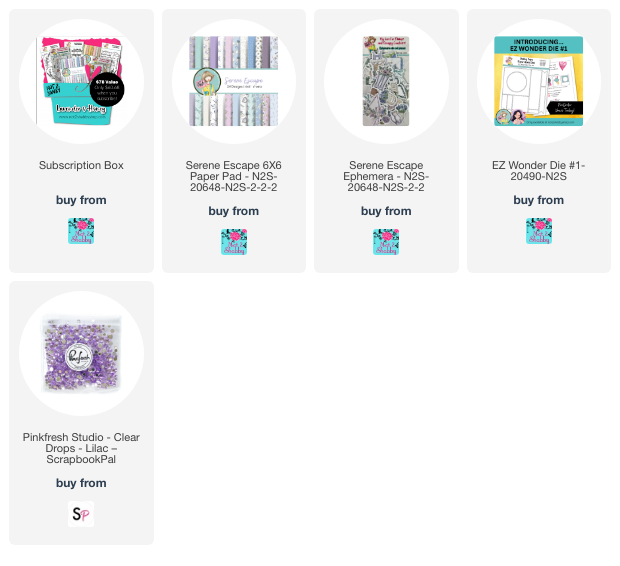
I layered a few scraps of papers from the pad together for the layout, accenting the cross pieces with some silver Love from Lizi peel-offs.  The sentiment is from the Lavender Skies stamp set in the May Box of the Month and I embossed it onto a pennant cut with the EZ Wonder Die #1.  A little more stickles and some lilac clear drops finish things off.

Thanks so much for stopping by today! I hope you have a fantastic day. If you have a minute, be sure to hop on over to my Instagram page to enjoy the hop.

Tea and Honey


Hi friends! There's a fabulous new release in the Not 2 Shabby shop this month.  Today I'm sharing two cards created with the buzzworthy May Box of the Month. If you're looking for the stamps, the box is currently sold out, but you can sign up for the waiting list at this link to be notified when spots open up. The papers and ephemera from the box are available separately if that's what you're interested in.


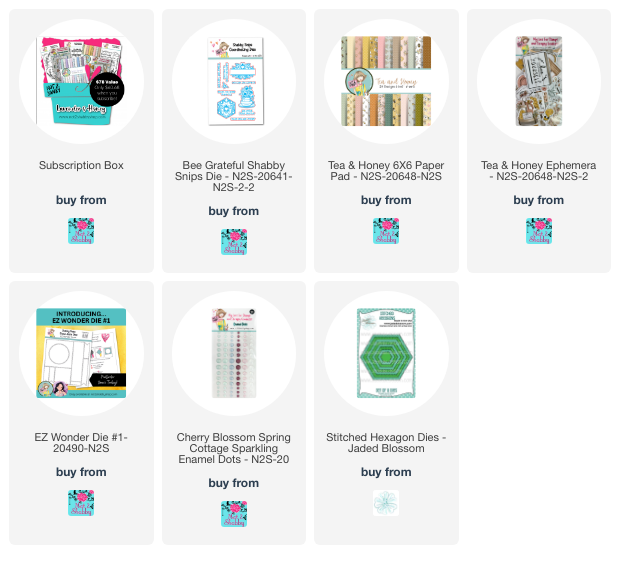
This stacked cup image from the Bee Grateful set totally spoke to me, so I colored it up with Copic markers in colors coordinating with the two papers I chose from the Tea & Honey paper pad. This paper pad has lots of fun image prints, as well as a lot of fun coordinating polka dot prints, making it effortless to create with.  I cut the image out with my Scan 'n Cut machine, but there are coordinating dies available for purchase in the shop. Since I love honey in my Earl Grey, this sentiment seemed like a perfect fit.  I embossed it in black onto one of the tags created with the EZ Wonder Die #1. Next it was just a matter of layering my papers, adding white mats to set them off and then tucking in a piece of ephemera from the Tea & Honey Ephemera Pack. I finished off with some pinstripe peel-offs and sparkling enamel dots.


My second card today uses scraps from the first card's papers. I love this fun bee print. I took inspiration from the hexagon bee image in the stamp set to use hexagons as my main focal panels.  I cut one from patterned paper, one from white, and fussy cut the stamped image which I embossed in gold.  I added the sentiment on one of the hexagons, then added some more scraps as a horizontal band across the card.  Lots of gold matting and some more sparkling enamel dots finish the card off.

Thanks so much for stopping by. Be sure to head on over to the Not 2 Shabby shop and check out all the fabulous new May products. While you're there be sure to register for the free virtual retreat coming up later this year.


Flowery Meadow


Hi friends! Today I'm popping in with a little inspiration featuring the Not 2 Shabby April Paper Pad Club. Earlier this month I shared projects with the Life Begins after Coffee pad, so today I'm working with the Flowery Meadow paper pad.

This paper pad has a page of cut aparts as one of the designs that you can cut by hand or with a scan 'n cut machine.  I did that for todays cards.


For my first card, I did a paper collage technique, just tearing different papers and piecing them together for a cohesive background. I borrowed a sentiment from the Spring Gnome sentiment to stamp on the lined paper, then die cut in a circle. I matted with some of the green sparkle paper from the pad. I layered a few of the floral pieces from the cut apart page for my main focal point, then accented with sparkling enamel dots.


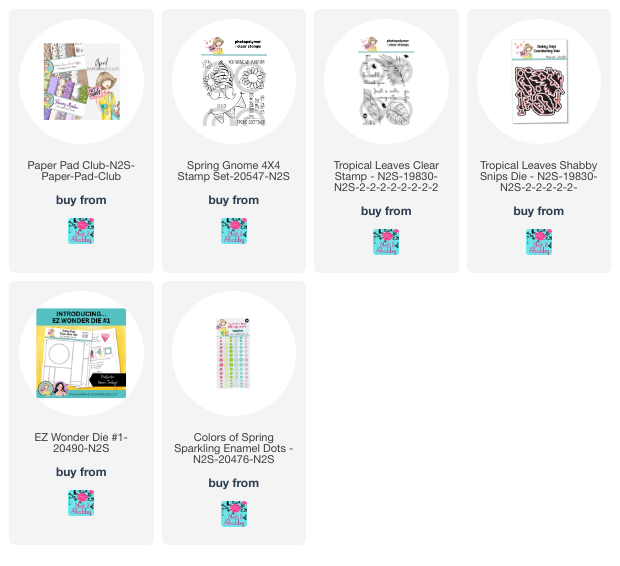
For my second card, I used the EZ Wonder Die #1 with papers from the pad to create a shaker window.  I accented with more of the cut apart images, then fussy cut one of the flowers from the purple paper to add to the flag banner.  The sentiment is from the Tropical Leaves set and cut with the coordinating dies. I layered some more of the designs, adding some white scallop edges as borders to finish things off.

Thanks so much for stopping by today! I hope you have a fabulously creative day!


April Jaded Blossom Spotlight and Challenge


Hi friends! It's the first Sunday of a new month and that means it's time to reveal a new challenge on the Jaded Blossom blog. This month the challenge is to use warm colors (pink/red/orange/yellow). I hope you can play along for a chance to win a Jaded Blossom stamp set of your choice!

March Challenge:
WARM COLORS
(must use at least one Jaded Blossom Product)


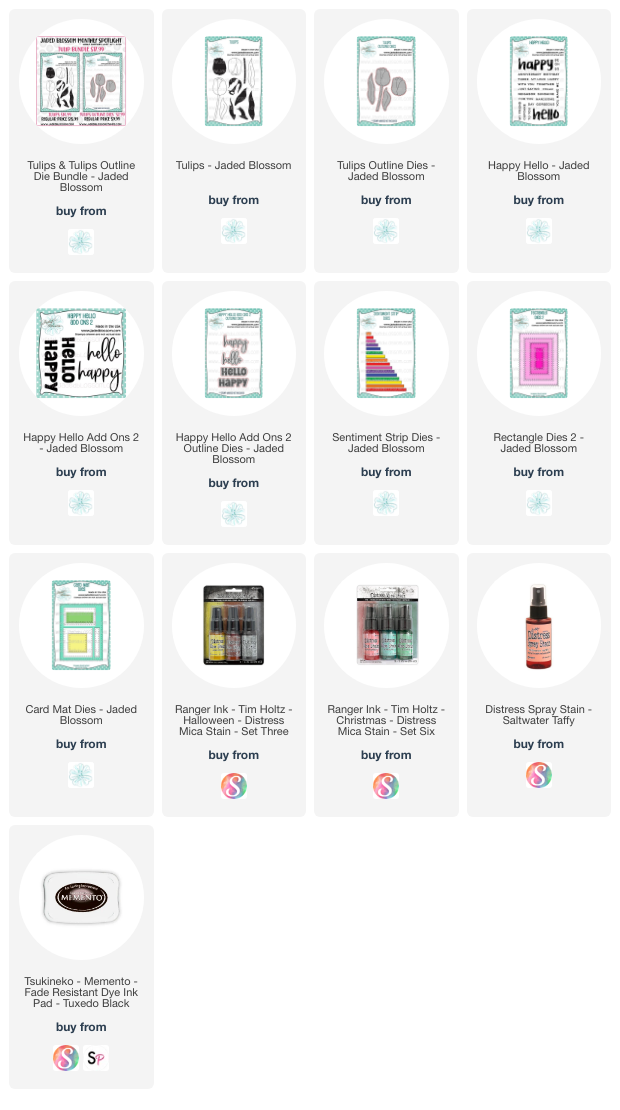
A new month brings a new monthly spotlight. This month’s spotlight is on the Tulips stamp set and coordinating outline dies. You can grab them for a steal this month, while supplies last.


I love a tulip card, so was excited to pull this set out and give it another play. For the tulip, I stamped the outline pieces in memento black ink, then stamped the second layer stamp for the tulip and the leaves with barely there and skeleton leaves amalgam ink to give me a guideline to do the shading. Then I pulled out my Copics in R20, R21, and R22 for the bulb. For the leaves and stem, I did a light layer of Y11, then used YG3 and YG25. Green might be cheating a bit for the warm color challenge, but it's a yellow green, so I'm justifying it. Haha!


For the background, I pulled out some watercolor paper and some distress sprays and got to work.  First I sprayed with the harvest moon mica spray and dried.  Next I went it with the sugary gumdrop mica spray and watered down before drying.  Finally I added in a bit of the saltwater taffy distress spray stain and some water.  When it was dry, I flicked on some saltwater taffy splatters, then splattered with a bit of water.  I die cut the panel with the Rectangle Dies 2, then matted with the Card Mat Dies in black cardstock.

The hello sentiment is from the Happy Hello Add Ons 2 set, embossed in white, and then cut with the coordinating outline dies.  The sunshine is from the Happy Hello set and cut with the Sentiment Strips Dies. I finished with a few picket fence jewels for accent. 

Thanks so much for stopping by today! I’ll see you back here tomorrow for the start of sneak peeks for the Jaded Blossom April release.


Happy Shamrock Day and Little Bunny Hello


Making a card and then stepping it up for a similar card can be a great way to get those creative juices flowing when you're lacking inspiration. Today I'm sharing a couple of cards that I did just that with using the February Paper Pad Club, Stamp/Die of the Month, and the Little Bunny Ephemera Add On.

I love St. Patrick's Day. Probably because if they hadn't decided to come a week early, my twins were scheduled for delivery on St. Patrick's Day. The NICU nurses decorated their cribs with shamrocks, so I smile each time I see one. 💚


So when I saw the Happy Shamrock Day sentiment in the Happy Spring Stamp of the Month set, I just knew I would have to make a card. I watercolored the watering can and some extra shamrocks with Zig Kuretake Clean Color Real Brush markers.  For a little backdrop, I lightly did a wash with green and splattered some brown onto a circle die cut, then die cut my stamped images and laid them out.  The sentiment is die cut with the coordinating Happy Spring shabby snip dies.

The papers are from the Sweet Little Bunny paper pad from the February Paper Pad Club. I just love this earthy color palette and the fun mix of geometrics and spring imagery.  I matted with some brown cardstock, keeping the layout simple to let my stamped image shine.  I finished off with a few sparkle enamel dots.


For my stepped up card, I wanted a similar look and feel, so chose one of the watering can ephemera pieces from the Little Bunny Ephemera. I had a smaller scrap of the brown geometric paper, so kept the vertical panel, but shortened it.  I then created a collage with several ephemera pieces and a mini doily.  The hello sentiment is from the Happy Spring set.  For a little bit more pizazz, I wrapped some embroidery thread around the card panel and tied with a bow.  A bit of stickles and some sparkle enamel dots finish things off.

Thanks so much for stopping by today! I hope you have a fantastically creative day!


Strawberry Sweetness


Hi crafty friends! Happy Monday. The school year is winding down and as I reflect on how my boys will be in 6th grade next year, I am definitely reminded that life is short. And after a wonderful Mother's Day weekend and welcoming my first great niece into the world this weekend, I am reminded that life is definitely sweet! So today's card sums all of that up in one cute sentiment.

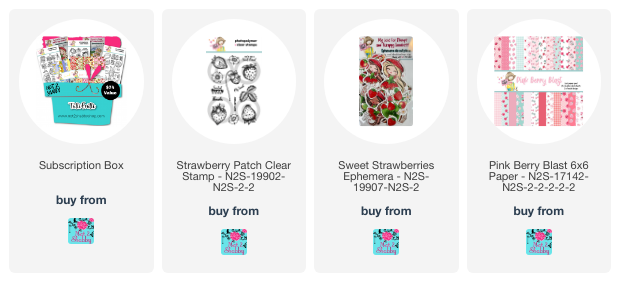
The strawberries, leaves, and flowers are from the Strawberry Patch in the May Box of the Month from Not 2 Shabby.  As I write this there are still a few Strawberry Patch sets left individually in the shop. I colored with Copics and cut with my Scan 'n Cut, but there are coordinating dies available separately if you prefer dies. 


 The papers are from The Pink Berry Blast paper pad in a previous box of the month. I just love these colors and gingham prints. The girl is from the Sweet Strawberries Ephemera in the box. I just love her, she reminds me of my Strawberry Shortcake days. I accented her a bit with Copic markers and a sparkle pen to match the colors in my project. The sentiment is from the Strawberry Goodness set in the box.

Thanks so much for stopping by today. If you're on the fence, the May  box is fabulous. there are two fun strawberry themed sets, and a beautiful lemon themed set, tons of coordinating ephemera, and a strawberry paper pad and a lemon paper pad. One of my favorite boxes! The boxes can be purchased without a subscription, too.  Alrighty, I'll see you again soon. 

Aloha Shaker


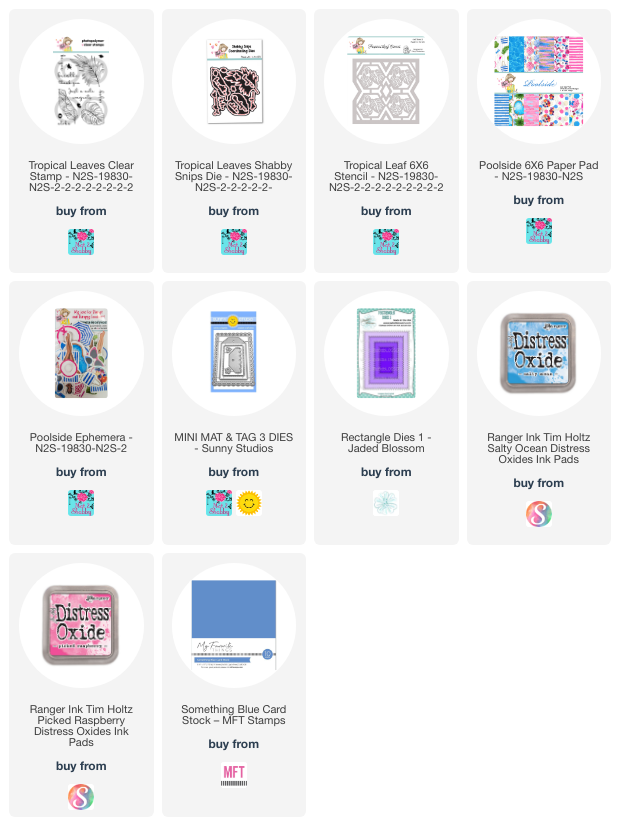
Hi friends! I'm back with another card featuring Poolside goodies from Not 2 Shabby. I just can't get enough of this fun collection!  For today's card I wanted to create a little shaker to showcase one of the beautiful flower ephemeras in the Poolside Ephemera pack.


I added the ephemera on dimensional foam tape to a white cardstock tag. I then stamped the aloha sentiment from the Tropical Leaves set and cut with coordinating dies to add coming off one edge of the ephemera.  The shaker front is cut using the same tag die from a piece I had stenciled inn pinks and blues with the Tropical Leaf Stencil. I then used a die to cut a rectangle out of the center to create the shaker window. The scallop topper of the tag die set was cut from a beautiful print in the Poolside Paper Collection.  Once my shaker was assembled, I added it to another print from the Poolside paper, adding a thin blue mat and a ribbon behind.

I finished off with a palm leaf from the Tropical Leaves set, colored with Copics and then cut with the coordinating Tropical Leaves Die Set.

Thanks so much for stopping by today! I hope you have a fantastic day!