Powered by Blogger.
Showing posts with label Christmas Projects. Show all posts

Angelic Snowglobe

Hi friends! I'm switching things up today to share this fun snow globe creation! It's all thanks to the Ultimate Snowglobe Shaker Bundle. Isn't that angel ephemera just the prettiest? I just had to make her the star of the show! 😊


I'm loving how the Ultimate Shaker Die Set is so versatile. I paired it with some stitched arch dies from my stash for a unique shape! I put a vellum arch behind the base, glued on some gold glitter snowflakes, and then added the angel. After tucking a smaller acetate arch over her, I added foam tape for a bit of lift. The sentiment from the Winter Wishes stamp set is embossed in gold onto a vellum die-cut. I finished it all off with a paper backdrop from the Cozy Christmas paper pad and some sparkly enamel dots! ✨

Thanks so much for stopping by today! Hope you have a fabulous day!

Shaking it Up


Hi friends! I'm back with another project featuring the Ultimate Snow Globe Shaker Die! This time I decided to use it as a snow globe.  I just love the cute little scene building dies Linh included to create your own winter scene. As a kid, I had a snow globe very similar to this, with a blue sky, a snowman, and some snowy hills. So it seemed like the perfect time to recreate it.

I started with the smaller of the large circles on white cardstock as well as some metallic cardstock. I used the hill border die on the glitter paper circle to create the slopes, then masked off the area where I wanted the hills to go on the white circle.  I blended the sky with chipped sapphire, faded denim, and stormy sky distress ink, then dropped water droplets on it, for the effect of falling snow.


Next I cut out the snow man from white cardstock. I pieced in the nose and buttons with orange and black cardstock pieces, then used Copic markers for the hat, arms, and a bit of shading around his body.  The tree was cut from evergreen cardstock and I added just a touch of texture with a dark green Copic.

I cut a few snowflakes from the same glitter paper for accents, then chose a dark background to let my snowglobe really stand out.  The snow globe base is cut with woodgrain paper from the Farm Life paper pad. I sponged around the edges with vintage photo distress ink for a b it of depth, then embossed the Let it Snow sentiment from Winter Wishes directly onto the bas to finish things off.

Thanks so much for stopping by today! I hope you have a fabulous day!

Cozy Christmas


Hi there, crafty friends! Today is quarterly release day at Not 2 Shabby, and there's a fabulous bundle available with a Cozy Christmas theme! The bundle includes:
Just a heads-up: this bundle is at a special price while supplies last, but you can grab most items individually too! 😉


I'm loving how versatile this shaker die set is – it can create either a snow globe OR an ornament! For this card, I really wanted to make my favorite pattern from the Cozy Christmas paper pad shine. So, I used the smaller of the large circles from the die set to create my ornament. To give it that lovely vintage charm, I lightly inked the edges with Iced Spruce Distress Ink. Then, I cut the largest circle from white cardstock and inked it with Pine ink to match the green in my background paper. For a little extra glitz, I pulled out an intermediate circle from my stash and cut that, plus the ornament topper, from gold foil cardstock. The sentiment is from the Winter Wishes stamp set, stamped in CP Spruce ink and cut with the label die from the snow globe set. I even jazzed up a couple of sparkling enamel dots with a Copic marker to deepen their color!

I finished it all off with some gold cording and a gold foil mat for that extra sparkle! ✨

Thanks so much for stopping by today! Hope you have a fabulous day. P.S. The new die set has limited quantities, so if it's calling your name, you might want to snag it soon! 😉

Warm Cocoa Wishes


Hi friends! It's crunch time for the Christmas crafting, so today I have a few more little treat holders I finished over the weekend to share with you.  I selected the Lattes Cooca and Cookies paper pack and ephemera and got started using Angie from Stamping with Amore's tutorial for these adorable little treat holders.


I picked out some coordinating colors of cardstock in midnight muse, gumball green, and cherry cobbler and got to work.  I love these papers and ephemera and everything came together so easily.  The sentiment is from the Mini Messages set in the Enjoy this Life Bundle.  I stamped it onto a die cut, then embellished with some doodlebug enamel hearts.


A bit of string and some jingle bells finish things off. I added two Ghirardelli peppermint bark squares to the inside and am excited to give them out.

Hope you're having a wonderful start to your week. Thanks for stopping by.

This or That Treat Box and Card


Hi friends! Today I'm joining some crafty friends in their weekly This or That hop on Instagram. Each week we have two themes to choose from. This week's options were skiing or apres-skiing.  Since I don't ski even a little bit I went for the stay warm in the lodge and drink hot cocoa by the fire answer to this week's challenge. So that would be me before, during, and aprés skiing! 😂If you've got time, head over to my Instagram page to hop.


I started with the adorable little Purrs & Cocoa set from Not 2 Shabby. I hadn't had a chance to use it, and was super excited to stamp out the images and color them up with Copic markers in a color palette to match the Christmas Plaids No. 2 paper pack.


The box design is a simple one from Angie at Stampin with Amore. I love her little treat box tutorials! I followed her directions, then just decorated with the pattern papers and stamped images.  I did make my patterned paper layer a touch smaller so I could add a thin white mat behind it for some contrast.  The colored image was cut with my Brother Scan 'n Cut and I popped it up on foam tape for some dimension. Instead of patterned paper I decided to add the sentiment on the bottom flap. Doesn't it fit purr-fectly? 😊

For the inside, I added a die cut heart and stamped the to and from sentiments from the Frosty Friends stamp set, then filled with mini Twix bars.


I've been doing a little re-organization project and came across some Stampin' Up! mini envelopes for 3 x 3 cards, so decided to create a coordinating card, with another image from this darling Purrs & Cocoa set. The sentiment is from the Mini Messages set that was part of the Festive Christmas I want it All bundle. I stamped it onto a die cut shape, then layered everything together and added some pinstripe peel off stickers in gold to set off the horizontal panel.

Thanks so much for stopping by today! I hope you have a purr-fectly wonderful day!


12 Days of Christmas: Basset Hound Edition


Hello friends! I'm excited to be participating in a fun Instagram hop today. My friend Linh at LV Handcrafted has generously been offering a free digtital illustration each day from December 1st to 12th in celebration of the 12 Days of Christmas. All 12 illustrations are currently available for free purchase in her shop until the end of December. To celebrate, we're hosting a fun hop with a chance to win a $50 gift certificate for any LV Handcrafted online course. The giveaway ends on December 20th, so be sure to head over to my Instagram page to join the hop!


As you all know, I'm a total cat person, but I do have a soft spot for paper dogs! They're the best kind of dogs because they don't drool, bark, or bite. 😂 This adorable little Basset Hound, Peggy's Basset Santa, caught my eye and I just had to color him up.

I resized the image to 3" wide, printed it on my laser printer, and colored it with Copics. I added a little glossy accent to his nose for some shine. Then, I cut him out with a 3.5" square die and matted him with a scalloped square die.

The stamped sentiment is part of a sentiment in the Season's Greeting set from Miss Ink. The Christmas is a retired hot foil die set from Reverse Confetti. It's a favorite of mine. I adhered my image panel on dimensional foam to a background of old BasicGrey Christmas paper, then finished off with a white card base.

Thanks so much for stopping by today! I hope you have a fabulous day and enjoy the hop!


Quick Christmas Card with EZ Wonder Dies


Hi friends! Today I'm popping in to share a quick little card featuring the new Rejoice paper collection and stamp set, as well as the EZ Wonder Dies from Not 2 Shabby.

I cut my EZ Wonder pieces from a sheet of Rejoice paper and a sheet of gold foil cardstock.  I wanted the square die cut to fit tilted inside of the circle cut out, so I grabbed the EZ Wonder #1 Add On and used the largest circle die centered over the opening in the paper to cut a thin circle frame. I set the frame aside for another card and then got to work on the card.


The true story sentiment is from the Rejoice stamp set and is embossed in gold onto a 2" square of white cardstock.  I added the two gold banners staggered underneath the sentiment, then popped the panel and banners up on dimensional foam tape.  

The branch image and the angel are cut aparts from one of the pages in the Rejoice paper pack. I fussy cut them with scissors and then added them to either side of my card. The focal panel and images are glued to a white panel embossed with a snowflake embossing folder and then added to a top folding A2 card base.

If you'd like to watch me make this card I have a very short video you can watch on my YouTube channel.


Thanks so much for stopping by today! I hope you have a fabulous day!


Winter Wonderland Shaker Card


Hi friends, today I'm sharing a little winter wonderland shaker card I created with the new Festive Christmas quarterly release and EZ Wonder dies from Not 2 Shabby.  I just love these gingerbread houses and knew I wanted to make a shaker with one as the center piece.


After cutting the square with the round circle cut out from the Festive Christmas Paper Pad, I then found some scallop circle dies in my stash to create a little frame for my shaker hole.  I created the shaker with acetate and then tucked the Gingerbread House ephemera on top of the acetate before adhering so it sits on top  and the snowflake sequins fall behind.  I used a few photo corner dies to dress up the corners and add to the country charm of the main image.

The sentiment is from the Mini Messages set in the Festive Christmas I Want it All Bundle and I die cut it with the EZ Wonder #1 Add Ons and matted with one of the banners from the EZ Wonder #1 Die. I added a couple stripes of thin ribbon, then accented with a fussy cut bow from the Ephemera Pack to finish things off.

Thanks so much for stopping by today! I hope you have a fabulous weekend!


Hidden Message


Hi friends! Today I'm sharing a card I made on world card making day following the LVHandcrafted Mystery Craft Along tutorial for a hidden message card. Fun fold/interactive cards are definitely not in my wheelhouse, but I had a lot of fun trying to figure this one out.


The first part of the process is pretty straightforward, creating a gatefold card with a belly band. Then things get a bit squirrely, cutting slits in your card base and weaving papers in so that you can flip the inside to show a hidden panel. Quite fun, but it took this old brain quite a bit of time to figure out how to actually pull the papers to get to the flipped side! LOL What was that 80's show... Kidd Video, I think? Where they always said, "I'm taking you to the flip side" when they switched from live action to cartoon? That's been going through my head since I made this card! 

For the card, I used the new Festive Christmas papers and Gingerbread Houses Ephemera. I love the farmhouse vibe to this paper pad, and that there are some really fun wood grain panels to go with the Christmas-y prints.  


When you open up the gatefold you have a lot of panels you can decorate. I added several small ephemera pieces, some heart die cuts and sentiments from the new Mini Messages stamp set. I also included an extra long panel of white cardstock that I could write a short note to the recipient on.

Okay... now I'm taking you to the flip side... bwahahahahahaha. LOL


For this section, I used another gingerbread house ephemera, then grabbed a couple of gold snowflakes from the Pink Christmas ephemera pack and a gold foil sentiment from my stash of Christmas past. 

I had a lot of fun creating this card and would definitely recommend giving the LVHandcrafted tutorial a try.

Vintage Santa Two Ways


Hi friends! Today I'm dropping in with a bit of inspiration featuring the Vintage Santa October Stamp of the Month from Not 2 Shabby. This set includes two fun Santa images, as well as several fun sentiments, and works perfectly whether you love to color or not. I typically am all about coloring images, but this Santa just looks so jolly all dressed up in red embossing, don't you think? Easy peasy!


After heat embossing the image and cutting with the coordinating Vintage Santa Dies, I pulled out a sheet of paper from the new Festive Christmas paper pad that was mostly red, cut it down to card size and then dry embossed with a snowflake embossing folder.  I then lightly sanded the embossed areas to make the snowflakes show.  I had a scrap of kraft cardstock that was stenciled with the Striped Honeycomb Background Stencil on my desk and thought it looked great with the snowflakes. So I distressed the edges, then layered the stamped image, a flower and a gold foil leaf de cut over a bit of lace.  I finished off with the Santa surveillance sentiment embossed onto a die cut tag and hung with a bit of gold cording.


For my next card, I pulled out my Copic markers  and started coloring dear old Santa.  The red for the Santa hat, as well as the holly branch are solid, so to add some color, I painted on some gloss Pops of Color in red and green.  The card layout uses EZ Wonder Die #1 cut from some Festive Christmas Paper.  I cut the circle die cut in half to create a little interest, then inked up the edges and layered onto a panel of white embossed with a snowflake embossing folder.  The sentiment is from the Mini Messages stamp set included in the Festive Christmas I Want it All Bundle. I finished with a small bow up top and some Vintage Christmas Charm Sparkling Enamel Dots.

Thanks so much for stopping by today! I hope you have a wonderfully creative day!


Sweet Holiday Wishes

Hi friends! The Not 2 Shabby quarterly release is available in the shop today! You can purchase all the new goodies in the 
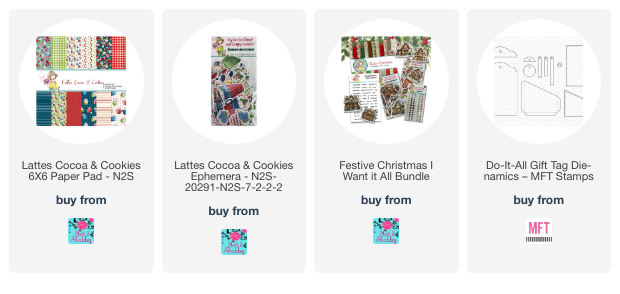
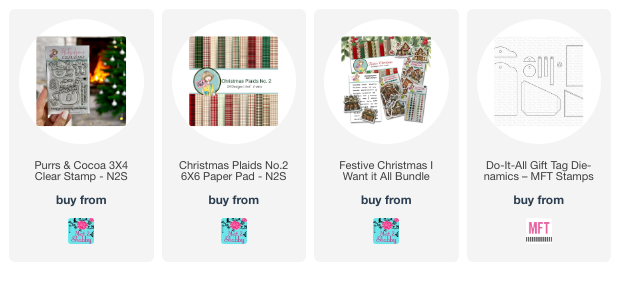
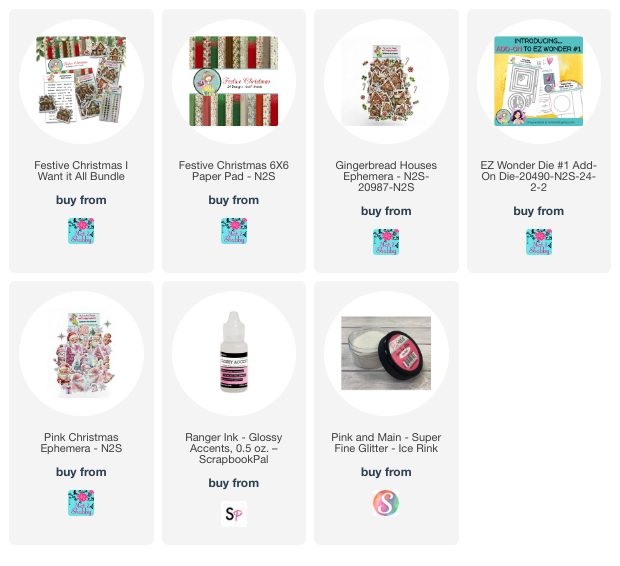
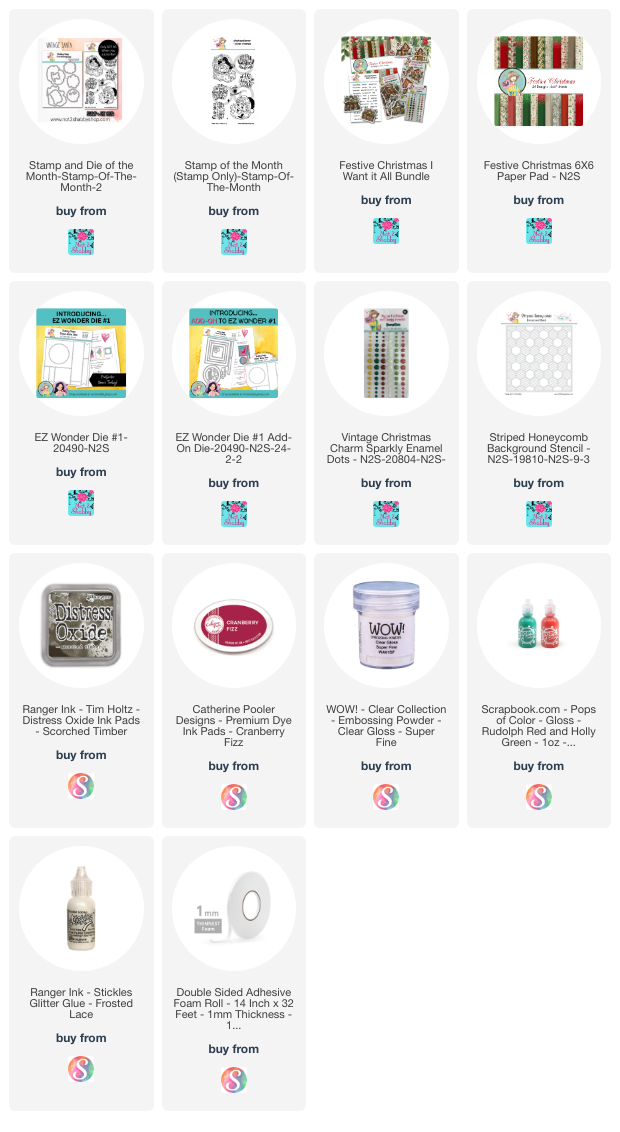
Festive Christmas I Want it All Bundle to save a little, or most of the items are available to order individually. 


This release includes the Festive Christmas Paper Pad, Gingerbread Houses EphemeraChristmas Shops EphemeraVintage Christmas Charm Enamel Dots, and Mini Messages Stamp Set. Today I'm sharing a couple of projects with the sweet Gingerbread Houses Ephemera and the Mini Messages Stamp Set.


Do you ever have those days when you just have a color in mind and want to create with it? When I saw these houses my mind kept coming back to mint macaron and regal rose. I haven't used my Stampin' Up cardstock in a while because I have a rolling cart in front of the file cabinet it's stored in. But I pulled some out just for this crafty session and think I will find a way to get it back on a shelf I can reach for the future. There are so many good colors.

My card starts with the Gingerbread Houses ephemera as my focal point. I layered some of the candy canes and candy swirls on either side to create a scene and then added a bunch of accents with glossy glaze and a sprinkling of glitter. I just love the way this dresses up a piece of ephemera.


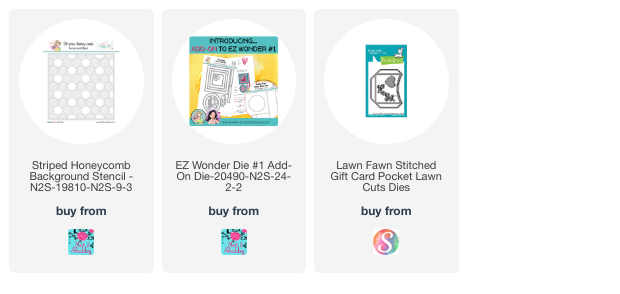
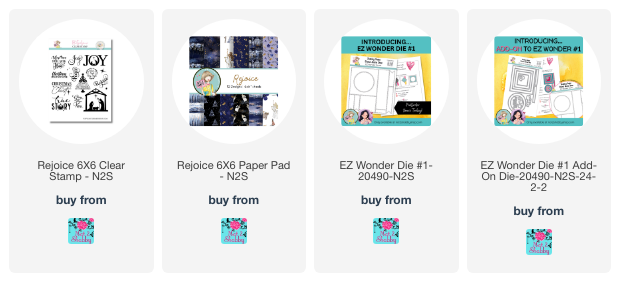
The background for the card, as well as for the tag I'm sharing next use the Striped Honeycomb Stencil. Here I used wheat ink on wheat cardstock, then added to a scallop rectangle mat from Sage Shadow.  The sentiment is from the new Mini Messages Stamp Set and cut with one of the dies from the EZ Wonder #1 Add Ons. These sentiments were intended to be used with your EZ Wonder Dies and I know this set will be WELL loved!

I finished with a chipboard snowflake from my stash, a couple of sparkling enamel dots on the candy swirls and some Doodlebug heart stickers on the sentiment banner.


Next up I created a tag with a gift card holder pocket on the back. I started by die cutting the tag shape and then stenciling with the Striped Honeycomb Stencil and roughing up the edges. I then took a little gander through my shabby chic supplies and found some leaves, a flower and some lace that I thought would go with the Gingerbread Houses Ephemera that I had chosen.  I collaged everything together, adding another Mini Messages sentiment on a banner.  A little gold ribbon at the top finishes things off.


I forgot to photograph the back side, but I did cut a gift card pocket from patterned paper and adhered to the back for gift giving.

Thanks so much for stopping by today! I have lots more to share with these products, so be sure to check back soon.