Powered by Blogger.
Showing posts with label Sympathy. Show all posts

Sunshiny Days


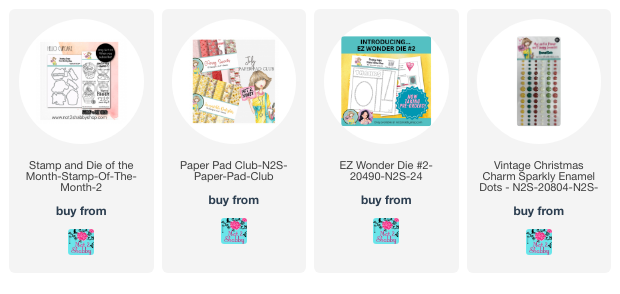
Hi friends! Today I'm popping in with a little inspiration featuring the August Paper Pad Club, the August Stamp and Die of the Month, as well as the new EZ Wonder Die #2. I love the sunflower theme and earthy color combo of this month's collection.

To start off with I cut the EZ Wonder Die #2 from a sheet from the Watercolor Fields paper and a sheet of the Watercolor Backgrounds paper in this month's paper pad club. I knew I wanted to make a shaker with the oval cutout, so backed the gingham rectangle with acetate and added some thick foam tape and some diamond dots and clay sunflowers to create the shaker. This was mounted onto a 3.75" x 5" rectangle of patterned paper.


For the sentiment bar, I took the rectangle with the thanks cut out in the yellow print, then layered the skinny rectangle from the green print over it. It covers the cutouts perfectly.  I tucked in a piece of the add on Sunflowers Ephemera Pack, then added a sentiment stamp from the Stand Strong stamp of the month set and cut with the coordinating dies. A few sparkling enamel dots finished things off.


For the second card, I stamped out the sunflowers from the Stand Strong set, then colored with Copic markers and cut with the coordinating dies. I grabbed the leftover oval and rectangle die cuts from the EZ Wonder pieces I had cut previously and inlaid the green oval in the yellow paper.  I then arranged my sunflower images, adding the top flower on three layers of die cuts to add dimension.  I added the with sympathy sentiment on three layers of die cuts as well.

Next up I added a bit of brown liquid pearls to the flower centers to add some detail and dimension. Sparkling enamel dots and a couple of photo corner die cuts from my stash finished things off.

Thanks so much for stopping by today! I hope you have a super creative day. 

Sweet Sympathy


Hi friends! I’m popping in to share a card I made before my shoulder surgery. Everything went smoothly and I’m on the road to recovery. At the moment crafting is a difficult one handed process, but I’m looking forward to when my range of motion allows me to get back at it.

This one uses the beautiful Little Hello set from Not 2 Shabby. I just love these floral and bird images. I colored with Copic markers in n aqua and lavender palette, then cut the images with my Brother Scan ‘n Cut.  


The oval die cuts gave a great place to arrange the floral sprays, and I tied in the lavendar with a polka dot print from the Dots for Spring paper pad.  I finished off with a few of the Let's Get Cool collection sparkle enamel dots. The sentiment is from the Everyday Greetings 2 set from Sweet 'n Sassy Stamps and cut with my Brother Scan 'n Cut..

Thanks so much for stopping by today! I hope you have a fabulous day!

-Julee

Soft and Subtle Sympathy


Hi sweet friends! Today I'm popping in to share a little inspiration with my new Forever Loved stamp and die set. It seems like I've needed a lot more sympathy cards lately, and so I'm on a mission to replenish my stash. 

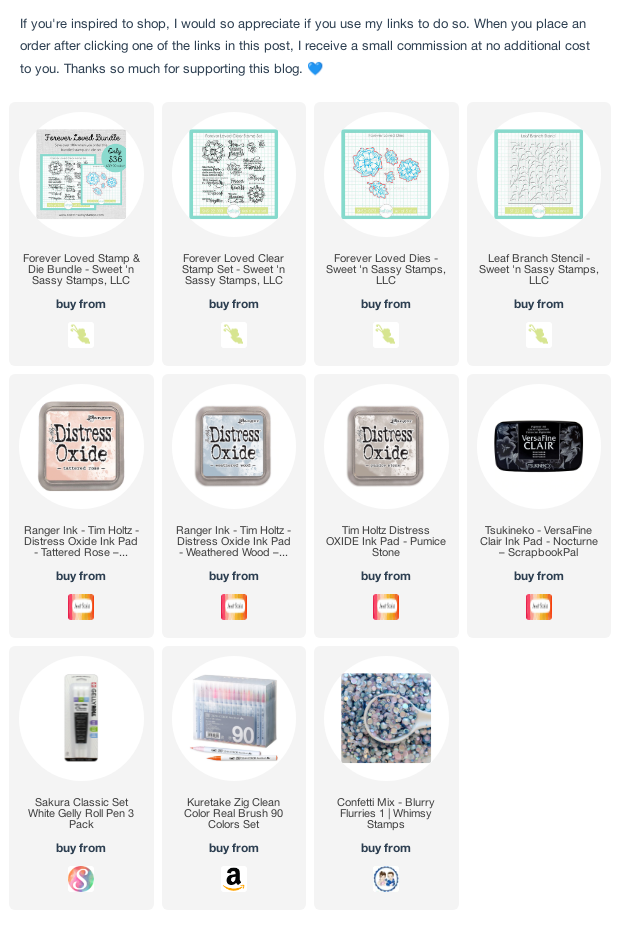
For this card, I wanted a soft subtle look, so decided on a pink and grey color combo. The flower and greenery from Forever Loved were stamped on cardstock, then colored with Zig clean color real brush markers. The paper MATTERS with these markers, and remember when I mentioned the other day that I mistakenly stamped on Neenah instead of Bristol Smooth? This is one of the cards I made with those images. I ended up sticking with the process, just doing a lot more marker on marker blending instead of using water. With the magic of a white gel pen I was able to finally achieve a result I was pretty happy with. I then cut the images out with the coordinating die set and set aside.

For the sentiment panel, I used the new Leaf Branch Stencil with pumice stone ink for a soft background, then cut with a circle die and blended tattered rose ink around the edges. I then heat set everything, used a healthy dose of my powder tool, and embossed the sentiment with black ink and clear embossing powder.

For the card base, I used the same stencil with weathered wood ink and a very light touch on fog cardstock. I love the soft look of it. I then added a white circle mat to my sentiment panel to make it bring the eye in. I fiddled with the flower and leaf die cuts until I liked the arrangement, then glued them down and finished off with a fun sprinkling of sequins.

Thanks so much for stopping by today! 

Purple Sympathy


Hi friends! Today I've got a sympathy card featuring stamps from Reverse Confetti. Are you a purple lover or a purple hater? I remember when I worked for a meeting planning company having grown men and women coming up to me irate that their name badges were purple.  I'd always tell them they were so lucky because purple is the color of royalty. LOL Before that I had no idea how polarizing a color could be.


Anyhow, I went with a purple background I made a while back in a distress ink class.  The vase image is from the Lily of the Valley set and I colored it with Copics and die cut with the coordinating confetti cuts.  The sentiment is from the same set and stamped in abyss onto a Circe Rays Duo confetti cut.  I added a thin black mat to set off my layers and glued everything down.

Thanks so much for stopping by today! I hope you have a lovely day!

Reverse Confetti March Release Hop


Hey friends! It's release day over at Reverse Confetti, and I'm so excited to be joining in the fun this month.  It's a spectacular release, and we're hopping along sharing inspiration with the new goodies. If you've been hopping along, you just saw an amazing creation from Dilay Nacar. After this stop, you'll be heading over to be wowed by Audrey Tokach.  The full hop list is at the bottom of this post. I have a few projects to share today, so grab a cuppa something awesome and hop along.


I'm a little bit smitten with bunny images lately, so the Hop into Spring set was the first thing I inked up.  How cute are these rascally rabbits?  I stamped the bunny and three of the tulip images, then colored with Copics and cut with the coordinating confetti cuts. The background is smooshed with distress inks, then I stamped a sentiment from the previously released Best Sentiments set, stamped in Wisteria and embossed with clear ink. My sun is created with the previously released Circle Rays Duo confetti cuts and lightly blended with yellow ink.


For my next card I used more of the images from this set, coloring with copics and cutting with the coordinating dies. I then used the new Head in the Clouds Cover Panel, over a rainbow blended background, then tucked the egg and flowers behind the clouds. The bunny is popped up on foam tape. I stamped the Hoppy and Easter from the set on a separate strip of cardstock, then popped up on foam and embellished with white gel pen accents and a stamped and cut carrot.


Next I turned to the beautiful new Lily of the Valley set. I had more rainbow blended backgrounds in my stash, and thought this one would pair well with the inner cuts from the new Flower Cover Panel. I cut the panel, used cut-n-peel wrap to glue down just the inner cuts, then with the outer panel still in place, coated the whole thing with iridescent glimmer paste and then pulled up the outer panel. While the glitter was drying, I stamped and colored the vase image from the set, then cut with the coordinating confetti cuts. The sentiment is stamped on a white strip of cardstock, and then I used the bottom of a Scallop Squares confetti cuts die cut.


For my final project today, I used Lily of the Valley again, coloring with Copics and adding a bit of stickles to the flowers.  I die cut with the coordinating confetti cuts and mounted on a die cut of foam sheet for dimension.

The sentiment is embossed in white on vellum, then backed with Artist-tac and die cut, to adhere over a die cut circle blended with distress inks.  I used the Flower Cover Panel in white on white for a subtle background. I finished with a strip of black cardstock embossed with the sending love & prayers sentiment.

Alright, thanks so much for hanging out with me! Be sure to check out what everyone else is sharing today.  Your next stop on the hop is Audrey Tokach.

Getting Sketchy with Hero Arts

Hi friends! Today I'm super excited to have a card sketch for the Stay Crafty with Hero challenge on the Hero Arts Blog. Y'all know I love sketches, and Hero Arts... so together it's the perfect blend.


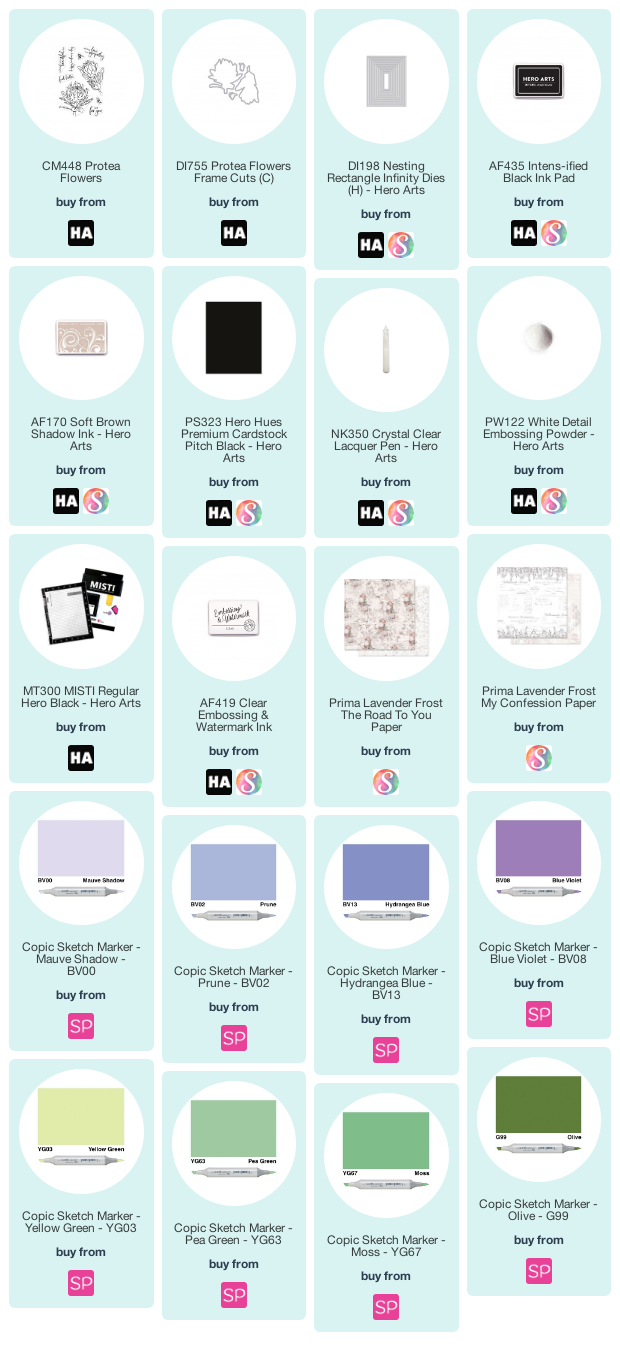
Recently a few of my friends have lost loved ones, so I knew I wanted to make a sympathy card with this sketch. While flipping through stamp sets, this beautiful bloom from Protea Flowers caught my eye and I immediately envisioned it in purple hues. So I stamped with Intens-ified Black Ink, then colored with Copic markers. After I finished coloring, I  die cut with the coordinating Protea Flowers Frame Cuts and accented the flower tips with the Crystal Clear Lacquer Pen and some loose glitter.


I set the flower aside to dry, then got to work cutting panels from Lavender Frost patterned paper. I wanted a soft, neutral background to really make the colors of the flower pop.  I used a 4 x 5.25" panel for the main panel, then a 1.5" x 5.25" panel of a different pattern for the vertical strip. The rectangle panel is cut to 2" x 3.5". I then sponged lightly around the edges of all the patterned paper layers with Soft Brown Shadow Ink and adhered together. To add more contrast between each panel and to keep the layers to a minimum, I used a thin black pen to trace around the vertical strip and rectangle for a subtle frame effect.

The sentiment is embossed with White Detail Embossing Powder on a Pitch Black die cut using the 2.25" x 1" rectangle from the Nesting Rectangle Infinity Dies. I then adhered my flower behind the sentiment, allowing the bottom leaf to peek out over the edge of the panel. The sentiment and flower are popped up with adhesive foam tape, then I matted the whole card panel with pitch black cardstock and adhered to an A2 size card base.


I hope you'll play along with the challenge! Head to the Hero Arts blog for the sketch and all the details, then link up your creation to the Inlinkz list at the bottom of their post to be entered into the drawing. Hero Arts will be giving a $35 gift certificate randomly to one person who plays along! 

Compensated affiliate links are used where possible. When you place an order after clicking one of my links, I receive a small commission at no additional cost to you. Thanks so much for using my links and supporting this blog. 💙

SNSS February Release Blog Hop


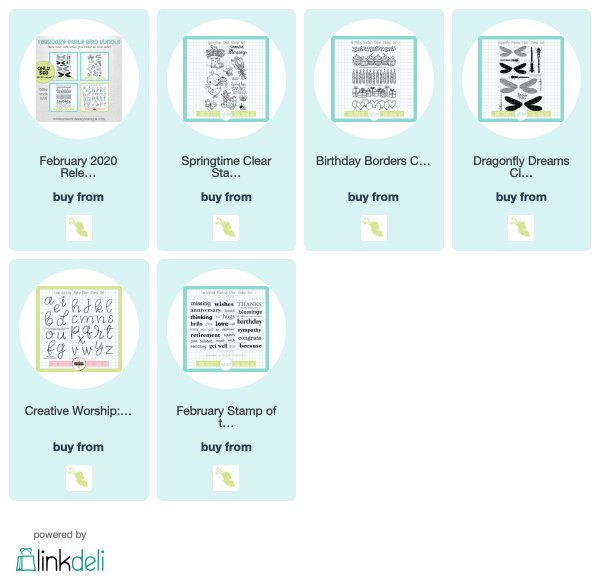
Hi friends! Welcome to the February SNSS Release Hop! There's another fabulous release in the shop that we've been playing with and we're so excited to share our projects with you! Hop along and leave a little comment love for the designers linked later in this post and you might just be a lucky winner! One lucky comment from all the comments along the hop will win a $10 gift voucher to the SNSS shop. Winner will be announced on the SNSS blog, Wednesday, February 19.

If you've arrived from the Sweet 'n Sassy Stamps Blog, you're already on stop 2, welcome to more stampy goodness from me! If a link misbehaves along the way head on back there for the full hop list. Alright, let's get hopping!


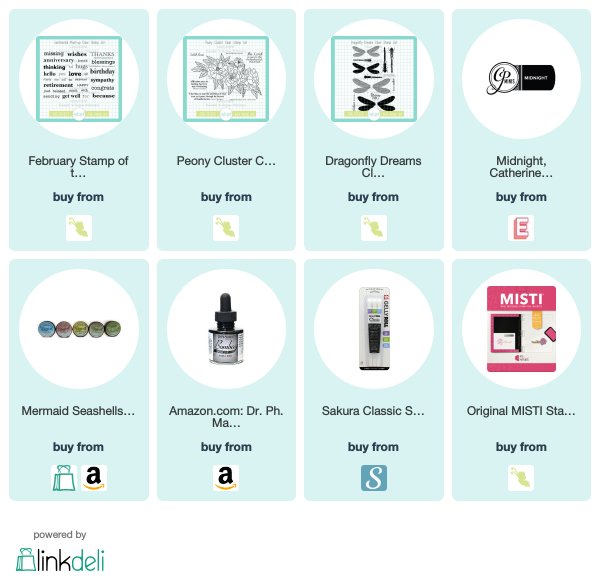
I've been in a soft, shabby kind of mood lately, so today's cards are soft and lovely.  For this one, I started with some prima paper that was  mostly black and white and decided to spice it up with some cocklebells coral Magical powders.  I love how it adds some shimmer and definitely gave an interesting backdrop for this large Peony Cluster from a previously released set.  I watercolored with watered down Magical powders, then fussy cut and added foam tape for some dimension.

The sentiment is from the NEW Sentimental Mash-up set. I love this set and I especially love that there's a belated sentiment included! Best laid plans and all, but I'm usually behind in the mailing of things!  I added the whole panel to a card base and was done.


My next card goes even softer, for a sympathy theme.  Here I created the sentiment from the Sentimental Mash-up set on a diecut piece of pattened paper.  I then blended tattered rose and worn lipstick inks on cardstock, then ran through my die cut machine with a Chicken Wire embossing folder. I lightly sanded the embossed portions and distressed the edges.


Next I stamped and cut out the dragonfly from Dragonfly Dreams and added to the top of the circle. I placed a couple of strips of washi below, then accented with some lace and a metal heart embellishment, then finished off with some black ink splatters.

In case you missed it, our overstock sale is still going on in the SNSS shop. Save 15% on a huge selection of awesome stamp sets!


The next stop on the hop is the fabulous Ceal Pritchett!


Compensated affiliate links are used where possible. When you place an order after clicking one of my links, I receive a small commission at no additional cost to you. Thanks so much for using my links and supporting this blog. 💙

February SNSS Release


My Supply List

In My Prayers

Hi friends! I'm hoping you had a wonderful Christmas filled with love and laughter. We certainly did!


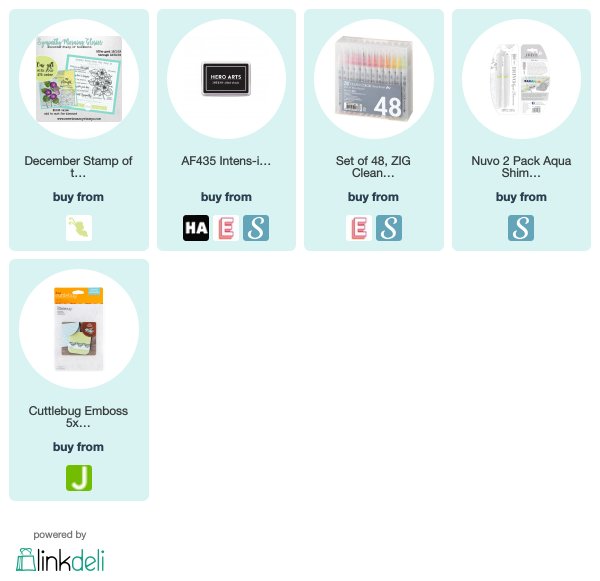
Today I'm popping in to share another card I made with the December Stamp of the Month, Sympathy Morning Glories. These flowers are so fun to color.  This time I colored with Copics on a panel of white cardstock.  I then sponged lightly around the edges of the panel with milled lavender distress oxide.  This might be the first time I've ever used this ink color!  I love the soft glow it gives.


The sentiment is embossed in white on black cardstock, then I accented the card with holeless sequins and some teeny tiny purple rhinestones.


Thanks so much for stopping by today! I hope you have a fabulous weekend!

If Santa brought you a little spending money, there's a great Year End Sale going on at Sweet 'n Sassy Stamps. Everything in the shop is 20% off, plus get FREE US shipping with a $50 order!


Compensated affiliate links are used where possible. When you place an order after clicking one of my links, I receive a small commission at no additional cost to you. Thanks so much for using my links and supporting this blog. 💙

Love & Prayers

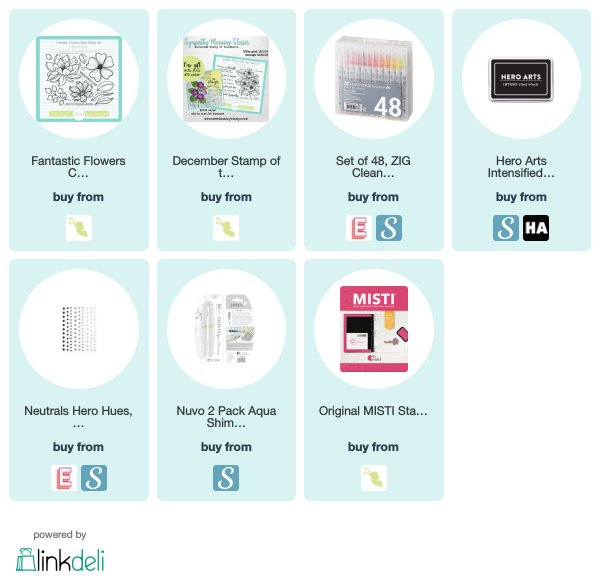
Hi friends! Happy Monday! Hope you had a great weekend. I'm popping in today to share a recent creation. I swooned when I saw this great big flower in the Fantastic Flowers, and it finally up and took itself off my wishlist and came to my house to play! 😁


I colored it up with Kuretake Clean Color Real Brush Markers, then blended with a glitter brush pen and fussy cut.  I then layered a few scraps of paper from my stash together and added a bit of washi for the layout.


The sentiment is from the Sympathy Morning Glories set. I stamped it directly on patterned paper and then finished off with a few black enamel dots.


Thanks so much for stopping by today! I hope you have a fabulous start to your week!

Compensated affiliate links are used where possible. When you place an order after clicking one of my links, I receive a small commission at no additional cost to you. Thanks so much for supporting this blog by using my links to shop. 💙

Strength and Hope

Hi friends! I'm popping in today with a clean and simple sympathy/encouragement card.


This one uses the SNSS December Stamp of the Month, Sympathy Morning Glories. It's available for purchase, or you can get it for free with a qualifying order during the month of December! And it's definitely a keeper! Beautiful sentiments for those hard to create sympathy cards and a beautiful morning glory image.


I started by stamping the morning glories in waterproof ink and then coloring with Kuretake Clean Color Real Brush Markers and a glitter brush pen.  I then trimmed around the image and set it aside to work on the rest of the card.


I stamped the sentiment (oh how I love this one!) in black at the top of a card panel, then embossed just the bottom section of the panel with a chicken wire embossing folder.  A blue mat brings in the eye and finishes things off beautifully.


Thanks so much for stopping by! If you haven't already, be sure to check out the whole December release in the shop! It's a FUN one!

Compensated affiliate links are used where possible. When you place an order after clicking one of my links, I receive a small commission at no additional cost to you. Thanks so much for supporting this blog by using my links to shop. 💙

Mojo Monday 527

Hi everyone! it's time for a new Mojo Monday sketch! Are you ready to play? I so appreciate everyone who plays along. It's always fun peeking in on your creations!

As always, you're free to play along with any papercrafting products your heart desires and enter as many creations as you like. Use the sketch as inspiration for your creation, then come link it up below so I can come take a look! The linky for this challenge will close on November 24, 2019. I have included dimensions on the graphic later in this post, but feel free to change them up to suit your needs.

Please note that this will be the final sketch of 2019, as I'll be taking time off for the holidays. Sketches will resume January 6, 2020. 


This Mojo is another one that's great for using up designer paper. I definitely have a lifetime supply of designer paper, so need to work on using it more! How about you?


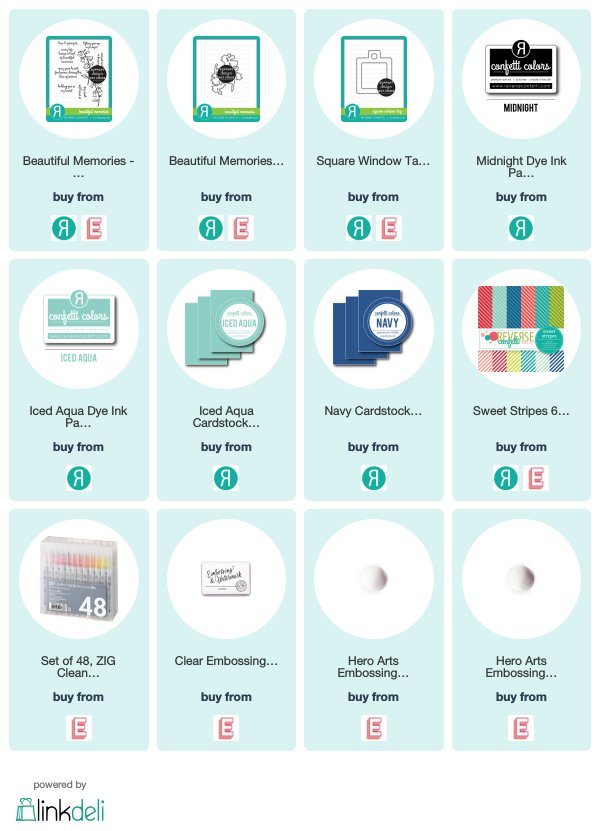
This new Beautiful Memories stamp set from Reverse Confetti really tugs on my heartstrings. There are so many beautiful sentiments for sympathy and encouragement cards, and I can't get enouch of these beautiful bluebells. I colored them up with Kuretake clean color real bursh markers and then cut with the coordinating confetti cuts.


I used some Sweet Stripes paper for the middle layer, but chose to use a heart stencil for the iced aqua layers, blending them tone on tone. Each layer is matted with navy and I finished with a seam binding bow. If you haven't had a chance be sure to check out the fabulous NEW release at Reverse Confetti! It's definitely worth a peek!

Alrighty, now it's your turn! I hope you enjoy creating with this sketch! Can't wait to see what you create!


Join me for Mojo Monday!
Click here to enter

Thanks for stopping much for by! I hope you have a super creative start to your week!

I so appreciate when you click on my compensated affiliate links to shop. I get a very small percentage, but it's enough to cover the monthly fees for the linkup widget for Mojo Monday and the email subscriber service for my blog, which makes me (and hubby) happy! 💙