Powered by Blogger.
Showing posts with label Just for fun. Show all posts

Handcrafted Hello


Hi friends! Happy Friday! Can you believe it's already the end of March? This month has flown by. Today I'm popping in to share a card I created for a rainbow themed card swap. Whenever I have a chance to make a card that isn't for a design team, I like to pull from my pile of goodies that haven't seen ink yet. These little critters from Reverse Confetti fit the bill. Sadly, Reverse Confetti is out of business, but I still love their stamps!


The images are from the Love Wins, Rain or Shine and Crafty Critters stamp sets. I colored them up with Copic markers and then cut with the coordinating dies. 

Next I used a Jaded Blossom cloud stencil and some tumbled glass ink for some barely there clouds. The grass is from a retired Slimline Basics border die from The Cat's Pajamas, and I accented with Copic markers. This was a super fun card to create and send.

Thanks so much for stopping by today! I hope you have a fabulously creative start to your weekend.

Gnome What


Hi friends! I'm back today with another just for fun card. I was playing around with the March release from Jaded Blossom and created this sweet little carrot girl gnome.

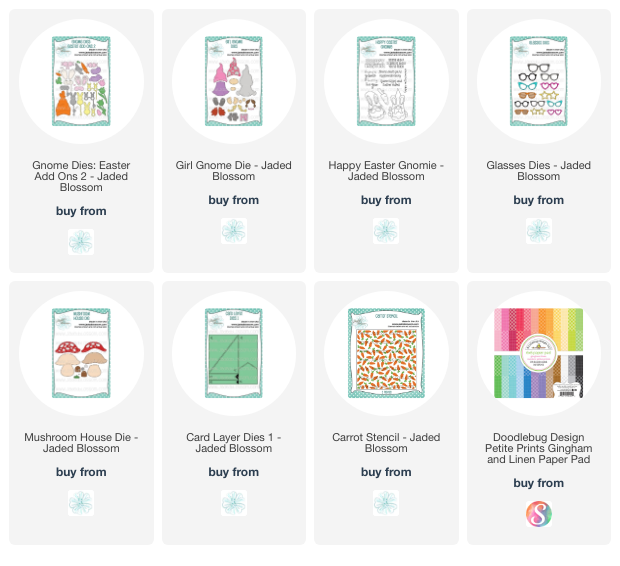
The gingham and linen papers are from Doodlebug, cut with the Gnome Dies: Easter Add Ons 2 dies and the Girl Gnome Dies.  I added some sunglasses with the Glasses Dies, then assembled everything together.


The background pieces are cut with the Card Layer Dies 1. For the pocket shape and the triangle, I stenciled the Carrot Stencil, then cut matching pieces from vellum to layer over the top and soften the look. The sentiment is from Happy Easter Gnomie and embossed in black onto the vellum overlay. The little mushroom is from the Mushroom House Die .

Thanks so much for stopping by today! I hope you have a fabulously creative day.

Products used on today's card: 

Shello Friend


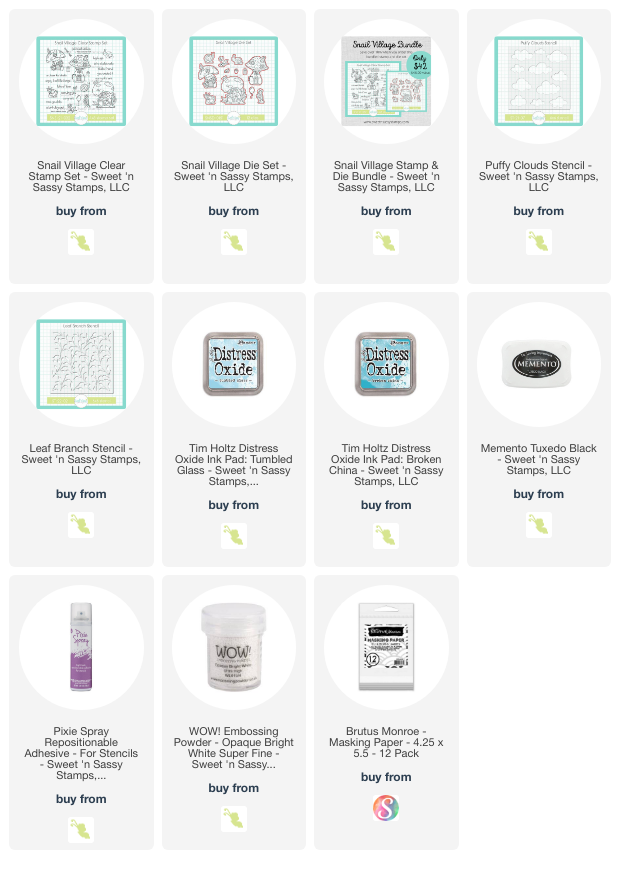
Shello, friends! I'm popping in today with a just for fun card with the Snail Village stamp and die bundle from Sweet 'n Sassy Stamps. I love to color, so the other day had a little coloring session in the corner while my boys were doing an online programming class.

I did a little masking to have the larger flower image in front of my house, originally thinking I would do a one layer scene.  I added in a teeny snail, then colored things up with copic markers.  I added a little hill to ground everything, then stenciled some Puffy Clouds in the background.  I then decided the snail mailman seemed like the perfect little friend for the scene, so stamped him and a couple more flower images.  Once they were colored, I cut with the coordinating Snail Village dies.


I then cut the panel down to size, adding some black mats, and the sentiment embossed in white on black cardstock.  The background is a tone on tone technique with the Leaf Branch Stencil.

I hope you're having a great week. It's spring break here and we've been on stay-cation. It's been really low key so far, since one of my boys has a bad cold and doesn't have much energy. Hopefully he's feeling good again soon.

Affiliate links are used in this post. I may receive a small commission if you make a purchase after clicking one of these links. This is at no additional cost to you, just a way of the company thanking me for referring you to their website.

Brave Strong Wild

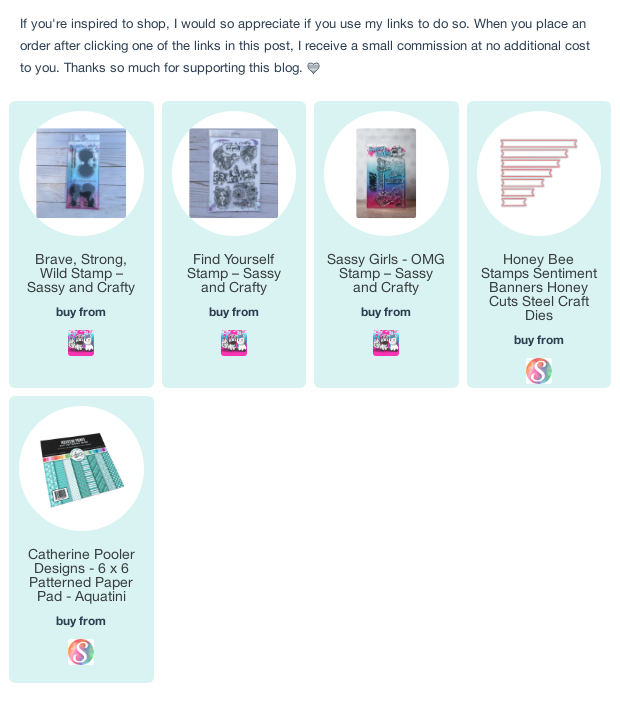
Hi friends! Today I'm popping in with a just for fun kind of card featuring Sassy & Crafty Stamps.


Over the past several months, I've really been trying to be consistent at practicing my coloring skills.  I'm just starting to try to tackle my nemesis - faces. This particular image from the Brave, Strong, Wild set didn't feel as daunting of a start since it's only a partial face and there's not a lot of coloring needed for the hair. That being said, I struggled with the markers I had on hand when I was coloring and her skin came out more yellow than the olive complexion I was hoping for. I did have a lot of fun doing those wispy little hairs framing her forehead, and who doesn't love a little aqua eye shadow?


I thought it would be fun to have her peeking out from behind some flowers, so I picked the lotus from the Find Yourself set and stamped, masked, and stamped a curve across a panel of white cardstock. I then colored with Copics and fussy cut, to pop up over her on dimensional tape.  I added a sentiment from Sassy Girls: OMG to this panel, then stamped the title sentiment from Brave, Strong Wild, cut it out and matted on a black sentiment strip die cut.  A few glitzy enamel dots finish things off.

Thanks so much for stopping by today! I hope you have a fantastic start to your weekend!

Pixie Dust


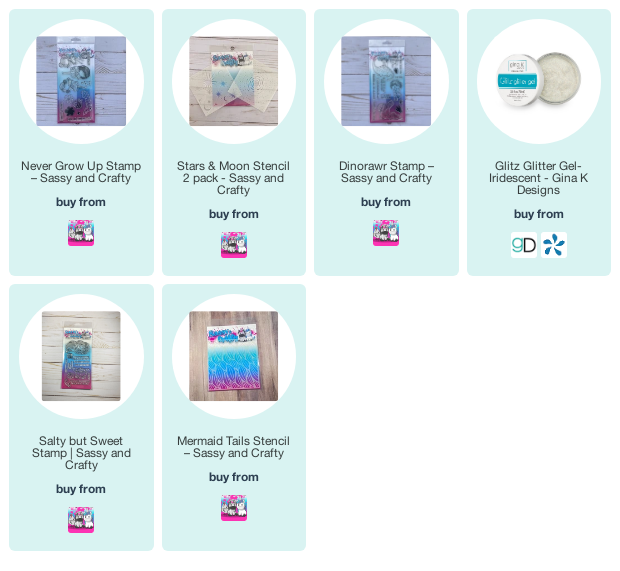
Hi friends! Welcome to the weekend! I'm excited to share this fun card with you today.  I hadn't done a galaxy background in a while, so decided to pull out my distress inks to create a scene for the darling fairy from the Never Grow Up set from Sassy & Crafty.


After blending the inks, I splattered a bit of water, then lifted with a paper towel.  Then I splattered some white and black inks across the background.  When that was dry, I pulled out the Stars & Moon Stencil Pack and stenciled on some iridescent glitter gel. I love that sparkle!

The fairy was colored with Copics during one of my boys' very hot tennis lessons. I hand trimmed around her, then added a bit of stickles for some shine.  The sentiment is a mash-up created by masking off certain words from sentiments in the Never Grow Up and Dinorawr sets. I stamped the star sprinkle behind it, and then accented with a flower from the Never Grow Up set to finish things off.

Sassy & Crafty has moved to quarterly releases, which gives them a chance to restock and re-release some of the fabulous sets they've discontinued. There's a brand new re-stock in the shop today, including:
  • Sassy Girls - Sweet
  • Sassy Girls - Free & Brave
  • Salty But Sweet
  • Comic Book 1 Stencil - Two Pack
  • Comic Book 2 Stencil
  • Mermaid Tails Stencil
Here are a couple of previously shared cards using some of the re-released products.

Click here for original Salty but Sweet post


Click here for original Sassy Girls - Sweet post


Compensated affiliate links are used where possible. When you place an order after clicking one of my links, I receive a small commission at no additional cost to you. Thanks so much for using my links and supporting this blog. 💙

Shake it Up

Hi friends! I'm popping in today with a fun little card using some goodies from Sassy & Crafty.


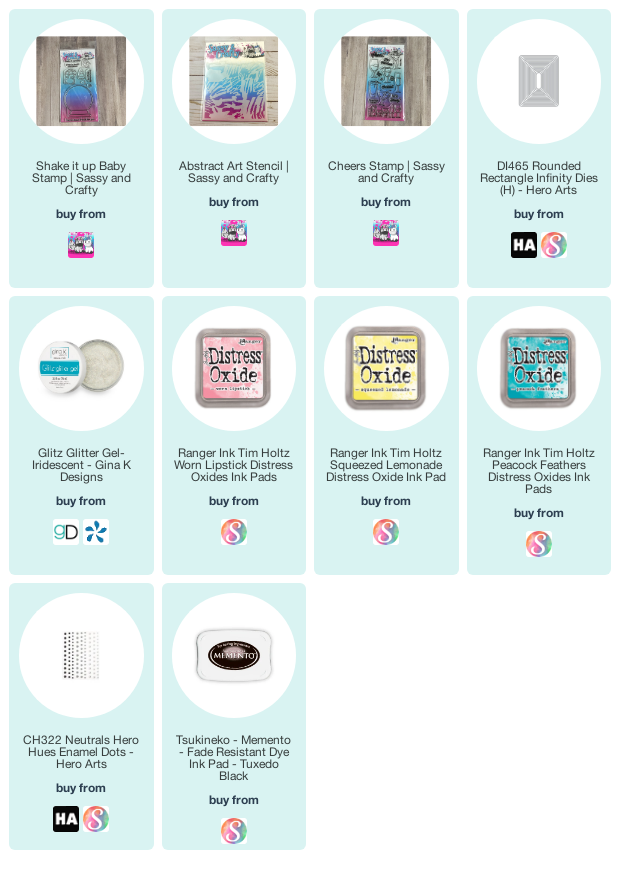
On Friday afternoon Mark took a fun little cocktail making zoom class as a team building event at work.  I stamped, and he shook things up while wearing his headphones.  This little penguin from Shake It Up Baby reminded me of him, and I added the martini glass from Cheers. We celebrated our 23rd anniversary on Sunday, so this was a great way to kick off our anniversary weekend.... me stamping, and him bringing me cocktails! LOL. 


My stamped images are colored with comic markers and then treated with a healthy amount of glossy accents and glitter!  The background is the new Abstract Art stencil.  I ink blending with distress oxides, then cleaned off the stencil and coated with iridescent Glitz glitter gel. It's sooooooo sparkly!

Well, that's all from me today! We're officially into holiday break and we've got memories to be made. Hope you have a fabulous day!

Compensated affiliate links are used where possible. When you place an order after clicking one of my links, I receive a small commission at no additional cost to you. Thanks so much for using my links and supporting this blog.
💙

One in a Melon

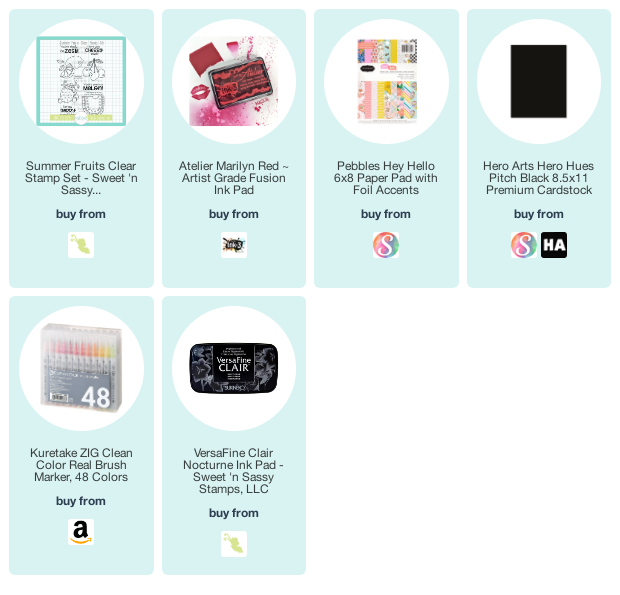
Hi friends! I hope you're having a good week!  I'm popping in with a just for fun card using the July Stamp of the Month from Sweet 'n Sassy Stamps.  Summer Fruits is available for purchase individually, or you can earn it as a free goodie with a $75 order in July. Woohoo!


I still had a bunch of that Marilyn Red ink on my palette after creating my square card earlier this week, so I did a bit more smooshing for a fun background for this card.  Then I stamped the you're one in a melon sentiment from Summer Fruits repeatedly across the panel in black.  I stamped the watermelon image, watercoloring with zig clean color real bursh markers, as well as some of the marilyn red ink.


A little classy black and white gingham gives it a picnic feel, and I finished with a bit of stitched ribbon as an accent.

Thanks so much for stopping by today! Hope your day is super sweet!

Compensated affiliate links are used where possible. When you place an order after clicking one of my links, I receive a small commission at no additional cost to you. Thanks so much for using my links and supporting this blog. 💙

Yellow Submarine


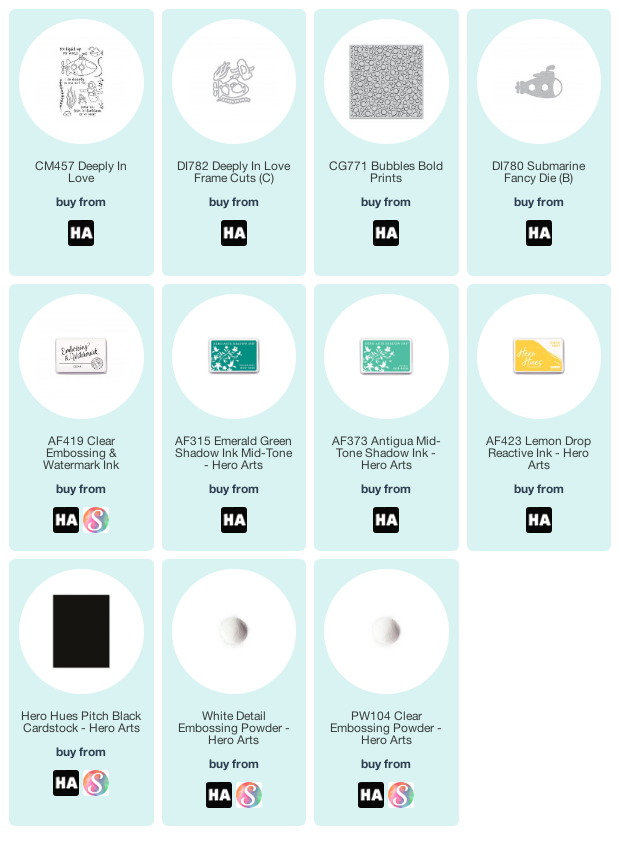
Hi friends! As soon as I saw this awesome Submarine Fancy Die in the July Hero Arts release, I knew I had to make a yellow one!  Cue Beatles music now 🎜... and we lived beneath the waves in our yellow submarine!

The die was cut from yellow polka dot paper and layered a couple times for thickness.  I then stamped the sentiment and wavy planet stamps from the Galaxy Peek-A-Boo Parts set on black paper to be the "windows".


The background is done with the Bubbles Bold Prints, embossed in white and then blended with splash and blue hawaii reactive inks.  I tucked in some greenery from the Deeply in Love add-on and then finished off with some "bubbles" using glass embellishments from a previous My Monthly Hero kit.

Hope this brought a smile. Have a fantastic day!

Compensated affiliate links are used where possible. When you place an order after clicking one of my links, I receive a small commission at no additional cost to you. Thanks so much for using my links and supporting this blog. 💙

Hi


Hi friends! Today I'm popping in with a grungy little bit of fun I worked on recently. Sometimes getting my fingers all stained with ink is the best therapy!

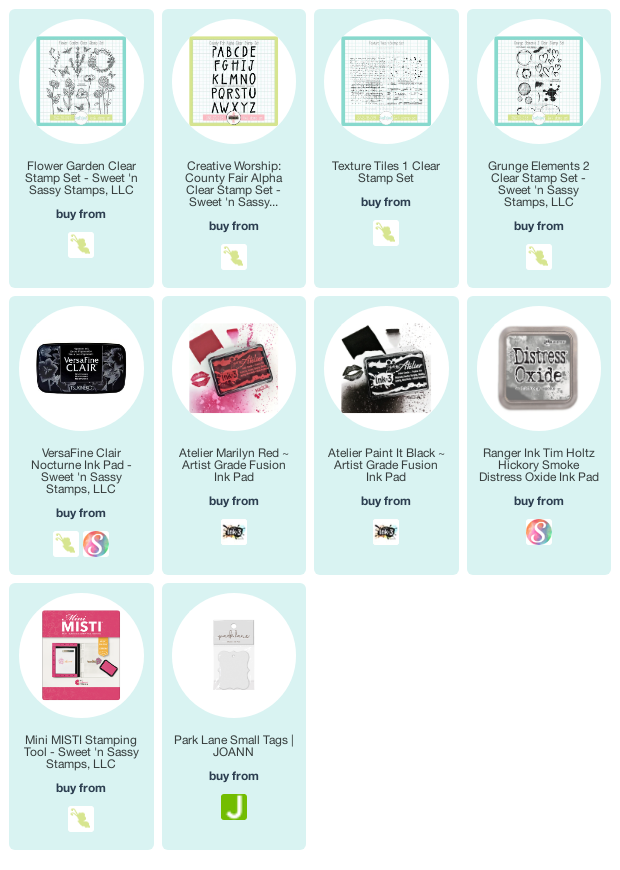
This card started with Marilyn Red Atelier ink.  I smooshed it onto a palette to grab a little ink with my waterbrush to color the sweet flowers from the Flower Garden set.  Used to my well used ink pads, I presssed quite heavily and came up with a whole lot of ink on my palette. It was the perfect excuse to start smooshing up a background. {grin}


So I dabbed a piece of acetate into the pool of red ink, then spritzed with water and smooshed onto heavy white cardstock a few times. I added in some texture with stamps from the Texture Tiles 1 and Grunge Elements 2 stamped in hickory smoke distress oxide.  I used a bit of the Paint it Black Atelier ink to add in some darker accents and also to edge around the sentiment panel.

The sentiment shape is a tag from Park Lane that I also smooshed with the watered down Marilyn Red ink, and then stamped with the County Fair Alpha in black.  I added the colored and hand trimmed flower spray to this tag with a bit of twine and a rhinestone.  The rectangle frame behind was from a previous mixed-media project where I cut frames from chipboard with rectangle dies, then coated with versamark and embossed with white embossing powder.  Ifinished off with some distressed edges and ink splatters.

Thanks so much for stopping by today! I hope you have a fabulous day!

Compensated affiliate links are used where possible. When you place an order after clicking one of my links, I receive a small commission at no additional cost to you. Thanks so much for using my links and supporting this blog. 💙
July My Monthly Hero Release Blog Hop + Video + GIVEAWAY

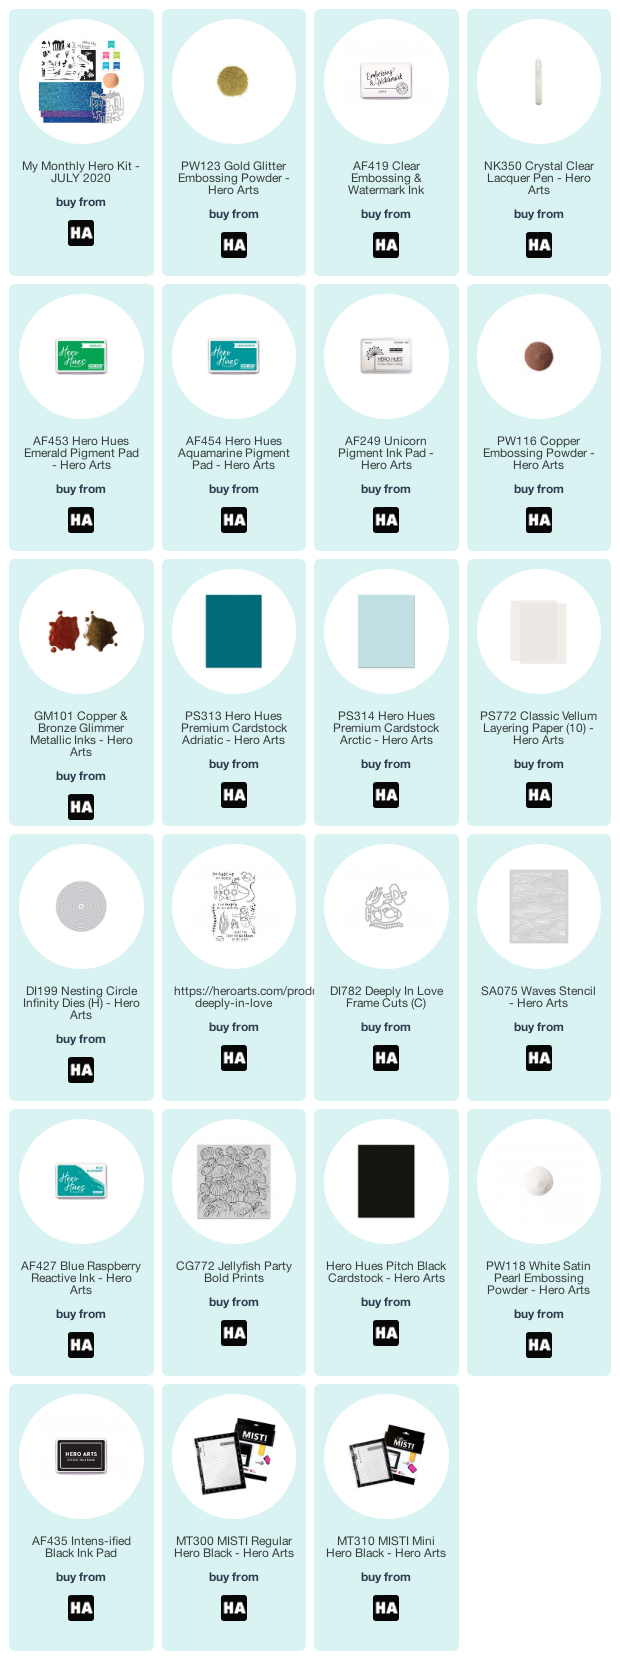
Hi friends! It's time to kick-off another My Monthly Hero release! The July kit is filled with the mystery and intrigue of the lost city of Atlantis. Plus, there are 5 reactive mini ink cubes included!!! And a host of seaworthy add-ons make this one fin-tastic release!

If you've been hopping along, you should have arrived from Jessica Frost-Ballas' blog. Your next hop stop after this will be Laurie Willison's blog. The entire hop list can be found later in this post.


This month's kit includes a super fun Heroscape underwater scene as well as mini cubes of some of my favorite reactive ink colors! I just couldn't wait to get started, and made sure to turn on the camera for this one, so you can watch the process video below or on my YouTube Channel.


My layers were stamped in pool party, blue hawaii, and taffy, then I used clear embossing & watermark ink to add coral embossing over the taffy stamping.


The background of the card is blended with pool party, splash, and blue hawaii, then spritzed with water and blotted with a paper towelfor a fun splashy look. I stamped and die cut the silhouette stamps from the kit in all the ink colors as well as embossed with gold glitter, then chose a few to add to the scene. The sentiment from the kit is tamped with blue hawaii, and I added a little sea horse to accent the banner.


For my next card, I wanted a patina-esque look for an Atlantis scene. I stamped the layering stamps on paradise cardstock with aquamarine and emerald green pigment inks. I felt the green was a little brighter than I would like, so before I pulled it out of the MISTI, I stamped over it with unicorn pigment ink. That lightened up things perfectly. Next I added the coral layer with the coral embossing powder from the kit.


I cut the fancy die from adriatic cardstock, then lightly pounced with copper glimmer metallic ink.  I wanted a little more depth, so dabbed a bit of glue randomly on the upper parts of the die cut and then embossed in gold. Next I stenciled the arctic cardstock background with the Waves stencil.  The sentiment is embossed onto a die cut circle of vellum.  I layered everything together, adding in some of the silhouettes embossed in copper.


I pulled out the liquid watercolors and one of the fun July add-on sets for this next underwater scene.  I started with watercolor cardstock, and then painted with jungle mist, deep ocean, teal, and indigo liquid watercolors and splattered with white watercolor.  The fish stamps from the main kit were stamped with sapphire pigment ink all going the same direction.  I added in some greenery  from the Deeply in Love add-on down at the bottom with deep ocean ink.


I chose a sentiment from the previous released Zen Messages  to go along with the little heart bubbles from Deeply in Love.  I embossed both in white directly onto the card base.  Then I used one of the fish from the kit going the opposite direction of the other fish... he's following his heart. 


Another fun add-on this month is the Deep Sea Background Cling.  I love this fabulous image, and it's designed to work with the other Peek-a-Boo products.


I started by stamping the background in intens-ified black ink onto bristol paper. I used both Zig markers and copic markers to color the  scene.  I then went over the coral images with an embossing pen and embossed with the coral embossing powder from the kit.  Once that was done, I cut with the Circular Peek-A-Boo Doors Die.


The image was then glued to a card base and I stamped little messages inside  some of the doors with stamps from Deeply in Love and Hero Greetings Mini Messages. If you're interested, there's also a fantastic Deep Sea Messages add-on designed to pair with this background.


My sentiment comes from the Zen Messages set, stamped onto paradise cardstock cut with Oval Infinity Dies and then I added a white gel pen border around the inner circle. The bubbles are from the Deeply in Love add-on and I accented them with the blue lacquer pen from an earlier kit.

Well, I have a few more cards to share, but there's still a lot of hopping to do, so I'll save them for another day. I hope you've enjoyed my makes and a bit of my creative process. If you're not a subscriber already, the kit is only available while supplies last, so pre-order your kit todayWe estimate kit shipping will begin Friday, July 17th and continue throughout the following week.

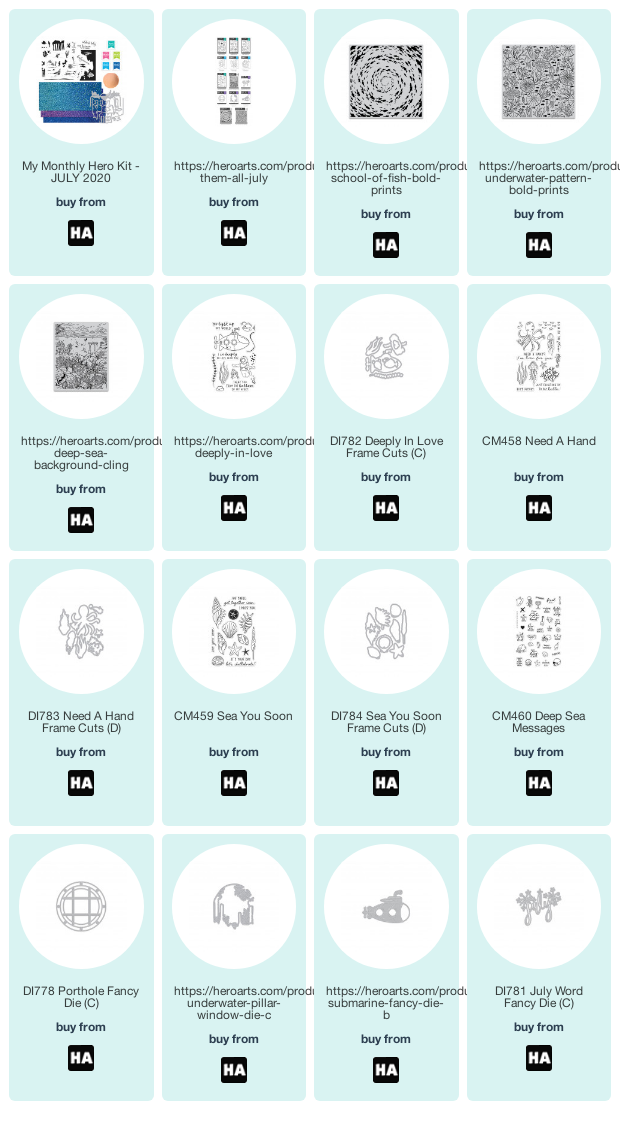
Here's a closer look at the July My Monthly Hero kit. I've also linked the entire release along with the supplies I used for these cards below for your convenience.

Kit Contents:
  • 6" x 8" Clear Stamp Set
  • 9 Coordinating Frame Cuts
  • 1 Fancy Edge Die
  • 6 Sheets of Sticker Paper (2 each of Diamond Blue, Teal, Purple)
  • 5 Reactive Ink Cubes (Blue Hawaii, Splash, Pool Party, Key Lime Fizz, Taffy)
  • Coral Embossing Powder 0.5 oz.
Kit Value: $76.50
Kit Cost: $34.99


GIVEAWAY:
Hero Arts is generously giving away one $50 gift card, drawn from the comments left across the hop. Enter by Sunday, July 19th at 11:59pm pacific, and the winner will be announced on the Hero Arts blog the following week.


For a chance to win the $50 Gift Certificate giveaway, leave some comments for the talented designers linked below.  
Happy hopping!

Next up on the hop is Laurie Willison

Hero Arts
Amy Kolling
Channin Pelletier
Daniel West
Debi Adams
Emily Midgett
Ilina Crouse
Janette Kausen
Jenn Shurkus
Jessica Frost-Ballas
Julee Tilman ✋ That's me!
Laurie Willison
Lydia Fiedler
Maria Willis
Mariana Grigsby
Michelle Short
Mindy Eggen
Nichol Spohr
Seeka
Yana Smakula

Compensated affiliate links are used where possible. When you place an order after clicking one of my links, I receive a small commission at no additional cost to you. Thanks so much for using my links and supporting this blog. 💙

July My Monthly Hero Release


My Supply List

Soak Up the Sun

Hi friends! Only a few more days until summer break for the boys, and I am sooooooo ready to soak up some sun. I might even bust out my bicycle (which by the way, still does not have a cute basket like the one on this card). #lifegoals hahaha


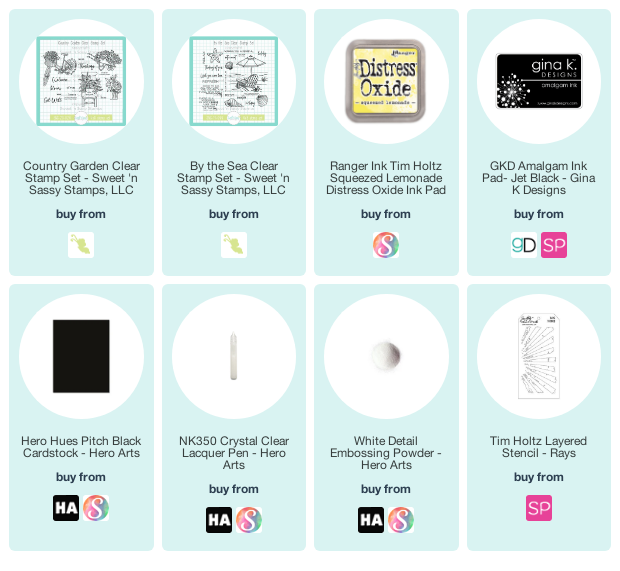
This card started with the beautiful bike image from the Country Garden set. I colored it with Copics, adding a little shine to the bike seat and a few of the flowers then hand trimmed around the image.  The sentiment is from the By the Sea set, embossed in white on black cardstock and tucked behind the bike wheels.


For the background, I started with yellow cardstock and then stenciled squeezed lemonade on using the rays layering stencil. Some foam tape to pop up the bike, and a bit of washi down the side finish off this "just for fun" card.

Thanks so much for stopping by today! I hope you have a fabulous day!

Compensated affiliate links are used where possible. When you place an order after clicking one of my links, I receive a small commission at no additional cost to you. Thanks so much for using my links and supporting this blog. 💙

We Rise

Hi friends! Happy Friday! We've almost survived another week.  Just one more week of "school at home" before summer break begins here. We have no idea what our plans for the summer will entail, but they surely won't include morning Google meet-ups with the boys' second grade class! Not going to miss those! LOL

Card by Julee Tilman


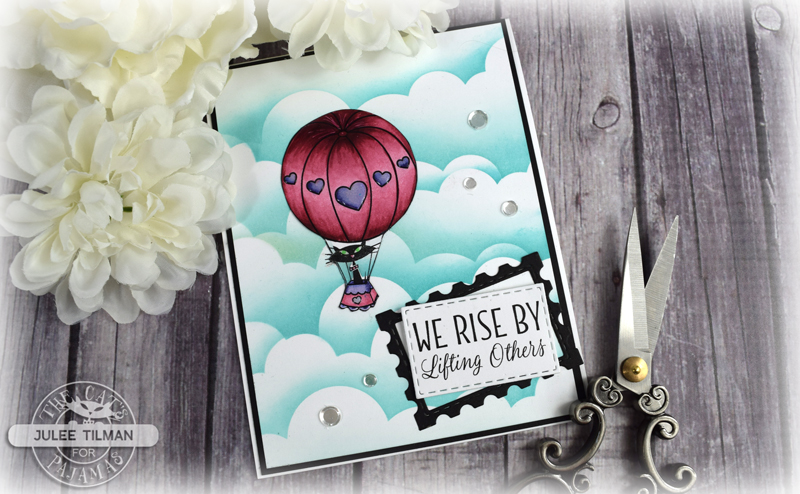
Today I'm sharing a just for fun card I made with the free Social Distancing Digi from The Cat's Pajamas. I've always loved Sprinkle, so had to color up the Sprinkle in a balloon image first.  I colored with Copic markers and then fussy cut.

Handmade card by Julee Tilman

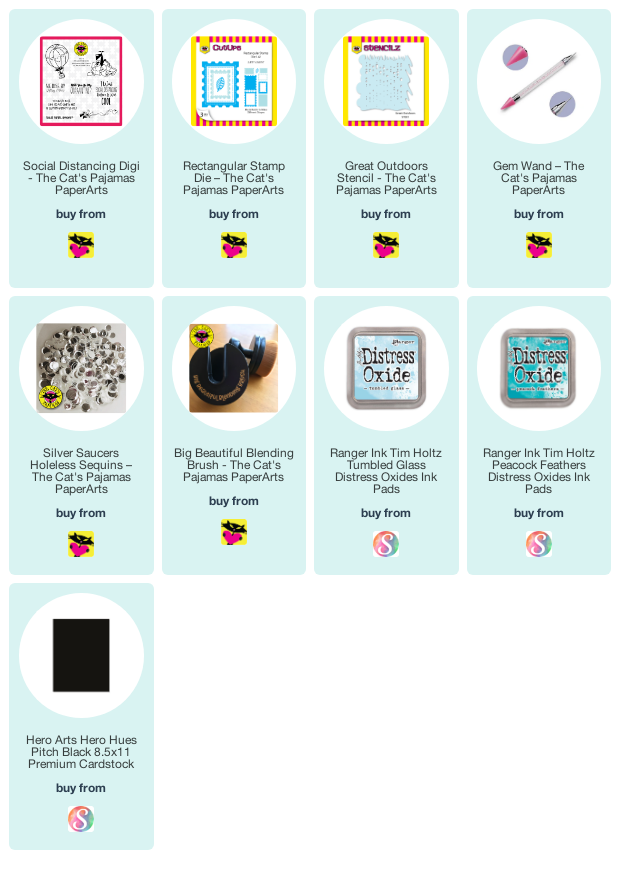
Next I pulled out the Great Outdoors Stencil.  I'm pretty sure this is my most used stencil. I love these clouds.  I stenciled them onto white cardstock using a Big Beautiful Blending Brush first with tumbled glass and then with peacock feathers distress oxide.  When this was done, I added sprinkle, then die cut the printed sentiment with the Rectangular Stamp Die.  I offset the outer die cut in black, then glued everything together and accented with Silver Saucers Holeless Sequins.

Thanks so much for stopping by today! I hope you have a fabulous start to your weekend!

Compensated affiliate links are used where possible. When you place an order after clicking one of my links, I receive a small commission at no additional cost to you. Thanks so much for using my links and supporting this blog. 💙
January Sneaky Peek Day 6


Hi friends! It's Day 6 of Sneaky Peek Week for The Cat's Pajamas! Alma has adorable sets for you this release. Each day through release day, January 28, the Cat Pack will be treating you to a peek at a new stamp set. Look for the In it to Win it graphic and leave a little comment love on those posts for a chance to win a Cat Cash gift code to the shop! Sets are available as they are peeked, so if you see a must-have there's no need to wait.

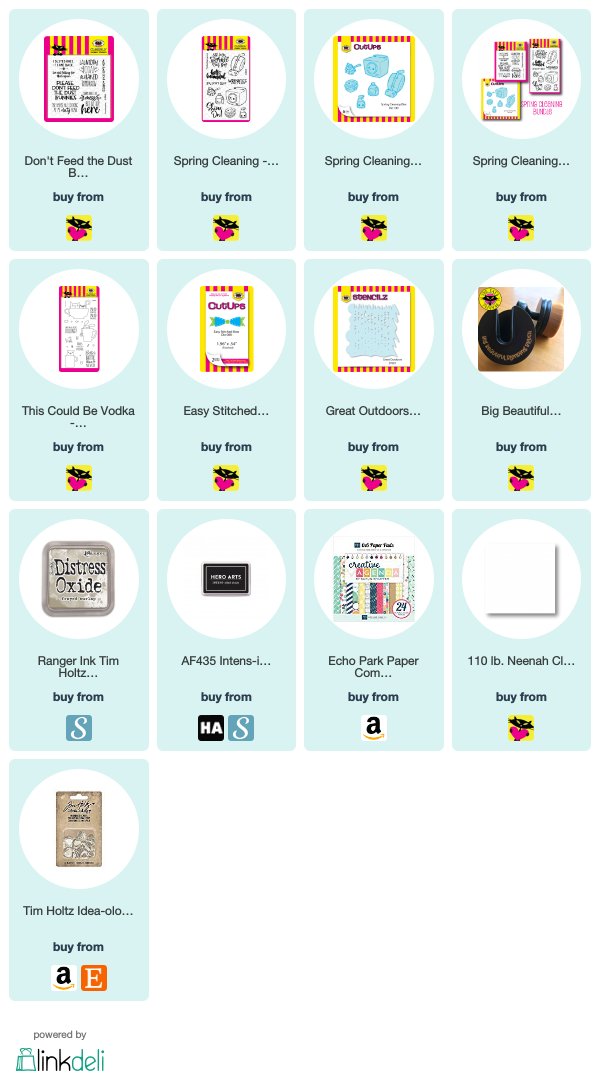
Today's featured stamp set is the Don't Feed the Dust Bunnies set. These sentiments are that perfect mix of classic TCP sass and work perfectly with several of the sets in our new release. You can even get it at a discount in the Spring Cleaning Bundle.


I started with the idea of creating some "dust bunnies" with the Great Outdoors stencil. So I used the cloud portion and some frayed burlap distress oxide to blend on some dust clouds.  For the effect of flying dust, I also added in a bit of the rain drops from the stencil as well.  Once I had that how I liked it, I stamped the title sentiment from the set in black.  I then grabbed the This Could Be Vodka set and masked off the cup, so I could stamp just the bunny peeking out above.  I colored him with Copic markers.


I used the same Creative Agenda papers I used on my Day 1 card, using the Easy Stitched Bow CutUps to create a fun accent up top.  The vaccuum image from the Spring Cleaning set is the perfect addition on the side.


Alrighty, now it's time to see what my other teamies are sharing today. Leave a little love at each of their blogs today for a chance to win the drawing! Check out all the details on the TCP Blog.


Compensated affiliate links are used where possible. When you place an order after clicking one of my links, I receive a small commission at no additional cost to you. Thanks so much for shopping from my links and supporting this blog. 💙