Powered by Blogger.
Showing posts with label Winter. Show all posts

Winter Bridge


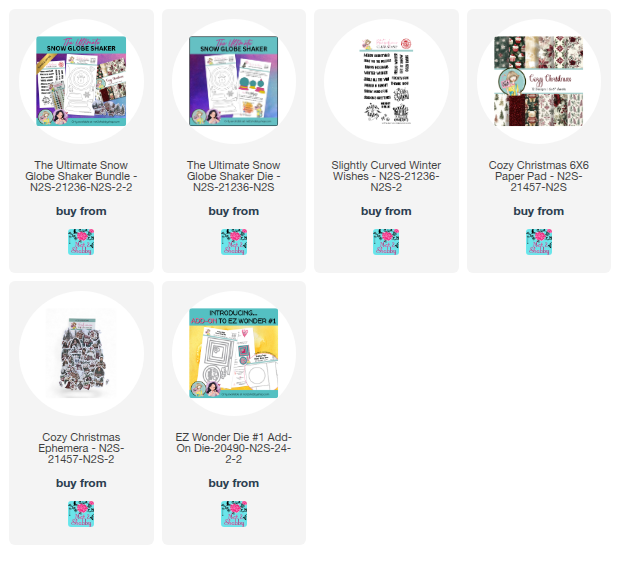
Hi friends! Today I'm popping in with more from the Ultimate Snow Globe Shaker Bundle! I love these pretty papers and ephemera so much that I had to make another card. I went for a peaceful winter wishes scene this time!

I gave the ephemera piece a little distressing with Brushed Corduroy ink, then cut it out with the large circle die. I added a gold foil mat behind it for some extra shine! For the backdrop, I paired the golden paper and that gorgeous poinsettia print, then covered the seam with a gold peel-off sticker and added some sparkly gold glitter snowflakes.


The best part? The sentiment from the Winter Wishes stamp set! Even though it's curved, you can easily straighten it out to fit on a banner die from the EZ Wonder #1 Add-Ons. I embossed it in gold, popped up the circle element, and added it all to a white card base. So much fun! 

Thanks so much for stopping by today! I hope you have a fantastic day!

Snow Cute Card and Easy Pocket Duo


Hi crafty friends! Today I've got a fun little card and gift card pocket duo to share with you featuring the Snowy Pastels paper and ephemera from this month's Paper Pad Club.

If you've been following my posts lately you might have noticed I'm currently obsessed with embossing folders again. LOL! I have always loved the way they look, but they keep getting moved around my stamp room as I make room for new things. Out of sight, out of mind, I guess. In my current creative chaos, the embossing folders moved over by the die cutting machine and it's like I've got a whole new stash of goodies to play with! I guess that's the pay off of 30 years of collecting craft supplies!


For this card I dumped out my Snowy Pastel Ephemera bits and pulled together a few I wanted to use.  Isn't this sweet girl critter so sweet? I cut a little slit in the coffee mug ephemera to slip her hand under the handle, then tucked a little flower behind her. For the background, I pulled out the Perfectly Plaid stencil that is part of the Enjoy this Life bundle and used distress sprays and spritzes in salvaged patina and chipped sapphire to create the background. I love how the sprays give a dissipated look to the color. Snow fun!

I finished off the card with a white scallop mat and a strip of Snowy Pastel paper. I added a little chipboard snowflake, embellished with a flatback pearl, and then added to the top folding A2 card base that I had embossed with a snowflake embossing folder.


This time of year my cards often get a little gift accompaniment. For this coordinating gift card pocket, I chose a similar but smaller ephemera piece. The gift card pocket is so super simple. It's a 3" x 6" piece of patterned paper, folded in half and glued on the two sides. I punched a half circle as a little thumb notch, then embellished with more patterned paper and some ribbon and jingle bells. Super fun and quick.

Thanks so much for stopping by today! I hope you have a fabulous day!


Snow Place Like Home


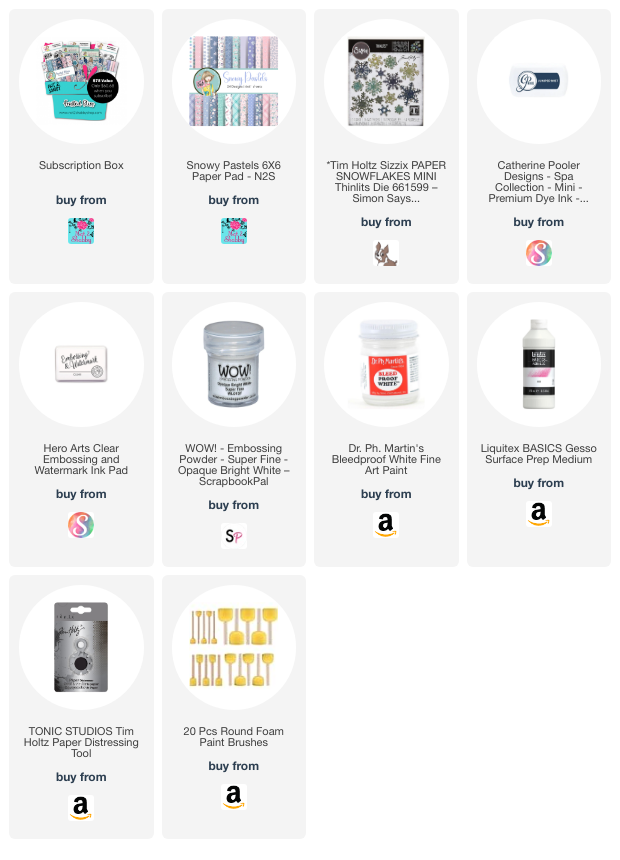
Hi friends! Today  I'm popping in with a snowy little card I created with the Snowy Pastels paper pad and a stamp from one of the sets in the Not 2 Shabby November Box of the Month. I've been having so much fun with this month's goodies!

Lately I've been on a quest to find a white paper to use with my ephemera that isn't quite such a stark contrast in white. Since I have around 30 years of craft room supplies already, I started by looking through some of the papers in my way down deep file. {grin} I stumbled upon a pad of mixed media paper in a spiral bound notebook that seems to be a fabulous match. I tested it out on a card I posted earlier this month and I loved how the paper and ephemera played together. Today I was testing out how well the paper could stand up to wet media and I was pleasantly surprised.


The Smooshing
I really wanted the snow place like home stamp to take center stage so I created a smooshed background on mixed media paper. To do this, I smooshed a Juniper Mist ink pad onto my glass mat, then spritzed with water. I then took some acetate packaging and dipped it in the ink, then transferred to my paper. I dried with a heat tool, and then repeat the process, building up the layers. Once it was how I liked it, I splattered some of the excess ink onto the paper with a paint brush, then did some more splattering with white bleed proof ink. I then embossed the stamp onto the background and tore around the edges of the paper to create my focal piece. Tearing towards you will give that nice white border around your piece.

The Pouncing
The larger background started out as a 3.75 x 5.5" panel of patterned paper from the Snowy Pastels Paper Pack. I distressed the edges with a paper distresser, then pulled out a round foam brush and pounced all around the edges for a a snowy effect. I was so tickled that my smooshed background is almost a perfect match for the paper I chose from the pack, and I love how it went together.  I finished the card off with some snowflake die cuts in various sizes and a little foam tape under my focal panel for dimension.


Thanks so much for stopping by today! I hope you have a fantastic day.

Let's Get Cozy


Hi friends! I'm back with another caffeinated creation for the Fall/Winter Coffee Lovers Blog Hop.  I'm just loving the fun colors and images in this month's Not 2 Shabby Box of the Month. Today I'm playing with the Snowy Pastels Paper Pack and Snowy Pastels Ephemera.


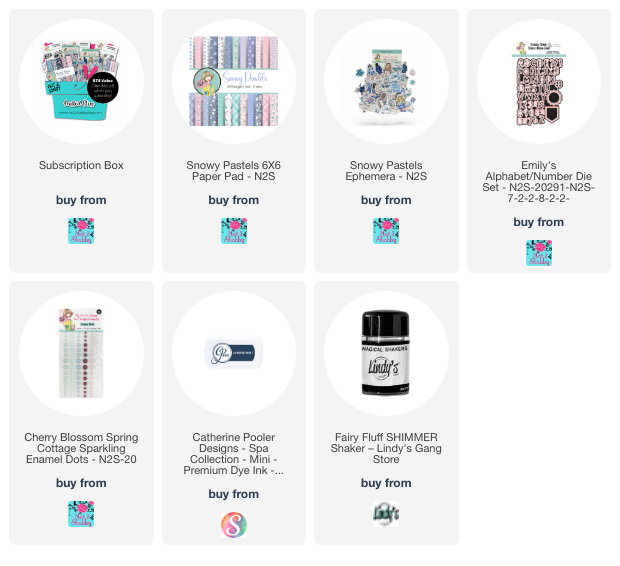
I wanted to make a cozy little scene with this cocoa loving girl. So pulled together the rolling card and some pillow and star ephemera to craft it all together.  The let's get cozy sentiment from the November Box of the Month seemed to go perfectly, so I embossed it onto a die cut from Emily's Alphabet and then blended with blue inks.  I added some papers and a scalloped rectangle mat behind everything, then finished off with a chipboard snowflake and some enamel dots for accent.  The light hit the rose gold pinstripe stickers weird in the photograph. They are a much softer pink in real life.

Thanks so much for stopping by today! I hope you have a fabulously creative day!

Warm Up Here


Hi friends! It's the first Sunday of a new month and that means it's time to reveal a new challenge on the Jaded Blossom blog. This month the challenge is anything goes. I hope you can play along!

January Challenge:
ANYTHING GOES
(must use at least one Jaded Blossom Product)


For my card I pulled out the Build a Booth: Winter Add Ons and got to work making a little mitten and hat booth. I used red cardstock as well as papers from the Echo Park Love Notes collection  for the warm weather gear on the banner, as well as the gnome hat from the Gnome Dies: Winter Add Ons.  I cut the gnome die with papers from the P13 skin tones paper, then added a few Copic marker accents on the mustache and beard.


I added a few glitter snowflakes around my gnome and his booth, then finished with a sentiment from Hot Cocoa Bar, embossed onto the sign portion from the North Pole Sign.

Thanks so much for stopping by today! See you tomorrow for the start of sneak peeks for the January Jaded Blossom release!

Jaded Blossom Dec 2023 Release Day 3


Hi friends ! It's Day 3 of sneak peeks for the final Jaded Blossom Release of 2023! This release features two fabulous themes... hot cocoa and winter wonderland. Come hang with us each day this week leading up to the release on Thursday, December 14 for tons of inspiration featuring the new products!

Today we're shining our spotlights on the new Build a Booth: Winter Add OnsPinecone Stencil. and the Freebie with qualified purchase, Gnome Dies: Ice Skates Add On.


For my card, I went with a winter wonderland scene, combining the Build a Booth: Winter Add Ons with the . My background is ink blended with speckled egg, stormy sky, and faded jeans distress oxides. After blending, I splattered with water, and then with a white bleedproof ink, for a snowy look.  I die cut the pieces for the pinecone banner and the icicles and snow mounds from white cardstock and colored with Copic markers.  For the snowy I used a BG000 and blender pen, then accented with a bit of Frozen Flurry Pops of Color.

My booth is made with some Craft Consortium wood papers, and I embossed the Winter Wonderland sentiment from Hot Cocoa Bar in silver directly onto the top board.  I pulled out the Gnome Dies: Sign Add On for a similar treatment, embossing the open all winter. The pinecones are accented with some cinnamon liquid pearls.

Thanks so much for stopping by today! Check back tomorrow for our new release blog hop!


  We have our Gotta Have it Now Package for $134.99
December 2023 Release will include:

2 - 4 x 6 Stamp Sets
3 - New Dies
1 - New Outline Dies
2 - New Stencils
1 - Die Freebie 

Ala Carte Items available on Thursday 12 am PST 

This Package is only available while supplies last!
*Freebie Die - Only Free Thursday and Friday with a $60+ purchase or While Supplies Last. Must also purchase at least one item from the new release*

Regular price for the release package is $146.92


Drink Happy Thoughts


Hi friends! Today is the launch of a fabulous new quarterly release from Not 2 Shabby. It's filled with a few of my favorite things... gnomes and hot beverages, making it a must have release in my opinion.
Today I'm featuring the Drink Happy Thoughts stamp set along with the Brewing it Up paper pad and coordinating ephemera. There are so many fabulous patterns and images in the paper and ephemera, and the stamp set is too cute for words!


I recently ordered a Pop Up Box Die and decided this new collection would be perfect to create my first ever pop up box card!  I colored up the gnome image from Drink Happy Thoughts in Copic markers. using a color palette pulled from the papers.  I then die cut with the coordinating Drink Happy Thoughts Shabby Snips. I added a few Copic marker accents to  the ephemera pieces I picked out.

I cut the base pieces of the pop up box from Navy cardstock, then cut some additional pieces to mat those layers.  The drink happy thoughts is embossed and die cut, as well as a few of the snowflake images. Once I had everything colored, cut, and ready, I just assembled with glue and added some glitter accents and a few of the new Brewing it Up sparkle enamel dots.  Once everything was done, I created a fun little paper clip book mark with a scrap of paper and some read cardstock. I finished with a bit of ribbon and added it over the back of the card as a fun accent and surprise gift.

Thanks so much for stopping by! There's a bunch of other new products in the release, so be sure to head to the shop to check everything out. Have a wonderful day!

Snowflakes & Gnomies


Hi friends! Today I'm back sharing a couple cards I made earlier this month and haven't had time to share, because this month has been a circus. 


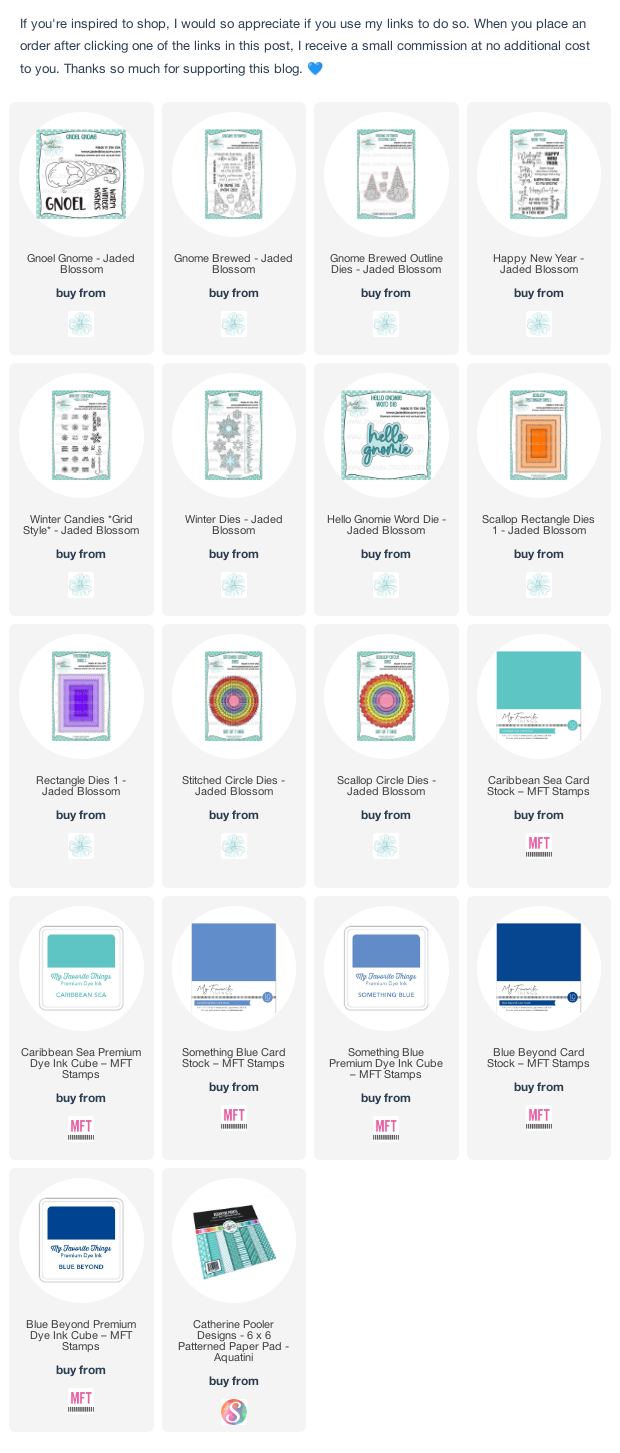
I have a stack of stamps and dies from Jaded Blossom I purchased during the holidays that all need a little loving. I started off with this fun Gnoel Gnome stamp set, pairing it with a sentiment from and a coffee cup from the Gnome Brewed set. I also splurged on a bunch of cardstock and ink from My Favorite Things, so decided to test drive some of their blues. I colored the gnomie with Copics, then added the coffee cup, cut with the coordinating Gnome Brewed dies,  The sentiment is from the Happy New Year set. I stamped the snowflake from Winter Candies *Grid Style* in opposite corners of the sentiment panel. I matted with a scallop rectangle die,


My next card was one to ring in the new year. I outfitted the Gnoel Gnome with the coffee cup from Gnome Brewed. The background is randomly stamped with snowflakes from the Winter Candies *Grid Style* set (after a bit of stamp surgery 😉). For the sentiment I used the hello from the Hello Gnomie Word Die, paired with a masked off new year from the Happy New Year set. Some stitched and scalloped circle dies and a border from the Winter Dies set complete the look. 

Thanks so much for stopping by today. I hope you have a wonderful start to your weekend. Here’s to a year with lots of coffee, crafting, and fun!

Wintry Peace


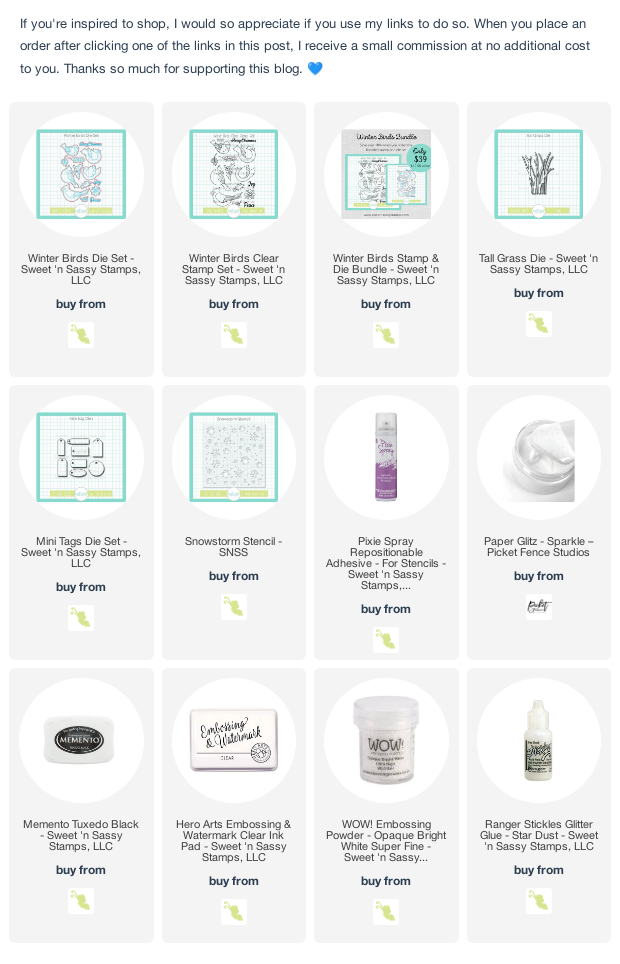
Hi friends! I’m popping in today with another holiday card for the Falling for the Holidays linky party over at the Build Your Stash Holiday Cardmakers blog. This one features the lovely Snowstorm Stencil and Winter Birds Stamp and die sets from Sweet ‘n Sassy Stamps.


I started by stenciling the snowflakes on white card stock with sparkle paper glitz. Next I stamped the bird, holly pieces, and sentiment from Winter Birds with memento ink. I colored with Copics, accenting with a white gel pen and then cutting with the coordinating dies. For a bit of interest I die cut a couple Tall Grass die cuts, then layered at the bottom of my stenciled panel.  


I embellished with a bit of ribbon and lace, then glued my die cut sentiment to one of the tags from the Mini Tags Die Set. The lovely stencil I used on this card is the Product of the Month for October. You can receive it as a free gift with a $50 order. Just add it to your cart and the discount will apply when your total qualifies.


The Most Wonderful Time


Hi friends! I'm popping in today with a fun winter card featuring Sweet 'n Sassy Stamps.  I've been suffering from severe neck and shoulder pain lately,  so my crafting hasn't been as regular. I do have a few things I've created in the past few months that I haven't had a chance to share, so thought I'd pop in with one of those today.

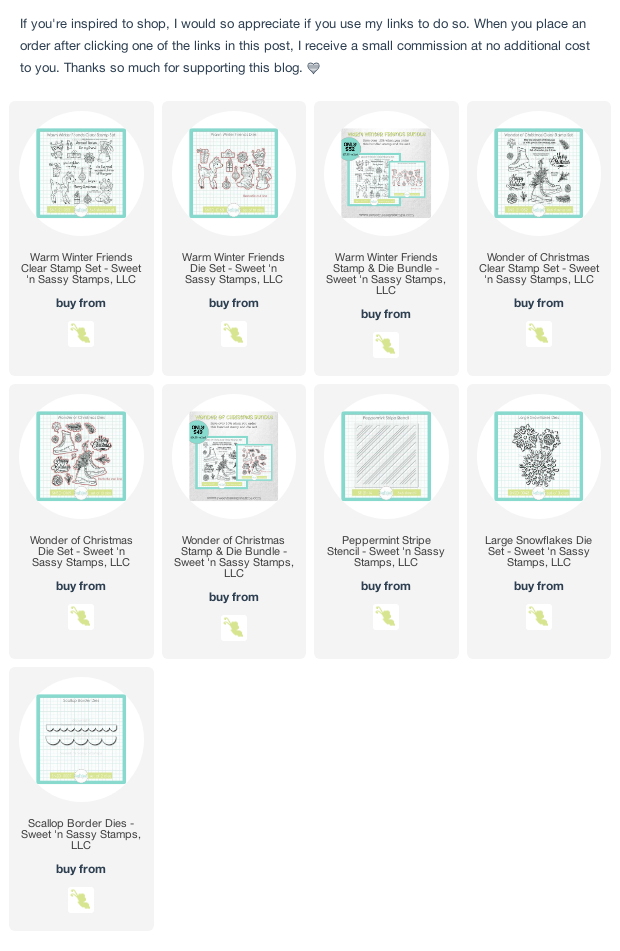
I love the darling Warm Winter Friends set! Those who've been around the blog for many years might know that I have an owl phobia. This might be the first owl I've ever deemed "cute". I absolutely love him with his scarf and glasses. I colored him up with Copic markers, then added some greenery behind him with the help of the beautiful Wonder of Christmas set and coordinating dies.


The background is done with my Peppermint Stripe Stencil.  I just love the plaid you can create with it! The background behind the sentiment uses the same stencil, only at a straight angle. There are so many looks you can achieve with this stencil.  I finished off with a Large Snowflake Die and a Scallop Border Die.

Thanks so much for stopping by today! I hope you're having a fabulous holiday season so far.

Warmest Wishes and an Awesome Challenge


Hi friends! Happy December! It's a brand new month and that means there's an exciting new challenge in the Sweet 'n Sassy Stamps group on Facebook. And this one is definitely EXCITING! The prize is one FREE stamp set of your choice ($16.95 value) per month for an entire year! Who doesn't love FREE stamps, especially when you get to pick a new one every month?  


The challenge this month is December Throwback Anything Goes, which just means show us anything made with a Sweet 'n Sassy stamp, die, stencil, or digi.  If you don't have any, we have a digi freebie in the group, or a few digi freebies on the website. Simply upload your NEW creations to the Sweet 'n Sassy Stamps VIP Facebook Group in our DECEMBER GIVEAWAY Album to be entered in the random prize drawing. If you aren't already a member you'll definitely want to join (it's free) for this awesome giveaway!


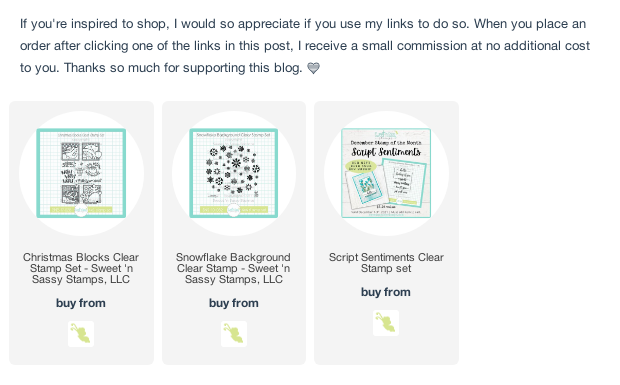
My card today features one of my favorite stamps from Christmas past, the Christmas Blocks set. I just love these sweet characters peeking our of their little boxes.  I colored the reindeer up with Copic markers, then fussy cut.  The square panel and the square card base are stamped in blues and greens with tthe lovely Snowflake Background.  I finished off with a bit of ribbon and a fun sentiment (now retired, I think) at the bottom, but the hello stamp from the December Stamp of the Month would fit perfectly here for a fun winter hello card. The Stamp of the Month is available for purchase individually or FREE with a $50 order in the month of December, and it's a totally awesome sentiment set! I can't wait to get mine!


We hope that you can find some time in the business of the holiday to create!

Warm Gnomie Wishes

Hi friends! It's the final day of the Fall/Winter Coffee Lovers Blog Hop and I'm sneaking in another coffee card before the link-up closes.


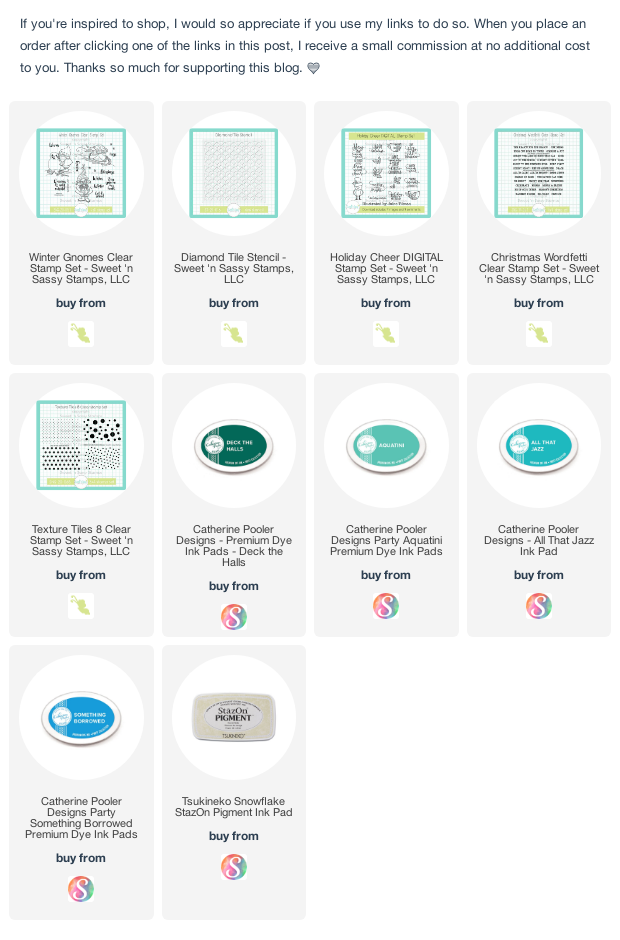
This sweet little gnome is from the Winter Gnomes set. I colored him up with Copic markers in traditional reds and greens, then hand trimmed around him. The background is done with my new Diamond Tile Stencil and Deck the Halls ink.  I just love the fade out I achieved with a lighter touch around the edges.


The sentiment is from Christmas Wordfetti and  and I accented with a bit of holly from the Holiday Cheer Digi.


My next card also features the Winter Gnomes set. This time I went for a winter theme, coloring this snowman building gnome in winter blues. I fussy cut the image and then popped it up on a blended background that I stamped dots from the Texture Tiles 8 set in white for fallen snow.  A circle for the sentiment and some matting and I was done.


Thanks so much for stopping by today! I hope you have a fantastic weekend!

Season of Joy


Hey friends! I'm back today with a sweet little card featuring some of the goodies in this month's Sweet 'n Sassy Stamps release. There's still time to play along in the October "Think Pink" challenge in our Facebook group, so I decided to make another pink card.

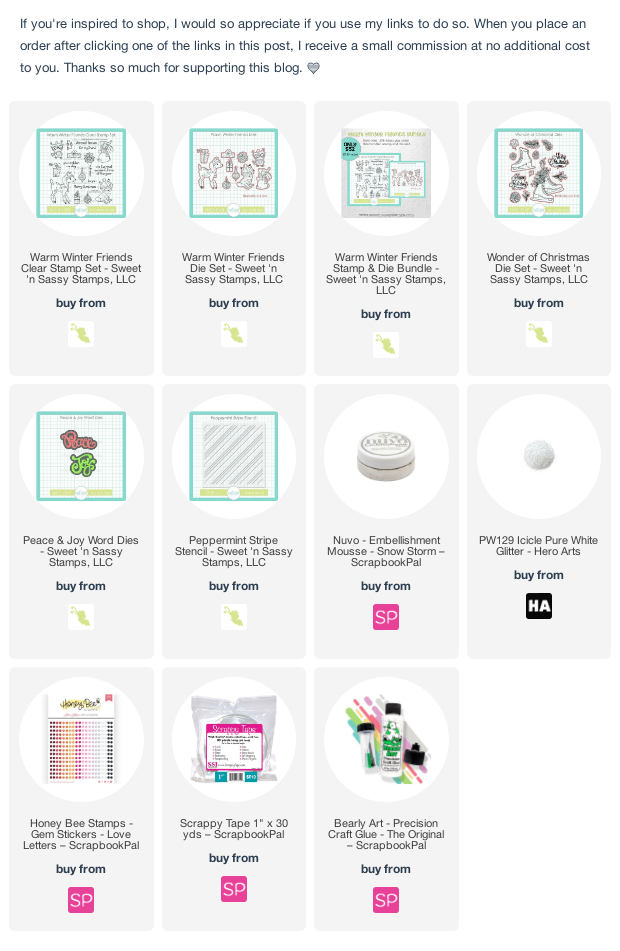
This sweet bunny image from the Warm Winter Friends set is just so adorable. I thought she needed to be looking up at a snowy sky, so colored her up in Copics and cut with the coordinating dies. I then hand cut a little hill for her to sit on and covered with some embellishment mousse and then dropped on some icicle glitter while the mousse was still wet.


This joy die cut from the Peace & Joy Word Dies makes me so happy I cut it a few times out of white cardstock and once from silver cardstock, then layered together for dimension. The rest of the sentiment is from the Wonder of Christmas set. I embossed it in silver and then cut out the portions I wanted to use, replacing the stamped joy for a big die cut joy. Because joy is always better bigger, right?

The background uses my Peppermint Stripe Stencil. I used just one color of ink, one of Catherine Pooler's reds, then blended out with my brush over the stencil for an ombre effect. My finishing touch were a few little "snow" gems.


Thanks so much for stopping by today! I hope your weekend is filled with JOY!