Powered by Blogger.
Showing posts with label Encouragement. Show all posts

Sending Hugs and a Video


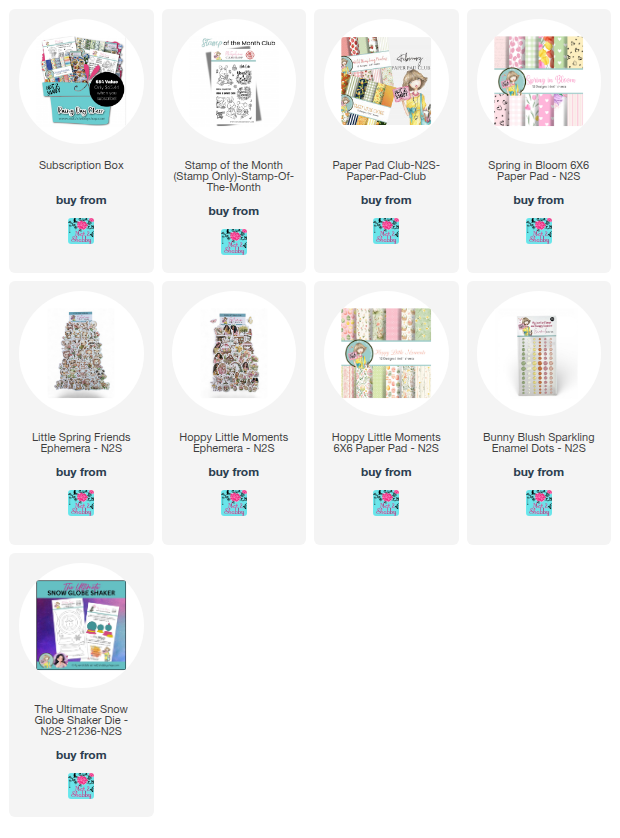
Hi friends! Today I'm popping in with a little inspiration featuring the Not 2 Shabby March Box of the Month. It's an adorable collection of spring themed products and I'm having so much fun with it! I have a process video on the Not 2 Shabby YouTube channel of the making of this card.  I'd love it if you decide to head over there, watch, and give the video a little heart.


In the video I show the process of creating the ink blended sky around my Copic colored image, then putting it all together. I think the colors are just so sweet and that wood grain print from the Hoppy Little Moments paper pad is fabulous.

If you're inclined to do a little crafty shopping in the Not 2 Shabby shop, I'd so appreciate if you'd use my affiliate link. There's a darling free stamp set available with a $60 purchase right now!


Thanks so much for stopping by today! I hope you have a fabulous day!


Donut Worry


Hi friends! Hope you're having an awesome week so far. It's less than a week until I have shoulder surgery, so I'm needing all the donut worry vibes! Trying to keep calm and not dwell on the unknowns of recovery. I did have a blast making this card featuring the new Donut Worry Stamp Set and Summer Donuts Paper Pad from Not 2 Shabby. 


I colored up the sweet panda donut from Donut Worry, then fussy cut. The papers are from the Summer Donuts paper in the June Paper Pad Club. I matted with dragonfruit cardstock, then picked some ephemera from the Poolside Ephemera pack to make a little backdrop for my panda.  I cut a teeny flower from the paper to add in front of here ear, then added sentiments from the Stamp of the Month and a few sparkle enamel dots from the Let's Get Cool Collection to finish things off.

Thanks so much for stopping by today! I hope you have a fabulous day.

Keep Swimming

 Hi friends! I'm popping in today with a colorful little encouragement card.


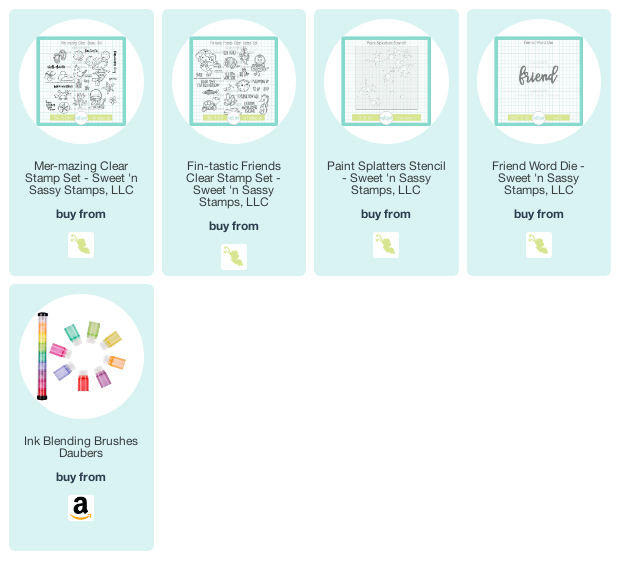
As soon as I saw the Paint Splatters Stencil from Sweet 'n Sassy Stamps I knew I wanted to do a rainbow background with it. So I pulled out a rainbow of ink pads and these little blender brush daubers and got to work.  The background seemed like it would go with the fun critters from Fin-tastic Friends, and Mer-mazing, so I stamped them out, colored with Copics, then cut them out.


The keep swimming sentiment is from Mer-mazing and I embossed it in white on black cardstock and doodled a frame around it,  I thought it would be fun if the crab was holding the sign. The friend is cut with the new Friend Word Die, and I added it behind the crab, so the two sentiments are connected.  A little glossy glaze on the eyes, and this fun card was done.

Thanks so much for stopping by today! I hope you have a fabulous day.

Compensated affiliate links are used where possible. When you place an order after clicking one of my links, I receive a small commission at no additional cost to you. Thanks so much for using my links and supporting this blog. 💙


Jar of Blessings


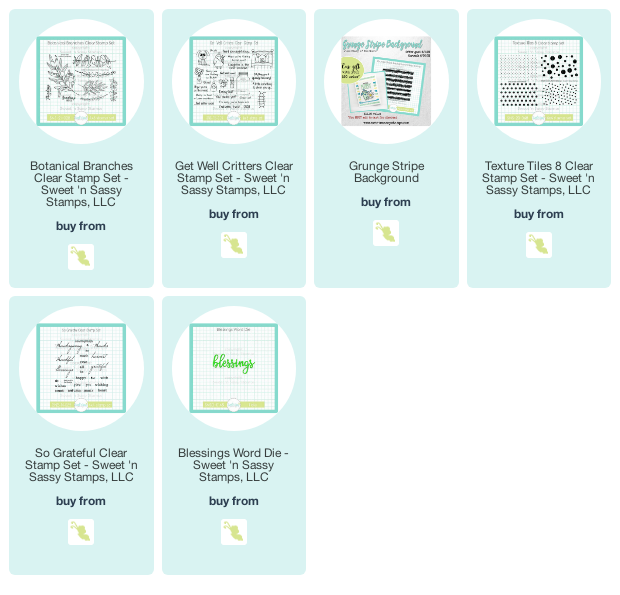
Hi friends! Today I'm popping in with a card made with a mash-up of old and new stamps and dies. As soon as I saw the Botanical Branches set, I knew I wanted to add these to a mason jar. Cue the mason jar from the Get Well Critters set.  I stamped the jar, then masked off the lid to stamp the branches. I then colored with Copics, accented with stickles and hand trimmed.

The background of the card is done with the June Stamp of the Month, Grunge Stripe Background. I really love this background! I stamped on kraft with brown ink, then sponged around the edges with brown ink for a glow in the center.


The horizontal strip is soft sky cardstock stamped with the swiss dot pattern from the Texture Tiles 8 set. I cut the Blessings Word Die several times from white and then kraft paper, then layered them together for depth and sponged just the bottom portion with black ink. The many is from the So Grateful set and I popped it up on dimensionals above the die cut sentiment to finish off the card.

Thanks so much for stopping by today! I hope your day is filled with blessings.

Compensated affiliate links are used where possible. When you place an order after clicking one of my links, I receive a small commission at no additional cost to you. Thanks so much for using my links and supporting this blog. 💙

Light it Up

Hi friends! I'm popping in today with a little mid-week inspiration. May is always such a busy month with all sorts of end of year projects, activities, and celebrations. This year seems more hectic than most, but maybe that's because last year was 2020 and there was nothing going on. Haha! Anyhow, this is the time of year by necessity my crafting usually turns to a clean & simple style. So my card today has lots of white and lots of bright!

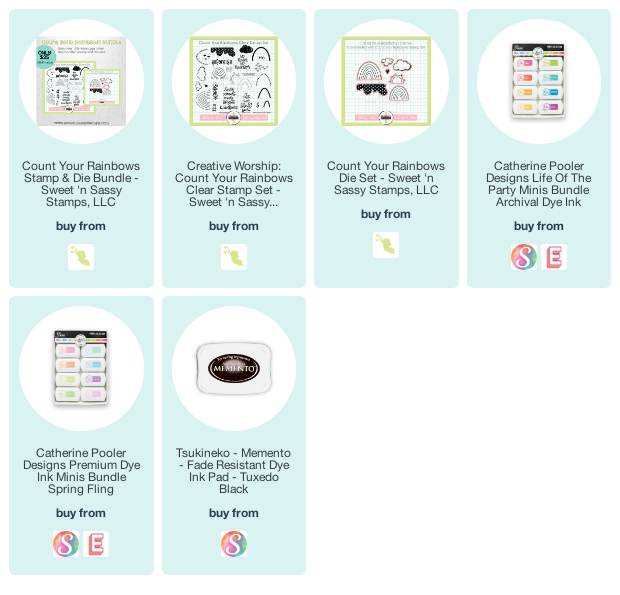
The Count Your Rainbows set seemed like the perfect start for not only a clean & simple design, but also for the rainbow color challenge  in our VIP Facebook group this month. If you haven't played along, there's a prize up for grabs if you enter by May 31. All the details are in the group.

I started by stamping the larger rainbow image and the sun in black ink, then lining up the stitched rainbow lines and stamping over the rainbow.  I then colored with Copic markers and die cut with the coordinating Count Your Rainbows Die Set.  The cloud was stamped in two shades of purple ink, then die cut.

For the sentiment, I thought the you light up my life phrase from My Punny Valentine (on sale this week) went well with the images, so stamped and cut in a circle.  I finished off with a background panel embossed with a rays folder for some texture, then layered up my die cut images on different levels of foam tape for dimension.

Thanks so much for stopping by today. I hope you have a fabulous day!

Compensated affiliate links are used where possible. When you place an order after clicking one of my links, I receive a small commission at no additional cost to you. Thanks so much for using my links and supporting this blog. 💙

Fur-bulous You


How adorable are these sweet kitties from the new Love Your Look set from Sassy & Crafty? It's no secret that I'm a cat lover, and these little kitties totally make me smile.  I colored them up with Copic markers, then hand trimmed to layer onto a galaxy background I created using the new Outer Space Magicals from Lindy's Gang. I hadn't created a galaxy in a while, and this was so much fun.  When it was how I wanted it, I laid out my kitties, then drew lines and dots to form a constellation of fur-bulous kittens!


I added this to a distress oxide background from my stash. I'm still working through all my backgrounds from the Creative Chick workshop I took. This one used peacock feathers and wilted violet distress inks on the top and the same colors in oxides on the bottom.

Thanks so much for stopping by today! Hope you have a great day!

You are Magical


Hi friends! Happy Wednesday! I'm popping in today with a just for fun card with the Mermaid Dreams set I recently ordered from Whimsy Stamps, as part of a prize from the Spring/Summer Coffee Lovers Blog Hop. It's always so much fun to try out new to me stamp companies! I loved this little mermaid tail image and the sentiments in the set are all fabulous, so it just had to hop in my cart, along with a bunch of  adorable gnomes and coffee stamps! {grin} Now to find the time to color them all up!


I colored up the mermaid tail image with Copic markers then fussy cut, doing the same with the little starfish.  I then used a Square Window Tag die cut for the frame, cut from kraft cardstock, and then a gain for the center piece in white. I blended the white inner piece with speckled egg distress ink, then stippled on some white paint for ocean spray onto both pieces of the tag, layering them together to allow the mermaid tail to stick out on top.  I added some seam binding to the top of the tag, then stamped a sentiment from the Mermaid Dreams set on a circele die cut.  I finished off with a distress ink background I had in my stash.

Thanks so much for stopping by today. I hope your day is magical!

Compensated affiliate links are used where possible. When you place an order after clicking one of the product links above or product graphic below, I receive a small commission at no additional cost to you. Thanks so much for using my links and supporting this blog. 💙


Hero Arts 2021Catalog Release Blog Hop + GIVEAWAY


I'm super excited today to be joining in on the Hero Arts 2021 Catalog Blog Hop today!  There are so many fabulous new products in the shop that you're going to want to check out and lots of inspiration along the hop. I'm sharing a few cards with some of my faves today.  Be sure and hop along (link list later in the post) and leave some comment love for a chance to win in the awesome giveaway!

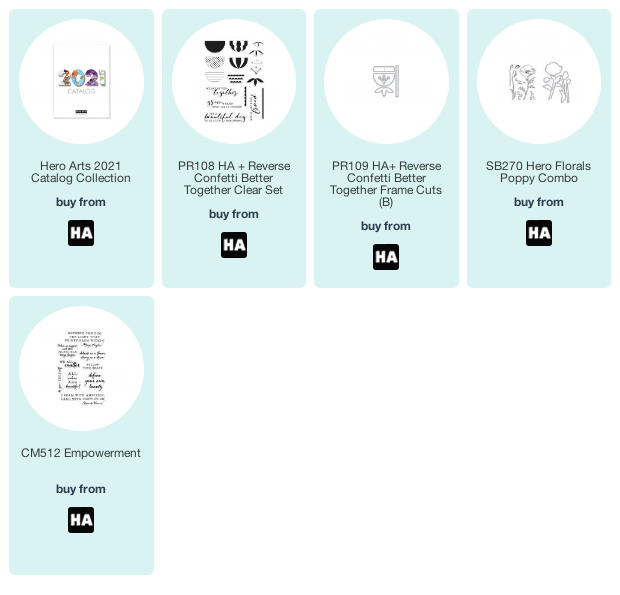
My first card uses the new Better Together stamp set and coordinating frame cuts. This is a partner collaboration with Hero Arts and proceeds from this stamp set will be donated to the Human Rights Campaign.  I love this floral layering set and had so much fun playing with it! You'll see a couple more cards with this set from me tomorrow, too.


I started by stamping out the flowers in a light and darker shade of both pink and purple. Setting things up in your MISTI, so you only have to align one time, makes the layer stamping a breeze.  I did the same with the leaf shapes in green, then die cut them all with the coordinating frame cuts.

The large sentiments in this set are perfect for both A2 cards and slimline cards.  I went with a slimline design with this one, masking off a rectangle on a white panel, then blending with blues and stamping the sentiment in black.  I matted with navy cardstock, then added the panel to the slimline card base with a foam sheet for added dimension.  Then I layered on the flowers and finished with some white gel pen accents and liquid drops.


My next card features a sentiment from Better Together paired with the gorgeous Hero Florals Poppy Combo. I colored up the poppies with Copic markers, then cut with the coordinating frame cuts and arranged in descending order on my card base. The sentiment is embossed in white on black cardstock and popped up on dimensionals. 


Last weekend I was lucky to be able to participate in a virtual gel press workshop.  The focal point of this card was one of the techniques in the class using bleach as a mask for a stamped image. I then cut the print with a circle die and matted on black.  The background is blended in red, orange, and yellow to match, and I finished with a sentiment from the fabulous new Empowerment set.


My final card for today uses a couple of my brayered off prints from this weekend. I thought the blue really matched the storm part of this sentiment from Empowerment, and then added some stamped and die cut flowers from the Hero Florals Poppy Combo. I watercolored the flowers, then accented with Copic markers.  The sentiment is embossed onto a strip of vellum.

That's all from me today. I hope you enjoyed these creations. There are tons of new products in the 
2021 Catalag Collection, and lots of inspiration with them along the hop! Check out the prize info and full hop list below.

Your next stop on the hop is Laurie Willison.

Prize Info
Comment on the hop by Wednesday, February 24th at 11:59pm pst for a chance to win one of three $50 gift certificates to the Hero Arts store. The more blogs you leave comments on, the more chances to win!


Full Blog Hop List


Compensated affiliate links are used where possible. When you place an order after clicking one of my links, I receive a small commission at no additional cost to you. Thanks so much for using my links and supporting this blog. 💙

February SNSS Release Hop + GIVEAWAY


Hi friends! Welcome to the Sweet 'n Sassy Stamps February Release Hop! Hop along with us as we share our projects with the fabulous February release with you. Don't forget to leave a little comment love for the designers linked below for a chance to win a $25 gift voucher to the Sweet 'n Sassy Stamps shop. Winner will be announced on the SNSS blog, Wednesday, February 24.


If you've arrived from the Sweet 'n Sassy Stamps Blog, you're already on stop 2, welcome to more stampy goodness from me! If not, be sure to head over to the blog for all the info and another card from me! If a link misbehaves along the way head on back there for the full hop list. All right, let's get hopping!


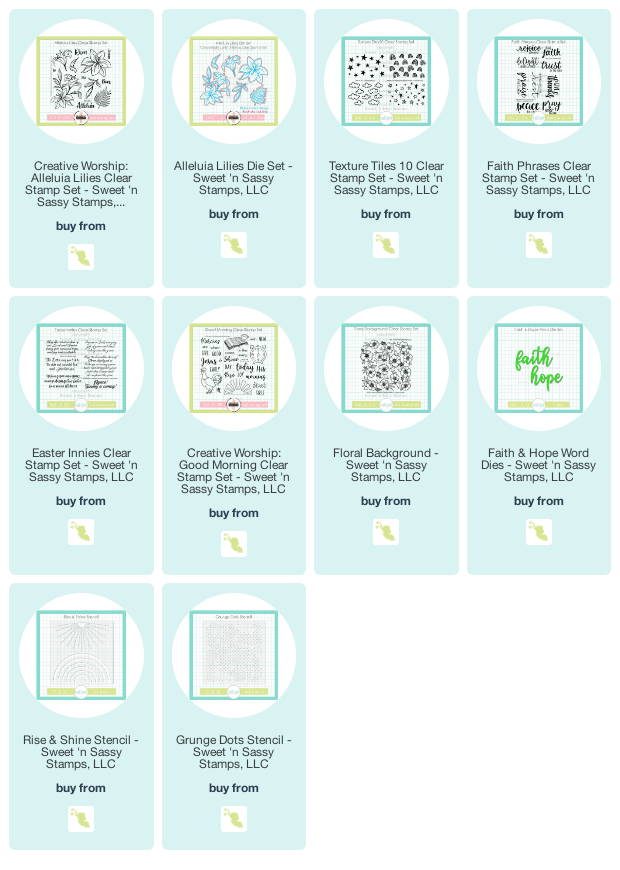
The gorgeous flowers in the Alleluia Lilies set speak my name.  I colored the image with Catherine Pooler inks and a waterbrush, then cut with the coordinating Alleluia Lilies Die Set. You can buy them both together in the Alleluia Lilies Bundle, and save a little bit.

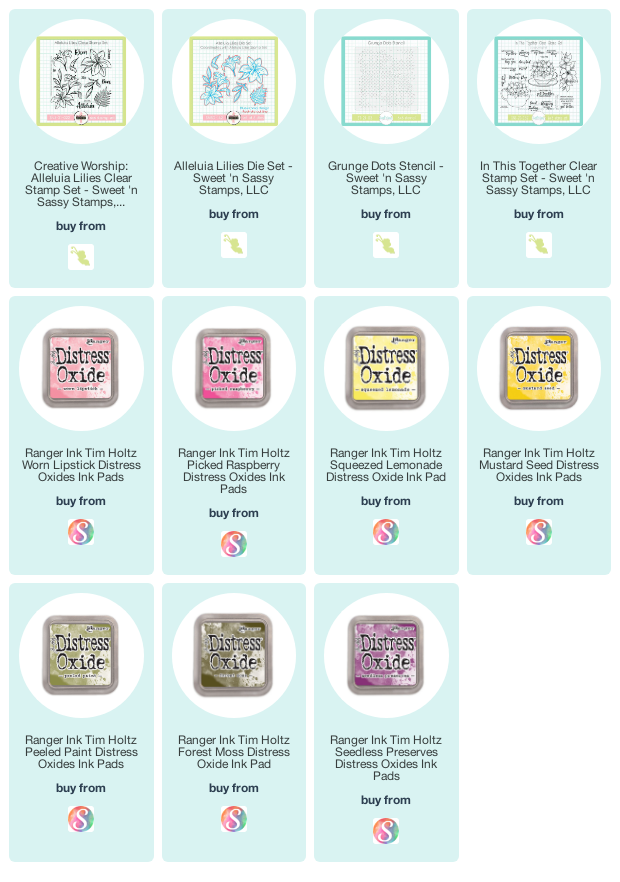
To create the background, I stamped the rainbows from Texture Tiles 10 repeatedly using the same colors of inks. I then blended distress oxides over my stamped image and splattered some water on.  The sentiment is from the In This Together set, and I blended around the circle, then popped things up on dimensionals to finish off the card.

 Thanks so much for stopping by! There is still a ton of inspiration on the hop, so be sure to click on over  to the next stop. 

The next stop on the hop is the fabulous Ceal Pritchett!


Compensated affiliate links are used where possible. When you place an order after clicking one of my links, I receive a small commission at no additional cost to you. Thanks so much for using my links and supporting this blog. 💙

Flutter by Butterfly

Hi friends! There's a brand new release in the Sassy & Crafty shop! It's filled with oodles of fabulous new stamps & stencils. I've been in a mixed media mood lately, so that's where I went with today's card featuring the new Flutter By Butterfly set. 


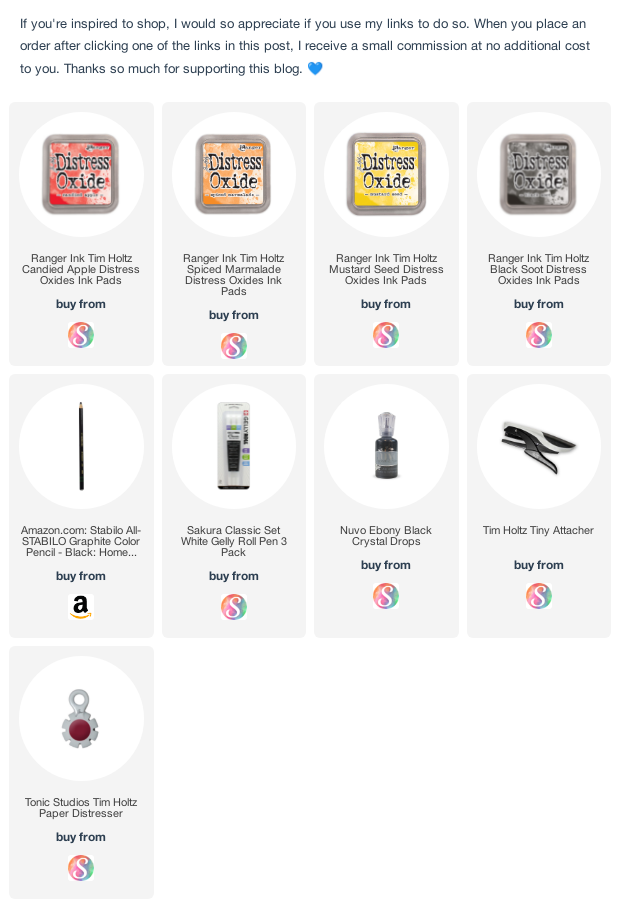
Isn't this butterfly spectacular? I had so much fun coloring it up with Copics in a palette of reds and yellows. I added a few white gel pen accents then trimmed around the edges and set it aside to work on the background.  I did a bit of smooshing with yellow and red distress oxides, then stenciled a bit with the previously released Spiral Shift Stencil.  I stenciled it on partially  in places that would give movement to this fabulous butterfly. I love how well this stencil works with this set.

Next I took another smooshed panel and added the sentiment, then cut it apart and added some black outlines with a stabilo pencil.  I added black splatters to the background and also more black to the outer edges with the stabilo pencil and a baby wipe.  The believe sentiment is from the previously released Be Jolly, By Golly set.  These kittens have come back to play this month in the adorable What's Up Buttercup set, so be sure to check it out.  I added the sentiment with a tiny attacher, then distressed the edges of all my layers and popped up my butterfly to finish things off.


I hope you have a chance to check out the whole fabulous release. There's a little something for everyone, included five amazing new stencil designs! I've linked them all up below, along with my supplies for today's card. Hope you have a fabulous weekend!

Compensated affiliate links are used where possible. When you place an order after clicking one of my links, I receive a small commission at no additional cost to you. Thanks so much for using my links and supporting this blog. 💙

Grunge Florals


Hi friends! It's a brand new month and that means there's a fantastic new release in the Sweet 'n Sassy Stamps shop today.  It's a huge one with stamps, stencils, and dies!


I am head over heels for the new Alleluia Lilies set.  This big florals are just gorgeous!  I colored with distress oxides and cut with the coordinating Alleluia Lilies Die Set, adding some accents with Copics and some stickles.

The background is done with distress oxides and the new Grunge Dots Stencil. This stencil is totally up my alley, and I guarantee you'll be seeing a lot of it!  The sentiment is from the previously released In This Together set.  I just love this sentiment.

Thanks so much for stopping by today! I hope you have a fabulously creative start to your month. Be sure to head over to Sweet 'n Sassy Stamps to see the whole release.

And don't miss the February inspiration challenge in the SNSS VIP Group on Facebook.


Compensated affiliate links are used where possible. When you place an order after clicking one of my links, I receive a small commission at no additional cost to you. Thanks so much for using my links and supporting this blog. 💙

Mojo Monday 552


Hi friends! It's Monday and time for a brand new Mojo Monday sketch! I hope you can find a little time in the next couple weeks to play along with me!

I'm an equal opportunity stamper, so feel free to use any papercrafting products your heart desires and enter as many creations as you like. Use the sketch as inspiration for your creation, then come link it up below so I can come take a look! The linky for this challenge will close on February 7, 2021. I have included dimensions on the graphic later in this post, but feel free to change them up to suit your needs, and never worry about substituting a shape or layer.


Sometimes I create sketches from my past cards, and other times I literally sketch the layout on paper, then create the card. More recently, I've been gravitating to ink blending or mixed media backgrounds and I don't use as many layers as I used to, making new sketches a little harder for my brain to crank out. So yesterday morning I sat down and sketched out this quick layout and I had so much fun picking out papers and elements to fit it. It just goes to show how mixing things up every now and then in your crafting process can really boost your creativity.

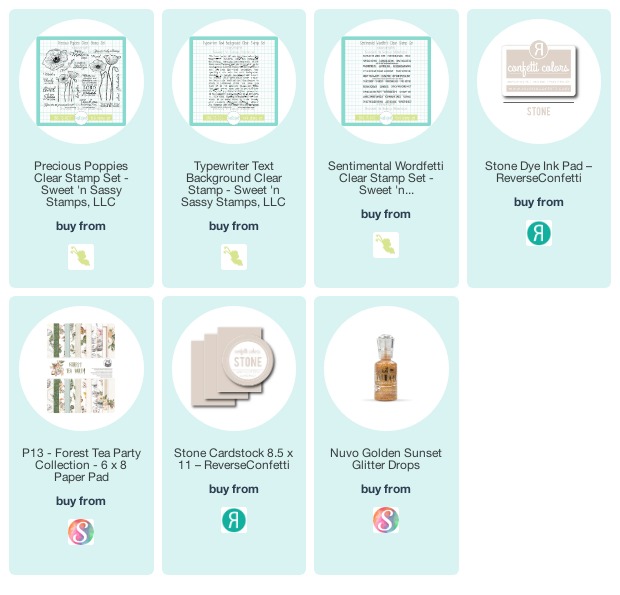
For this card, I pulled out the gorgeous Forest Tea Party collection and cut my panels, inking the edges and matting with stone ink and cardstock.  The background is from the Wood Creative Pad and I stamped the Typewriter Text Background over it in stone ink. This background is part of the Overstock Sale at Sweet 'n Sassy this month, and it's one of my favorites!

After building up my layers, I decided I wanted to use a flower in place of the circle, so I pulled out the Precious Poppies set and colored and fussy cut the flower, adding some Nuvo glitter drops to the center, then bunching up some twine to tuck under.  The sentiment is from the Sentimental Wordfetti set. This set is simply perfect for so many occasions.


Alrighty, now it's your turn! I hope you've been inspired to create something with this sketch . Thanks so much for stopping by. 

Please join me for Mojo Monday!

Click here to enter

Compensated affiliate links are used where possible. When you place an order after clicking some of my links, I receive a small commission at no additional cost to you. Thanks so much for using my links and supporting this blog. ðŸ’™

Positive Vibes

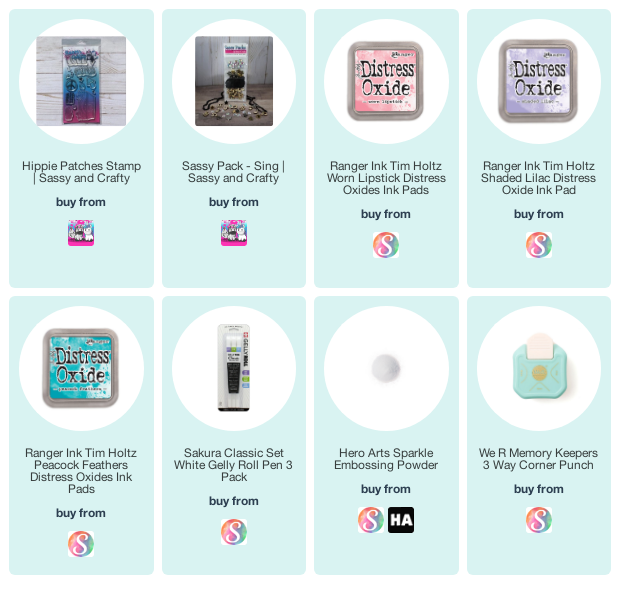
Hi friends! Who could use some positive vibes? Definitely me! One of my favorite outlets when I'm feeling anxious is music and crafting.  I combined the two for this card using the new Hippie Patches stamp set from Sassy & Crafty.


I started with what I call the Scoob mobile. LOL. I actually wasn't allowed to watch Scooby Doo when I was a kid, but somehow I managed to sneak it whenever my Mom wasn't home or when I was at a friends' house. I know, I'm such a rebel! Anyhow, I colored the van with copic markers and then added the sentiment and some of the music, heart, and star elements from the Hippie Patches set.


I stenciled some small hearts around the panel, then accented with a couple of wood veneer music notes from the Sing Sassy Pack, which I coated with distress oxide ink and embossed with sparkle embossing powder.  A turquoise mat and a slimline base finishes things off.

Thanks so much for stopping by today! I hope you have a day full of positivity!

Compensated affiliate links are used where possible. When you place an order after clicking one of my links, I receive a small commission at no additional cost to you. Thanks so much for using my links and supporting this blog. 💙