Powered by Blogger.
Showing posts with label Process Video. Show all posts

Four Christmas in July Cards + Destash Alert

Hey crafty friends! Grab a giant refreshing beverage and get cozy, because we are escaping the summer heat today with some serious winter inspiration!

If you’ve been following along with the weather out here in Idaho, you know I’ve been practically melting at my boys' summer tennis tournaments. While spring is usually my prime time to hit the courts myself, and autumn remains my absolute favorite season, this week I am fully embracing Christmas in July.

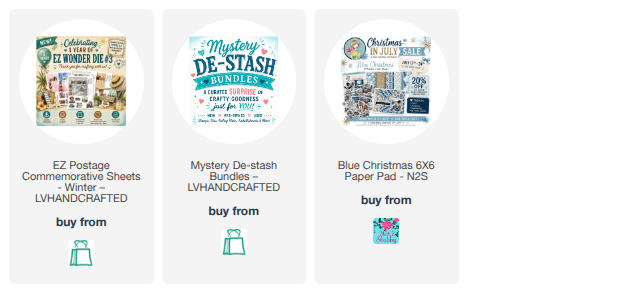
We have a massive milestone to celebrate in the craft room! It is officially the one-year anniversary of the EZ Wonder Die #3, created by the Linh over at LV Handcrafted Design for the Not 2 Shabby Shop. To mark the occasion, Linh has been releasing weekly commemorative sheet printables. This week it's a gorgeous Winter Commemorative Postage Sheet, and I just couldn't wait to dive in and create four distinct cards to show you just how versatile these printables can be.

A Peek at the Cards

In my latest YouTube video, I walk you through making four cards with this one sheet printable.

  • The "Cookies & Cocoa" Team Grid: A clean, postage grid layout featuring the adorable avatars of our EZ Postage Printables design team.


  • The "Home for the Holidays" card: A warm, vintage-inspired card with an icy blue snowy village and a sweet coffee drinking grannny.


  • Blue Christmas Wishes: A fun layout using scraps from the gorgeous Blue Christmas collection (on sale right now for Christmas in July!), and a sweet girl holding a warm mug that is absolutely filled with coffee in my imagination.


  • The Grumpy Old Man: I know he doesn't look that grumpy, but he reminds me of the classic move, Grumpy Old Men. LOL


🚨 48-Hour Anniversary Flash Sale!

Linh is throwing a major celebration for this anniversary, but you have to act fast!


The Details: Winter Commemorative Sheet is completely FREE with any purchase,
Use my EXCLUSIVE affiliate code Julee5off to get $5 off any EZ Printable.

This is a strict 48-hour flash sale that expires on July 24th, so make sure you head over to grab your digital goodies before the clock runs out.

Head over to my YouTube channel to watch the full process video, see these cards come together step-by-step, and grab all the shopping links below.


DESTASH Alert

My friend Linh and I have gone in together to create some mystery de-stash bundles from our own supplies! You can grab them at the link below. There are three bundle sizes to choose from and all stamps and supplies are in good condition. The perfect excuse to get yourself a little Christmas in July prezzie!

Shop here: https://www.lvhandcrafted.com/products/mystery-de-stash-bundles?variant=53790274257169

Thanks again! Stay crafty, stay cool, and happy stamping!


Storybook Shadowbox Card Tutorial


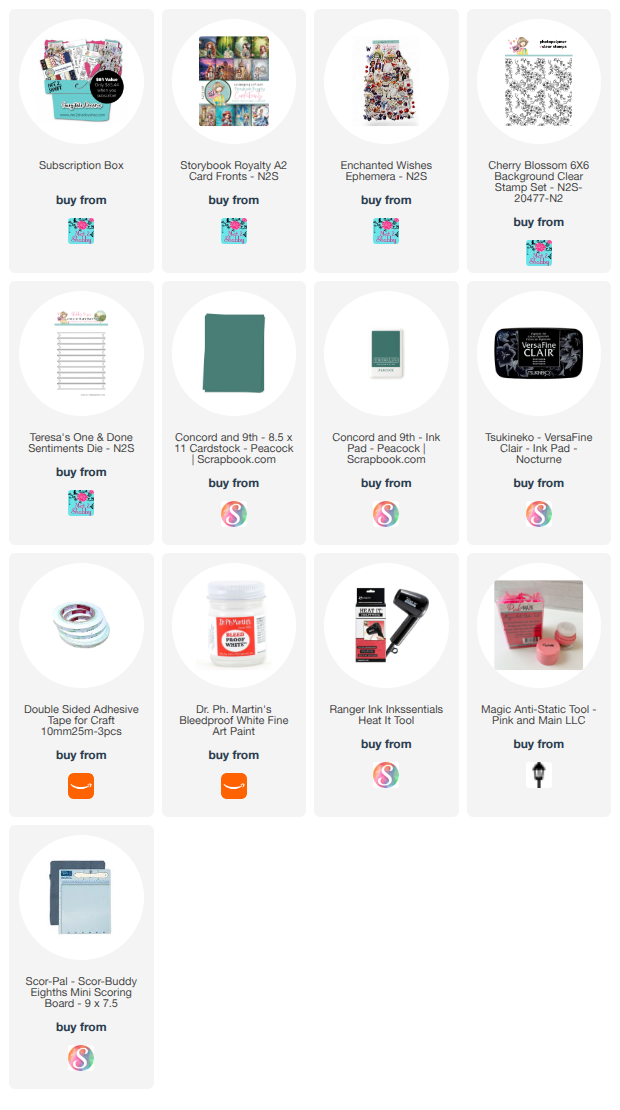
In my latest project, I decided to turn a crafty "happy accident" into something beautiful. Instead of throwing away a card front featuring an adorable princess from the Not 2 Shabby Storybook Royalty Card Fronts, I pivoted and turned it into a 3D shadow box card. It is the absolute perfect way to rescue a ruined card background while adding an interactive "wow" factor that your recipient will love.


To create this magical window, I constructed a simple accordion-folded frame using a 5.5" x 6.25" piece of cardstock. By scoring a slightly wider panel on each side, I created dimensional folds that make the card front pop forward to form a shadow box while still allowing the entire card to collapse completely flat to fit inside a standard envelope. I dressed up the frame by stamping a tone-on-tone background with the Cherry Blossom Background stamp, added some crisp white heat embossing for the sentiment, and finished it off with a flurry of dreamy white ink splatters. Inside, I even had a little stamping mishap with a heart, but a butterfly ephemera piece saved the day, proving that there are truly no mistakes in crafting—only opportunities for extra embellishment!

I would love to show you exactly how this card came together! You can find the full video tutorial over on my YouTube channel right now. Grab your favorite card fronts, warm up your heat tool, and let's craft a little fairytale magic together!


Also, I'm going to be streaming LIVE crafting to my YouTube channel on Monday, July 20 at 6:30 pm. All of the Day 1 instructors for the Autumn Greetings virtual retreat should be there and it will be ton of fun. My LIVE last weekend ran into some technical difficulties, but I think I've got it figured out for Monday! Crossing my fingers! LOL

Money Holder Tutorial with 6x6 Papers


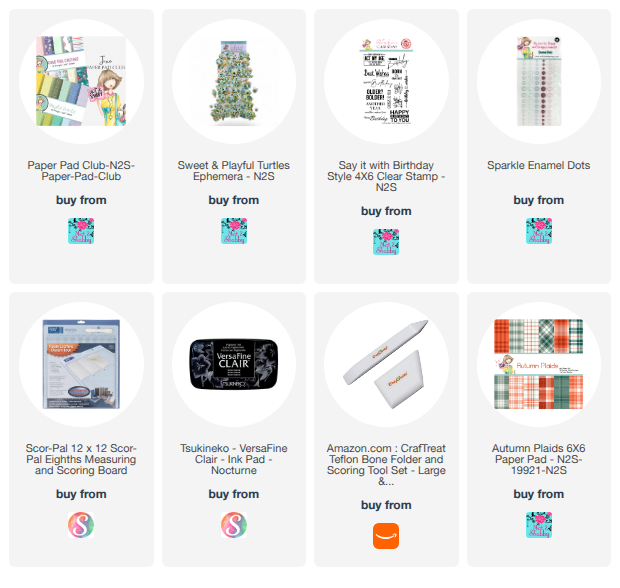
Hi friends!Today I've got a tutorial up on YouTube crafting an adorable, money/gift card holder featuring this month’s Paper Pad Club prints. If you love teal and lime green as much as I do, you're going to adore this color scheme! I'm also featuring some ridiculously cute turtle ephemera from the Sweet & Playful ephemera pack.

Grab some lightweight cardstock—I highly recommend 65-pound weight to minimize bulk, and so your score lines don’t crack—and let's dive right in! You can watch the process below on the blog or on my YouTube channel.


Measurements:

For the base: 7 3/8 x 6.75"
Score on the 6.75" side at 1.5" and 4.5"
Score on 7 3/8" side 0.5" from either end

Mitre (angle) cut the bottom portion where the 0.5" and 1.5" score lines intersect to form a tab.
Repeat on the other side
Remove the rest of the 0.5" flap on both sides, leaving just 1.5" tabs on either side

Inside Center Mat: 2.75" x 6"
Inside Right Mat (smallest section): 1.25" x 6"
Inside Left Mat: 2 x 6" white cardstock
Front Mat: 2 x 6"
Belly Band: 2 x 6", plus 1.25" square connector
Optional Back Mat: 2.75 x 6"


Thank you so much for stopping by today. Have fun crafting!


Double Vision with A2 Card Fronts

Hey friends! Welcome back. Today I am excited to share a technique that I’ve seen around for years, but had never actually tried myself until now: the Eclipse (or Double Vision) card! I've got a process video sharing how I made the card above. Check it out below on the blog or on my YouTube channel! Don't forget to give it a thumbs up and subscribe for more papercrafting inspiration.


If you love beautiful, full-scene card panels but hate the idea of cutting them up, this technique is the ultimate solution. It allows the stunning artwork to remain the star of the show while giving it an incredible, eye-catching 3D effect.

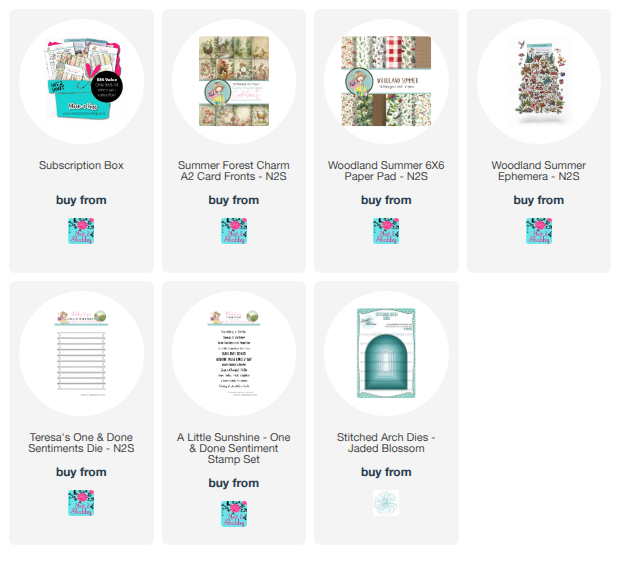
For these projects, I am using the gorgeous Summer Forest Charm A2 Card Fronts that released this month. They feature stunning woodland scenes that are just absolutely perfect for this look.

The magic of an eclipse card comes from nesting your dies to cut concentric shapes out of your card front, and then alternating flat adhesive with dimensional foam tape to create recessed and raised layers.You can use any nesting dies you have on hand—circles, rectangles, squares, or ovals will all work beautifully!

Before diving into today's project, I experimented with two other shapes from my stash to see how they would look. I used rounded rectangles for the bunny card, and arch dies for the deer scene. I love the way they turned out.

For my third card, I decided to use a set of nesting circle dies. This particular set features some delicate piercing details around the edges. It made it a tiny bit more finicky when placing my foam tape—because I wanted to make sure no foam or holes peeked through where they shouldn't—but the end result was totally worth it.

Have you tried this technique before? If you have been hoarding beautiful scenic card panels because you just can't bear to cover them up, I highly recommend giving the eclipse technique a try. It is an incredibly easy and fun way to dress up your card fronts while creating tons of unique dimension.

Thanks so much for stopping by, and I'll catch you on the next one! 


Sneak Peek: Exclusive Happy Everything Stamp Set & VIP Unboxing! 🌸🎨

Hi friends! I am beyond excited to share a special "sneaky peek" at the exclusive stamp set I illustrated for the upcoming The Paper Escape with OLO: Summer Break virtual coloring retreat! This set is only available with a VIP Ticket purchase for our event on August 1-2, 2026.

It's FREE to register for the event, but the only way to get my stamp set is to purchase a VIP Ticket. VIP tickets are $35 and include a curated coloring kit, a digital bundle, an extra day of live chats and a live Coloring with Meg class, and so much more!

We've also partnered with OLO markers and all of the instructors will be coloring with a curated palette. Check out the colors over on the OLO marker website.

What’s Inside the VIP Coloring Kit?

In today’s video, I’m taking you through a full unboxing of the curated coloring kit that comes with the VIP ticket. It is packed with high-quality supplies, including:

  • The "Happy Everything" 4x6 Stamp Set: Illustrated by yours truly! It features images specifically designed for practicing techniques like skin, hair, florals, and even glass.

  • OLO Sampler Pack: A selection of OLO markers and a handle extender to get you started with alcohol blending and a sampling of OLO's premium marker blending cardstock.

  • Premium Cardstock: A2 coloring panels with printed images to color, as well as blank 100# Hammermill cardstock panels perfect for alcohol markers.

Watch the Process

After the unboxing, stick around to see me create this fun, interactive flap card using a gorgeous "pop of pink" floral design. It’s a great example of how you can use these new images for special occasions like Mother's Day!

Watch the full video right here on the blog or over on my YouTube channel:


Scrappy Card Tutorial with the Not 2 Shabby Box of the Month.


Hey friends! Today I'm sharing a card design that looks a bit technical, but it’s actually a quick way to use up those leftover paper strips. If your scrap bin is overflowing like mine, this is the project for you!

I’m using the May Box of the Month and featuring elements from the Summer Mountain Meadow collection. If you want to watch the process, check out my video on the Not 2 Shabby YouTube channel.


To start, you’ll need a 4" x 5-1/4" background panel. I chose a dark blue cardstock to create a bold contrast against the patterned papers.

  1. Find the Midpoint: Measure 2" up from the bottom center of your panel

  2. The Starting Point:  From that 2" midline, measure up another 1-1/8" and make a tick mark. This is your starting point.

  3. The Side Angle: On the right edge of your panel, measure 3-1/8" up from the bottom and make a mark.

  4. Align: Place your first 3/4" strip so the corner meets the center mark and then angle the strip up to meet the side tick mark. Once that first angle is set, the rest of the strips align from this first strip.

I love a bit of texture, so I decided to add some interest to the exposed blue cardstock at the bottom of the card. I used the Striped Honeycomb Stencil with a deep blue ink for a subtle, geometric look.

Tip: If you’ve already glued your strips down, just use a bit of masking tape to cover them before stenciling. This ensures you only add ink to the cardstock and not your beautiful patterned papers.

For my focal point, I chose the large floral image from the Summer Mountain Meadow ephemera pack and popped it up in the bottom center of my background panel. I then tucked the friendship grows here sentiment  to the left of the flower image.  I accented with a little butterfly ephemera piece, and then finished off with some sparkling enamel dots!

Since I can't leave scraps alone on my desk, I made a second card! This one uses the same 3/4" strips but placed in a simple row across the top of a fully stenciled background. I paired it with the A Little Sunshine sentiment and the One and Done die set.


Don't let those scraps go to waste! Whether you  cut into new paper or just pull from your scrap pile, this  "V" formation is a great sketch to have in your back pocket.


Slatted Sign Card Tutorial


Hey friends! Welcome back. Today we are trying something a little different—a slatted sign card! I saw this unique layout on a short a while ago and knew I had to try it with the adorable hive pieces from the Sweet as Honey collection.

This card resembles a little sandwich board or garden gate, and it’s the perfect way to show off the Sweet as Honey paper pad and ephemera from the April Paper Pad Club.

You can watch the full process below on the blog, or on my YouTube channel.


Thanks so much for stopping by!

Mixed Media Cardmaking | Not 2 Shabby April Giveaway Hop


Today I’m taking part in an inspiration hop on YouTube with my fellow Not 2 Shabby design team members to showcase the April subscription products. This month features a sweet bee theme, and I am working with the Paper Pad Club and the Stamp of the Month.

I decided to go for a mixed media look today. It’s been a while since I’ve used this specific technique, so we’re going to experiment together! I’ll be using the Sweet as Honey ephemera and a diagonal background paper from the Petals & Pals paper pad.

Join the Hop!

This video is part of a design team hop, so be sure to check out the playlist in the description box to see what the rest of the team has created. Give everyone some love in the comments and enter for your chance to win! You can catch it below on the blog, or on my YouTube channel.


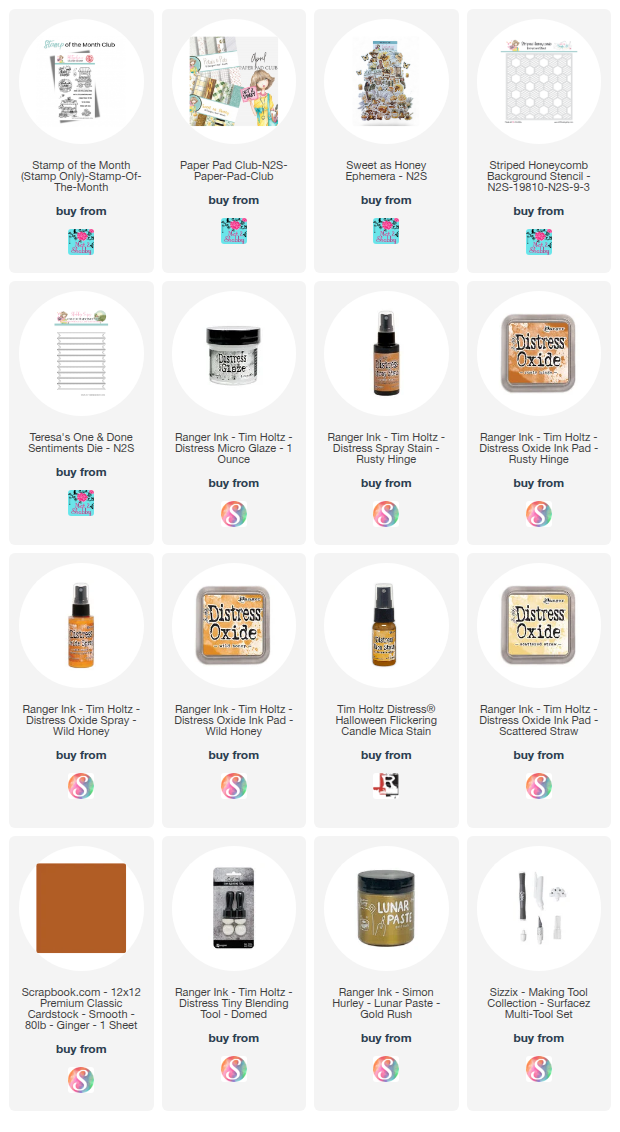
To start, I used the Striped Honeycomb stencil on a sticky mat. I applied Distress Micro Glaze through the stencil using a heavy hand to create a resist pattern. After lifting the stencil, I used a spray box to catch my colors: Flickering Candle Distress Mica Stain, Wild Honey Oxide Spray, and Rusty Hinge Distress Spray.

I sprayed the lightest colors first from about eight inches away. To reveal the honeycomb pattern, I misted it with water and wiped the surface with a paper towel before the ink could dry. This leaves the resist pattern visible while the surrounding paper takes on those beautiful golden tones.


Once dry, I used a deckle trimmer to give the edges some character. I then did some ink blending around the perimeter using Scattered Straw, Wild Honey, and Rusty Hinge. To add to the mixed media feel, I hand-tore the edges and used a paper distresser to rough them up, even curling and scringing the paper for an aged look.

For extra dimension, I added honey drips by watering down some Rusty Hinge and letting it run down the panel. I also added some splatters of watered-down gold mica spray for that perfect shimmery finish.

For the focal point, I chose a floral piece from the ephemera pack. I decided to fussy cut the image to remove the white border so it would blend more cohesively into the scene. I used a bit of tape to mask off the bee’s wing while I inked the rest of the image with Wild Honey and Rusty Hinge to match the background.

I layered the panel onto Ginger Classic Cardstock from Scrapbook.com and added a wrap of burlap twine for texture. The sentiment, A Sweet Hello to You, is from the Stamp of the Month set. I popped up the floral image with foam dimensionals to give it some lift against the burlap.

Thanks so much for watching, and I’ll catch you on the next one.


Mix It Up Easter Bunny Card + Video


Hey friends! I'm participating in a giveaway hop on YouTube and have a fun little card process video to share. You can watch it below on the blog or on my YouTube channel. It's a giveaway hop, so you won't want to miss it.

We’ve all been there—staring at a beautiful new collection like the Not 2 Shabby March Box and feeling too overwhelmed to start. For this video, I was inspired by Jamie (our Not 2 Shabby fearless leader) to randomly draw my supplies from a list of prompts.

  • The Strategy: I wrote down the names of all the paper pads, ephemera, and sentiments on small strips of paper.

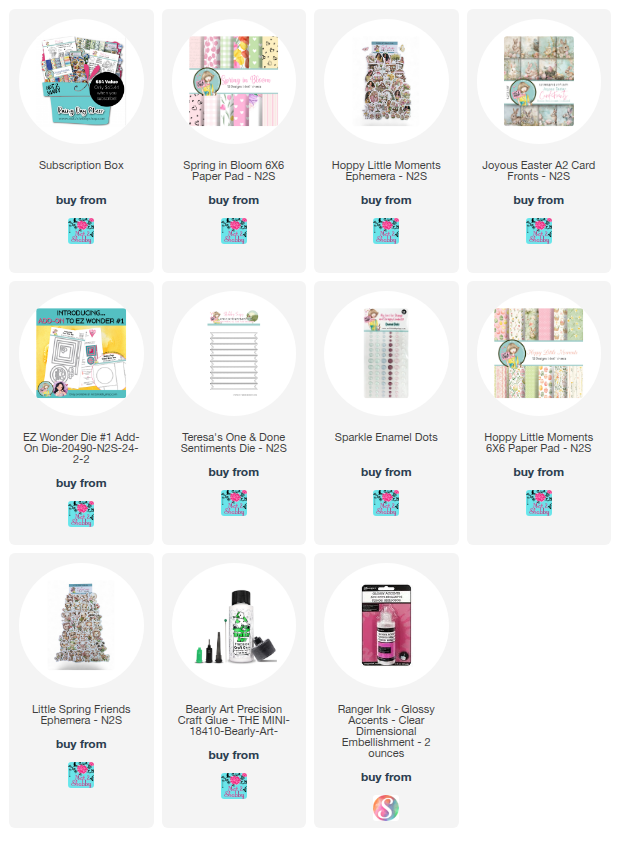
  • The Draw: Fate gave me the Spring in Bloom paper, Hoppy Little Moments ephemera, and Joyous Easter A2 Card Fronts sentiments.

  • The Result: Because the kit is so well-curated, the "random" items matched perfectly, allowing me to skip the stress of decision making and get straight to the "egg-stra" fun part of crafting.

This crafting session was so much fun and I encourage you to give this process a try. 

Thanks so much for stopping by! 

Sending Hugs and a Video


Hi friends! Today I'm popping in with a little inspiration featuring the Not 2 Shabby March Box of the Month. It's an adorable collection of spring themed products and I'm having so much fun with it! I have a process video on the Not 2 Shabby YouTube channel of the making of this card.  I'd love it if you decide to head over there, watch, and give the video a little heart.


In the video I show the process of creating the ink blended sky around my Copic colored image, then putting it all together. I think the colors are just so sweet and that wood grain print from the Hoppy Little Moments paper pad is fabulous.

If you're inclined to do a little crafty shopping in the Not 2 Shabby shop, I'd so appreciate if you'd use my affiliate link. There's a darling free stamp set available with a $60 purchase right now!


Thanks so much for stopping by today! I hope you have a fabulous day!


Sweet Bunny Card Tutorial


Hey friends! Welcome back! There is something so refreshing about sitting down with a stamp set and a few markers. Today, I’m featuring the adorable Not 2 Shabby February Stamp of the Month on this sweet and simple, spring-inspired bunny card.

If you love gingham, doilies, and a bit of sparkle, this project is for you! You can watch the full process video on the blog below or on my YouTube channel.


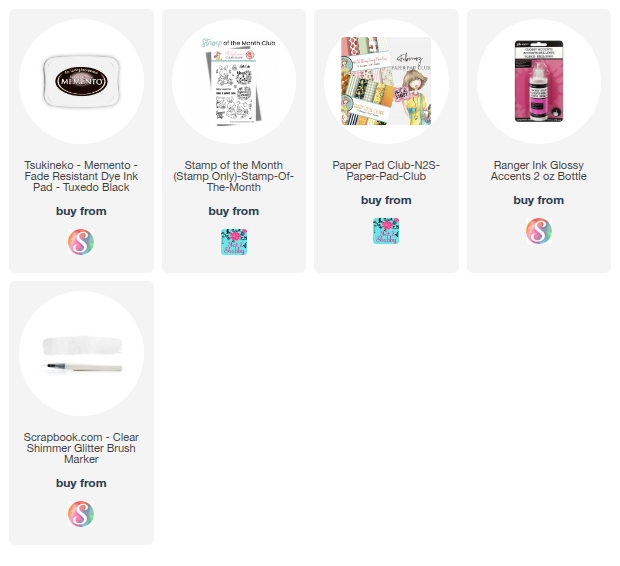
For this card, I took my color inspiration from the Sweet Little Cuties paper pad from the February Paper Pad Club. I started by stamping my images with Memento ink, which is my go-to when coloring with alcohol markers.

I’ve included a sped up full coloring process in the video for those who find it relaxing to watch. The images have some tiny details, so I switch between 2 and 3 color blends depending on how much room I have to play with.


Here are the measurements for the panels:

Background: Gingham panel (5" x 3 3/4")
Center Strip: Orange patterned paper (2 1/4" x 5")
Mat Layer: Orange ombre panel (2 3/8" x 5")

I offset the center strip slightly from center on the gingham background, then added to an A2 card base and added a small paper doily to frame the sentiment. It adds a delicate touch that pairs perfectly with the gingham.

A card of mine isn't finished until it has some bling! I used a sparkle pen for a  quick coat over the image for a subtle glimmer, then added some glossy accents to the pitcher and fruit to give a little gloss and dimension.  I finished with a few white whispies with a white gel pen on the bunny's fur.
Thanks so much for stopping by! Hope you have a fabulously creative day!