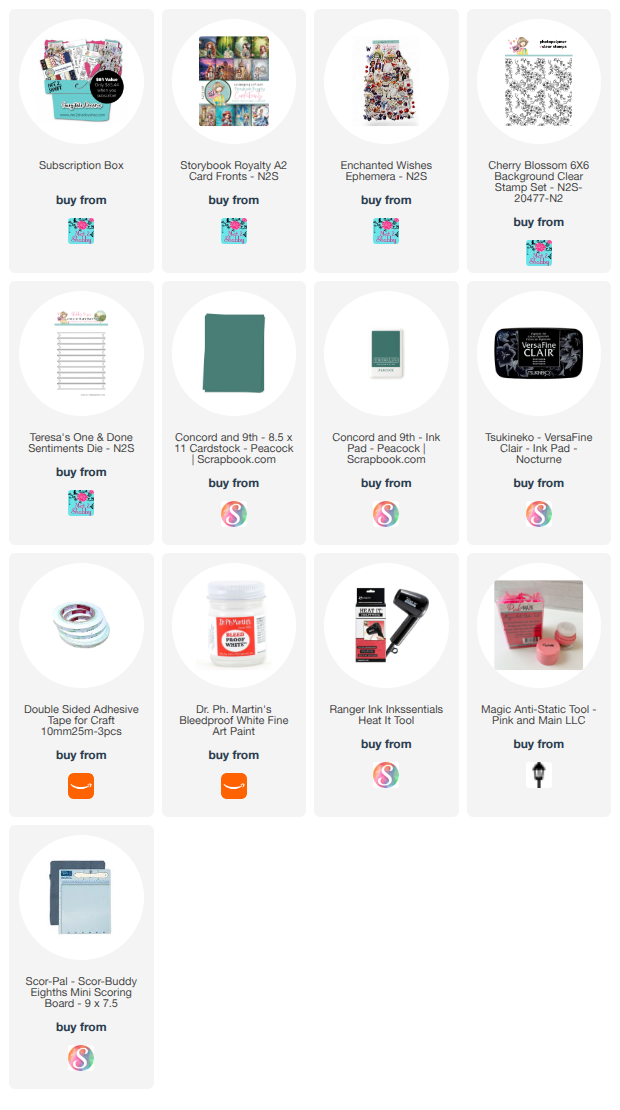
Powered by Blogger.
Showing posts with label Tips and Tutorials. Show all posts

Slatted Sign Card Tutorial


Hey friends! Welcome back. Today we are trying something a little different—a slatted sign card! I saw this unique layout on a short a while ago and knew I had to try it with the adorable hive pieces from the Sweet as Honey collection.

This card resembles a little sandwich board or garden gate, and it’s the perfect way to show off the Sweet as Honey paper pad and ephemera from the April Paper Pad Club.

You can watch the full process below on the blog, or on my YouTube channel.


Thanks so much for stopping by!

Quick and Easy Gift Card Holder


Hi there friends! Today I'm over on the Not 2 Shabby Shop blog sharing a quick and easy gift card holder tutorial. Hop on over there for all the dimensions and instructions on how to make one yourself! While mine is valentine themed, this little project is perfect for any holiday.


Here's a peek at the inside. I left a space to jot a note, then tucked in a little gift card. 


Thanks so much for stopping by! I hope you have a fantastic day!

Love from Lizi Sending Sunshine


Hi friends! Welcome to a brand new week! This month I have the great opportunity to play with the Sending Sunshine Card Kit from Love from Lizi. It's a fabulous kit filled with all sorts of crafty goodness, including the stamps, layering stencils, dies, and paper I use today. To see the whole kit, hop over to my YouTube channel to watch my unboxing video.


While you're there, I have a brand new card process VIDEO of the making of this pretty sunflower card. Sometimes I feel a little daunted by coloring flower images, so I was super excited to see there were layering stencils to easily color in this beautiful sunflower! So fun! You can watch me pull out the distress inks and go through the whole card making process below on the blog, or on my YouTube channel.


The colors I used for stenciling were scattered straw, mustard seed, wild honey, peeled paint, rustic wilderness, and walnut stain.

Thanks so much for stopping by today! I hope you have a fantastic day. September is Love from Lizi's 8th birthday, so head on over to the shop and check out all their new offerings.

Buzzing By with a Hop


Hi friends! It's the 10th of the month and that means I'm taking part in a video inspiration hop with my fellow Not 2 Shabby design team members! In my video today I color up this adorable image, do a little masking and stenciling, then complete the card.  Your can watch it below or on my YouTube channel.


Thanks so much for stopping by! I hope you have a fantastic day!

Three Quick Birthday Cards and a Video


Hi friends! Welcome to the new year! I'm a little late starting off the year, but my kiddos didn't go back to school until the 7th, so I'm still adjusting to being back in a normal routine. I'm super excited to be starting another term on the Not 2 Shabby design team. If you missed it, head on over to my Instagram reel to watch the team intro video (where I actually show my face) and enter the $75 mystery bundle giveaway.

Speaking of giveaways, it's the 10th of the month and time for the Not 2 Shabby monthly Giveaway Hop on YouTube. We're sharing inspiration with the January subscription products and there's a chance to win a $25 gift code to the Not 2 Shabby shop.  You can watch my video below or on my YouTube channel.


Y'all... after setting aside an entire large box worth of holiday cards that were only mailable at the package rate, I've decided to try to attempt a more mail-friendly style of card making this year. Yes, I love layers and embellishments, but I think I can still find a way to incorporate those and still make sure the cards get in the mail and don't end up sitting in a box year after year.

So today's trio of cards is a cleaner style, with minimal layers, embellishments, and all cut from one piece of 6 x 6 patterned paper plus white cardstock. Okay, I did fudge a little bit and brought in a scrap from another card making session to cut the oval mat for the ephemera piece on the second card, but that's just using your scraps right?


The basic layout started with three 3.75" x 5" panels of white cardstock and a sheet of the Soft Blue Florals paper from the January Box of the Month (also available individually). I marked a spot 1" in from the side and 1/2" down as the place to adhere my cardstock.  Next I cut off the excess.  With the remaining piece, I cut down the diagonal to form an angled piece. This piece was adhered to the next card and the excess was cut off, leaving three pieces.  The larger two pieces were used on the card above, and the triangle piece was used to die cut the heart later on and for the inside of the third card.


I used pieces of ephemera from the Party Critters Ephemera pack for cards 1 and 2, adding the die cut oval and a stitching detail to the second card panel using the EZ Wonder Die #2 Add Ons. I think the stitching adds such a nice accent to the card.  A bit of twill and some gems finish this card off.


The final card let's the gorgeous patterned paper do most of the talking. I added a sentiment from one of the stamp sets in the Box of the Month to the bottom of the panel, then accented then accented the panel with two pin-stripe stickers.  I finished off with a die cut heart from the Add Ons die set and some sparkling enamel dots.

Thanks so much for stopping by today! I hope you have a fabulous day. Do you have any crafty goals this year? I'd love to hear.

November Not 2 Shabby Hop and Video


Hi friends! It's the 10th of the month and that means it's time to hop along with the Not 2 Shabby Design Team as we share inspiration with the November subscription products. As per usual I have a video for today's hop. I'm featuring products from the November Box of the Month and creating a mixed media background on patterned paper.  You can watch it here on the blog or on my YouTube channel: https://youtu.be/L_jQ3vaoaJ0


I started out by creating three similar backgrounds using papers from the Frosted Bliss Paper Pack. I like to do multiples when there's going to be dry time involved.   started by adding gesso in layers to the centers of my card panels. Once that was dry, I pulled out some opaque crackle texture paste and slathered it over the dried gesso. You want to add it pretty thickly in order to get the best crackle effect.


Once it was dry, I went in and smooshed and splattered ink so it would highlight the cracks and crevices.  For the first card I used the adorable penguin stamp and colored him up with Zig clean color real brush markers, then cut him out with my scan 'n cut machine.

I tore some papers to house my sentiment, stamped from the same sentiment and cut with the the Emily's Alphabet/Number Die Set. A little double sided adhesive and some seambinding helped me make a little ruffle across the panel.  I then glued down some lace and my sentiment panel. The penguin image is popped up on foam tape, and I finished off with a seam binding bow and a ton of distressed edges.


For this next card I added a cluster of ephemera from the Frosted Bliss Ephemera pack to create a lovely scene with the crackled panel as the backdrop.  The sentiment is embossed in white onto navy cardstock, then cut with the same die as above.  I painted over all of the flowers and little details with a mixture of water and Fairy Fluff magicals for a ton of sparkle.


For the third background, I layered a brick die cut from my stash over the gesso, then die cut a tag from patterned paper and chose some more ephemera from the pack.  The sentiment is from another stamp set in the box of the month, stamped in Stone Blue.  I finished with a chipboard snowflake and some sparkling enamel dots. 


Thanks so much for stopping by today! I hope you have a fabulously creative day. Be sure to head over to YouTube to check out everyone's fabulous creations with this month's goodies!


Stay Cool and a Video


Hi friends! It's the 10th of the month and time for the monthly video Inspiration Hop at Not 2 Shabby. You can find the full collaboration playlist here and watch all the hop videos back to back.

I'm playing with the July Box of the Month this month, and I had so much fun creating a little ensemble with the papers and ephemera. My video shows a short little process video of how to make a little lemonade tube drink pouch with a 4" square, some patterned paper, and ephemera. Watch it below or on my YouTube channel.


My card to go with my little treat features the Sweeter than Sugar paper pad and Sweeter than Sugar Ephemera. I think this little girl image is so sweet and noticed that the glasses in the Tutti Frutti Ephemera fit her face. So I  fussy cut around them, added some glossy accents and glitter and set it aside to dry.


The stitched square, hearts, and the sentiment banner are dies in the EZ Wonder Die #1 Add On set, which is currently available for preorder. The blue square is from the Spring Watercolor paper pad and the other papers are from the Sweeter than Sugar pad. I finished off with a sentiment from one of the stamp sets in this month's box, then added a couple of patterned paper hearts.

The treat holder holds two drink packets. I used crystal light raspberry lemonade, since it's my favorite and seemed to fit the theme of the papers. I started with the 4" square die cut from the EZ Wonder Die #1 Add On, scoring at 1" and 2.75", then rotating a quarter turn and scoring at 1/2". I then burnished the folds and applied adhesive down the long side of the 1.25" panel, as well as the 1/2" at the bottom. Fold together. To add a fun bottom, I used a paper crimper to give that crimped look at the bottom.  


I embellished with more Sweeter than Sugar Ephemera, twine, a sentiment from one of the sets in the box of the month, and some sparkling enamel dots.  The topper is a 1.5" x 4.5" piece of cardstock with a piece of ephemera added on dimensional foam tape on just the upper portion.  You can use this piece to write a little note to the recipient.

Thanks so much for stopping by today! I hope you have a fabulously creative day!   


Summer Love and a Video


Hi friends! It's starting to heat up here in Idaho, so today I've got some summer vibes coming your way!  I created two cards for the Not 2 Shabby June Inspiration hop, and you can watch me create them below or on my YouTube channel.  


As I mentioned above, this video is part of a hop and there's a giveaway to the Not 2 Shabby shop. Here's a link to the hop playlist which will play all the videos participating in the hop.

I love a vibrant, earthy combo set against a white backdrop for a beachy card. For both of these cards I used the adorable new June Stamp and Die of the Month from Not 2 Shabby. These summer images are just too fun and I had a blast coloring them up with Copics and then cutting with the coordinating dies.


For the first card I used tattered rose, candied apple, spiced marmalade, squeezed lemonade, and tea dye distress oxide inks on Distress Watercolor Paper for a sizzling hot, sandy backdrop. I added a few splatters with water, white bleed proof ink, and scorched timber distress oxide spray. Then I finished off with a little scorched timber distress ink around the edge of the panel for a vignette effect.  I clustered my pieces together to finish off the beachy scene.


For the second card I had the idea to have a bold block of color with these fun summer icons lined up in a row for my focal point. I ink blended with the squeezed lemonade and spiced marmalade distress oxide inks, then added some water splatters and lightly blended over them for a more subtle splashy effect. The sentiment is embossed on black cardstock and then cut with the coordinating dies.  

I hope you enjoyed these summer cards. Have a fabulous day! 

Cottage Charm Release and a VIDEO


Hi friends! There's a gorgeous new quarterly release in the Not 2 Shabby Shop today. All of the products released today are available for individual purchase on the website, or if you've got to have it all there's a Cottage Charm Release Bundle.


My love for cherry blossoms is strong, so I was super excited to see a Cherry Blossom Background stamp in the release. I couldn't wait to bust out some distress inks, white embossing powder, and get my fingers inky!  I uploaded a new video today sharing the new release and how I made today's card. You can watch it below or on YouTube.


I started the card with a light smooshing of spun sugar and kitsch flamingo distress inks onto distress watecolor paper. Next I embossed the new Cherry Blossom Background in white onto the panel.  I then proceeded to loosely watercolor the background with kitsch flamingo, picked raspberry, and bundled sage inks.


This panel is cut down to a rectangle size and then matted with a scallop rectangle die.  The ephemera I chose is from the Beautiful Blooms Ephemera and I did some light watercoloring with kitsch flamingo and picked raspberry distress inks to tie the pinks in with the background.

I smooshed some more kitsch flamingo onto distress watercolor paper, then embossed the sentiment from the Cup of Tea set in white.  I matted this with a white scalloped circle, then accented with a few of the Cherry Blossom Cottage Charm Sparkle Enamel Dots.

For a little interest, I pulled in a plaid patterned paper from the previously released It's Apple Season Paper Pad, cutting with a curved border die and matting with scallops.

Thanks so much for stopping by today. If you're looking for more inspiration with the new release try searching #n2scottagecharm on Instagram and YouTube. Have a great day!

Latte Love and a Gift Card Holder Video Tutorial


Hi friends! Today I'm participating in an inspiration hop over on YouTube with some of my fellow Not 2 Shabby design team members. We're all sharing projects with some of our favorite Not 2 Shabby products.

It's probably no surprise that I picked a coffee collection! I love coffee and I love to create Valentine projects, so the Lattes of Love paper pad, Lattes of Love ephemera, and Love for Lattes stamp set were my first choice.

In my video I share a couple of cards I created with these products and then create a fun little valentine gift card holder with one sheet of 6 x 6 patterned paper. You can watch the video below, or head over to my YouTube channel and hop along.


This gift card holder is super quick and easy. It's based on a standard coin envelope design, but I've adapted it to perfectly fit a gift card, with just a little wiggle room to get the card in and out. You could easily change up the measurements to fit different types of candy, etc.


Start by scoring a piece of 6" x 6" piece of paper at 1.75" and 4.5". Then rotate your paper 90 degrees and score at 1.5" and 5.25". Burnish the fold lines and cut away the pieces marked on the template below.

With the side that you want to be the outside of the envelope facing away from you, fold down the top center flap and adhere. Next fold in the left side toward center and then adhere the right side to the left side panel. Fold up the bottom panel and adhere to form the bottom back side of the envelope. Flip project over and fold the remaining flap down over the front. 

I used Velcro as a closure, but there are lots of other options you could use such as punching a hole and tying with string, clipping with a paperclip or clothespin, or removable adhesive, Embellish as desired, and make someone's day with a sweet gift.


Alright, let's move on to the cards I shared. This first card uses sketch #3 from Kendra's Card Challenge 13. I loved the large area intended for building a scene, so I collaged a bunch of Lattes of Love ephemera pieces and layered some coordinating papers. I changed the measurements just a skosh to fit my needs, then accented with glossy glaze, glitter, and some gold metallic paint pen accents.


The second card was my way of using up a bunch of scraps on my desk. I simply taped the scraps I had together (using double sided adhesive on the back side, then cut down to a 5.25" square.  I used some Love from Lizi pinstripe peel offs to cover the seams, then added a square of paper where the panels met. I finished off with some ephemera and gold matting for a 5.5" square card.

Thanks so much for stopping by today! I hope you have a fantastic day! If you have a little time, I'd love it if you'd check out the hop!