Powered by Blogger.
Showing posts with label YouTube Hops. Show all posts

Mixed Media Cardmaking | Not 2 Shabby April Giveaway Hop


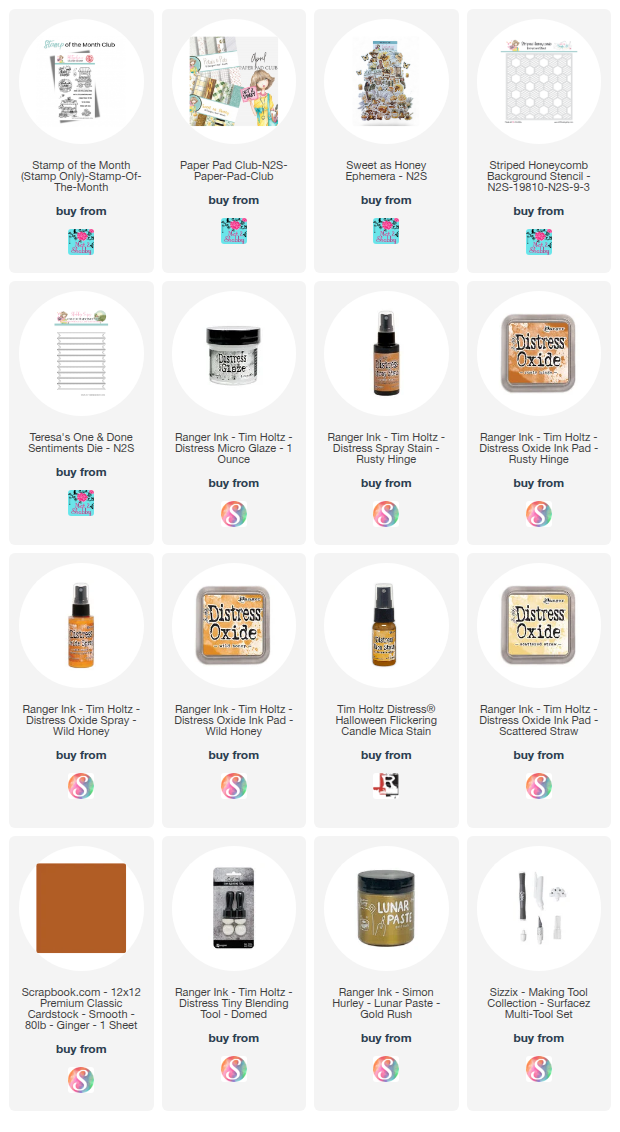
Today I’m taking part in an inspiration hop on YouTube with my fellow Not 2 Shabby design team members to showcase the April subscription products. This month features a sweet bee theme, and I am working with the Paper Pad Club and the Stamp of the Month.

I decided to go for a mixed media look today. It’s been a while since I’ve used this specific technique, so we’re going to experiment together! I’ll be using the Sweet as Honey ephemera and a diagonal background paper from the Petals & Pals paper pad.

Join the Hop!

This video is part of a design team hop, so be sure to check out the playlist in the description box to see what the rest of the team has created. Give everyone some love in the comments and enter for your chance to win! You can catch it below on the blog, or on my YouTube channel.


To start, I used the Striped Honeycomb stencil on a sticky mat. I applied Distress Micro Glaze through the stencil using a heavy hand to create a resist pattern. After lifting the stencil, I used a spray box to catch my colors: Flickering Candle Distress Mica Stain, Wild Honey Oxide Spray, and Rusty Hinge Distress Spray.

I sprayed the lightest colors first from about eight inches away. To reveal the honeycomb pattern, I misted it with water and wiped the surface with a paper towel before the ink could dry. This leaves the resist pattern visible while the surrounding paper takes on those beautiful golden tones.


Once dry, I used a deckle trimmer to give the edges some character. I then did some ink blending around the perimeter using Scattered Straw, Wild Honey, and Rusty Hinge. To add to the mixed media feel, I hand-tore the edges and used a paper distresser to rough them up, even curling and scringing the paper for an aged look.

For extra dimension, I added honey drips by watering down some Rusty Hinge and letting it run down the panel. I also added some splatters of watered-down gold mica spray for that perfect shimmery finish.

For the focal point, I chose a floral piece from the ephemera pack. I decided to fussy cut the image to remove the white border so it would blend more cohesively into the scene. I used a bit of tape to mask off the bee’s wing while I inked the rest of the image with Wild Honey and Rusty Hinge to match the background.

I layered the panel onto Ginger Classic Cardstock from Scrapbook.com and added a wrap of burlap twine for texture. The sentiment, A Sweet Hello to You, is from the Stamp of the Month set. I popped up the floral image with foam dimensionals to give it some lift against the burlap.

Thanks so much for watching, and I’ll catch you on the next one.


Mix It Up Easter Bunny Card + Video


Hey friends! I'm participating in a giveaway hop on YouTube and have a fun little card process video to share. You can watch it below on the blog or on my YouTube channel. It's a giveaway hop, so you won't want to miss it.
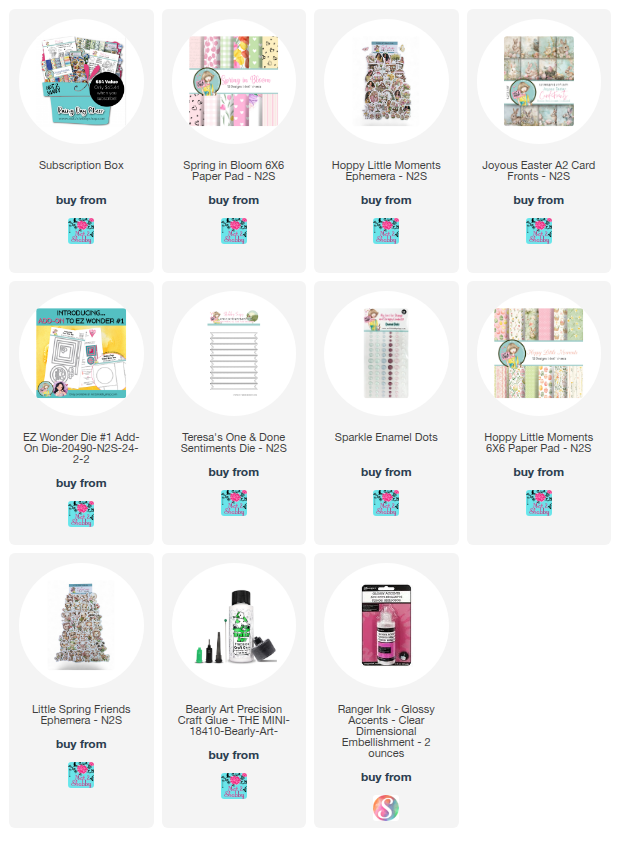
We’ve all been there—staring at a beautiful new collection like the Not 2 Shabby March Box and feeling too overwhelmed to start. For this video, I was inspired by Jamie (our Not 2 Shabby fearless leader) to randomly draw my supplies from a list of prompts.

  • The Strategy: I wrote down the names of all the paper pads, ephemera, and sentiments on small strips of paper.

  • The Draw: Fate gave me the Spring in Bloom paper, Hoppy Little Moments ephemera, and Joyous Easter A2 Card Fronts sentiments.

  • The Result: Because the kit is so well-curated, the "random" items matched perfectly, allowing me to skip the stress of decision making and get straight to the "egg-stra" fun part of crafting.

This crafting session was so much fun and I encourage you to give this process a try. 

Thanks so much for stopping by! 

One Paper Pad Three Ways - N2S Paper Pad Club


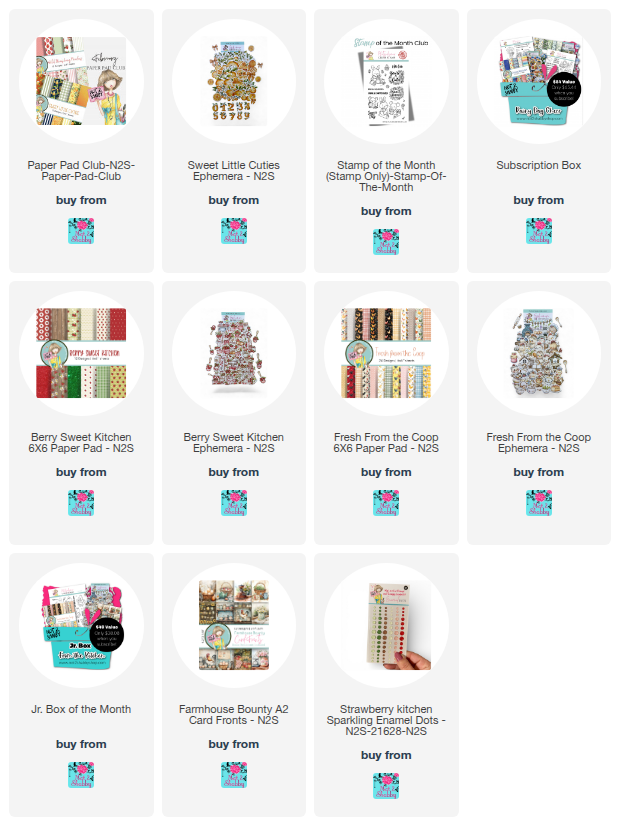
Hey sweet friends! Today I’m sharing a fun project featuring a trio of birthday cards I created using the Sweet Little Cuties paper pad from the Not 2 Shabby February Paper Pad Club. I share and discuss these cards in my hop video over on my YouTube channel today.


The color palette this month is absolutely stunning—vibrant oranges, yellows, and greens paired with a classic navy blue. It’s the perfect mix for when you need to bridge the gap between bright and sophisticated. I also pulled in the Say it With Birthday Style stamp set and One & Done Sentiment Die for these card.

Card 1: Soft & Feminine

For the first card, I leaned into the floral patterns and navy stripes. By heat embossing the sentiment in blue and adding a touch of Stardust Stickles, I gave it a delicate, sparkly finish that’s perfect for the ladies in my life.

Card 2: Textured & Masculine


Who says citrus can't be masculine? For the second card, I kept the layout blocky and added a burlap embossing folder for texture. Instead of ribbon, I used twine to keep the vibe more rugged. It’s a great way to use "cute" papers for the guys!

Card 3: The "Scrap-tastic" Finale

Don't throw away those leftovers! My third card was built entirely from the scraps of the first two. By matting them in the same navy cardstock, the layout looks intentional.

Want to win some goodies? This video is part of an inspiration hop! Check out my latest YouTube video for the giveaway link.

Thanks so much for stopping by!

February Release Products

One Technique, Three Cards: Scrap-Busting with the Not 2 Shabby January Box


Hi friends! Today, I’m excited to share a "happy accident" project! Have you ever intended to cut your paper one way and ended up with something completely different? That’s exactly what happened to me this week, and it led to a trio of cards I absolutely love.


🌈 The "Happy Accident": From Scraps to Sunbursts

I originally planned to cut 2-inch strips, but I accidentally cut them to 1.5 inches instead. Rather than letting those strips go to waste, I pulled out a favorite old technique: the Sunburst pattern.

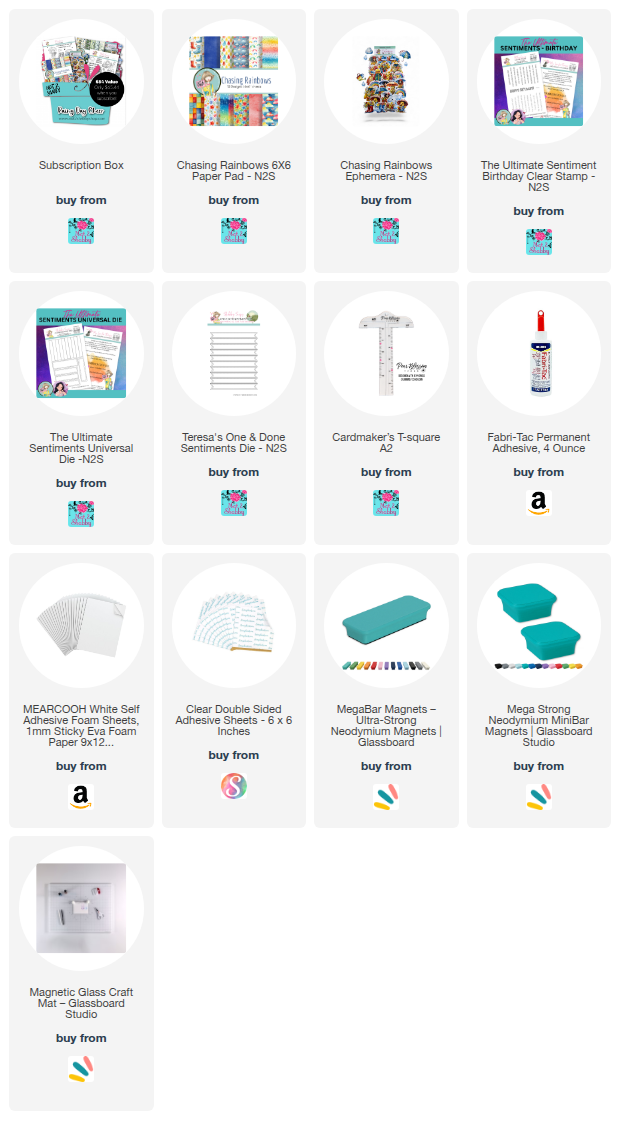
Using the Chasing Rainbows paper and ephemera from the Not 2 Shabby January Box of the Month, I was able to turn those accidental cuts into a vibrant starburst background. This collection is available as a subscription or as individual products in the shop, and the imagery is just perfect for this cheerful look.       


✂️ How to Recreate the Look

Here is a quick breakdown of how I turned those scraps into a professional-looking trio of cards:

  • The Cut: I started with 1.5" x 6" strips of patterned paper and cut them diagonally from corner to corner to create long triangles.

  • The Layout: I arranged seven of these triangles into a starburst pattern on a 3.75" x 5.5" white card panel, lining up the points as closely as possible.

  • DIY Gold Pinstriping: To separate the patterns from the white space, I created my own "pinstripe" stickers by cutting thin strips of gold foil cardstock lined with double-sided adhesive.

  • Adding "Splash": Since these cards have a rainy day theme, I added colorful splatters using spray inks to give them a textured, artistic feel.

  • The Focal Points: I chose the adorable frog and duckling ephemera, which remind me of vintage Valentines. I popped them up on 1mm foam for just a hint of dimension without adding too much bulk for mailing.


📺 Watch the Process & Enter the Giveaway!

I’ve recorded the full process so you can see exactly how I pieced these together. This video is also part of a special video hop collaboration, which means there are prizes involved! 

🎁 Giveaway Alert: Head over to the video to find the link for a $25 gift card giveaway to the Not 2 Shabby shop! Be sure to check out the full playlist in the description to see what the rest of the team has created.


Thanks so much for stopping by today! I hope you have a fabulous day! 


N2S December Inspiration Hop


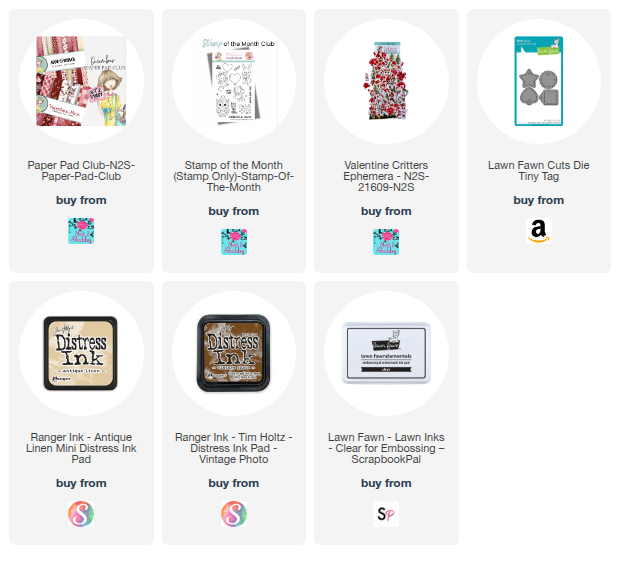
Hi friends! It's time for the Not 2 Shabby monthly inspiration hop and giveaway! For my video today I'm featuring the December Paper Pad Club and Stamp of the Month. Isn't this little bunny with his bundle of hearts adorable?

I've been battling a cold for quite some time now and finally feel like I'm turning the corner, but my creative motivation has been slow in kicking back in. So for this card, I pulled out something that always seems to get my creative juices flowing a card stock.  This sketch is Mojo  Monday 168 from 15 years ago. Wait, 15 years??? How did that happen!? Definitely an oldie, but a goodie. You can watch the creative process and hear me talk about my approach to sketches a bit in the video below or watch it on my YouTube channel.


Real Time Crafty Fun and a Video Hop


Hi friends! It's the 10th of the month and time for another YouTube Inspiration Video Hop with the Not 2 Shabby Shop team. Instead of speeding things up like I normally do, I took a more relaxed pace and you get to see the whole process in all its glory. Well, minus a few squirrelly detours I took along the way. LOL. You can watch the video below or on my YouTube Channel.


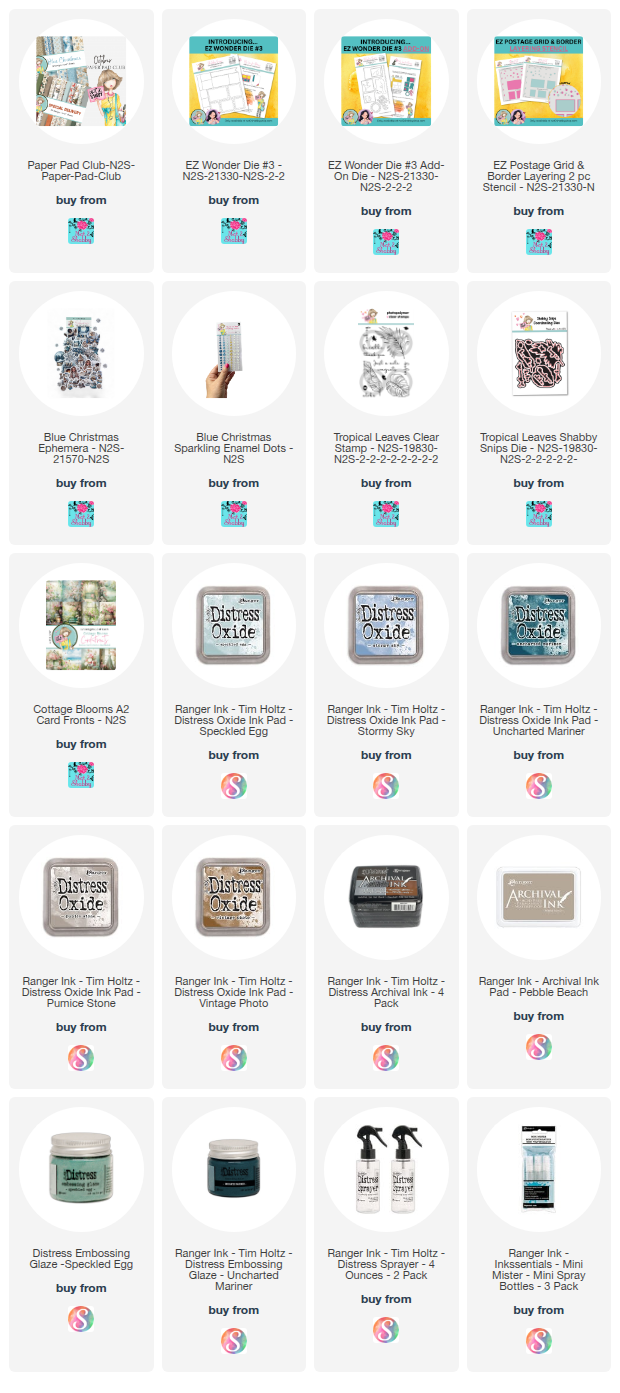
I used distress oxides and the EZ Postage Border Grid Stencil to create some mixed media backgrounds on the postage grid die cut from the EZ Wonder 3 die. Then I tore each stamp apart and pulled out the Blue Christmas collection in this month's Paper Pad Club and got to work creating these two cards.


For the first card, I pulled out a sentiment from the Cottage Breeze Card Fronts and used the EZ Wonder 3 Add-On to cut a postage border for my gold layer.  A few of those gorgeous Blue Christmas sparkling enamel dots finish things off.


I just love the dreamy ephemera and had to make another card with another one of the stamps I created in the video. For this one I added the price from the Merry mail stamp set and fussy cut the books from an ephemera piece. I collaged a few pieces to create a little scene and then finished off with a sentiment from the Tropical Leaves stamp set. 

Thanks so much for stopping by today! I hope you'll pop over to YouTube and hop along. Let me know what you think of the real-time video.


Collage Backgrounds and a VIDEO Hop


Hey friends! It's the 10th of the month and that means it's time for a Not 2 Shabby Giveaway Hop over on YouTube. We're all sharing inspiration with the September subscription products, which is one of my favorite releases ever, so be sure to check it out! You can watch the video below on the blog, or on my YouTube channel.


Got paper scraps? Get ready to collage! When I'm not sure what to make, I love spreading out all my scraps and just gluing them together to create a one-of-a-kind background. It's so easy and so much fun! 


In today's video, I'll show you how I created this card with scraps from the two paper pads in the September Box of the Month. I'll finish it with a gorgeous Copic colored image from the stamp set in the box. The stamp sets are exclusive to the box, but you can purchase the papers and ephemera individually in the shop.

Thanks so much for stopping by today! I hope you have a fantastic day!

Not 2 Shabby August Inspiration Video Easy Autumn Treat Box


Hey friends! It's the 10th of the month and time for our monthly Not 2 Shabby Inspiration Video hop over on YouTube. Today I'm making this adorable little treat box with a 6 x 6 piece of patterned paper and the August Paper Pad Club selections. You can watch it below on the blog or on my YouTube channel.


Hi friends! This week has been a whirlwind. Right before the school year starts, my twins made the big decision to move into separate bedrooms. That meant giving up a big chunk of my craft storage, half of my office for a study room, and spending the week completely reorganizing! So, for today's video, I'm sharing the process of making this box in real time, without a voice-over or much editing. I hope you still enjoy seeing the creative process unfold!


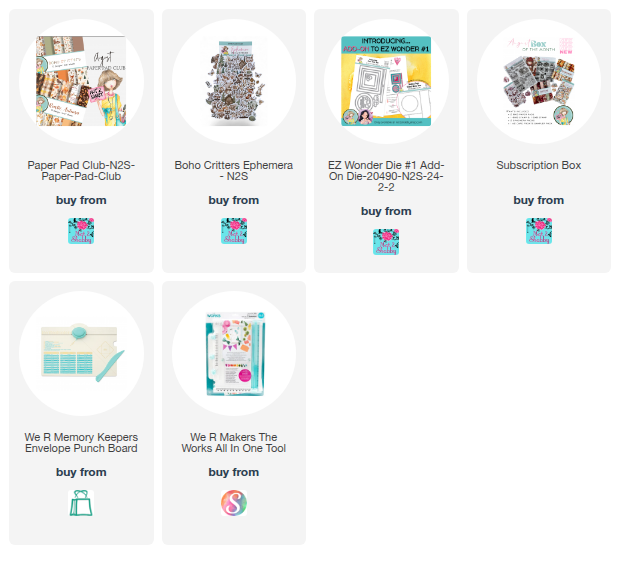
Want to know how I made this adorable box? It's SO easy with an Envelope Punch Board! It's not my original idea, but I remembered making one a while back and knew it would be perfect for these sweet Boho Critters papers and ephemera from the August Paper Pad Club!

Here's the gist:

  1. Start with a 6x6 piece of paper.

  2. Line up the left edge with the board's ruler and punch and score at 2" and 4".

  3. Repeat for two more sides.

  4. On the final side, just punch at 2" and 4" – no scoring! The triangle section without a score line is the top of your box.

  5. Cut two small slits along the score lines on either side of the bottom triangle section to create tabs.

  6. Burnish your score lines, assemble, and fill with treasures!

It's so quick and easy, I made two!


Thanks so much for stopping by today! I hope you have a fabulous day!

Tropical Smiles + Video Hop


Hi friends! It's the 10th of the month and time for the Not 2 Shabby Shop July Giveaway Hop over on YouTube. This month I'm working with the Box of the Month and am just loving all the tropical vibes!  You can watch me make today's card below on the blog, or on my YouTube channel.


My card today features the Chillin' in the Tropics paper pad and ephemera as well as the stamp sets in the box. As always, the papers and ephemera are available to purchase individually, but the stamps are exclusive to the box.


For my layout, I chose to use the postage grid from the EZ Wonder #3 Die as strips for a mini slimline card.  I folded the grid in half and then tore the two pieces apart along the circles for two clean strips.  I then used the EZ Wonder #3 Add Ons to cut some patterned paper for the sections in the grid. I stamped one of the sentiments onto a white cardstock die cut, then added some ephemera and a colored stamped image to finish things off.

Thanks so much for stopping by today! I hope you have a fabulous day!


Watermelon Gnomes and a Giveaway Hop


Hi friends! It's time for another Not 2 Shabby Monthly Giveaway Hop over on YouTube! This month we're sharing sweet watermelon and beachy vibe themed projects with this month's subscription products. I have a video card share of today's cards featuring the Paper Pad club and Stamp of the Month. So if you want to see things up close and personal, head on over to my YouTube channel, or watch on the blog below.


All of my cards today use the cut aparts from the Summer Slice paper pad in the Paper Pad Club. I just love these little watermelon gnomes. Fun fact: the only thing I craved when I was pregnant with the twins was watermelon. It wasn't a fave before that, and ever since I've totally loved it! 


This layout was adapted from an exclusive Sheetload of Cards sketch from Crafty Al's workshop during our Not 2 Shabby Cottage Rose Retreat. You can still watch the workshop here. I adapted the card to an A2 size from mini slimline, adding thin mats to each of my stripes of paper. The background comes from the Colorful Linens paper pad. I embossed the sentiment from the Sweet Slice stamp set onto a banner from EZ Wonder Die #1, then finished off with some butterfly stickers from the Sweet Summer Cottage PET Tape. The tape coordinates beautifully with the Paper Pad Club and add on ephemera this month!


My next two cards use a two for one layout. I cut two different sheets of paper down to 3.75" x 5". Then I cut from 2.75" down the long side to the right top corner. I then cut the remaining panel 2.25" down from the top corner to the bottom corner, which gave me 2 triangles and one diagonal middle strip. I swapped the patterned paper for the middle strip, and voila... two cards ready to assemble. For this card I added another panel of paper  and a Doodlebug doily to give a little grounding for my gnome. The sentiment is from the stamp of the month and I colored it with Copic markers and cut with my Scan 'n Cut. I finished off with some peel off stickers to jazz up the layers and then finished with more of the coordinating PET stickers.


For my final card I added a bit of vellum behind my focal piece so it would stand out a bit more, then added a few doily die cuts and a sentiment from the stamp set. I finished off with some Minty Bliss sparkle enamel dots.

Thanks so much for stopping by today! I hope you have a fabulous day!


Buzzing By with a Hop


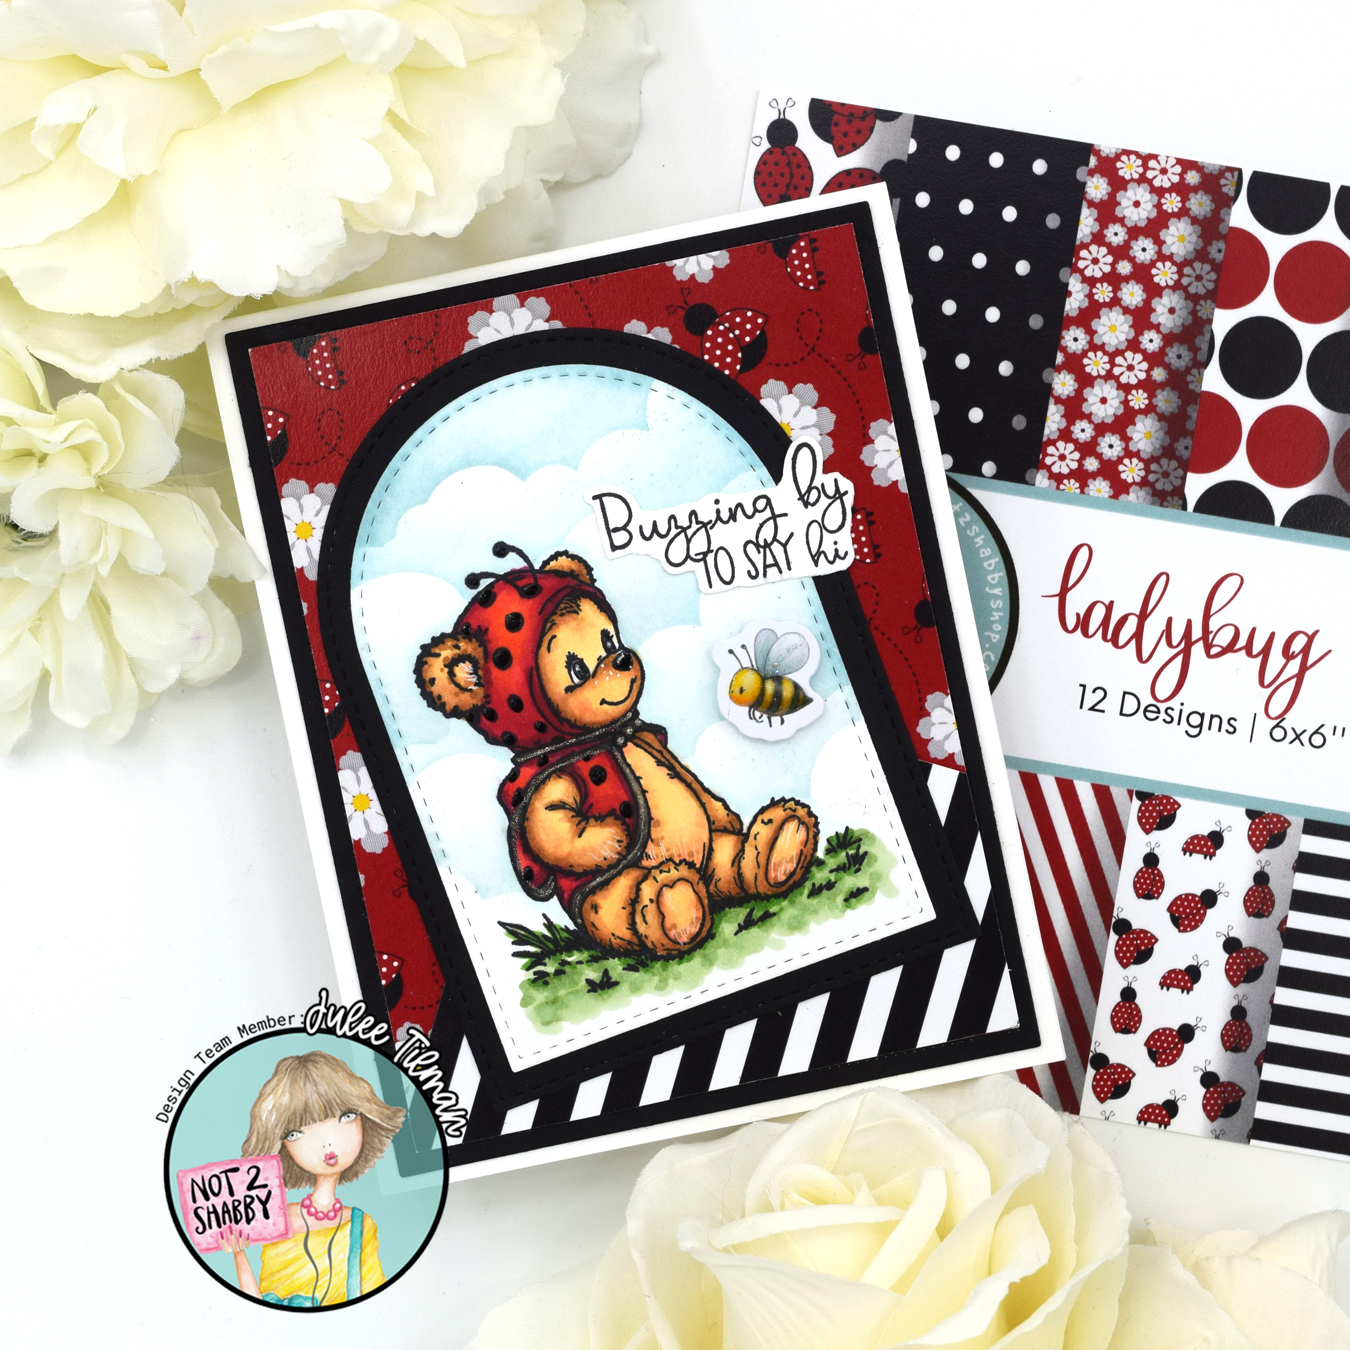
Hi friends! It's the 10th of the month and that means I'm taking part in a video inspiration hop with my fellow Not 2 Shabby design team members! In my video today I color up this adorable image, do a little masking and stenciling, then complete the card.  Your can watch it below or on my YouTube channel.


Thanks so much for stopping by! I hope you have a fantastic day!