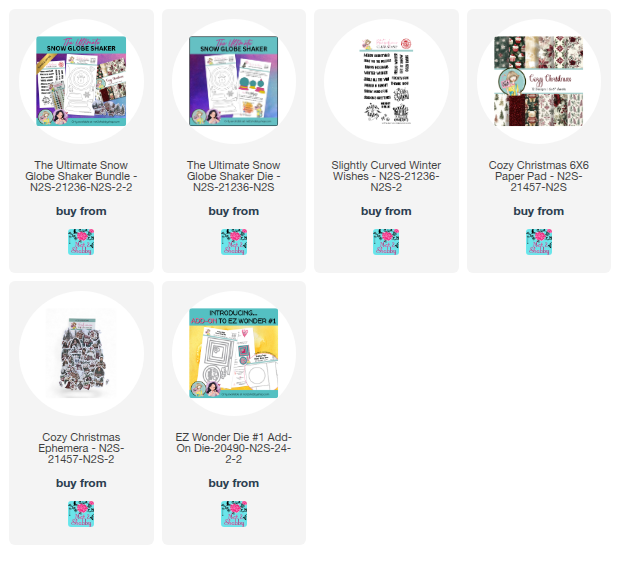
Hi friends! Today I'm popping in with more from the Ultimate Snow Globe Shaker Bundle! I love these pretty papers and ephemera so much that I had to make another card. I went for a peaceful winter wishes scene this time!
I gave the ephemera piece a little distressing with Brushed Corduroy ink, then cut it out with the large circle die. I added a gold foil mat behind it for some extra shine! For the backdrop, I paired the golden paper and that gorgeous poinsettia print, then covered the seam with a gold peel-off sticker and added some sparkly gold glitter snowflakes.
The best part? The sentiment from the Winter Wishes stamp set! Even though it's curved, you can easily straighten it out to fit on a banner die from the EZ Wonder #1 Add-Ons. I embossed it in gold, popped up the circle element, and added it all to a white card base. So much fun!
Thanks so much for stopping by today! I hope you have a fantastic day!
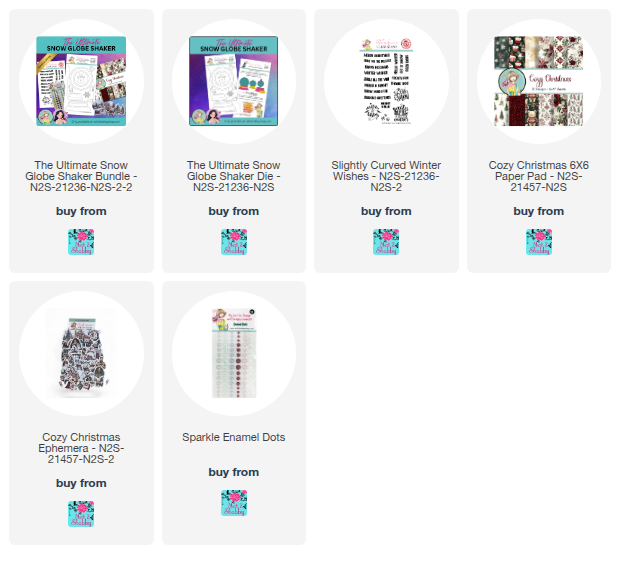
Hi friends! I'm switching things up today to share this fun snow globe creation! It's all thanks to the Ultimate Snowglobe Shaker Bundle. Isn't that angel ephemera just the prettiest? I just had to make her the star of the show! 😊
I'm loving how the Ultimate Shaker Die Set is so versatile. I paired it with some stitched arch dies from my stash for a unique shape! I put a vellum arch behind the base, glued on some gold glitter snowflakes, and then added the angel. After tucking a smaller acetate arch over her, I added foam tape for a bit of lift. The sentiment from the Winter Wishes stamp set is embossed in gold onto a vellum die-cut. I finished it all off with a paper backdrop from the Cozy Christmas paper pad and some sparkly enamel dots! ✨
Thanks so much for stopping by today! Hope you have a fabulous day!
Hi friends! I'm back with another project featuring the Ultimate Snow Globe Shaker Die! This time I decided to use it as a snow globe. I just love the cute little scene building dies Linh included to create your own winter scene. As a kid, I had a snow globe very similar to this, with a blue sky, a snowman, and some snowy hills. So it seemed like the perfect time to recreate it.
I started with the smaller of the large circles on white cardstock as well as some metallic cardstock. I used the hill border die on the glitter paper circle to create the slopes, then masked off the area where I wanted the hills to go on the white circle. I blended the sky with chipped sapphire, faded denim, and stormy sky distress ink, then dropped water droplets on it, for the effect of falling snow.
Next I cut out the snow man from white cardstock. I pieced in the nose and buttons with orange and black cardstock pieces, then used Copic markers for the hat, arms, and a bit of shading around his body. The tree was cut from evergreen cardstock and I added just a touch of texture with a dark green Copic.
I cut a few snowflakes from the same glitter paper for accents, then chose a dark background to let my snowglobe really stand out. The snow globe base is cut with woodgrain paper from the Farm Life paper pad. I sponged around the edges with vintage photo distress ink for a b it of depth, then embossed the Let it Snow sentiment from Winter Wishes directly onto the bas to finish things off.
Thanks so much for stopping by today! I hope you have a fabulous day!
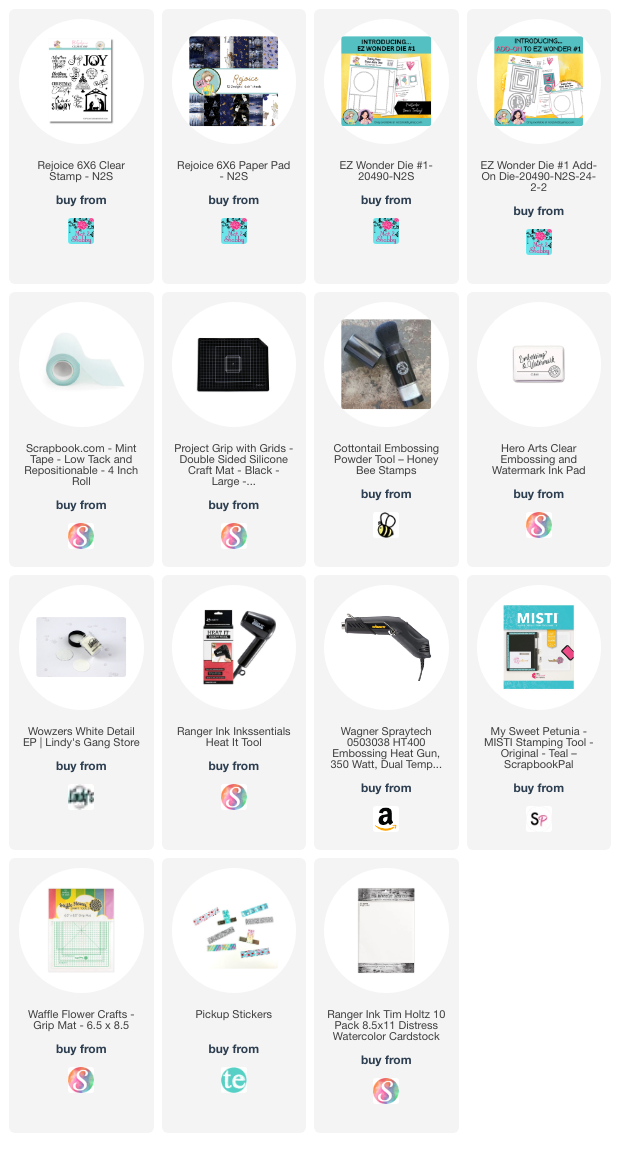
Hi friends! Happy Saturday! Hope your weekend is off to a great start. I'm popping in today to share a card and video I made with some new goodies from Not 2 Shabby. I always love to make faith-based cards for Christmas and as soon as I saw peeks of the new Rejoice stamp set and paper pad I had to have them!
These two products along with a few other fun holiday goodies are part of the Better than Black Friday release. And you guessed it... it coincides with a sale, but you need to hurry since it's only through November 17! I'll add the coupon code details at the bottom of this post.
Lately I've been putting some more planning into my crafting time, and I'm hoping to start creating more videos in the coming year. So today I'm testing out a real-time video. I am not the fastest crafter in the universe, so it's a relaxed pace "craft with me" style of video. Let me know what type of videos you prefer - relaxed pace or heavily edited and sped up. You can view the video below or on my YouTube channel.
The technique I use in the video is a masked off watercolor background. I used some liquid watercolors and some Lindy's magicals (I believe those specific colors are now retired), but you can use any kind of water based medium or ink for this effect. I love the way a vivid watercolor background looks with a stark white embossed image or stamp, so this set was perfect for that.
I also used the EZ Wonder Die #1 and the EZ Wonder Add On #1 to create my card, dressing things up with some fun dry embossing folders from my stash. Jamie just opened up pre-orders for another round of the EZ Wonder dies, so if you've been waiting, it's a great time to claim one.
Thanks so much for stopping by today! I hope you have a fabulous rest of the weekend. As promised here are those coupon codes.
Not 2 Shabby Shop Black Friday SALE Info:
• 10% OFF with Code: BETTER10
• No minimum, but if you spend $60 (after discounts) receive the Free “Purrs & Cocoa” Stamp Set
• 15% OFF with Code: BETTER15 Spend $75 (after discounts)
Unlock 15% OFF + Free US Shipping + Free "Purrs & Cocoa" Stamp Set
• 20% OFF with Code: BETTER20 Spend $150 or more (after discounts) Unlock 20% OFF + Free US Shipping + Free “Purrs & Cocoa”
Stamp Set
Ready to treat yourself? Just grab a coupon code, fill your cart, and let the savings begin. 🎨 Sale Ends 11/17 - Shop Early for the Best Selection!
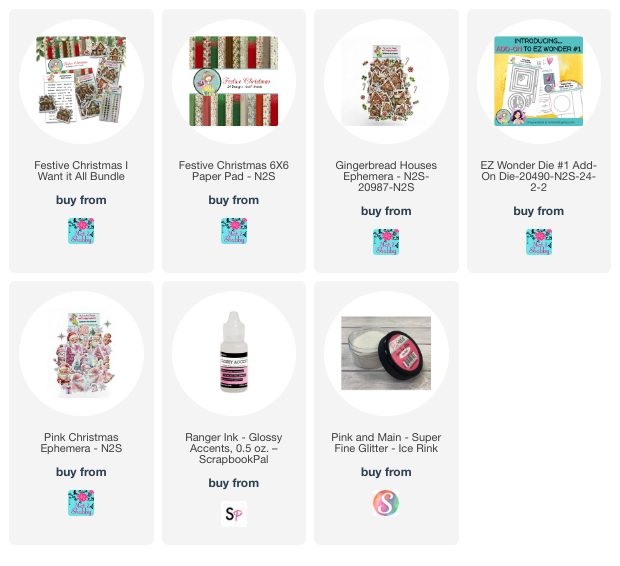
Hi friends, today I'm sharing a little winter wonderland shaker card I created with the new Festive Christmas quarterly release and EZ Wonder dies from Not 2 Shabby. I just love these gingerbread houses and knew I wanted to make a shaker with one as the center piece.
After cutting the square with the round circle cut out from the Festive Christmas Paper Pad, I then found some scallop circle dies in my stash to create a little frame for my shaker hole. I created the shaker with acetate and then tucked the Gingerbread House ephemera on top of the acetate before adhering so it sits on top and the snowflake sequins fall behind. I used a few photo corner dies to dress up the corners and add to the country charm of the main image.
The sentiment is from the Mini Messages set in the Festive Christmas I Want it All Bundle and I die cut it with the EZ Wonder #1 Add Ons and matted with one of the banners from the EZ Wonder #1 Die. I added a couple stripes of thin ribbon, then accented with a fussy cut bow from the Ephemera Pack to finish things off.
Thanks so much for stopping by today! I hope you have a fabulous weekend!
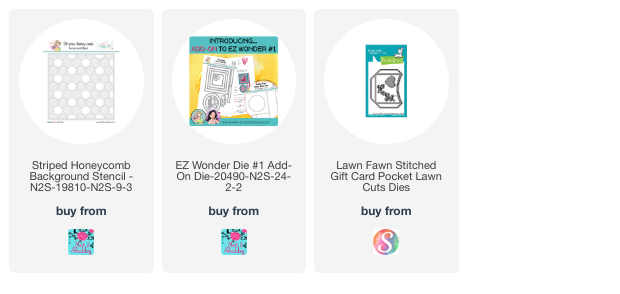
Hi friends! Today I'm popping in with a quick little gift card pocket mini slimline card. Now there's a mouthful to say! LOL Basically, it's a card with a front pocket and a removable gift card holder element.
I used the Pink Christmas papers in this month's Not 2 Shabby October Paper Pad Club. This snowman ephemera from the Pink Christmas Ephemera pack is so cute!I had to add him to the front and tuck in some little gift ephemera to create the scene.
The gift card insert uses a gift card die which I cut from patterned paper, then matted with gold foil cardstock. I tucked in the gift card and then tied a string and a little tag around it to give it the look of a present. The tag uses one of the sentiments from the Mini Messages stamp set that just released as part of the Festive Christmas I Want it All Bundle.
Thanks so much for stopping by today! I hope you have a fabulous day!
Hi friends! Today I'm sharing a card I made on world card making day following the LVHandcrafted Mystery Craft Along tutorial for a hidden message card. Fun fold/interactive cards are definitely not in my wheelhouse, but I had a lot of fun trying to figure this one out.
The first part of the process is pretty straightforward, creating a gatefold card with a belly band. Then things get a bit squirrely, cutting slits in your card base and weaving papers in so that you can flip the inside to show a hidden panel. Quite fun, but it took this old brain quite a bit of time to figure out how to actually pull the papers to get to the flipped side! LOL What was that 80's show... Kidd Video, I think? Where they always said, "I'm taking you to the flip side" when they switched from live action to cartoon? That's been going through my head since I made this card!
For the card, I used the new Festive Christmas papers and Gingerbread Houses Ephemera. I love the farmhouse vibe to this paper pad, and that there are some really fun wood grain panels to go with the Christmas-y prints.
When you open up the gatefold you have a lot of panels you can decorate. I added several small ephemera pieces, some heart die cuts and sentiments from the new Mini Messages stamp set. I also included an extra long panel of white cardstock that I could write a short note to the recipient on.
Okay... now I'm taking you to the flip side... bwahahahahahaha. LOL
For this section, I used another gingerbread house ephemera, then grabbed a couple of gold snowflakes from the Pink Christmas ephemera pack and a gold foil sentiment from my stash of Christmas past.
I had a lot of fun creating this card and would definitely recommend giving the LVHandcrafted tutorial a try.
Hi friends! Today I'm dropping in with a bit of inspiration featuring the Vintage Santa October Stamp of the Month from Not 2 Shabby. This set includes two fun Santa images, as well as several fun sentiments, and works perfectly whether you love to color or not. I typically am all about coloring images, but this Santa just looks so jolly all dressed up in red embossing, don't you think? Easy peasy!
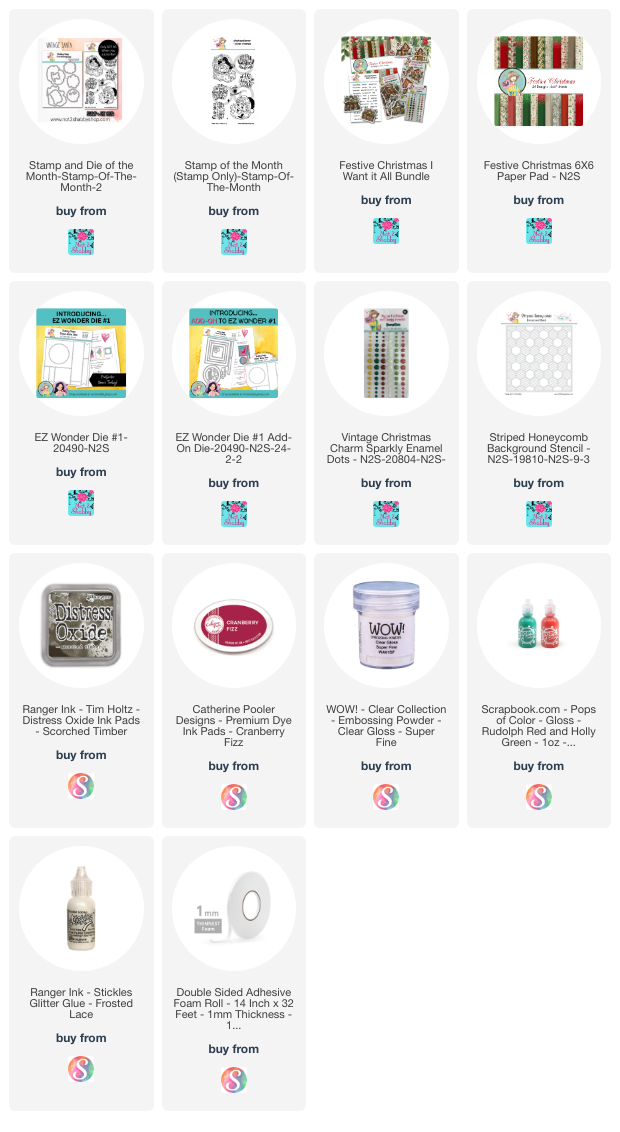
After heat embossing the image and cutting with the coordinating Vintage Santa Dies, I pulled out a sheet of paper from the new Festive Christmas paper pad that was mostly red, cut it down to card size and then dry embossed with a snowflake embossing folder. I then lightly sanded the embossed areas to make the snowflakes show. I had a scrap of kraft cardstock that was stenciled with the Striped Honeycomb Background Stencil on my desk and thought it looked great with the snowflakes. So I distressed the edges, then layered the stamped image, a flower and a gold foil leaf de cut over a bit of lace. I finished off with the Santa surveillance sentiment embossed onto a die cut tag and hung with a bit of gold cording.
For my next card, I pulled out my Copic markers and started coloring dear old Santa. The red for the Santa hat, as well as the holly branch are solid, so to add some color, I painted on some gloss Pops of Color in red and green. The card layout uses EZ Wonder Die #1 cut from some Festive Christmas Paper. I cut the circle die cut in half to create a little interest, then inked up the edges and layered onto a panel of white embossed with a snowflake embossing folder. The sentiment is from the Mini Messages stamp set included in the Festive Christmas I Want it All Bundle. I finished with a small bow up top and some Vintage Christmas Charm Sparkling Enamel Dots.
Thanks so much for stopping by today! I hope you have a wonderfully creative day!
Hi friends! The Not 2 Shabby quarterly release is available in the shop today! You can purchase all the new goodies in the Festive Christmas I Want it All Bundle to save a little, or most of the items are available to order individually.
This release includes the Festive Christmas Paper Pad, Gingerbread Houses Ephemera, Christmas Shops Ephemera, Vintage Christmas Charm Enamel Dots, and Mini Messages Stamp Set. Today I'm sharing a couple of projects with the sweet Gingerbread Houses Ephemera and the Mini Messages Stamp Set.
Do you ever have those days when you just have a color in mind and want to create with it? When I saw these houses my mind kept coming back to mint macaron and regal rose. I haven't used my Stampin' Up cardstock in a while because I have a rolling cart in front of the file cabinet it's stored in. But I pulled some out just for this crafty session and think I will find a way to get it back on a shelf I can reach for the future. There are so many good colors.
My card starts with the Gingerbread Houses ephemera as my focal point. I layered some of the candy canes and candy swirls on either side to create a scene and then added a bunch of accents with glossy glaze and a sprinkling of glitter. I just love the way this dresses up a piece of ephemera.
The background for the card, as well as for the tag I'm sharing next use the Striped Honeycomb Stencil. Here I used wheat ink on wheat cardstock, then added to a scallop rectangle mat from Sage Shadow. The sentiment is from the new Mini Messages Stamp Set and cut with one of the dies from the EZ Wonder #1 Add Ons. These sentiments were intended to be used with your EZ Wonder Dies and I know this set will be WELL loved!
I finished with a chipboard snowflake from my stash, a couple of sparkling enamel dots on the candy swirls and some Doodlebug heart stickers on the sentiment banner.
Next up I created a tag with a gift card holder pocket on the back. I started by die cutting the tag shape and then stenciling with the Striped Honeycomb Stencil and roughing up the edges. I then took a little gander through my shabby chic supplies and found some leaves, a flower and some lace that I thought would go with the Gingerbread Houses Ephemera that I had chosen. I collaged everything together, adding another Mini Messages sentiment on a banner. A little gold ribbon at the top finishes things off.
I forgot to photograph the back side, but I did cut a gift card pocket from patterned paper and adhered to the back for gift giving.
Thanks so much for stopping by today! I have lots more to share with these products, so be sure to check back soon.
Hi friends! It's the 10th of the month and time for the Not 2 Shabby design team to share inspiration with our October subscription products. Hop along on YouTube and enter for a chance to win a gift code to the Not 2 Shabby shop.
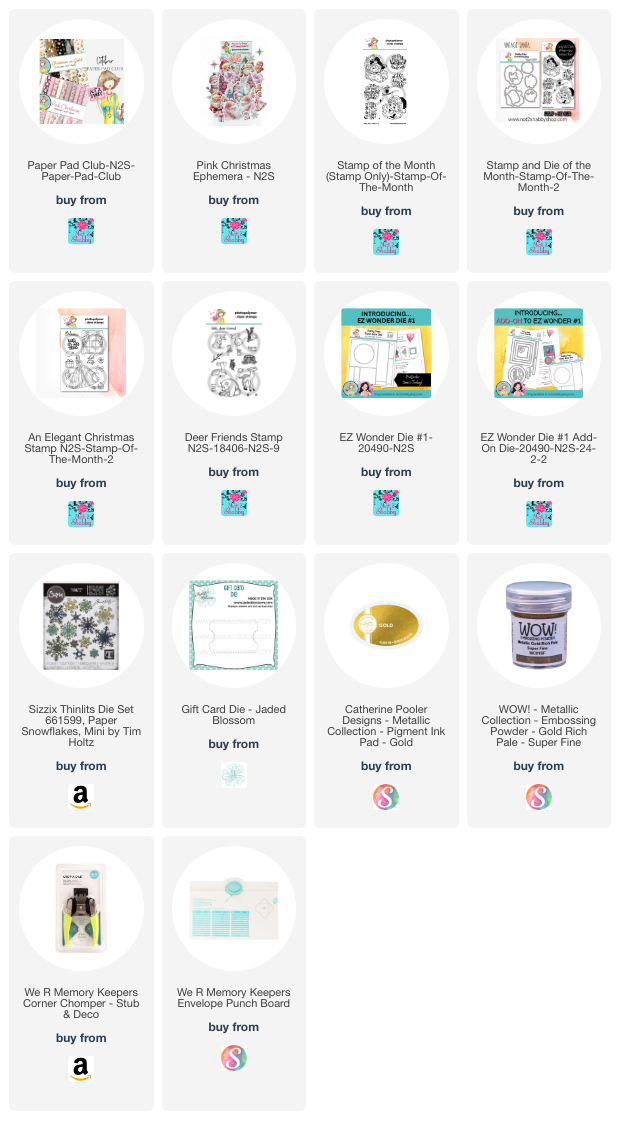
They say a picture's worth a 1,000 words but sometimes a video captures even more. Today for my video I'm just doing a project share of the ensemble of cards and gift card holders I made with the elegant Christmas in Gold papers in the October Paper Pad Club. You can watch it below or on my YouTube channel.
I really love this gorgeous paper pad, but a lot of the patterns are busier than I typically reach for. So I challenged myself to use the patterned paper in several different ways, and here's the ensemble of cards, gift card holders and coordinating envelopes I created.
Ways I used patterned paper on these projects:
1. Fussy cut pieces from the paper to use as images on your card. I did that here with the beautiful flowers, arranging them in a lovely spray to accent the sticker sentiment I chose as my focal point. A little gold foil matting between each layer is a great way to add a touch of elegance. I finished with some sparkling enamel dots to accent the flowers.
2. Create a shape out of your patterned paper to use as a focal point. Here I layered two strips of patterned papers together then accented with pin stripe stickers and washi tape. I used a corner punch to create a ticket/label shape. I added a doily behind, then accented with a wooden deer shape and a sentiment from the Deer Friends stamp set.
3. Use strips of paper to create a focal panel. Here I cut strips out of my scraps and glued them to thin white cardstock, alternating the strips. I then die cut with a rectangle die for a fun panel. I finished the cards with a sentiment from the Elegant Christmas stamp set and another wooden shape from my stash.
4. If you're paper isn't the right size or direction, glue pieces together to create what you need. For this gift card holder I wanted to use a scrap of paper with the deer design. However, it's a directional print and didn't fit the top fold version of the gift card holder. So I decided to make a side fold version and glued a 2" strip of the deer design to a 6" strip of the floral design and then covered the seams with a pin stripe sticker. The inside is covered up with a piece of cardstock to write a note to the recipient. And if you didn't like the idea of fussy cutting on the first card, you can also just die cut a portion of the paper, like I did here with the deer to use as a focal point on the front of the gift card holder..
5. When you have a big piece of paper with a large design or scene, it's okay to cut it up. Even if it cuts off an image, it can make some beautiful patterns you might not have noticed in the larger scene. Here the tops of the trees make such an interesting piece for the inside of this gift card holder.
My final gift card holder doesn't use a unique technique per se, but I did choose the pattern knowing that the back was the large scene paper and this would be a great way to use it up. It gives a great border around the inside of the gift card holder and you'd never guess there's a huge deer behind there.
I fussy cut a couple more flowers and inked the edges with black ink. The sentiment is from the October Stamp of the Month, Vintage Santa and cut with the coordinating die set.
The gift card envelopes are made with the Envelope Punch Board with the measurements for a full sheet of 6 x 6 paper. Makes it so nice and easy to coordinate your gift.
If you're still reading, high five! That was a long one! Thanks so much for stopping by today. Hope you have a super creative day.