Powered by Blogger.
Showing posts with label Not 2 Shabby. Show all posts

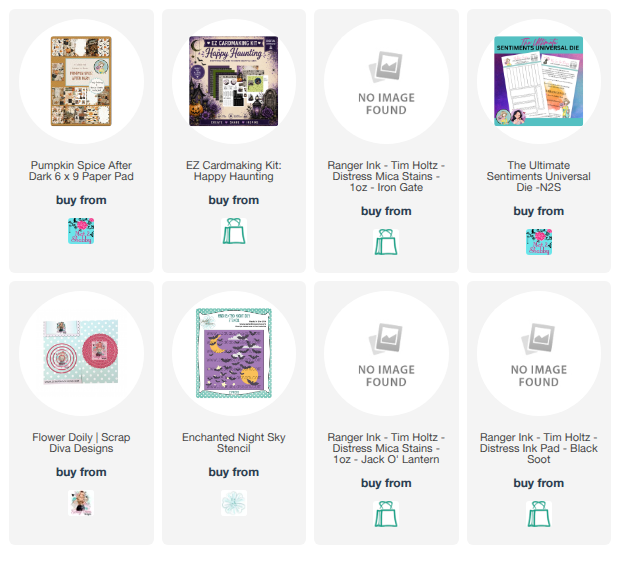
Pumpkin Spice After Dark


Hi friends! Happy National Coffee Day! Today I’m popping in with a spooky fun caffeinated creation. this is one of 6 cards I created with the Pumpkin Spice After Dark paper pad. I’m sharing all six over on my YouTube channel, and I’d love for you to stop by and say hi! Watch below or on my channel.


The sentiment is from the LV Handcrafted Happy Haunting Cardmaking Kit and cut with the Ultimate
 Sentiments Universal Die.  I had fun with the wide grosgrain, some mica splatters, and some black doily die cuts. Thanks so much for stopping by today. Hope your cup overflows.



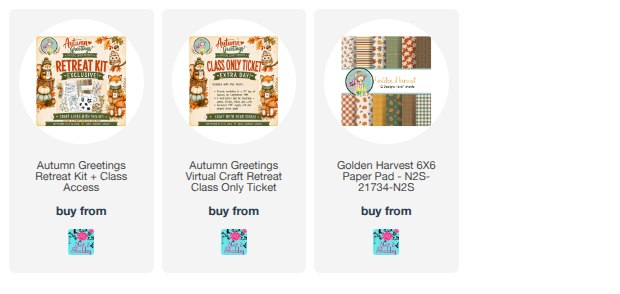
Today's the Day! Autumn Greetings Virtual Retreat!


The Autumn Greetings virtual retreat starts today at 11am Mountain on YouTube! I'm teaching a super fun hide and reveal card, plus three more of my teamies will be teaching today, too! Today's classes are FREE to watch and we'd love to have you come join us. 

Join us on YouTube for the Day 1 Classes

We're all teaching with the Autumn Greetings Retreat Kit. There's a handful of those left in the shop to purchase, but you can play along with any supplies you want. All of the projects are easily adaptable to different themes and supplies.  

Day 2 classes are for paid ticket holders and retreat kit owners. You can still purchase a Class Only Ticket in the Not 2 Shabby shop to gain access to tomorrow's day of classes from Kristie Marcotte, Call Me Crafty Al, LV Handcrafted, and Jamie Peters, owner of Not 2 Shabby.

On today's card, I recreated the class project in a Christmas theme. Here's the view when you  first open the card. I've added a place to write a message and a few little ephemera accents. 

Then you open the reveal card and find a gift card holder! So much fun, and perfect for the holidays.


Thanks so much for stopping by! Hope to "see" you at the retreat!

Contrast in Cardmaking


Have you ever finished a card, set it back on your desk to admire, and felt completely underwhelmed? There is nothing fundamentally wrong with the card. You love the papers, the image, and the layout.  Yet, the whole design feels flat, like it is missing that signature spark.


That exact feeling struck me while working in my studio the other day. I created a card using the gorgeous Vintage Autumn paper pad and a sweet ephemera piece of a girl holding an umbrella. The components were beautiful on their own, but once assembled with some orange matting, the card just did not sing. The vibrant orange tones blended straight into the background, leaving the focal image floating without a clear place for the eye to land. I thought about what could improve the card, and came up with contrast.


You can watch how I fixed the low contrast problem over on the Not 2 Shabby Channel.


Contrast is the secret sauce of papercrafting. It creates clear visual boundaries, guides the viewer’s eye directly to your focal point, and prevents busy patterned papers from swallowing up your design. To fix my underwhelming card, I decided to test two fundamental types of contrast using the exact same card sketch.


First, I explored temperature and color contrast by playing cool tones against warm ones. On the color wheel, orange sits directly across from blue, making them natural opposites that create high-impact harmony. I swapped the matching orange mat for a crisp, cool turquoise. The cool undertones immediately pushed the warm orange to the forefront, making the entire focal cluster look bright, playful, and instantly energetic.


Next, I tested value contrast by pairing light and dark elements. I looked for a deep neutral and settled on a rich, dark espresso brown. Placing a dark frame directly behind the lighter, detailed focal panel gave the eyes a much-needed resting space. The dark brown grounded the earthy fall tones and made every delicate edge of the paper layers jump right off the card base.

It's amazing how a simple shift in matting can completely transform a project from washed-out to show-stopping. The next time a card feels a little bland, do not scrap it—just look at your mats!

Which contrast style speaks to your heart more—the vibrant energy of cool turquoise or the grounded warmth of dark espresso? Let me know in the comments below!


Fall is Better with Friends


Hey friends! Happy Friday! Today I’m popping in with one of the cards I made during my LIVE crafting session on Monday night. if you missed it, the replay is available on my channel. 


This card features the beautiful Autumn Greetings Retreat Kit. I stamped the leaf image on watercolor paper, then did some loose water coloring with some Lindy’s Magicals. For the card background I did a little tone on tone stenciling with the coordinating leaf stencil, then stamped some of the splatter stamps randomly in the open areas.

This card features the gorgeous Autumn Greetings Retreat Kit. I started by stamping the leaf image onto watercolor paper and then did some loose, vibrant water coloring with Lindy’s Magicals. For the background, I blended a little tone-on-tone stenciling using the coordinating leaf stencil and added some random splatter stamps in the open areas to build up the texture.


The sentiment comes from the Fall Friends printable that I designed as a reward for our Community Harvest, which we officially harvested! Every single Retreat Kit owner will get access to this printable, which is so exciting. I printed it out on my laser printer and then ran it through my Minc machine with some absolutely stunning orange foil. Both the sentiment and the tag mat were cut out using the Ultimate Accordion Dies, and I finished everything off with a touch of ribbon and some sparkling enamel dots from the kit.


Thanks so much for stopping by today. In case you missed the announcement, there are still a few of my Mystery De-stash Bundles available over in Linh’s shop, priced at around 75% off retail for a total steal of a deal!


Four Christmas in July Cards + Destash Alert

Hey crafty friends! Grab a giant refreshing beverage and get cozy, because we are escaping the summer heat today with some serious winter inspiration!

If you’ve been following along with the weather out here in Idaho, you know I’ve been practically melting at my boys' summer tennis tournaments. While spring is usually my prime time to hit the courts myself, and autumn remains my absolute favorite season, this week I am fully embracing Christmas in July.

We have a massive milestone to celebrate in the craft room! It is officially the one-year anniversary of the EZ Wonder Die #3, created by the Linh over at LV Handcrafted Design for the Not 2 Shabby Shop. To mark the occasion, Linh has been releasing weekly commemorative sheet printables. This week it's a gorgeous Winter Commemorative Postage Sheet, and I just couldn't wait to dive in and create four distinct cards to show you just how versatile these printables can be.

A Peek at the Cards

In my latest YouTube video, I walk you through making four cards with this one sheet printable.

  • The "Cookies & Cocoa" Team Grid: A clean, postage grid layout featuring the adorable avatars of our EZ Postage Printables design team.


  • The "Home for the Holidays" card: A warm, vintage-inspired card with an icy blue snowy village and a sweet coffee drinking grannny.


  • Blue Christmas Wishes: A fun layout using scraps from the gorgeous Blue Christmas collection (on sale right now for Christmas in July!), and a sweet girl holding a warm mug that is absolutely filled with coffee in my imagination.


  • The Grumpy Old Man: I know he doesn't look that grumpy, but he reminds me of the classic move, Grumpy Old Men. LOL


🚨 48-Hour Anniversary Flash Sale!

Linh is throwing a major celebration for this anniversary, but you have to act fast!


The Details: Winter Commemorative Sheet is completely FREE with any purchase,
Use my EXCLUSIVE affiliate code Julee5off to get $5 off any EZ Printable.

This is a strict 48-hour flash sale that expires on July 24th, so make sure you head over to grab your digital goodies before the clock runs out.

Head over to my YouTube channel to watch the full process video, see these cards come together step-by-step, and grab all the shopping links below.


DESTASH Alert

My friend Linh and I have gone in together to create some mystery de-stash bundles from our own supplies! You can grab them at the link below. There are three bundle sizes to choose from and all stamps and supplies are in good condition. The perfect excuse to get yourself a little Christmas in July prezzie!

Shop here: https://www.lvhandcrafted.com/products/mystery-de-stash-bundles?variant=53790274257169

Thanks again! Stay crafty, stay cool, and happy stamping!


Storybook Shadowbox Card Tutorial


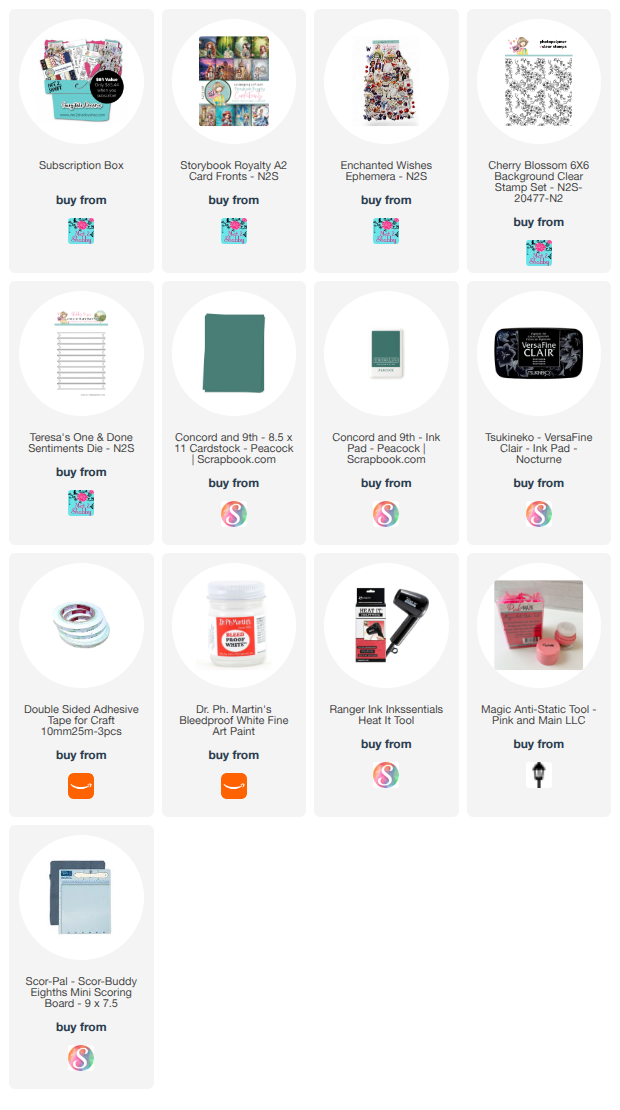
In my latest project, I decided to turn a crafty "happy accident" into something beautiful. Instead of throwing away a card front featuring an adorable princess from the Not 2 Shabby Storybook Royalty Card Fronts, I pivoted and turned it into a 3D shadow box card. It is the absolute perfect way to rescue a ruined card background while adding an interactive "wow" factor that your recipient will love.


To create this magical window, I constructed a simple accordion-folded frame using a 5.5" x 6.25" piece of cardstock. By scoring a slightly wider panel on each side, I created dimensional folds that make the card front pop forward to form a shadow box while still allowing the entire card to collapse completely flat to fit inside a standard envelope. I dressed up the frame by stamping a tone-on-tone background with the Cherry Blossom Background stamp, added some crisp white heat embossing for the sentiment, and finished it off with a flurry of dreamy white ink splatters. Inside, I even had a little stamping mishap with a heart, but a butterfly ephemera piece saved the day, proving that there are truly no mistakes in crafting—only opportunities for extra embellishment!

I would love to show you exactly how this card came together! You can find the full video tutorial over on my YouTube channel right now. Grab your favorite card fronts, warm up your heat tool, and let's craft a little fairytale magic together!


Also, I'm going to be streaming LIVE crafting to my YouTube channel on Monday, July 20 at 6:30 pm. All of the Day 1 instructors for the Autumn Greetings virtual retreat should be there and it will be ton of fun. My LIVE last weekend ran into some technical difficulties, but I think I've got it figured out for Monday! Crossing my fingers! LOL

Craft With Me LIVE Tonight at 8 PM MST!


🎉 BIG NEWS, friends! I am going LIVE on my YouTube channel TONIGHT (Friday, July 10) at 8 PM MST—and it’s my first time ever streaming! 😱


I would absolutely love for you to come hang out, craft along, and keep me company (mostly so I’m not just awkwardly chatting with myself! 😂).


I’m joining forces with the wonderful LV Handcrafted and Mommy Guide Inc, and we are going to be spilling some fun behind-the-scenes tea about the Autumn Greetings Virtual Retreat coming up this September! 🍂☕️ Plus there's a FREEBIE if you join us live!


 Join me live tonight (July 10th) at 8PM MST to find out how to grab these exclusive printables for FREE - https://www.youtube.com/live/BFsWCRD9_6c?si=MKBw_-qIMUc8JveV

Grab your favorite beverage, bring your latest project, and let’s hang out!


👇 Where to watch: Click the link above or head straight over to my YouTube channel. Can't wait to see you there!


Unboxing the Not 2 Shabby Autumn Greetings Retreat Kit! 🍂✨


Hi crafty friends! Today I am absolutely thrilled to share a sneak peek of the gorgeous Not 2 Shabby September Virtual Craft Retreat Kit! You can watch my quick unboxing video below on the blog or on my YouTube channel. Tickets are on sale now, and I'll be teaching on Day 1.


If you are ready for a cozy weekend filled with creativity, inspiration, and an amazing community right from the comfort of home, you’ll definitely want to mark your calendars for September 18th and 19th, 2026. This live-hosted event features a wonderful mix of live crafting, interactive games, and premium, prerecorded workshop classes. You can join in live to chat or catch the replays whenever you have time.

Best of all? Day 1 is completely FREE to attend!

Let’s break down how you can join the fun!

🎟️ Choose Your Retreat Experience

There are a few different ways to experience the retreat this year, depending on how much crafty goodness you want to unlock:

  • Day 1 Ticket (FREE): Get access to four amazing crafty classes on day one completely free of charge. Replays will be available, and I'm honored to be teaching a fun fold class for day one!

  • Class-Only Ticket: This gives you a private invitation to Day 2 for four additional exclusive classes.

  • Retreat Kit Ticket: This includes the full physical retreat kit shipped right to your door, plus your private invitation to all the exclusive Day 2 classes.


🚨 Early Bird Bonus: If you order your retreat kit by July 20th, you will get an exclusive mystery bonus item added to your kit, plus a chance to win a $100 gift voucher to the Not 2 Shabby shop!


This kit is an absolute dream to play with, and I can't wait to see what everyone creates during the retreat. You can grab your tickets and your retreat kit right now over at the Not 2 Shabby shop.

Head down to the comments and let me know: Which item in this kit are you most excited to craft with?

Thank you so much for stopping by the blog today. Happy crafting, and I will catch you all on the next one!


Money Holder Tutorial with 6x6 Papers


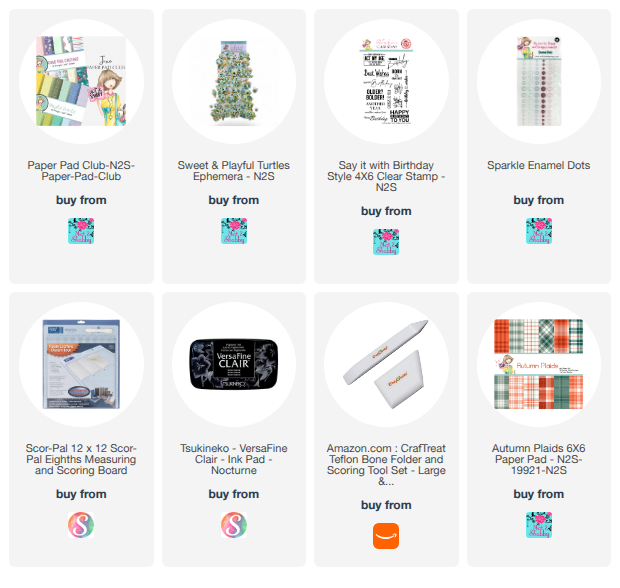
Hi friends!Today I've got a tutorial up on YouTube crafting an adorable, money/gift card holder featuring this month’s Paper Pad Club prints. If you love teal and lime green as much as I do, you're going to adore this color scheme! I'm also featuring some ridiculously cute turtle ephemera from the Sweet & Playful ephemera pack.

Grab some lightweight cardstock—I highly recommend 65-pound weight to minimize bulk, and so your score lines don’t crack—and let's dive right in! You can watch the process below on the blog or on my YouTube channel.


Measurements:

For the base: 7 3/8 x 6.75"
Score on the 6.75" side at 1.5" and 4.5"
Score on 7 3/8" side 0.5" from either end

Mitre (angle) cut the bottom portion where the 0.5" and 1.5" score lines intersect to form a tab.
Repeat on the other side
Remove the rest of the 0.5" flap on both sides, leaving just 1.5" tabs on either side

Inside Center Mat: 2.75" x 6"
Inside Right Mat (smallest section): 1.25" x 6"
Inside Left Mat: 2 x 6" white cardstock
Front Mat: 2 x 6"
Belly Band: 2 x 6", plus 1.25" square connector
Optional Back Mat: 2.75 x 6"


Thank you so much for stopping by today. Have fun crafting!


Sketchy Turtles


Hey friends! Today I'm sharing a little quartet of square cards. Jamie posted some card sketches in the Not 2 Shabby newsletter this month and they got my little fingers itching to create!

I shared these in my hop video this week. Jamie's has a special offer for orders through June 15, but you  have to watch one of the videos on the hop to find out how to qualify.  Here's the link to my video: https://youtu.be/clePWpvCNeA


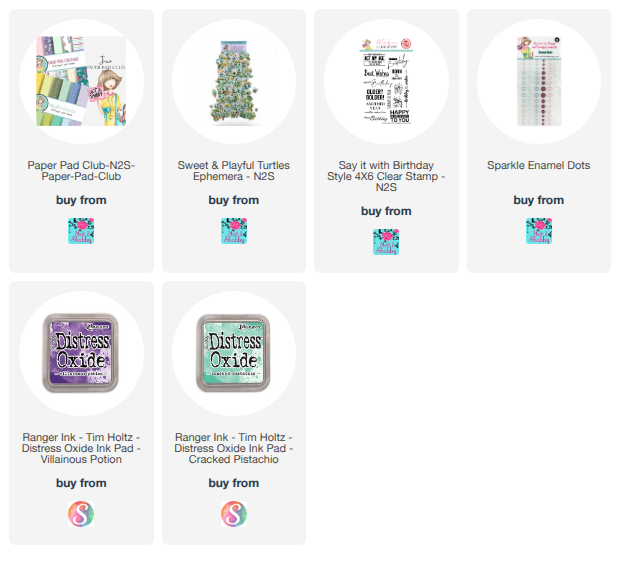
For this grouping of cards, I splattered some villainous potion and cracked pistachio distress oxide inks onto white cardstock, cutting the panels down to 4" squares, which I matted with 4 1/8" squares of purple cardstock. 


The purple print and the mint green papers are from the Cute Sea Critters paper pad in the June Paper Pad Club. The darling turtle images are in the add-on Sweet and Playful Turtles ephemera, and I accented with a few sparkly enamel dots.


Thanks so much for stopping by! I hope you have a fabulously creative day!