Powered by Blogger.
Showing posts with label Hybrid. Show all posts

Four Christmas in July Cards + Destash Alert

Hey crafty friends! Grab a giant refreshing beverage and get cozy, because we are escaping the summer heat today with some serious winter inspiration!

If you’ve been following along with the weather out here in Idaho, you know I’ve been practically melting at my boys' summer tennis tournaments. While spring is usually my prime time to hit the courts myself, and autumn remains my absolute favorite season, this week I am fully embracing Christmas in July.

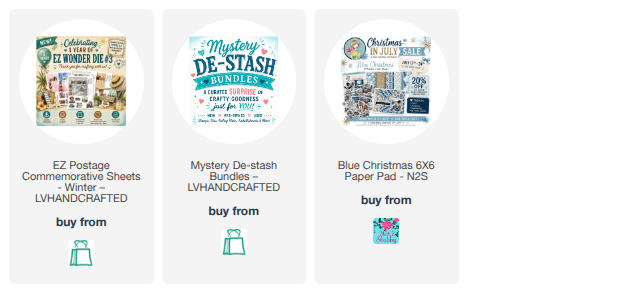
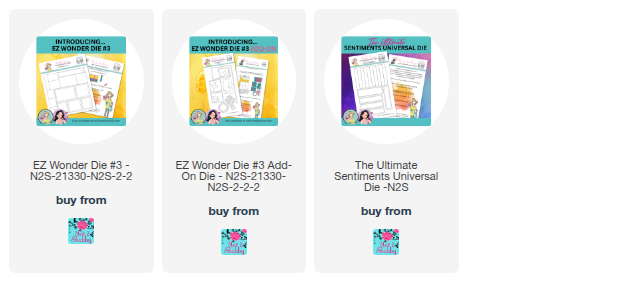
We have a massive milestone to celebrate in the craft room! It is officially the one-year anniversary of the EZ Wonder Die #3, created by the Linh over at LV Handcrafted Design for the Not 2 Shabby Shop. To mark the occasion, Linh has been releasing weekly commemorative sheet printables. This week it's a gorgeous Winter Commemorative Postage Sheet, and I just couldn't wait to dive in and create four distinct cards to show you just how versatile these printables can be.

A Peek at the Cards

In my latest YouTube video, I walk you through making four cards with this one sheet printable.

  • The "Cookies & Cocoa" Team Grid: A clean, postage grid layout featuring the adorable avatars of our EZ Postage Printables design team.


  • The "Home for the Holidays" card: A warm, vintage-inspired card with an icy blue snowy village and a sweet coffee drinking grannny.


  • Blue Christmas Wishes: A fun layout using scraps from the gorgeous Blue Christmas collection (on sale right now for Christmas in July!), and a sweet girl holding a warm mug that is absolutely filled with coffee in my imagination.


  • The Grumpy Old Man: I know he doesn't look that grumpy, but he reminds me of the classic move, Grumpy Old Men. LOL


🚨 48-Hour Anniversary Flash Sale!

Linh is throwing a major celebration for this anniversary, but you have to act fast!


The Details: Winter Commemorative Sheet is completely FREE with any purchase,
Use my EXCLUSIVE affiliate code Julee5off to get $5 off any EZ Printable.

This is a strict 48-hour flash sale that expires on July 24th, so make sure you head over to grab your digital goodies before the clock runs out.

Head over to my YouTube channel to watch the full process video, see these cards come together step-by-step, and grab all the shopping links below.


DESTASH Alert

My friend Linh and I have gone in together to create some mystery de-stash bundles from our own supplies! You can grab them at the link below. There are three bundle sizes to choose from and all stamps and supplies are in good condition. The perfect excuse to get yourself a little Christmas in July prezzie!

Shop here: https://www.lvhandcrafted.com/products/mystery-de-stash-bundles?variant=53790274257169

Thanks again! Stay crafty, stay cool, and happy stamping!


Adventure Awaits


Hey friends! It's been a minute since I posted here. My life is pretty much watching tennis right now with my boys playing in tournaments pretty much every week this summer. I love watching them, so it's a blessing, but I do miss my crafty time a little bit.


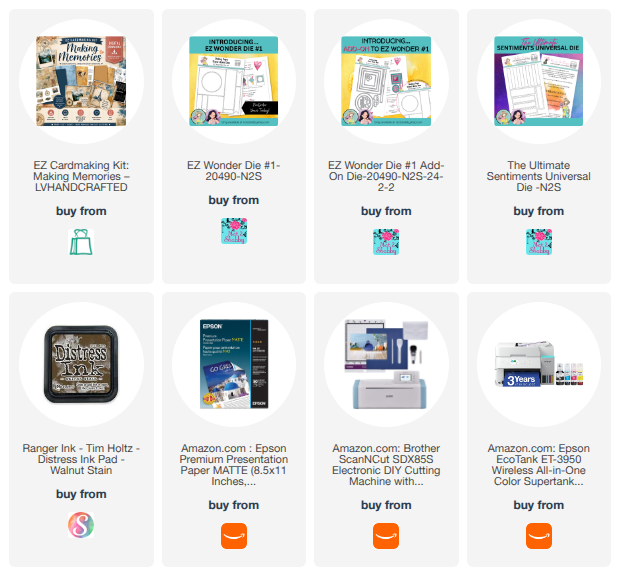
I did sit down the other day and made 10 cards with the new Making Memories Printable Cardmaking Kit from LV Handcrafted. I just love vintage ephemera and old maps, so this collection called my name.  Most of the card layouts come from Kendra's Card Challenge 22. I used almost everything I printed from the kit, except a few images that met a sad fate in a Scan 'n Cut accident. Haha. I pulled in a little gold and kraft cardstock, and sponged just about everything with Walnut Stain distress ink. Definitely a super fun crafty session.

You can see me walk through a full printed kit and share all 10 of these cards on this video: https://youtu.be/c6ED1TzmDoQ


I just love the images and sentiments in this kit. If they inspire you, you can grab them with my discount code VERVEGIRL in the LV Handcrafted shop. Thanks so much for stopping by!


New Coffee Cup Girls


Hey friends! Today I have a super fun new release to share with you! It's the Coffee Girls EZ Postage Printable from LV Handcrafted. You all know how much I love coffee, so  it's no surprise that I've been having a blast in the studio playing with these fun papers and images!

And you can grab the printables today (5/15) with 
my code VERVEGIRL at a 50% discount!  Woohoo!

My affiliate link for the Coffee Cups EZ Postage printable: 
https://collabs.shop/zre5dh


This card came together super quick. I cut the EZ3 postage grid from one of the extra pages in the printable. I love the coffee image so much, I didn't want to cover too much of it up.  So I picked this darling girl that was cut from the EZ Guide page. I matted her with a teal cardstock, then placed her in the bottom section. Remember, you don't always have to stay within the lines with these collages... I sure don't!


I finished off with a stamped sentiment. This is from one of my old Verve sets... Sentimental Wishes. I finished off with a teal mat and an A2 card base.  I've got a short little reel up on Instagram if you want to see the inside and a peek at some of the other cards I made. Well, that is if I was tech savvy enough to schedule it correctly! 🤣🤣

Coffee Lovers Rejoice: New Release & 50% Off Flash Sale! ☕✨


Hey all! There is a brand-new release over at LV Handcrafted today, and it is totally up my alley! As a coffee lover through and through, I am so excited to share the Coffee Cups EZ Cardmaking Kit Printable. It is absolutely darling and perfect for sending a "perky" hello to your friends.

✨ FLASH SALE: TODAY ONLY (MAY 5)

To celebrate the release, you can get ALL EZ Printables for 50% off! 🎟️ Use code: VERVEGIRL at checkout to snag your favorites at half price. Hurry—this offer is only valid today, May 5!


Card Details: A Perfect Blend

I couldn't wait to dive into the coffee cup print, so I used that as my main background panel, cut to 4" x 5.25".

The Focal Point:

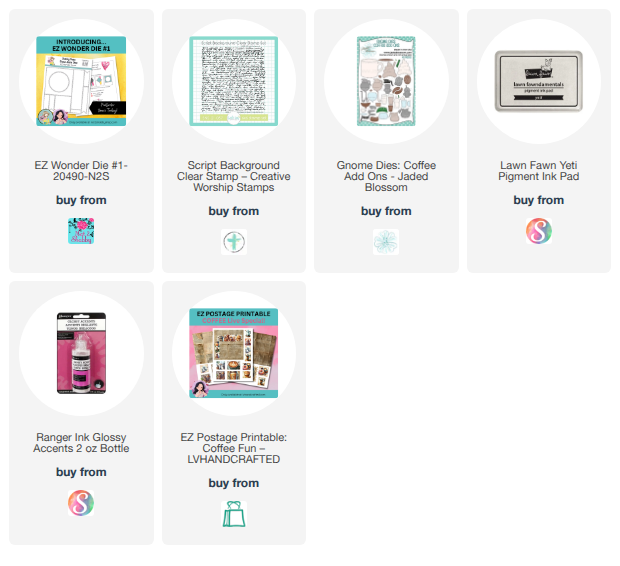
  • I used the EZ Wonder #1 Die on the EZ Guide page and again on some black cardstock.

  • To add a little interest to the black square, I stamped it with a script background stamp using white pigment ink.

  • I then layered the coffee cup circle right in the center for a clean, graphic look.

The Finishing Touches: I tucked a small sentiment into the corner and added a few cardstock coffee beans. To give them a realistic "roasted" shine and some fun texture, I coated them with glossy accents.

More Coffee Inspiration

If you love coffee as much as I do, you’ll definitely want to check out Linh’s other coffee-themed designs, like the EZ Postage Printable: Coffee. And keep your eyes peeled—there is another super fun coffee-themed EZ Postage Printable coming later this month!

Thanks so much for stopping by today! Grab your favorite mug, head over to the shop, and take advantage of that 50% off code while it lasts.

Bloom in Your Own Beautiful Way


Hi friends! I’m popping in today to share a fresh project using the brand-new Spring Florals EZ Postage Printable. This gorgeous set is officially releasing today, and I have a little surprise to help you celebrate the launch!

✨ Flash Sale: 50% OFF TODAY ONLY!

You can grab this entire printable set for half price, but you’ll need to act fast! 

🔗 My Shopping Link:  https://www.lvhandcrafted.com/VERVEGIRL
🎟️ Use code: VERVEGIRL at checkout for 50% off—valid today, April 15, only!


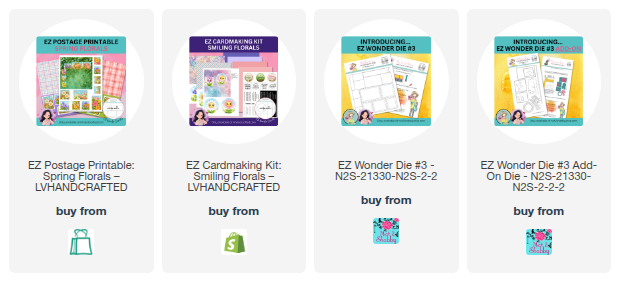
I am absolutely in love with these spring blooms and the vibrant color palette. These printables coordinate perfectly with the Smiling Florals EZ Cardmaking Kit that was released earlier this month, making it so easy to mix and match your supplies.

While these are designed to coordinate with the EZ Wonder 3 (EZ3) die, you can absolutely use them without the dies if you prefer fussy cutting.


I started by running the EZ Guide page through my machine with the EZ3 die. Instead of using the full grid, I tore off a portion so I only used two "stamps" for this layout. I hand-trimmed the 32-cent image and then used the EZ3 Add-ons to cut perfect white mats for both pieces, giving them a clean, professional finish.

For the background, I used one of the extra pages from the set. Don’t you just love that distressed plaid? It adds so much character without being overwhelming.

I pulled a sentiment from the Smiling Florals EZ Cardmaking Kit and added a few sparkle enamel dots for that tiny hint of shine I can never resist!

I hope this gives you some fun ideas for your new printables. Don't forget to use the code VERVEGIRL before the sale ends tonight!

Thanks for stopping by, and happy crafting!

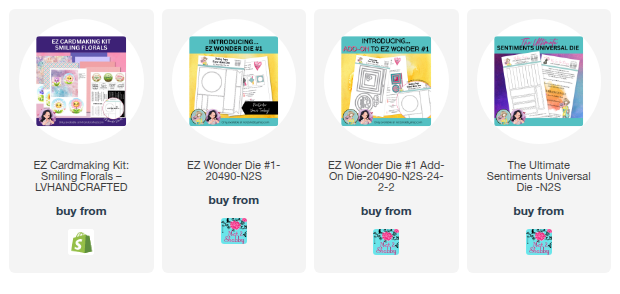
Smiling Florals


Do you ever find a paper collection or an image that you love 99% of, but there’s just one tiny detail that makes you hesitate? That was exactly my experience with the new Smiling Florals Cardmaking Kit from LV Handcrafted. The colors are stunning, the patterns are right up my alley, and the sentiments are perfect. However, I have a quirky personal preference: while I adore kawaii critters, I’m not usually a fan of inanimate objects—like flowers—having little faces! 😂


Instead of letting that stop me, I decided to lean into what I loved and found a super easy fix to customize the images to my style.


I wanted to keep the focus on those gorgeous patterns while softening the "smiling" aspect of the florals. Here is how it all came together:


• The Layout: I used the EZ Wonder 1 dies (and add-ons) to create the focal circle and square elements. To add a bit of texture and framing, I tucked in some delicate scallop borders.

• The Focal Point: I fussy-cut the main floral image and gave the petals a little extra life by inking the edges with Worn Lipstick Distress Ink. To create depth, I used dimensional foam to pop the flower head up from the background.

• The Fix: Covering the eyes was as simple as layering! By using a circle die and the coordinating papers from the kit, I created a clean, floral-centric design that felt more "me."

• Finishing Touches: I selected a sentiment from the kit's sentiment sheet, cut it out using the Universal Sentiment Die, and added a few sparkling enamel dots for that essential bit of shimmer.


Whether you love the sweet little faces or prefer a more traditional floral look, this kit is incredibly versatile and easy to customize. It also coordinates beautifully with the new EZ Postage printables releasing on the 15th!


You can find the kit and more over at the LV Handcrafted Shop.


Use code VERVEGIRL at checkout to save 10% on printables!


Thanks for stopping by!


Wander Often, Wonder Always


Hey, crafty friends! Spring has officially sprung in my neck of the woods. I’ve been soaking up the blossoms on the trees and was so excited to get back on the tennis courts—until I took a bit of a tumble. I sprained my ankle pretty badly on day two, so I’ve been "holed up" in my craft studio resting. The silver lining? Plenty of time to create!

I pulled out the gorgeous Chubees Cardmaking Kit for this one. I fell in love with the honeycomb paper and decided to use it for the entire postage grid. To bring it to life, I fussy-cut sunflowers and a bee from the EZ Guide page to accent the patterns.

Don’t you love it when a plan comes together? While digging through my stamps, I rediscovered an older Bee Grateful (retired) set from Not 2 Shabby. I had a hunch the bee image and sentiment lines would fit the Ultimate Sentiments die cuts—and it was a match made in heaven! The image also fit the longest panel on my postage grid perfectly, like it was meant to be.

The Finishing Touches

  • Dimension: I added another bee stamp to a honeycomb paper circle, colored it with Copics, and topped it with Glossy Accents and glitter.

  • Inking: Each panel is inked with Warm Honey for a soft, sunny glow.

  • Layout: Everything is mounted on a dark brown postage grid (cut with the EZ Wonder #3 Die) and finished with a bright yellow mat and enamel dots.

🏷️ Crafty Deal: Want to grab these printables? Use code VERVEGIRL at checkout for 10% OFF your EZ Printables!

Thanks so much for stopping by!


No Bunny Like You


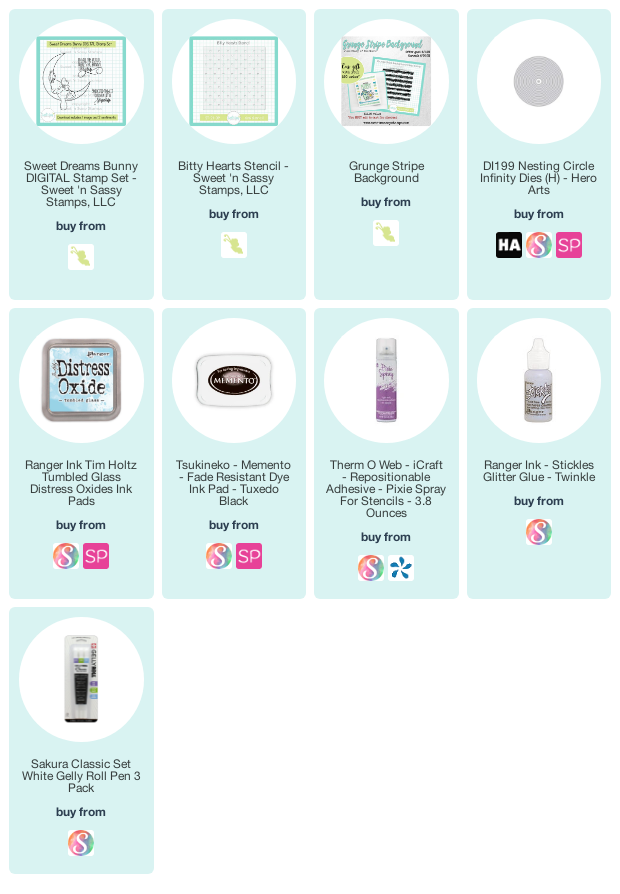
Hi friends! Today I'm popping in with a sweet little card featuring the new Sweet Dreams Bunny Digi that just released today at Sweet 'n Sassy Stamps. Jenn did the illustration and I did the sentiments for this digi set.


I layered one of the sentiments behind the bunny image before printing, so it would nest nicely inside the moon shape.  I then colored with Copics, partially die cutting with a circle, then hand trimming so just the paw hangs down.  I used the Bitty Hearts Stencil to add a few falling hearts in tumbled glass ink around the sentiment. This panel is matted with a black circle, then popped up on a foam sheet for dimension.

The background is done with the Grunge Stripe Background in black. This set is the June Stamp of the Month, and a free gift with a $60 order during the month of June! Woohoo!

Thanks so much for stopping by today! I hope you have a fabulous start to your weekend!

Compensated affiliate links are used where possible. When you place an order after clicking one of my links, I receive a small commission at no additional cost to you. Thanks so much for using my links and supporting this blog. 💙

Over the Rainbow


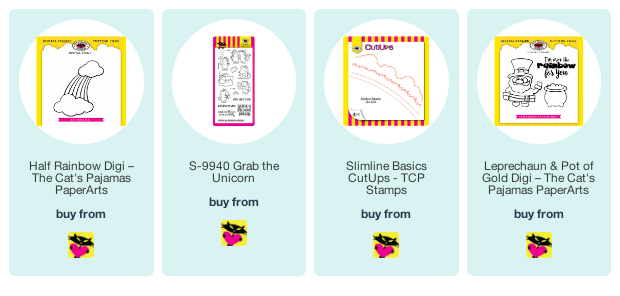
Hi friends! I'm back today with another card for the Spring/Summer Coffee Lovers Hop.  I can't seem to get enough of rainbows lately, so had to play with the new Half Rainbow Digi from The Cat's Pajamas.


I opened the rainbow digi on my computer, then reflected the image and aligned it so it would be a full rainbow and printed.  The sentiment is from the Leprechaun & Pot of Gold Digi.  I printed on white cardstock, then cut with the cloud border from the Slimline Basics CutUps. I layered this over a background I made blending distress inks. I then colored up the rainbow image with Copics.


The sweet little coffee drinking unicorn is from one of my all-time favorite sets, Grab the Unicorn. I colored her up and added her to the top of the rainbow.

Thanks so much for stopping by today!

Compensated affiliate links are used where possible. When you place an order after clicking one of my links, I receive a small commission at no additional cost to you. Thanks so much for using my links and supporting this blog. 💙