Powered by Blogger.
Showing posts with label J Tilman Designs. Show all posts

Three New Card Sketches


Hi friends! It's the 10th of the month and time for the Not 2 Shabby monthly product hop and giveaway! Hooray! You can view my hop video below or on my YouTube channel.  In the video, I create three cards featuring three sketches I designed. I've included a link to a FREE PDF down below that includes the sketches, panel measurements, and cutting guides. When following the cutting guides, you'll have very little scrap left over when using two sheets of 6 x 6 patterned paper.


This first sketch was designed with a trio of rectangles for the focal and sentiment area. These can be any shape that fits within the 2D panel's measurements. I originally created it with hexagons on this tea & honey card I shared earlier this month. I think this sketch would be great with circles, too. Lots of options to play with!

For my sketch 1 card, I replaced the focal point with ephemera pieces from the Serene Escape Ephemera.  I paired it with papers from the Serene Escape Paper Pad. Both the sentiment and the lavender stamping on the sentiment panel are from the Lavender Skies stamp set in the May Box of the Month. I added rounded corners to my rectangles to reflect a more feminine feel to the card. I also added some inking to the edges of the patterned paper panels as a way of adding contrast without adding the bulk of more paper.


For the second sketch, I replaced the focal point panel with a piece of ephemera on dimensional foam.  I matted the layers, adding some pinstripe Love from Lizi peel-offs to the seam between the back two panels. The sentiment is from Lavender Skies and embossed onto a die cut pennant from the EZ Wonder Die #1.


For the final card, I used a card base that was embossed with a chicken wire embossing folder for a bit more texture.  The focal circle was sponged with speckled egg ink and I added the girl ephemera.  To make the sentiment stand out on the patterned paper, I covered it with vellum and embossed the sentiment on the vellum.  I finished off with some sparkling enamel dots.


Download PDF of Card Sketches and Cutting Guides here: https://bit.ly/JTDSketches1-3

Please use #JtDSketches on social media if you share your creations.

Thanks so much for stopping by today! I hope you have a spectacular day.


Bright Blooms


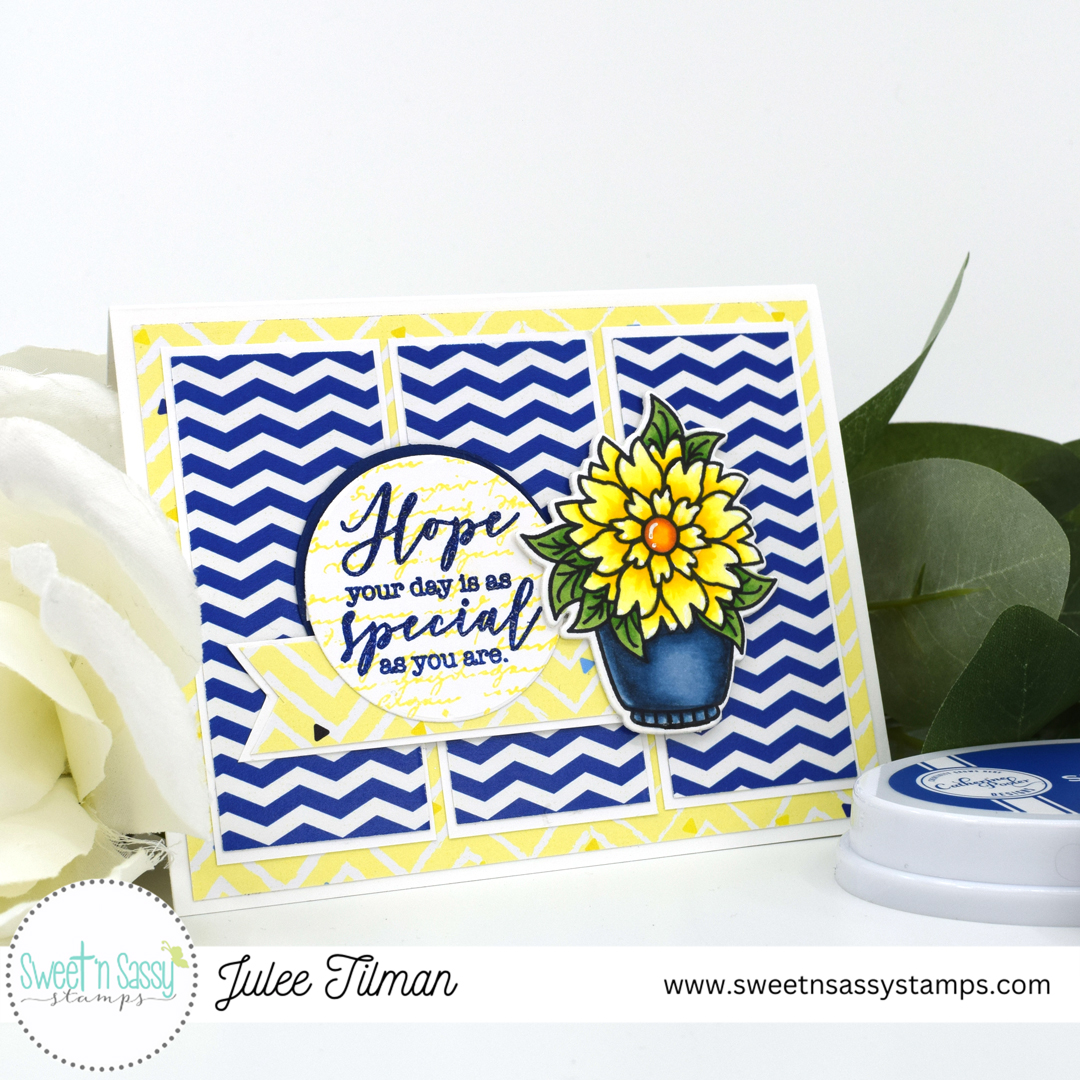
Hi friends! Today I'm sharing a bright little card to add a little sunshine to a dreary January day. It's definitely been cold and dreary here in Idaho. So I pulled out one of the stamp sets I designed for Sweet 'n Sassy Stamps and got to work with a fun yellow and blue color palette.

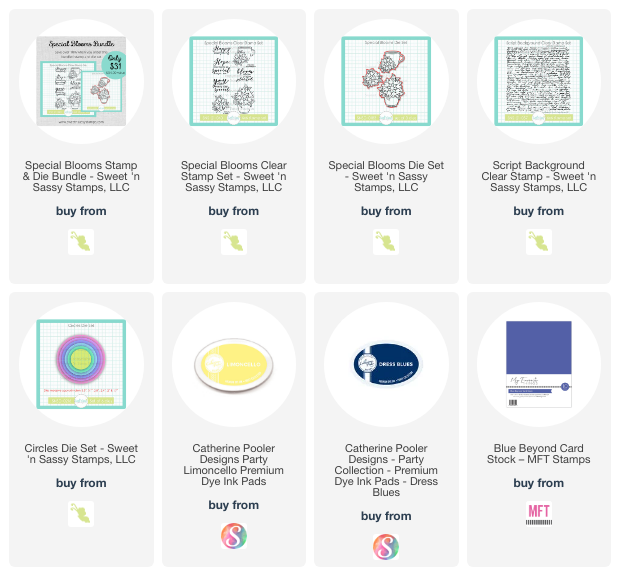
For the card, I started by stamping the image from Special Blooms in Memento ink, then coloring with Copic markers. I die cut with the coordinating dies, layering up three die cuts for dimension. The sentiment from the same set is embossed onto a circle die cut with dress blues ink and clear embossing powder. I then overstamped the circle with the Script Background stamp in limoncello ink.


The layout was inspired by Mojo Monday sketch #444. I used papers from an old paper pad from Not 2 Shabby. This one was called Lemon Brightness, but it's not currently available. I do love it, though, and am trying to use more of my ginormous stash of stamping goodies this year.


Thanks so much for stopping by today! I hope your day is as special as you are!


New Holiday Cheer


Hi friends! It's a brand new month, and this month I have a stamp set releasing from Sweet & Sassy Stamps called Holiday Cheer. It includes a couple of sentiments from a digi I released a few years back, as well as some new sentiments in the same fonts and a couple new images. I actually created this set last year, but it didn't make it in time for the holiday release. So I'm happy it's here now!


One of my favorite candies is peppermint, so candy cane season makes me happy. My favorite thing in the holiday season is vanilla ice cream with crushed candy cane pieces. So I had to start off with the candy cane image, coloring with Copics and accenting with a white gel pen.  There are also coordinating dies available for the coffee cup and candy cane images in the set. I also colored two coffee cups to add to my scene.


I pulled out the new Holly Layering Stencil and stenciled it onto a white rectangle in pink and green ink.  I then partially stamped the Script Background over it in the same colors of ink for a fun background.  I used the same technique for the sentiment from the Holiday Cheer set, cutting out with Circle Dies and then adding a stenciled holly sprig that I fussy cut.

Thanks so much for stopping by today! There are a bunch of new products in the Sweet & Sassy Stamps shop, so if you're curious, hop on over. All new releases are 10% off through September 9.

One of the Good Ones


Hi friends! Guess what time it is? It's Spring/Summer Coffee Lovers Hop time!  Woot! Woot! Can you feel me bouncing up and down with excitement? I LOVE seeing all the coffee loving goodness in the blogosphere. This hop is a traditional industry hop where we get to head to each of the Super Sponsor blogs to see their eye candy and giveaways. Sweet 'n Sassy Stamps is one of the Super Sponsors, so today I'm sharing a fun little caffeinated creation using their new April Stamp of the Month, Birthday Guy. You can head to their hop post and enter their giveaway, then hop along.


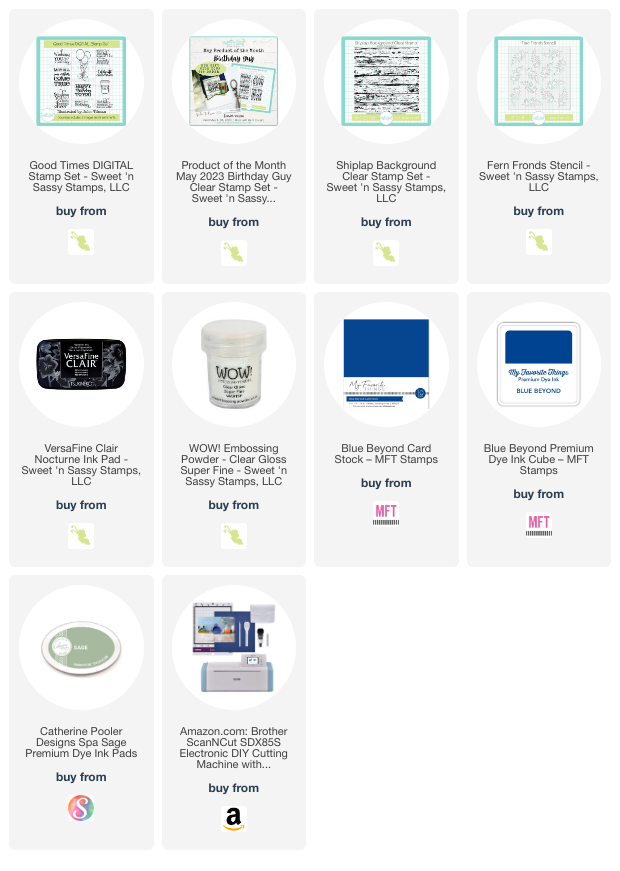
First things first... the coffee.  I started out by printing out the star cup from my Good Times Digi.  I colored it with Copic markers, challenging myself to try to get a corrugated look on the coffee cozy. When I was finished coloring, I cut the image out with my Brother Scan 'n Cut.


The sentiment from Birthday Guy is embossed onto a piece of cardstock that I cut into a fishtail banner. I then stamped  the Shiplap Background in green in the background. The navy panel behind is stenciled tone on tone with the Fern Fronds stencil, and I added it all to a panel that was dry embossed with an old Cuttlebug Stars embossing folder.

Thanks so much for stopping by today! It's 5th grade State Fair project time, and the boys and I are deep in clay, paint, and mess-making trying to prepare their state floats and booth displays. Wish us luck!

Happy Heart


Hi friends! Today I’m popping in with a little Valentine fun using my Gnome Love set available at Sweet ‘n Sassy Stamps. I just love this sentiment.


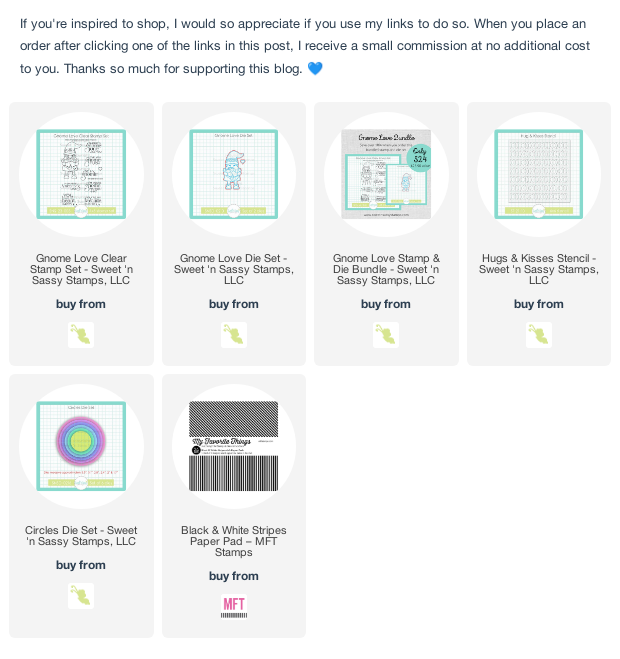
I colored the gnome image with Copic markers and then cut with the coordinating Gnome Love Dies. The sentiment is cut with one of the dies from the Circles die set. For the background, I smooshed ink onto watercolor paper, then partially stenciled with the Hugs & Kisses Stencil for a little accent. I added a strip of patterned paper to ground my gnome, then finished with a little sticklers on the heart.

Thanks so much for stopping by! I hope you have a fabulous weekend.

Rejoice and Be Glad


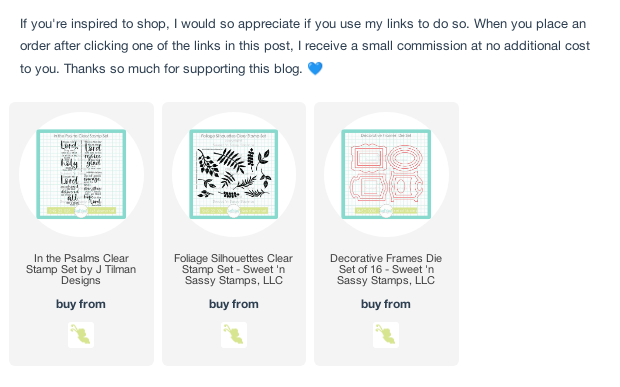
Hi friends! I'm popping in today with a card featuring my new In the Psalms set. This set sold out it's first run, and is almost sold out of the pre-order for the second run. So if you've had your eye on it, I'd advise snatching it up real soon.

I went a little bit shabby on this card, dressing up a background I created with the Foliage Silhouettes set and some ink splatters. the verse from in the Psalms is stamped onto a die cut from Decorative Frames Dies. I used the same foliage stamps around the edges, then traced around the edges with a white paint pen.  I dressed things up with some adhesive diamond runners, vintage lace, seam binding, some paper flowers and a button from my stash.


Thanks so much for stopping by today! I hope you have a wonderful start to your week.  My boys and hubby are off school and work this week, so we've got some fun family time in store. Blessings!

15 Years of SNSS


Hi friends! Today I'm super excited to be participating in the Sweet 'n Sassy Stamps 15th Birthday Hop over on Instagram. Korin and I started our businesses within a few months of each other, and it's hard to imagine that it's been 15 years already! SNSS is sending out a big thank you to everyone with the chance to win $100 of stamps from their current line by commenting on today's Birthday Hop posts on Instagram. Head over to the Sweet 'n Sassy Stamps Instagram page to start the hop. 

I have three cards to share featuring my new In the Psalms set today. It was supposed to be a set of 4, but sadly the aqua one had a mishap with a cup of coffee prior to the photo shoot and was not salvageable! Mark and I joke that I should start a YouTube channel called The Clutzy Stamper, because I'm always having some sort of catastrophe when I'm stamping! Haha!


All of my backgrounds were done with watercolor paints from Altenew. I embossed the sentiment over the watercolor in white and then splattered on some bleed proof white ink.  This pink card also features a flower image from my Forever Loved stamp set and coordinating dies, colored with Kuretake Zig real brush markers.


This next card was watercolored, then stamped with the Script Background stamp set. Next I embossed the verse in white embossing powder and hand tore around the edges.  I added this to a dry embossed background, then accented with a section of the Wildflowers 2 Die. I watercolored it, then accented with some Copic markers.


For the final card, I also embossed an image from Botanical Branches next to the verse, then watercolored the leaves with more pigment to make them really stand out.

Thanks so much for stopping by today! The first run of the In the Psalms set sold out quickly, but there are more on the way very soon.  You can pre-order now so you're sure to get one once they're back in stock.

Gnomie Christmas


Hi friends! Today is the start of the Fall/Winter Coffee Lovers Blog Hop. It’s a participation style hop, in which we all create coffee themed cards and link them up on the Coffee Loving Cardmakers blog for a chance to win prizes from a long list of sponsors. Woohoo! Link up will be open through November 18.


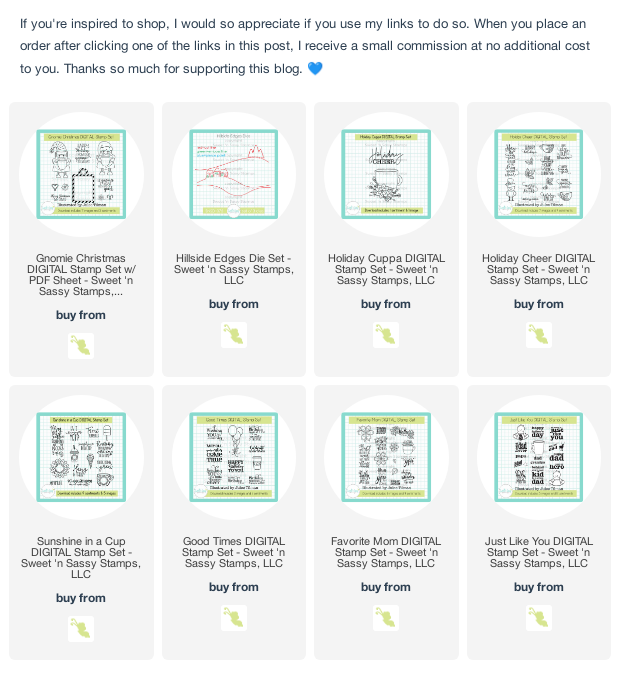
Today is also a new digital release at Sweet ‘n Sassy Stamps. I’ve designed a new holiday digi set combining two of my favorite things… coffee and gnomes! Gnomie Christmas includes zip files of the individual images in .jpeg and .png format. If you want to get right to creating with no fuss, there’s also a pdf printable with the images size d for card making and all laid out for printing on an 8.5 x 11” sheet. Plus, all digis are 25% off this week, so you can save some money! I'll link up my other digis below, just in case you still need to pick one up.


One of the things I love about digis is being able to foil the images when printed on a laser printer. So I dusted off my Minc machine and foiled the tag with gold foil. Next I colored up the Santa and elf gnomes with Copic markers and cut with my Brother Scan ‘n Cut machine.


I selected a snowflake pattern paper, then cut some snow banks with the Hillside Edges Dies. I then foiled the snowflake image in a couple different sizes, then layered everything together, tucking the tag in between the snow layers.

Thanks so much for stopping by today! I hope you enjoy the hop and be sure to check out the 
Sweet ‘n Sassy Stamps hop post for some more eye candy, including a few more samples with this digi.

My New Stamp Set - In the Psalms

Hi friends! Sweet ‘n Sassy Stamps is celebrating 15 years in business this month. Hooray! And I’ve got a brand new J Tilman Designs set that just released there. It’s called In the Psalms. I have a ton of cards made, but unfortunately I’ve been sick in bed the past few days, so haven’t been able to photograph most of them. I do have one card to share that I got photographed before I fell sick.


This one started with a gel print I made with my Diamond Tile Stencil. I cut it down to size and then blended black soot distress ink around the edges. I then embossed the scripture verse in black in the center.  For a little interest at the bottom I stamped one of the Scene Silhouettes: Tall Grass stamps along the bottom and embossed with Uncharted Mariner embossing glaze.


For the back panel I coated one side of a 3D embossing folder with twisted citron ink, then ran it through my die cut machine upside down to deboss it. I then blended around the edges with Uncharted Mariner. I finished with black mats and layered everything together on an A2 size card base.


New releases are 10% off through November 9, so it’s the perfect time to snatch up this In the Psalms set. Also this month all stencils are buy 2 get 1 free. My Peppermint Stripe and  Diamond Tile Stencils are in stock as of the writing of this post.

Autumn Please

Hi friends! Guess what? It's National Coffee Day today! Although everyday is coffee day in my book, I'm excited to be celebrating with Sweet 'n Sassy Stamps as they participate in a company blog hop hosted by the Coffee Loving Cardmakers Blog. Each of the companies along the hop will have their own prize, and the Sweet 'n Sassy Stamps prize is a $25 gift certificate. Head to the SNSS blog for all the hop details and links.


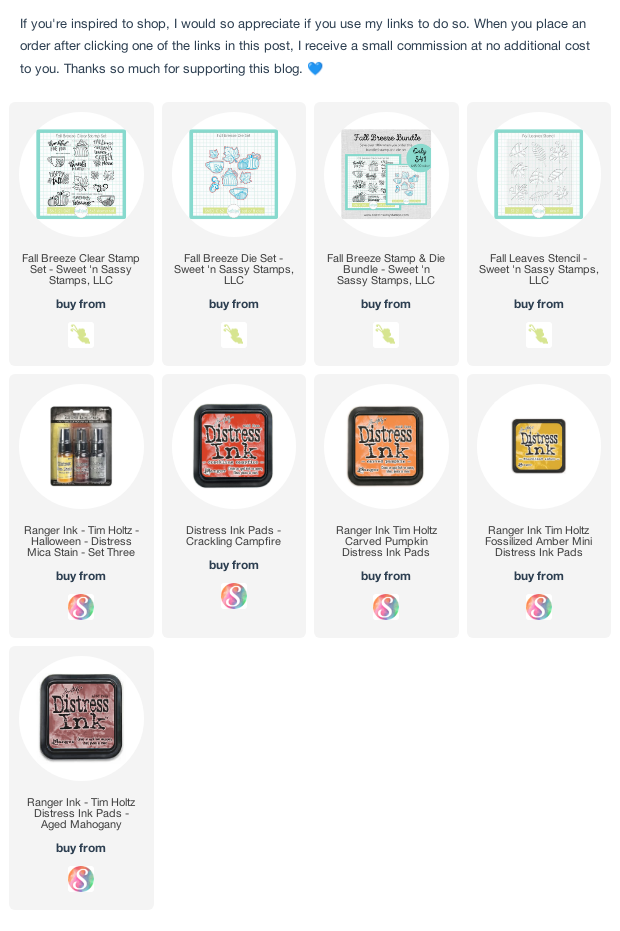
Y'all know I'm all about fall and coffee, right? So I couldn't not grab the Fall Breeze set I designed to create a little autumn coffee goodness!  I colored up several of the images with Copic markers while watching football, then die cut with the coordinating dies.


The sentiment is from the same set and I stamped the frame from Decorative Frames around it in Crackling Campfire then fussy cut and layered onto the Decorative Frames die cut in cajun craze cardstock.


The background was created by spraying a few distress Mica sprays in the background, then stenciling with the Fall Leaves Stencil with Distress inks. Thanks so much for stopping by. Be sure to hop along to all the company blogs for a chance to win!

White Christmas Love and an IG Hop

Hi friends! Happy Wednesday! With summer fading, lots of shops already have their Christmas stamps out. Today, the Sweet 'n Sassy Stamps design team is hosting an Instagram Hop to showcase the Autumn and Christmas releases they've had this month. Be sure to hop over to the SNSS Instagram page and hop along for lots of  inspiration and a chance to win!


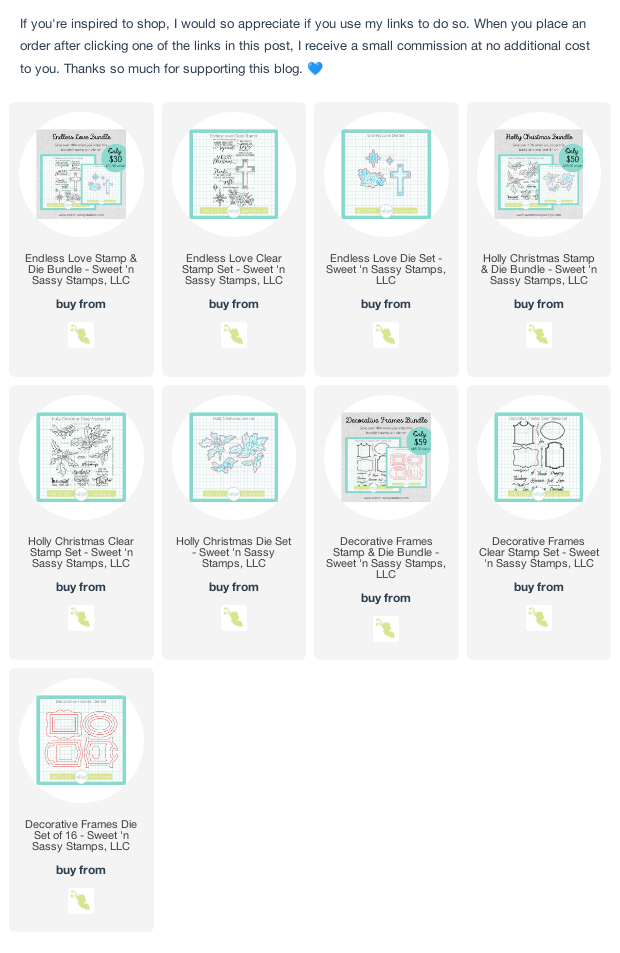
My card today started with my Endless Love set, which now has coordinating dies! I colored the floral image With Copic markers then die cut.  The title sentiment from the set is embossed onto white with gold embossing powder.  Next I pulled out the Decorative Frames stamp set and coordinating dies, and embossed the frame, then die cut.


The holly branch is from the gorgeous new Holly Christmas stamp set that just released. I colored it with Copics as well, and then cut with coordinating dies. I wanted those fun images to take center stage, so decided on a white background, dry embossed with a snowflake embossing folder.  I then added a thin gold mat and layered all my pieces together to finish off the card.

Well, that's all from me today. I hope you have a fabulously creative day!