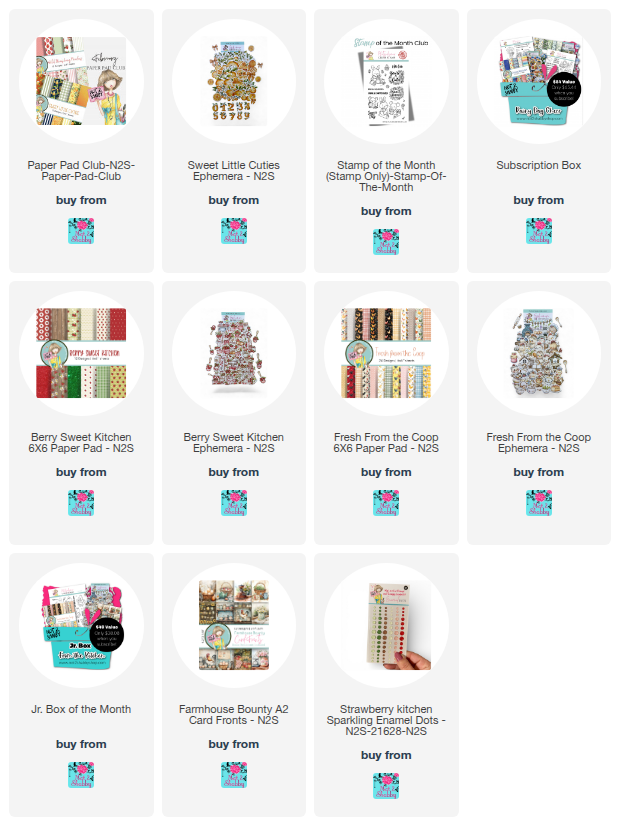
Hi friends! Today I'm popping in with an ALMOST one layer card. Pretty rare in my world, but I wanted to use the EZ Wonder #3 stencils with the die and thought all the little accents in the Box of the Month stamp sets would make for a great postage collage.
I die cut the postage grid, then laid down one of the stencils to mask off the boxed areas. Then I stamped all the images, colored with alcohol markers. I then cut masks and placed them over the images and ink blended in the backgrounds. In hindsight, it might have been easier to just blend first, then stamp over it and add the coloring afterwards. But either way works!
For the sentiment, I used the little trail stamp and stamped it above and below the sentiment. I then matted my panels with back and added to an A2 card panel.
Thanks so much for stopping by! I hope you have a super creative day!
Hey sweet friends! Today I’m sharing a fun project featuring a trio of birthday cards I created using the Sweet Little Cuties paper pad from the Not 2 Shabby February Paper Pad Club. I share and discuss these cards in my hop video over on my YouTube channel today.
The color palette this month is absolutely stunning—vibrant oranges, yellows, and greens paired with a classic navy blue. It’s the perfect mix for when you need to bridge the gap between bright and sophisticated. I also pulled in the Say it With Birthday Style stamp set and One & Done Sentiment Die for these card.
Card 1: Soft & Feminine
For the first card, I leaned into the floral patterns and navy stripes. By heat embossing the sentiment in blue and adding a touch of Stardust Stickles, I gave it a delicate, sparkly finish that’s perfect for the ladies in my life.
Card 2: Textured & Masculine
Who says citrus can't be masculine? For the second card, I kept the layout blocky and added a burlap embossing folder for texture. Instead of ribbon, I used twine to keep the vibe more rugged. It’s a great way to use "cute" papers for the guys!
Card 3: The "Scrap-tastic" Finale
Don't throw away those leftovers! My third card was built entirely from the scraps of the first two. By matting them in the same navy cardstock, the layout looks intentional.
Want to win some goodies? This video is part of an inspiration hop! Check out my latest YouTube video for the giveaway link.
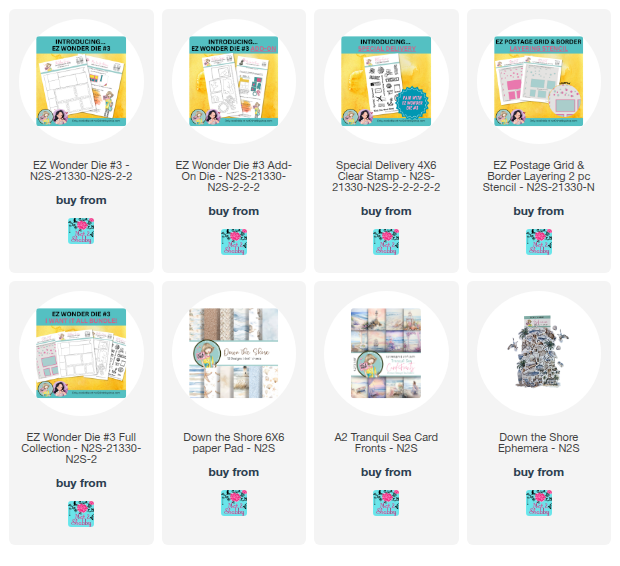
Hi friends! Today the EZ Wonder Die #3 collection is available for PRE-ORDER over at Not 2 Shabby! I've been having so much fun with these dies, and I hope you do, too! I just love choosing the little vignettes in each space on the postal grid. Then the options with add on dies to layer or take things “off-grid” are so fun. There’s also a super cool stencil if you like to ink blend for unlimited possibilities!
Since today is Father's Day, I thought I'd share this year's card designs I made using the new dies. I chose the lighthouse print from the Tranquil Sea cardstock as my backdrop, using the add on dies to individually cut the pieces I wanted from the card front to make it fit the landscape grid the way I wanted. I added a bit of color with a Copic marker to the bird ephemera piece, then got to work on the sentiment.
The Happy die cut is from the happy mail die in the Add Ons #3 set. i cut it from kraft cardstock, then added to a vellum piece of the shadow die. I trimmed the bottom of the vellum, then layered a die cut with Father's Day stamped onto it. The stamp is from an old Verve set, Wonderful Marvelous.
I took a similar treatment to the sentiment on my second card, this time taking the die cut elements "off-grid". I used another of the same card print for two of the panels, adding lots of stamped elements with the new EZ Postage stamp set Jamie designed to coordinate with the EZ Wonder Die #3. The other panels are cut from papers in the Down the Shore pad.
Thanks so much for stopping by today! I hope you have a fabulous Sunday!
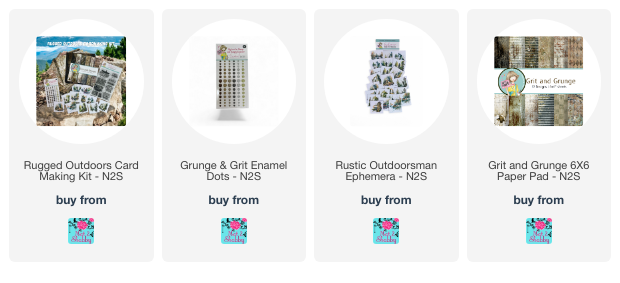
Hi friends! Today I'm popping in with a card I created for my brother with the Rugged Outdoors Cardmaking Kit from N2S. This kit sold out right away when it released, but is back in stock, but only a handful left right now.
I love the grungy papers and the fun scenes of ephemera in the kit. I went with a simple design, with a 3.75" x 5" back panel and a 3.75" x 2" cross strip of coordinating paper. I blended the edges of each panel, plus the ephemera piece with brushed corduroy ink and then matted each layer with brown cardstock. The sentiment is from Abstract Florals (a retired set). I finished off with a kraft card base also inked with brushed corduroy.
So simple and quick. I just love how it turned out and now know what my go to kit will be for masculine birthdays!
Hi friends! I'm excited to share the tutorial for the masculine version of the pop-up gift card holder I showed you last week. It uses the same dimensions as the feminine version, but with a few changes to make it perfect for guys. I opted for a belly band over the simple ribbon closure. (For those who are curious about the closure, I wrapped the ribbon around the folded project and secured it on the back with adhesive, then covered it with a 3" wide scrap of patterned paper.) On today's version, I also swapped out the rounded corners for straight edges for a more masculine look.
Today's video is part of a giveaway hop for Not 2 Shabby on YouTube. I hope you enjoy the video! Don't forget to enter the giveaway for a chance to win. Click the link in the video description box for all the details. Here's the link to my video: https://youtu.be/kdXJRLEtFuo
I actually started making these pop-up holders years ago, and I can't remember where I first saw it, so I can't take credit for the original idea! If you're curious, I made a square greeting card version back in 2017, and you can check it out on my old blog post. People always seem to love receiving these pop-ups, so I decided to make a masculine version today for some birthdays I have coming up this week.
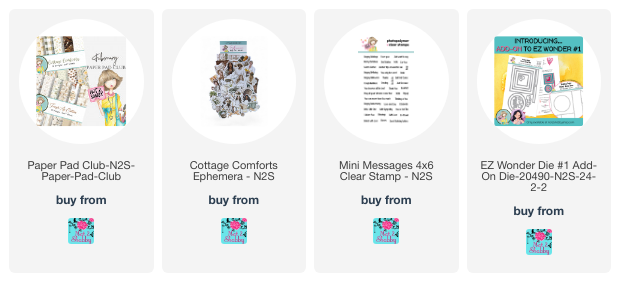
I chose some neutral pattern papers from the Cottage Comforts Paper Pad and always artichoke cardstock as my base. The measurements for this project are below.
Main Holder:
1 - 4.25" x 10" card stock panel, scored on long edge at 2", 5", 6", and 7" 2 - 4" x 2.75" panels of 1st pattern paper
2 - 4" x 1.75" panels of 2nd pattern paper
1 - 4" x 2.75" white cardstock panel for inside note
Belly Band:
1 - 1.25" x 9.5" panel of cardstock, scored on long edge at 2.5" and 7"
1 - 1" x 4" panel of patterned paper (optional mat for belly band)
The sentiment on the belly band is from the Mini Messages stamp set and cut with the EZ Wonder Add On #1 dies. The guy with the mug ephemera is part of the Cottage Comforts Ephemera pack and added on foam tape to pop up on the belly band.
The sentiment on the inside is from the Inside Birthday Greetings set from last month's Box of the Month. The ephemera on the pop up are cut aparts from one of the patterns in the Fresh as Cotton paper pad in this month's Paper Pad Club. I cut it out with my Brother Scan 'n Cut.
This was a super fun project and I hope you'll pop over and let me know how you like it over on YouTube. Have a wonderful start to the week!
Hi friends! Welcome to day 3 of sneak peeks for the April Jaded Blossom release! We're sneaking peeks at all the new goodies each day leading up to release day on Thursday, April 11 (that's tomorrow). Today we're sharing our makes with the NEW Tool Stencil and the Fixing Everything Tag Freebie. It's free with the Gotta Have it Now package or with a $50 purchase that includes at least one new release item Thursday and Friday, while supplies last.
I started by stamping out the tag from the Fixing Everything Tag stamp in blue inks and embossing with clear embossing powder. I then stamped the hammer and three nails in memento ink and colored with Copic markers. I fussy cut both the hammer and the individual nails and pieced the hammer onto the image. To make a perfectly coordinated mat, I inked some of the same blue inks on white cardstock for a mat.
For the background I did a little smooshing with the leftover ink from color coordinating the mat. Once it was dry I pulled out the Tool Stencil. Tip: do the layer without the little holes for the saw first. I started with the other one using aged silver embellishment mousse. When it was dry I went back in with the second layer of stencil intending to use some brown solar paste for that layer, but I realized those little holes would be covered up by the paste. So instead I ink blended scorched timber distress ink on the stencil, then went back over the holes with a black glaze pen to make them pop.
The Dad wording is cut from white cardstock using the Alphabet Dies 2. I blended with blue inks to coordinate, then added to a die cut from the Mini Tags 2 Dies. I used a pencil to trace around the die and fussy cut a mat in gray cardstock, then layered everything together, adding the nails above the Dad.
Thanks so much for stopping by today! If you already know you want it all, the full release package is available right now in the shop!
Hi friends! Welcome to day 2 of sneak peeks for the April Jaded Blossom release! This one brings some fun motorcycle and construction option for our gnomies! We're sneaking peeks at all the new goodies each day leading up to release day on Thursday, April 11. Today we're sharing our makes with the NEW Gnome Dies: Construction Add Ons, Nailed It, and Nailed It Outline Dies.
Growing up, my Dad often said that nothing was broken unless it couldn't be fixed with duct tape and bailing twine. So when I saw the duct tape sentiment in the Nailed It stamp set, I knew I had to make a card with it. And since my Dad was a farmer, I went with a hat from the formerly released Gnome Dies: Fishing Add Ons that looked similar to the straw hat he often wore. He often wore yellow insulated overalls when working on farm equipment, so that influenced my color choices.
I cut the gnome pieces from colored cardstock and patterned paper, adding some distress ink blending, as well as some Copic marker accents where needed. I used a glaze pen to make some hash markings on the duct tape to give it that textured look the real stuff has.
I used a Stitched Square Die cut skewed on the card base for the layout, matting with a thin brown mat. The background is a basket weave 3d embossing folder that I swiped some gathered twigs distress ink over. I added a border from the Border Dies set for the duct tape behind my sentiment, then finished off by cutting the Nailed It sentiment with the coordinating Nailed It Outline Dies.
Thanks so much for stopping by today! If you already know you want it all, the full release package is available right now in the shop!
Hi friends! It's time for a fabulous new release from Jaded Blossom! This one brings some fun motorcycle and construction option for our gnomies! We're sneaking peeks at all the new goodies each day leading up to release day on Thursday, April 11. Today we're sharing our makes with the NEW Gnome Dies: Motorcycle Add Ons, Born to Ride, Born to Ride Outline Dies, and the Diamond Plate Stencil.
My gnomie and his bike are all cut with patterned paper and colored cardstock, then shaded with distress inks.
For the background, I started with black cardstock, then used the Diamond Plate Stencil with some silver gilding polish. The sentiment is from the Born to Ride set, and I embossed it in silver on black, then cut with the coordinating dies. I added a little red banner behind using a die cut from the Mini Tag Dies 2 set.
Thanks so much for stopping by today! If you already know you want it all, the full release package is available right now in the shop!
Hi friends! Beep! Beep! It's my day to share a little Jaded Blossom inspiration with y'all. I had fun getting dirty with the new Off Road Mini Release.
For my project I cut the jeep parts from the Car Dies: Off Road Vehicle from army green and black cardstock, and a silver foil cardstock that I aged with black soot archival for the bumper. I cut a piece of vellum to glue behind for the windshield, then dirtied up my jeep with some "mud" using the snow pieces from the North Pole Sign die set.
For the background, I picked out a gel pressed background from my stash in brown colors, then added some dirt splotches using portions of the Coffee Stain Stencil. To muddy things up I spritzed some water on and did a bit of smooshing with some coordinating brown inks. I did a little extra smooshing for the sentiment. It's from The Road Less Traveled, embossed in brown, then cut with the coordinating The Road Less Traveled Outline Dies. A strip of torn brown cardstock grounds the sentiment, and I popped the jeep up on dimensional foam tape. The 4x4 on the license plate was done by performing a little stamp surgery to the "I like my 4x4 topless" sentiment.
Thanks so much for stopping by today! I hope you have a fabulous day!
For my project I cut the Car Dies: Off Road Vehicle pieces from Sno Cone, brown, black, and yellow cardstocks. For the sno cone pieces, and the gnome hat I sprayed some speckled egg distress spray on my mat and then smooshed the cardstock into it for a little spotty look. I did the same for my gnome hat, also incorporating a little mud with some walnut stain distress spray, then sponging with a little scorched timber, speckled egg and antique linen distress inks. The route 66 for the license plate is from the previously released Gnome Crossing set.
The background was created from a ghost print spraying the leftover ink on your stencil with water and then pressing your cardstock into it.) of the new Tire Tracks Stencil. I then spritzed the whole panel with water and smooshed into some antique linen and walnut stain inks I had on my mat. I then added some antique linen and walnut stain ponging around the panel and cut with the Card Mat Dies.
The sentiment is from The Road Less Traveled, stamped in brown and embossed with clear embossing powder. I then cut with the coordinating die and snipped between the two words to make it fit in the space I had left over.
Thanks so much for stopping by today! Be sure to head to the shop to see all the goodies and specials.