Powered by Blogger.
Showing posts with label Endless Love. Show all posts

White Christmas Love and an IG Hop

Hi friends! Happy Wednesday! With summer fading, lots of shops already have their Christmas stamps out. Today, the Sweet 'n Sassy Stamps design team is hosting an Instagram Hop to showcase the Autumn and Christmas releases they've had this month. Be sure to hop over to the SNSS Instagram page and hop along for lots of  inspiration and a chance to win!


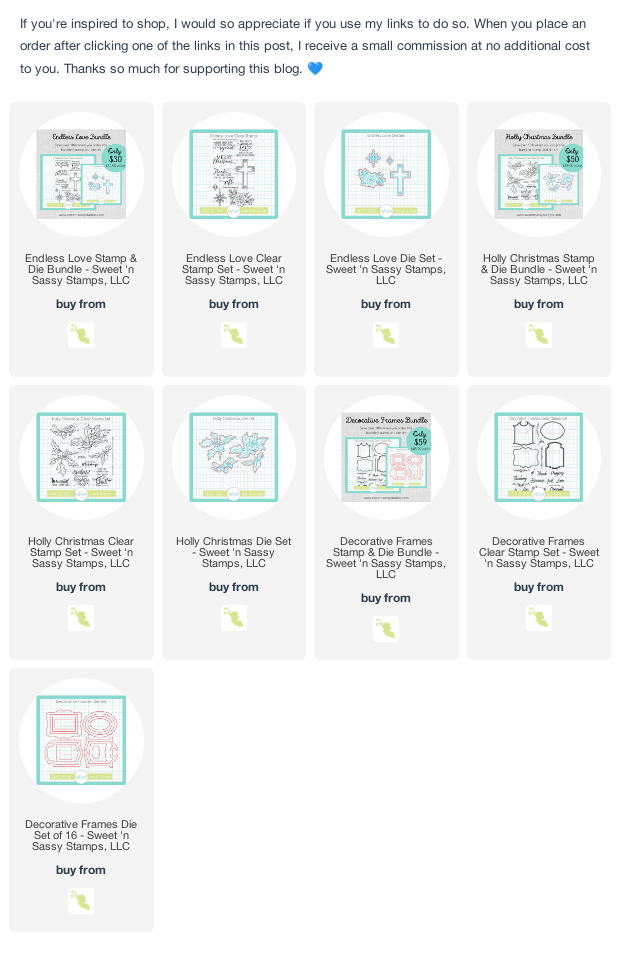
My card today started with my Endless Love set, which now has coordinating dies! I colored the floral image With Copic markers then die cut.  The title sentiment from the set is embossed onto white with gold embossing powder.  Next I pulled out the Decorative Frames stamp set and coordinating dies, and embossed the frame, then die cut.


The holly branch is from the gorgeous new Holly Christmas stamp set that just released. I colored it with Copics as well, and then cut with coordinating dies. I wanted those fun images to take center stage, so decided on a white background, dry embossed with a snowflake embossing folder.  I then added a thin gold mat and layered all my pieces together to finish off the card.

Well, that's all from me today. I hope you have a fabulously creative day! 

Vintage Doily Love


Hi friends! I'm popping in today to share a couple of cards I created recently with the new Vintage Doily Stencil and my Endless Love set. This stencil is absolutely dreamy!


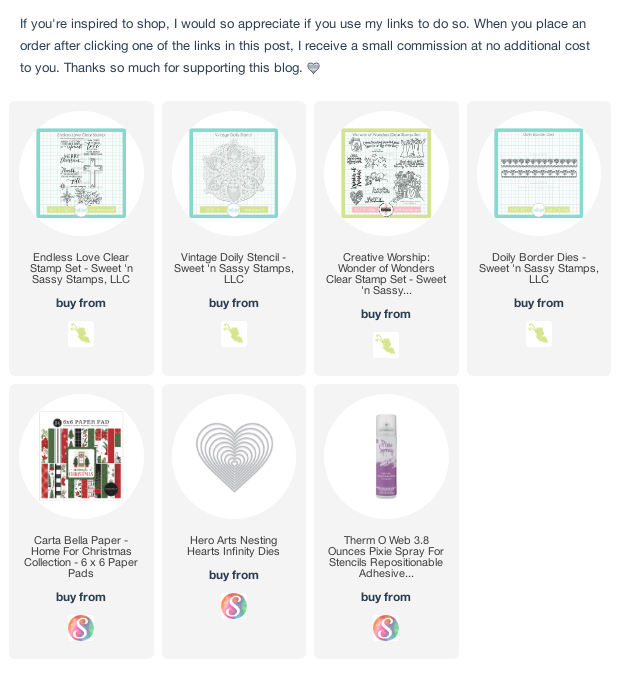
For my first card I stamped the cross and poinsettia (doing a little masking) from Endless Love on white cardstock and then colored with Copics. I then masked off the main parts of the cross and poinsettia (not worrying about the smaller branches) and inked over with antique linen and the doily stencil. I loved the warm glow of it so much that I decided to use the same ink and stencil for my card base layer. I finished off with some foam tape under the cross image and the Merry Christmas sentiment centered below.

My second card uses the same poinsettia stamp and cross image from Endless Love, but this time I stamped the poinsettia multiple times and then colored and cut different portions of the flower to get some variations in size. I colored and cut the cross image, then layered one of the smaller poinsettias in the center. The sentiment is from the new Wonder of Wonders set and I stenciled the background with antique linen and the Vintage Doily Stencil.  A few strips of patterned paper and one of the Doily Border Dies finishes things off.


Thanks so much for stopping by today! If you haven't already checked out all the fun new holiday products at Sweet 'n Sassy, be sure to hop on over there.

Winter Blues Pinecone Edition


Hi friends! Today I'm popping in with a couple of cards I made with the September Sweet 'n Sassy Stamps release. I must be in my blue period as an artist, because I just can't stop reaching for blues as I create my holiday cards this year.

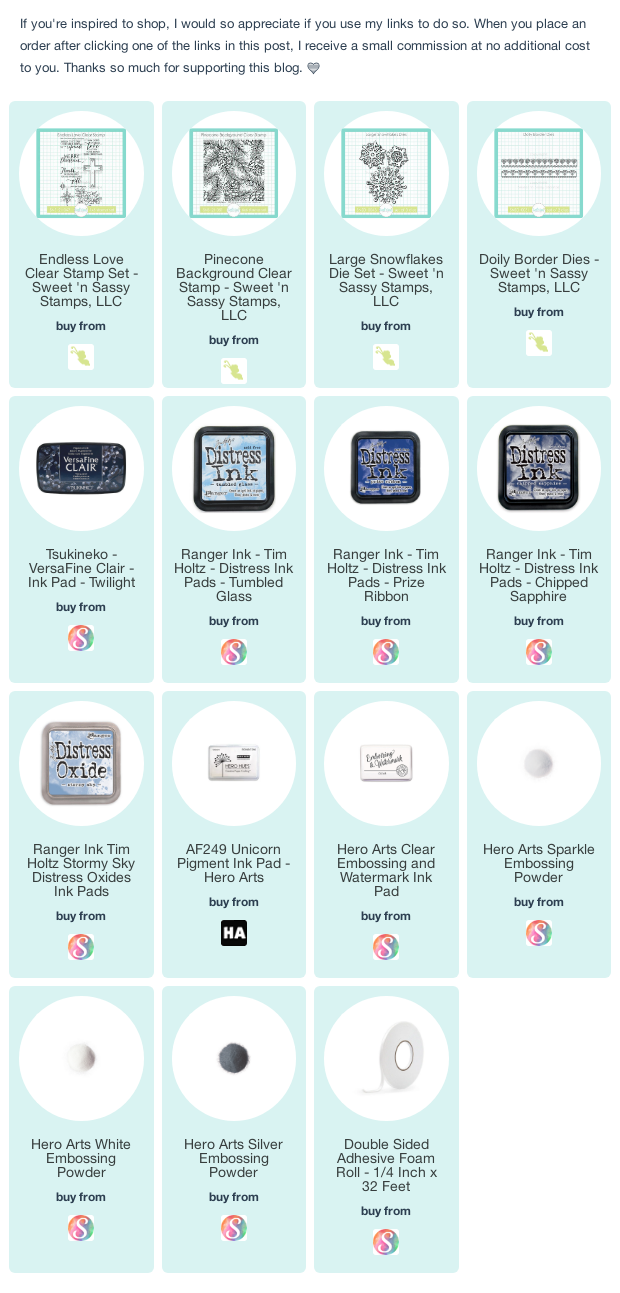
I recently watched a video from Mindy Eggen and couldn't get the technique out of my head. So I started off this card with white cardstock and tumbled glass, prize ribbon and chipped sapphire distress inks.  I blended with just a spotlight of the lighter color in the center, blending outward for a vignette look.  After that was dry I stamped the Pinecone Background over the card in white pigment ink.  I just love the soft, frosty look it gives.


Next I embossed the cross from Endless Love in silver on vellum cardstock.  I planned to just overlay the vellum over the background, but it didn't stand out as much as I wanted, so I inked a scrap of cardstock with tumbled glass ink, then adhered the vellum to it and cut out.  I popped the cross up on thin dimensional tape to make it pop, then finished off with the Merry Christmas sentiment embossed in silver under the cross.  A bit of shiny silver cardstock and a white card base and another Christmas card is in the books.


For my next card, I wanted to showcase some of the dies in this release.  For the background I had intended just a blue on blue stamped background, but when I decided the first blue was too light, and went to re-stamp the Pinecone Background with a darker blue, my mat shifted in my MISTI and I got a shadowy effect.  I liked how it looked, so decided to re-align and stamp with white pigment for a fun frosty background effect.


The snowflake is actually two different snowflake dies from the Large Snowflakes Die Set.  I die cut  each snowflake design three times and layered for dimension and stability, then coated both snowflakes with embossing ink and embossed with a clear sparkle embossing powder.  I then layered the smaller snowflake on top of the larger one with thin dimensional tape and finished off with some blue rhinestones for accent.  The decorative border strip is one of the dies from the Doily Borders Dies and I finished off the card with a sentiment strip embossed with a sentiment from the Christmas Wordfetti set.

Thanks so much for stopping by today! I hope you have a fantastic day!

Holiday Wreath and Instagram Hop


Hi friends! It's time for the SNSS September Release Inspiration Hop on Instagram. You can head over to my Instagram feed to hop along. Today I'm featuring the beautiful Holiday Wreath set, paired with a few other goodies.


For my first card, I colored the wreath in some winter blues, adding a bit of glossy glaze and some sparkle lacquer to accent the flowers, berries, and pinecones in the image. I hand trimmed the image and added foam tape to the back for dimension.

The scallops are cut with the Scallop Border Dies from aqua and navy, then offset and layered for a fun accent on the card. I finished with the Merry Christmas sentiment from my Endless Love set and a thin navy mat.


For my second card, I went with pinks and reds for my color scheme, coloring the Holiday Wreath with Copic markers and adding some frosted lace stickles to the pine cones.  I hand trimmed again, and this time chose to stamp the Christmas Text Background on pink cardstock for a fun background. I finieshed off with a sentiment from Christmas Wordfetti embossed onto a sentiment strip, and then a few scattered sequins.

Thanks so much for stopping by today! I hope you have a fabulous day.

Endless Love


Hi friends! I'm super excited to announce the release of my second stamp set with Sweet 'n Sassy Stamps... Endless Love. This set is a faith inspired Christmas set celebrating the reason for the season. I hope you love stamping with it as much as I have!


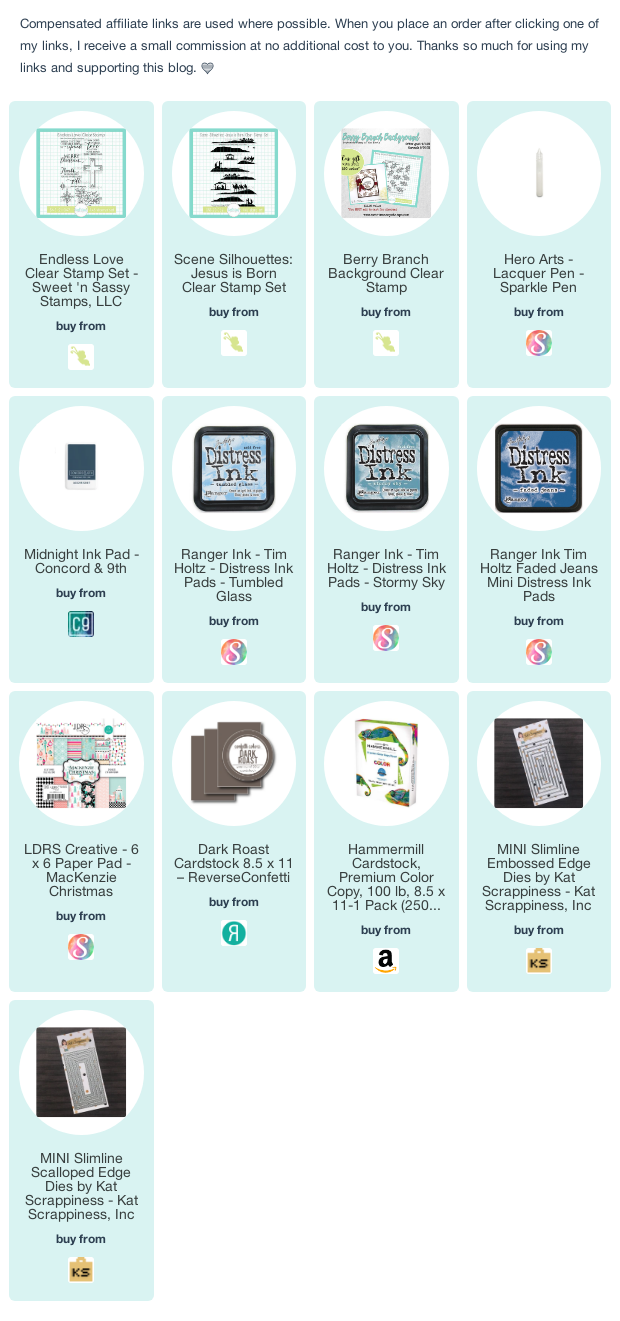
First up is a mini slimline card using two of the images and the title sentiment from the set. I colored the images with Copic markers and gel pens, then hand trimmed and added to a panel of patterned paper. The sentiment is cut with a circle die and matted with the same pattern paper. Foam sheets and a white panel add some dimension to the finished card.


For my next card, I paired the star and sentiment from Endless Love with a previously released SNSS set, Scene Silhouettes: Jesus is Born. I stamped the shepherds on the hill in midnight ink, then masked off the lower section of white on a cardstock panel.  I ink blended with tumbled glass, stormy sky, and faded denim until I achieved the night sky I was looking for.  Next I placed the stamp and sentiment together, fussy cutting the teeny star to pop up on a foam dot.  I then matted my panels with silver cardstock and adhered to a white card base. Super simple, yet very striking.


My next card uses the flower spray and sentiment from Endless Love, paired with a background created with the Berry Branch Background. This 4 x 4 background stamp is the September Stamp of the Month. It's available to purchase individually, or you can get it as a free gift with a $60 order this month. Y'all know I'm a fan of blues and aquas, so that's the color combo I went for on this mini slimline card. The branches and flower images are colored with Copic markers and I blended some stormy sky around the edges of the background panel to tie it all together.


I couldn't leave out the Merry Christmas sentiment from my original makes, so I created one more card pairing Endless Love with the Berry Branch Background. This time I went with more traditional colors and added a bit of bow and a couple of jingle bells for accent.


Thanks so much for stopping by today! I hope you've been inspired by my makes. May you have an incredibly blessed weekend!