Hello friends! Get ready for some major cuteness because these little Valentine mice are the Not 2 Shabby December Stamp of the Month.
I made these little charmers the star of the show with a subtle blended background of Salvaged Patina and Peacock Feathers oxide inks then accented with white splatter. I stamped the mice onto the background, and then colored a second set (stamped on Bristol paper) using Karin markers and a waterbrush. I added a few highlights with watercolor pencils for extra detail.
To finish, I fussy cut the mice and their hearts, then popped up their heads using dimensional foam for a sweet paper tole effect! Thanks so much for stopping by today! I hope you have a fantastic day!
Hi friends! It's starting to heat up here in Idaho, so today I've got some summer vibes coming your way! I created two cards for the Not 2 Shabby June Inspiration hop, and you can watch me create them below or on my YouTube channel.
As I mentioned above, this video is part of a hop and there's a giveaway to the Not 2 Shabby shop. Here's a link to the hop playlist which will play all the videos participating in the hop.
I love a vibrant, earthy combo set against a white backdrop for a beachy card. For both of these cards I used the adorable new June Stamp and Die of the Month from Not 2 Shabby. These summer images are just too fun and I had a blast coloring them up with Copics and then cutting with the coordinating dies.
For the first card I used tattered rose, candied apple, spiced marmalade, squeezed lemonade, and tea dye distress oxide inks on Distress Watercolor Paper for a sizzling hot, sandy backdrop. I added a few splatters with water, white bleed proof ink, and scorched timber distress oxide spray. Then I finished off with a little scorched timber distress ink around the edge of the panel for a vignette effect. I clustered my pieces together to finish off the beachy scene.
For the second card I had the idea to have a bold block of color with these fun summer icons lined up in a row for my focal point. I ink blended with the squeezed lemonade and spiced marmalade distress oxide inks, then added some water splatters and lightly blended over them for a more subtle splashy effect. The sentiment is embossed on black cardstock and then cut with the coordinating dies.
I hope you enjoyed these summer cards. Have a fabulous day!
Hi friends! I'm back with Day 3 of release week at Jaded Blossom. Tomorrow is release day, so we're sharing the last of our reveals today. Today we're peeking our first makes with these fabulous new products:
These products will be available individually on release day (10/12), but you can purchase the whole release at a discount now without the wait.
October 2023 Release will include:
3 - 4 x 6 Stamp Sets
4 - New Dies
1 - New Outline Dies
2 - New Stencils
1 - Die Freebie
Ala Carte Items available on Thursday 12 am PST
This Package is only available while supplies last!
*Freebie Die - Only Free Thursday and Friday with a $60+ purchase or While Supplies Last. Must also purchase at least one item from the new release*
Regular price for the release package is $178.99
Okay, on with my card for today. When I first saw the Build a Booth: Christmas Add Onsmy little crafter's heart was drawn to the Sant and his sleigh die. I decided to create a soft winter night scene with it.
I started the background by masking off a circle on a piece of bristol smooth cardstock, then ink blending with Speckled Egg, Tumbled Glass, Stormy Sky, Prize Ribbon, and Black Soot Distress Oxide inks. When I was happy with the blends, I splattered with some watered down bleedproof white ink, making sure to do a mix of big drops and small drops for the snowy sky. I then coated the surface with some Distress Micro Glaze to seal the blended inks.
Next I pulled out Rustic Wilderness Distress Oxide and the previously released Tree Stenciland got to work stenciling in a forest toward the bottom of my card. When this was done, I did another layer of splatters, then pulled out my Copics and started coloring the Santa die cut. I layered the die cut up on three of the same die cut for dimension. The sentiment is from the new Reindeer Feed set. I embossed it in white on vellum, then overlayed it on the card to finish things off.
Thanks so much for stopping by today! I'll see you back here tomorrow for a special release blog hop!
Hi friends! Today I'm popping in with a fun little Halloween card featuring the Best Witches stamp set from Not 2 Shabby.
I started by coloring the witch, pumpkin, ghost and spider images from the set with Copic markers, then cut with my Scan 'n Cut machine. I wanted to try a green background, so masked off a circle and ink blended with melon ice, grass skirt, deck the halls Catherine Pooler inks, and black soot distr4ess ink. I kept building up the layers and splattering with water to get a nice texture to the background. I then peeled off the mask, and masked off the reverse to ink up the outer moon layer.
I decided I wanted a deeper color, but had already torn my mask apart, so I decided to ink blend a smaller circle and emboss the October 31 image from the Boo Sentiments set. I added a few black glaze pen dots to set off the moon, then stamped the spider onto the panel and fussy cut the body to glue on top.
The faBOOlous sentiment is from the Spooky Sweet set released last year. I embossed it in white on black cardstock and added a fishtail end. I outlined with a silver glitter pen, then layered everything together to finish things off.
Thanks so much for stopping by today! Hope you have a great start to your week.
Hi crafty friends! I'm super excited to be a Special Guest at Whimsy Stamps this month. They have so many wonderful stamps and dies and I have had so much fun creating with them! November is one of those months where I kind of naturally flip back and forth between autumn and Christmas in my creating, so today I'm going to focus on fall cards and I'll bring you some winter inspiration in my next guest post.
Gnomes and coffee are two of my favorite things in the stamp world right now. So for today's cards I chose to use the Gnome So Thankful and Pumpkin Spice Pandas sets.
These little gnomes make me smile, so for my first card I decided to create a scene card with the mushroom house, sign, apple barrel, and leaning gnome images in Gnome So Thankful. I started by stamping the mushroom house on a panel of cardstock, then free handing a little path coming from the door and extending the hill line as needed with a black detail pen. When this was finished, I colored in the trail with Copic markers and then stamped and colored the other images and fussy cut to determine placement. Once I decided how to lay them out, I masked off the hill area and the house and blended the autumn sky with candied apple, spiced marmalade, and fossilized amber distress inks. To finish off, I colored in the grassy hill and added a few little details with Copic markers.
To put it all together, I layered the gnome on top of the sign, then stamped the welcome and gnome sentiments. Then it was a matter of gluing down my additional images and popping up the gnome and sign he's laying on with dimensional tape. I finished off with some glossy accents on the apples.
I had so much fun ink blending on that card that I decided to do another ink blended background for my background. This time I blended squeezed lemonade, mustard seed, crackling campfire, and ground espresso distress inks, then flicked a bit of water on just the ground espresso layer to give a little texture to the "dirt". I pulled the pumpkin image from the Gnome So Thankful set and stamped directly on my blended background, then again on cardstock. I colored the stamp and leaves and fussy cut just those parts, then layered onto the stamped image on my background.
The panda and cup are separate images from the Pumpkin Spice Pandas set. I didn't want a jack-o-lantern look, so I stamped the cup image a second time in no line coloring ink then colored in the pumpkin portion with Copics and fussy cut to piece on top of the cup image. Then I colored the sweet little pumpkin head panda and layered on top of the cup, covering up any lines from the panda on the other image. I finished by popping up the panda and cup with foam tape and then adding the Everything Pumpkin Spice sentiment to the blended background.
Thanks so much for stopping by today! I hope you've enjoyed these autumn creations as much as I enjoyed creating them! I'll be back next week with a little Whimsy Stamps winter flair.
Compensated affiliate links are used where possible. When you place an order after clicking one of my links, I receive a small commission at no additional cost to you. Thanks so much for using my links and supporting this blog. 💙
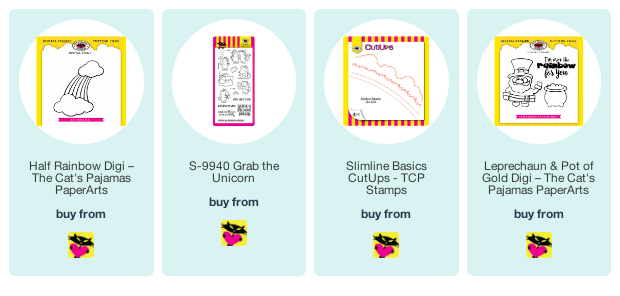
Hi friends! I'm back today with another card for the Spring/Summer Coffee Lovers Hop. I can't seem to get enough of rainbows lately, so had to play with the new Half Rainbow Digi from The Cat's Pajamas.
I opened the rainbow digi on my computer, then reflected the image and aligned it so it would be a full rainbow and printed. The sentiment is from the Leprechaun & Pot of Gold Digi. I printed on white cardstock, then cut with the cloud border from the Slimline Basics CutUps. I layered this over a background I made blending distress inks. I then colored up the rainbow image with Copics.
The sweet little coffee drinking unicorn is from one of my all-time favorite sets, Grab the Unicorn. I colored her up and added her to the top of the rainbow.
Thanks so much for stopping by today!
Compensated affiliate links are used where possible. When you place an order after clicking one of my links, I receive a small commission at no additional cost to you. Thanks so much for using my links and supporting this blog. 💙
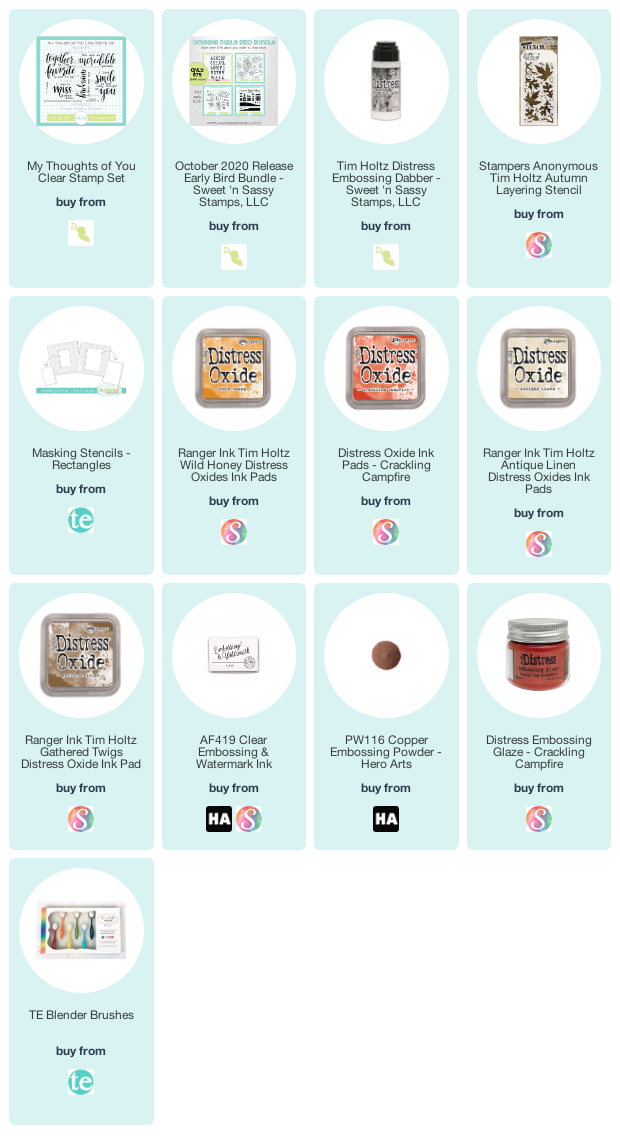
Hi friends! Today I'm popping in to share a card featuring the Sweet 'n Sassy Stamps October Stamp of the Month, My Thoughts of You. I'm absolutely smitten with the big uplifting sentiments in this lovely set! It's a definite must have in my book. Be prepared to see a lot of it on my upcoming cards!
For today's card, I started by masking off the edges of a panel of white cardstock, then ink blending crackling campire and wild honey over an Autumn Layering Stencil. Once the blending on the leaves were how I liked them, I decided to add a touch of texture. So with the stencil still in place, I used the Embossing Dabber to add just a bit of embossing ink to the bottoms of each leaf, then removed the stencil and sprinkled crackling campfire embossing glaze over it and heat set. Such a nice subtle texture to it!
Next I embossed the smile sentiment from My Thoughts of You with copper embossing powder in the center of the panel. I blended antique linen and gathered twigs inks around the edges of the stamped panel and then layered on a foam sheet over a kraft card base also blended with brown inks.
I love how these big, beautiful sentiments can make sending encouragement cards super quick and easy! My Thoughts of You is the October stamp of the month, which means it's available for purchase on its own OR you can receive it for FREE with a $75 order during the month of October. Just be sure to add it to your cart to receive the promotion.
And if you haven't had a chance, take a hop on over to the Sweet 'n Sassy Stamps shop to see the entire release! Through October 9, you can get the ENTIRE October release (including the October Stamp of the Month), for just $75 when you purchase the October Early Bird Bundle! And you'd also qualify for FREE shipping in the US. That's $103.75 worth of stamps for just $75! Wow!
Thanks so much for stopping by today! I hope today brings several big smiles your way!
Compensated affiliate links are used where possible. When you place an order after clicking one of my links, I receive a small commission at no additional cost to you. Thanks so much for using my links and supporting this blog. 💙
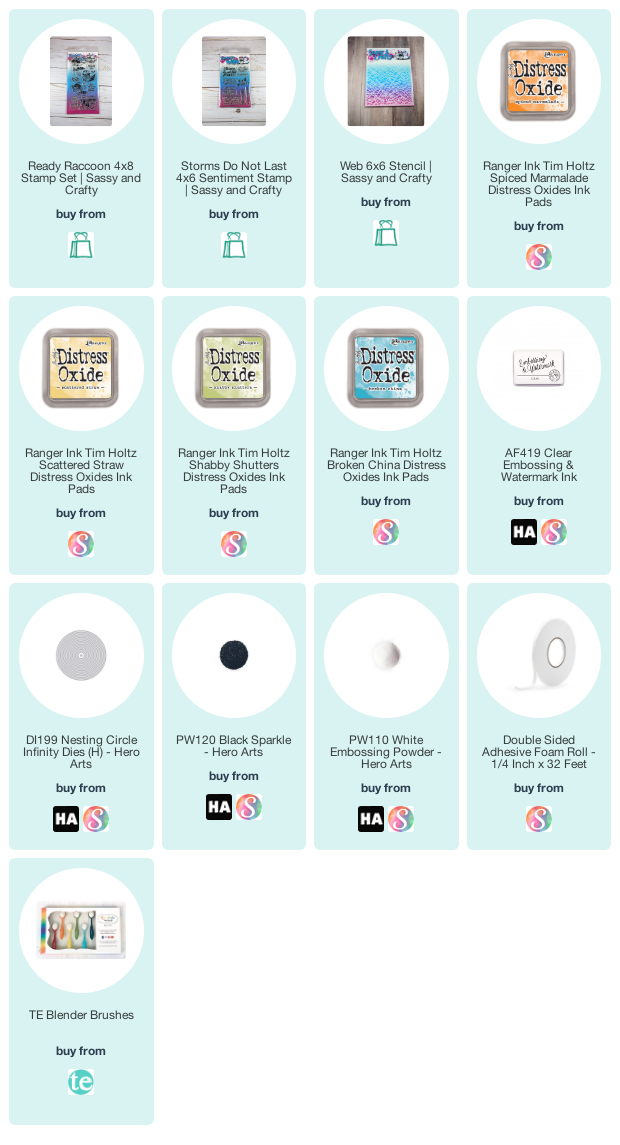
Hi friends! Happy Friday! Today I'm sharing a fun card I created with Sassy & Crafty stamps. As soon as I saw this Ready Raccoon set, I knew I had to have it! This surly little guy makes me smile.
If things stay constant on the virus front, the boys are just over a week away from heading off to in-person school two days a week. So I made this fun card for their super awesome teacher. I thought she'd get a kick out of it, with the hands clean, mask on sentiment. I colored the raccoon with Copic markers, then fussy cut.
I created the background panel using the Web Stencil and distress oxide inks, first doing a light coat of all the colors all over the page, then adding the stencil and going over each color again with a heavier hand for a tone on tone look. When I was done, I spritzed my stencil with water and then placed a piece of white cardstock over it to soak up the excess ink and get a "ghost" print. I used this for the background behind the raccoon, matting with black, then adding a sentiment from Storms Do Not Last across the card. I then finished with some die cut numbers from a Cuttlebug die set I rediscovered in the closet from the dawn of time. I cut them from black cardstock, then coated with watermark ink and embossed with black sparkle embossing powder.
Thanks so much for stopping by today! I hope you have a fabulous start to your weekend!
Compensated affiliate links are used where possible. When you place an order after clicking one of my links, I receive a small commission at no additional cost to you. Thanks so much for using my links and supporting this blog. 💙
'Tis the season for Christmas in July! Since my birthday is on the 25th, I'm usually all about adding a little festivity to the occasion. And Sweet 'n Sassy Stamps is doing just that this weekend with a Christmas in July Facebook event and sale.
Today I'm sharing a card I made during my Dirty Dozen time and can now share it here on my blog. It's not necessarily a Christmas card, but it does use a Christmas set and has a wintery feel, so I'm calling it good, especially since you could easily change out the sentiment for a Christmas one! {grin} And Christmas sets can be used for more than Christmas!
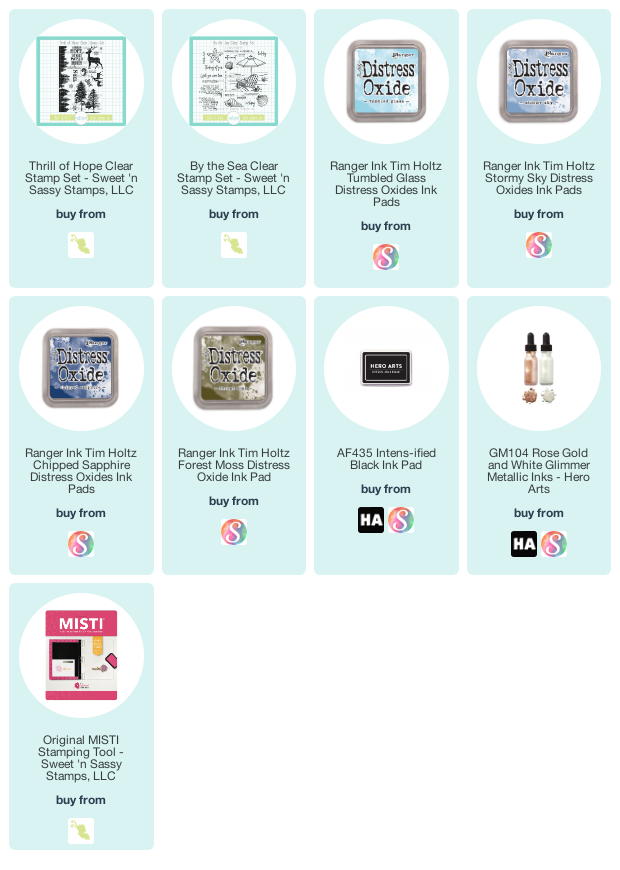
I created the card by stamping the border trees and the tree duo from the Thrill of Hope set in forest moss distress oxide, then embossing in clear. I then ink blended a sky with blue distress oxides. I laid the stamps down over my embossed images as a mask and flicked on white glimmer ink, then finished off with a thinking of you sentiment from By The Sea.
Head to the Sweet 'n Sassy Stamps Facebook page for lives and demos throughout the weekend, then check out the sale in the shop on stamps in the Christmas and Winter categories.
Compensated affiliate links are used where possible. When you place an order after clicking one of my links, I receive a small commission at no additional cost to you. Thanks so much for using my links and supporting this blog. 💙
Hi friends! How's life treating you these days? I had the great enjoyment of watching a google hangout of gifted 2nd graders this morning sharing all the things they've been working on this week. These little future nerds of America are hilarious! My boys came up with a "Candy Science" experiment this week to decide whether this was true...
According to a neuropsychologist named Don Katz, even though it seems unbelievable, all Skittles are the same flavor . . . a generic “fruit” taste. ... Skittles are SCENTED too. So when you bite that yellow Skittle, your brain sees the color, smells the smell, and you believe you're eating a lemon flavor.
Of course it involved a blind taste test, and once the bag is open... they have to all be eaten! LOL Apparently, in the boys opinion, they do taste different, but the citrus colors (orange, yellow, green) are difficult to distinguish between, as well as the red and purple colors. Very interesting.
So today's card is inspired by citrus colors. I had a grand old time blending candied apple, spiced marmalade, and squeezed lemonade distress oxides to make this fun background. The flowers and sentiment are from the In This Together DIGITAL set, and I colored in with Copic markers, then hand trimmed. I added a bunch of enamel dots to accent the floral spray, then finished with black matting.
Thanks so much for stopping by today! I hope you have a fabulous weekend! The sun is shining here, so we're hoping to teach the boys croquet in the backyard!
Compensated affiliate links are used where possible. When you place an order after clicking one of my links, I receive a small commission at no additional cost to you. Thanks so much for using my links and supporting this blog. 💙
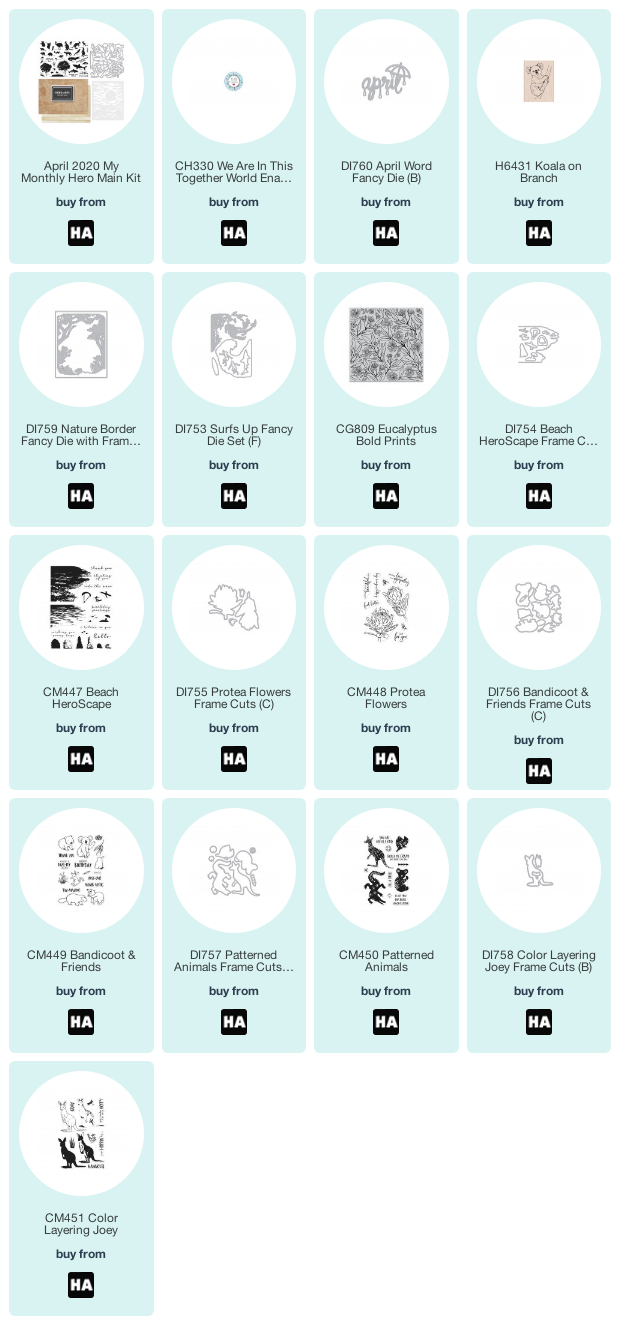
Hi friends! The first Monday of the month is here again! And that means it's time to kick-off another FABULOUSMy Monthly Hero release. The April kit is a gorgeous kit that takes us on a fun trek to the Outback. Plus it includes a fabulous stencil and an AMAZING 31 dies! Here's a little backstory from Hero Arts on how this month's kit came to be. "Over the past year, our hearts have been heavy while we watched from afar as Australia suffered from devastating bushfires. With Australia on our mind we designed this month's release, paying homage to the fascinating animals, the gorgeous flowers and the beautiful landscape of the land Down Under. As we release this, our hearts are now heavy for a new reason. But we are excited to take you on a much-needed crafty escape to Australia, as we celebrate this amazing country!"
If you've been hopping along, you should have arrived from the one and only Jennifer McGuire's blog. Your next hop stop after this will be Maria Willis'blog. The entire hop list can be found later in this post.
GIVEAWAY: Hero Arts is generously giving away one $50 gift card, drawn from the comments left across the hop. Enter by Sunday, April 12th at 11:59pm pacific, and the winner will be announced on the Hero Arts blog the following week.
I was so excited when I opened my DT box to see all the glorious Australian images. Aside from a phobia of incredibly large bugs, I've always wanted to visit. I must have watched The Man from Snowy River a hundred times growing up and remember being wowed by all the breathtaking scenery. I started my first card with the kit picking out a warm palette of liquid watercolors and using a mini ink blending tool and a little masking to create a sunset scene.
I have a video today showing how I created the first of my cards from today's post. You can watch it below or on my YouTube Channel. Or read on for the non-video version.
I started with a panel of watercolor paper, adding a circle mask (you could easily make your own with a circle die) to place the sun, then taping down a horizon line with low tack tape. I started with the sun, so I could work with the lightest color first. I first added the yellow, dabbing off on a palette before applying to the page. You want to keep the amount of liquid to a minimum so the ink doesn't seep through your stencil. I then blended onto the page, adding a bit of orange to the yellow to add some extra depth. Once this was done, I pulled off the mask, and then placed just the circle over the sun. I used yellow, orange, and pink to work on the sky, using circular motions to blend and then streaking horizontally for some striations. To add a little more depth I grabbed a flat brush and added a few more swipes with the darker colors.
Once this was done, I moved my tape to cover the sunset and started working on the sand. I first went in with cocoa, and then with artprint brown to add the depth. After this was dry, I pulled off my tape, added a bit of tape where I wanted the tree to fade into the horizon, then stamped the pandanus palm in black. Next I positioned the kangaroos (with a little social distancing LOL) and finished off with the darling hoppy birthday to roo sentiment in the bottom corner.
For my next card, I pulled out the fabulous sunset stencil included in the kit and ink blended with reactive inks in berry smoothie, taffy, fruit punch and creamsicle for the sky. I then painted in the sun with lemon drop ink and finished out the sand with soft brown and cup o' joe.
I used the same stamps as the previous card, adding in one more kangaroo for a fun kang party! I originally stamped the sentiment directly on the stenciled panel, but decided it needed to stand out a bit more so stamped it on a circle die cut and popped up on the card. The have an auss-ome day sentiment makes me giggle.
For my next card, I opted for some of the same reactive inks with a blended background. I first stamped the images from the gorgeous Protea Flowers add-on and colored with Copic markers before die cutting with the coordinating frame cuts.
Next I got to work on the background, blending with taffy and lemon drop for the background and then spritzing with water for a little texture. I stamped the wishing you a beautiful day sentiment on pitch black cardstock and then embossed in white to pop up over the background. I finished off with one of the little bees, then did a little accenting with a crystal clear lacquer pen and some glitter.
My fourth card uses the Color Layering Joey set. I thought these little joeys would be fun in non-traditional colors, so I tried out a few color layering combinations in pink, turquoise and purple, then cut with the coordinating frame cuts. I've been loving the look of colorful images with a gray backsplash lately, so decided to do that for this card.
The backsplash is done with a bit of watered down black liquid watercolor and a paint brush. I did a few different layers, drying in between to build depth, then splattered some full strength black on at the end. The you make me very hoppy sentiment is stamped in the corner.
Since I liked my colorful joeys so much, I thought about taking another look at the main kit in color. I laid out all of the animal images in the MISTI, then stamped a rainbow of sheets in pigment inks. I then taped down all the die cuts and die cut. I left the dies taped to the sheet so I wouldn't have to re position all the dies. Then it was just a matter of lining up the taped die sheet with the next stamped sheet and die cutting.
I obviously have a thing for kangaroos, since I reached for them again, picking one from each color group and arranging together. I had social distancing on my mind and how wonderful it is that even though we're all isolated physically so many of us are banding together virtually. So I picked the we're better together sentiment from the previously released add-on Togetherness Flower Bouquet set to complete this clean and simple card.
While I was sorting out the die cuts to find all the kangaroos, I noticed a few dolphins together in a semi circle, and thought it would be fun to make a circle of flying dolphins for the next card.
I simply glued the dolphin die cuts down in rainbow order, then grabbed that lovely sentiment from the Protea Flowers add-on to stamp in a circle.
All right! Whew.... you made it to the end! I hope you've enjoyed my makes and a bit of my creative process. If you're not a subscriber already, the kit is only available while supplies last, so pre-order your kit today! Please note, this month shipping will be delayed. Currently we estimate that shipping will begin April 20. We know you are excited to get your kit and appreciate your patience as we work through delays during this time of COVID-19. We are sending love and support, as well as healing thoughts to those who know people who have fallen sick or are sick themselves.
Always giving back, Hero Arts has put together a limited edition pin as a fundraiser for disaster relief.
During these difficult times, a reminder that we are one world, in this together, and we are stronger when we support one another with friendship and kindness. Hero Arts will donate 100% of net profits from the sale of this pin to support COVID-19 disaster relief.
Here's a closer look at the April My Monthly Hero kit. I've also linked the entire release along with the supplies I used for these cards below for your convenience.
Kit Contents:
6" x 8" Clear Stamp Set
31 Coordinating Frame Cuts
5.25" x 6.5" Sunset Stencil
Intense Black Ink Pad
2 5.5" x 8.5" Cherry Wood Sheets
3 5.5" x 8.5" Adhesive-backed Birch Wood Sheets
Kit Value: $80 Kit Cost: $34.99 For a chance to win the $50 Gift Certificate giveaway, leave some comments for the talented designers linked below. Happy hopping!
Compensated affiliate links are used where possible. When you place an order after clicking one of my links, I receive a small commission at no additional cost to you. Thanks so much for using my links and supporting this blog. 💙