Powered by Blogger.
Showing posts with label Square/Circle Cards. Show all posts

Sip Relax Enjoy


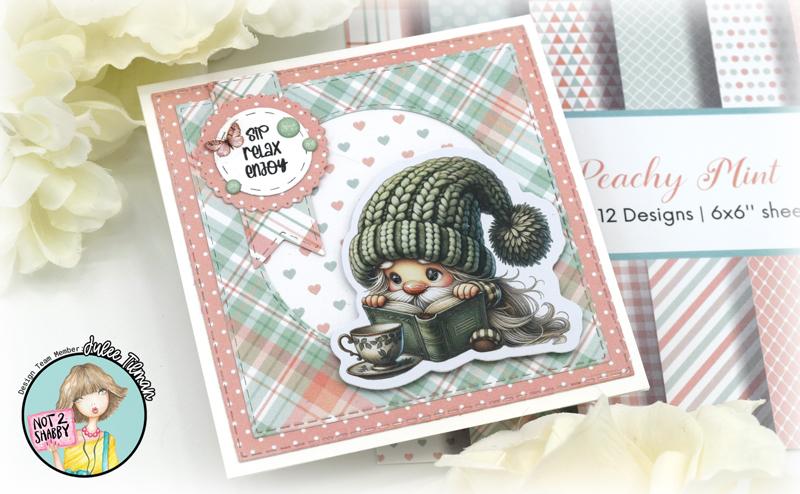
Hi friends! Today I'm sharing a sweet little card I made with the Tea Loving Gnomes bundle from Not 2 Shabby! I just love this bundle. 


I pulled out the EZ wonder Die #1 and Add On Dies for the layout of the card and got busy crafting. This little gnome with his nose in a book is just too cute for words. I love him and wanted him to take center stage. I layered EZ die cuts of the fabulous paper pad in the bundle to create the background, then stamped the sentiment on a tiny circle and accented with a butterfly sticker from the Pink Blossom Easter PET Tape.


There's also BIG NEWS releasing today regarding the upcoming release of  EZ Wonder Die #3! I'm part of an instagram hop today celebrating the news and there's a 🎁 GIVEAWAY🎁 !!! 

EZ Wonder Die #3 is releasing on June 15th! I'm a big fan of the EZ Wonder Dies and I can't wait for this release to come out. If you haven't tried these dies out yet, EZ Wonder Dies #1 & 2 are back in stock now! They are selling fast, so get your orders in. 

Thanks so much for stopping by today!


Love from Lizi Mini Note Cards


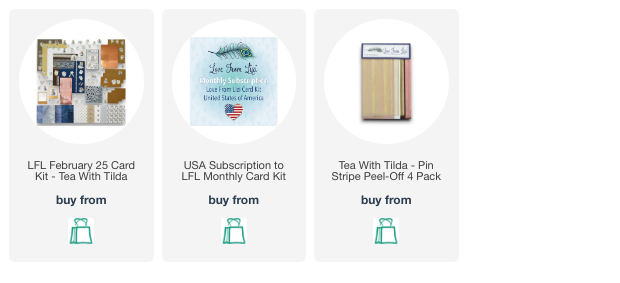
Hello friends! I'm excited to have the opportunity to play with the February Love from Lizi Card Kit this coming month as part of the Creator Collective. Get ready to sip and savor with "Tea with Tilda," this month's darling card kit! It's a delightful collection of products in a soothing palette of blues and neutrals, adorned with sweet florals and a charming mouse enjoying a tea party. What's not to love?

If you're curious about what is included in the kit, hop over to my YouTube channel or watch the unboxing video below. You can order the kit as a one time purchase while supplies last, or you can subscribe to the  kit to ensure monthly delivery.


I love working on little miniature creations, so the included 3.5" set of notecards was the first thing from the kit to call my name. I decided to create a trio of note cards using the darling ephemera, papers and embellishments in the kit.


I started by selecting a couple of my favorite patterned papers from the kit and matted them onto navy blue cardstock. To give the card a vintage feel, I inked the edges of the papers and ephemera with frayed burlap distress ink. The lace border is the perfect touch to ground the ephemera cluster, and the mouse image, popped up on foam tape, is just too cute! The sentiment, embossed in navy ink on a yellow half circle, adds a cheerful touch. I finished the card with a gold pinstripe peel-off and some glossy accents and glitter glue for extra sparkle.


To create the second card, I gave the papers a vintage look by distressing them with ink and adding a thin cardstock mat. I then mounted the charming Tea with Tilda ephemera piece on dimensional foam tape to add depth. Next, I layered the "Tea Time" sentiment, cut from elegant mirrored rose gold cardstock, above the ephemera. On a thinner strip of paper, I stamped the border stamp three times for a repeating pattern and added a touch of delicate texture with a piece of embroidered flower lace. Next, I used rose gold peel-off circles, coated with glossy accents, to mimic dewdrops on the flowers. To set off this panel, I accented both sides with some of the stone blue ric rac peel-offs.


For the third card, I layered mirrored rose gold cardstock with faux stone paper for the background, separating them with a rose gold pin stripe peel-off. I added a Tilda ephemera, the "let's have a spot of tea" sentiment, and finished with glossy-accented circle peel-offs. This kit is so inspiring, I'm already planning more projects 

Thanks so much for stopping by today! I hope you enjoyed these little creations and have a fabulously creative day!

This or That Treat Box and Card


Hi friends! Today I'm joining some crafty friends in their weekly This or That hop on Instagram. Each week we have two themes to choose from. This week's options were skiing or apres-skiing.  Since I don't ski even a little bit I went for the stay warm in the lodge and drink hot cocoa by the fire answer to this week's challenge. So that would be me before, during, and aprés skiing! 😂If you've got time, head over to my Instagram page to hop.


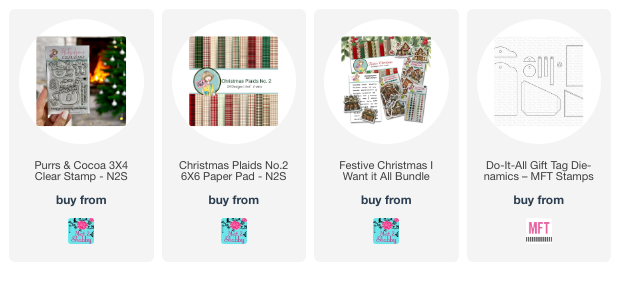
I started with the adorable little Purrs & Cocoa set from Not 2 Shabby. I hadn't had a chance to use it, and was super excited to stamp out the images and color them up with Copic markers in a color palette to match the Christmas Plaids No. 2 paper pack.


The box design is a simple one from Angie at Stampin with Amore. I love her little treat box tutorials! I followed her directions, then just decorated with the pattern papers and stamped images.  I did make my patterned paper layer a touch smaller so I could add a thin white mat behind it for some contrast.  The colored image was cut with my Brother Scan 'n Cut and I popped it up on foam tape for some dimension. Instead of patterned paper I decided to add the sentiment on the bottom flap. Doesn't it fit purr-fectly? 😊

For the inside, I added a die cut heart and stamped the to and from sentiments from the Frosty Friends stamp set, then filled with mini Twix bars.


I've been doing a little re-organization project and came across some Stampin' Up! mini envelopes for 3 x 3 cards, so decided to create a coordinating card, with another image from this darling Purrs & Cocoa set. The sentiment is from the Mini Messages set that was part of the Festive Christmas I want it All bundle. I stamped it onto a die cut shape, then layered everything together and added some pinstripe peel off stickers in gold to set off the horizontal panel.

Thanks so much for stopping by today! I hope you have a purr-fectly wonderful day!


August Not 2 Shabby Hop and Video


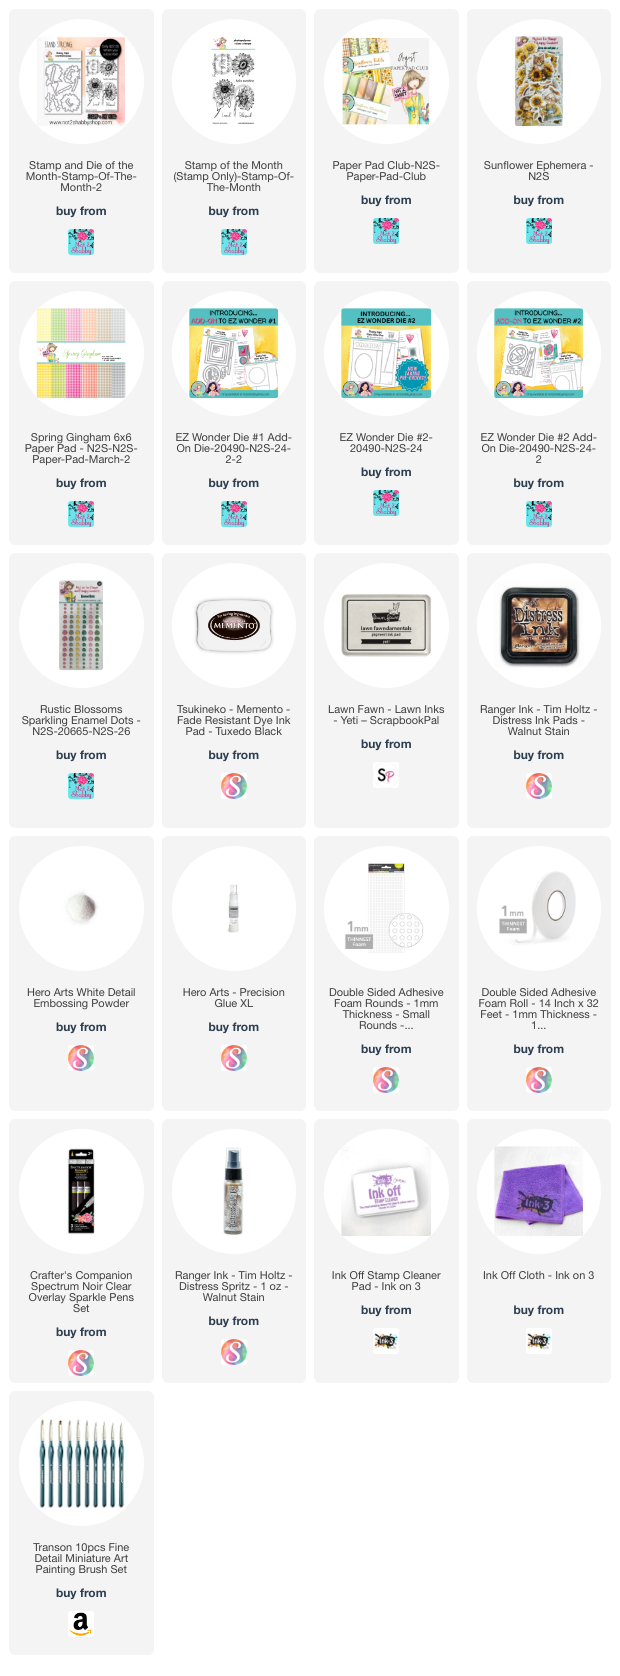
Hi crafty friends! It's the 10th of the month and that means it's time for the August Not 2 Shabby Inspiration Hop. Today I'm sharing a video where I color up the Stand Strong Stamp of the Month sunflowers in non-traditional colors and then create the two cards above. You can watch the video below or on my YouTube Channel.


When I saw this stamp set, I thought I wanted to color them up in non-standard colors, so I did a little research and found a few different real life sunflowers as reference, then I chose some Copic colors to go along with the inspiration photos I chose. 

I got to work coloring up the images, adding some accents with white gel pen, stardust glitter markers, and glaze pens. When I was done coloring, I die cut the images with the coordinating dies.


For my first card, I cut a 3.75" x 5" panel from the Sunflower Fields Paper and matted it with a 4 x 5.25" piece of brown cardstock.  The sunflower paper oval is cut from the EZ Wonder Die #2, and matted with one of the ovals from the EZ Wonder Die #2 Add On. I love how these papers coordinate. To tie in the pink for my sunflower, I pulled out a page of Spring Gingham paper and cut it to 1.75 x 3.75" and matted with a 2 x 3.75" piece.

I decided to use the sweet little puppy ephemera piece from the Sunflowers Ephemera to create a little trio of elements for the focus of the card. I finished with a sentiment from the Stamp of the Month, embossed in white onto dark brown cardstock, then cut with the coordinating dies. Oh, and of course I had to add a few sparkling enamel dots.


My next card features the blue and red sunflowers I colored.  I used the large square from the EZ Wonder #1 Add Ons to cut my background square from a piece of the Sunflower Watercolors paper pad.  I used a brown shade from the same pad and cut a partial oval using the smaller oval in the EZ Wonder #2 Add Ons, then splattered on a bit of Walnut Stain Distress Spritz and sponged with Walnut Stain Distress ink to form a little flower mound. The sentiment is from the Stamp of the Month, embossed in white onto dark brown cardstock, then cut with the coordinating dies. I finished things off with some sparkling enamel dots and a 4.25" square card base.

Thanks so much for stopping by today! I hope you have a fabulously creative day!


Joy to All


Hi friends! How's July treating you? We've been under a extreme weather advisory lately with lots of day over 100, but I've been cooling off with some Christmas in July crafting in my air conditioned studio.

Today's card features the fabulous Rustic Christmas paper pad and Christmas Tea ephemera from Not 2 Shabby. I just love this sweet little girl drinking her Christmas tea or cocoa.


I haven't made a square card in a while, so I decided to go with a square layout.  I cut strips of the patterned paper, glued them together and then cut in a square shape, with a gold mat.  The sentiment uses one of the flags from the EZ Wonder Die #1. I stamped a sentiment from the Little Angel stamp set on the flag, then accented with a holly cluster that I created using the Cozy Mug Die Set.

Thanks so muich for stopping by today! I hope you have a fabulous day!

October Jaded Blossom Sneaks Day 1


Hi friends! It's release week at Jaded Blossom and this month we've got a bevy of Christmas goodies to share with you. Squee! Leading up to release day on Thursday, we'll be peeking a few new goodies each day. Today we're peeking our first makes with these fabulous new products:


These products are not available individually until release day, but you can purchase the whole release at a discount now without the wait.

  We have our Gotta Have it Now Package for $154.99

October 2023 Release will include:

3 - 4 x 6 Stamp Sets
4 - New Dies
1 - New Outline Dies
2 - New Stencils
1 - Die Freebie 

Ala Carte Items available on Thursday 12 am PST 

This Package is only available while supplies last!
*Freebie Die - Only Free Thursday and Friday with a $60+ purchase or While Supplies Last. Must also purchase at least one item from the new release*

Regular price for the release package is $178.99


Alright, let's get to my makes. One of my favorite things to give at Christmas time is handmade ornaments, so as soon as I saw the Build a Wreath Die I knew I would have to make an ornament!

I began cutting several of each of the wreath die pieces from white card stock.  I sponged everything with varying green and brown inks (except the bow, which I colored with alcohol markers). All of the berry pieces I coated with glossy accents, then sprinkled with glitter and set aside to dry.  I assembled everything together with liquid glue.


For the base circle frame I cut it several times from light chipboard and once from fun foam in order to create a little thickness for a shaker. I added a die cut circle of acetate to the back of my wreath, then layered up the chipboard and foam frame and glued to the back of the wreath.

Next I die cut a circle of white cardstock big enough to cover the back of the frame and stamped the all is calm sentiment from the previously released Christmas Blessings stamp set in the center.  I added some shaker bits, then glued together to form the shaker.  For the ornament tab I used the fold over tab piece from the Luggage Tag Dies. I cut it from both chipboard and gold foil to give it some weight, then glued together to the back of my ornament.  I finished with a circle of solid cardstock on the back so I can write a little message.


For my second make today, I created another wreath to put on a card, this time cutting the pieces from cardstock before layering together.  For the base of my card I used the new Holly Berries Stencil on a light green cardstock. I cut the panel with the Scallop Square Dies, then layered a Stitched Square Die cut from vellum over it to soften the look.  The sentiment is from the same  Christmas Blessings set I used on the ornament. This time I embossed it in green on vellum, then cut with the Christmas Blessings Outline Dies. I layered several pieces of vellum to give it a little heft to help it lay across the wreath.  I finished off with some Frosted Lace stickles on the pine cones. 

Thanks so much for stopping by today! I hope you have a wonderfully creative day. I'll see you back here tomorrow for more sneaky peek fun!

Joy Fold Poppies

Hi friends! I’m back again with another card I made for one of the Dare to Get Dirty Challenges on Splitcoaststampers last month. This was actually inspired by two different challenges, one to make a fun fold card, one to use poppies on your card.


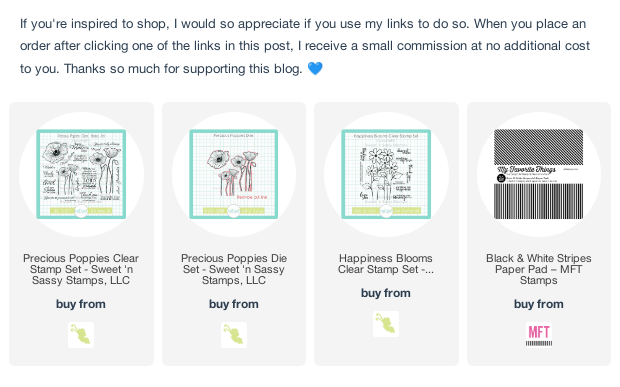
I started out with a couple of images from the Precious Poppies set from Sweet ‘n Sassy Stamps. I colored with Copic markers, then cut with the coordinating die set, and accented with a black glaze pen.


I love the classy look of black, white, and red, so pulled out some black and white striped paper and worked on decorating my joy fold pieces. I placed the large poppy on dimensionals, so I could tuck the sentiment flap in behind it as a closure. The sentiment is from the Happiness Blooms set, and I finished with a few sparkly enamel dots.

Thanks so much for stopping by today!

Yeehaw Gnomies

Yee-haw gnomies! I am so excited to be a Guest Designer for the month of June at Jaded Blossom! Did you see the latest release? It's fabulous! For today's project, I couldn't decide between gnomes or treats, so I combined the two.


I began with the Gnome Dies: Cowboy Add ons, cutting the spotted hat twice, then in-laying the black pieces for that classic cow look. I cut the boots from black cardstock, then chocolate cardstock for the new curly mustache, and kraft for the lasso. After adding a few Copic accents to the rope, nose and beard, I assembled this sweet guy on the base from the original Gnome Dies set.

Next I pulled out the original Octagon Treat Box and cut the base and handle from kraft cardstock, then assembled. I then cut the octagon shape from red cardstock and used the stitching die from the Border Dies set to add that paneled look. To add more accent I blended red ink where all the stitching marks were on the octagon.  Then it was time to move on to the barn pieces from the Octagon Treat Box: Farm Add ons. As I assembled things, I decided I wanted a little something at the bottom so borrowed the grass piece from the Octagon Treat Box: Easter Add ons.


Once my treat box was looking barn-like, I added my assembled gnome to the rooftop, then pulled out a sentiment from the Howdy Gnomie set and stamped it onto a die from the Mini Tag Dies 3 set. A treat box needs treats, so I found some Hershey Nuggets and used the Panel Dies with some patterned paper to make wrappers for the nuggets to go inside the box.


While I had everything out on my desk, I took a look at the Panels Dies and realized it could work for the barn base giving that paneled look with just one pass through the die cut machine. I love that you can use the treat box add ons on cards as well as on treat boxes.

I thought it would be fun to have the cow from the Farm Sweet Farm freebie peeking out the upper window, so I embossed him in brown and fussy cut to have his little head popping out.  I added the horseshoe from the Gnome Dies: St. Patrick's Day Add ons for a little accent on the door, then finished off the barn with some piles of hay.


For the sentiment I embossed the Farm Sweet Farm sentiment in white on a Stitched Circle die cut, then accented with an apple from the Gnome Dies: School Add Ons. The finished size of the card is 5.5" square.

Thanks so much for stopping by today! I hope you have a wonderfully creative day!
Warmest Wishes and an Awesome Challenge


Hi friends! Happy December! It's a brand new month and that means there's an exciting new challenge in the Sweet 'n Sassy Stamps group on Facebook. And this one is definitely EXCITING! The prize is one FREE stamp set of your choice ($16.95 value) per month for an entire year! Who doesn't love FREE stamps, especially when you get to pick a new one every month?  


The challenge this month is December Throwback Anything Goes, which just means show us anything made with a Sweet 'n Sassy stamp, die, stencil, or digi.  If you don't have any, we have a digi freebie in the group, or a few digi freebies on the website. Simply upload your NEW creations to the Sweet 'n Sassy Stamps VIP Facebook Group in our DECEMBER GIVEAWAY Album to be entered in the random prize drawing. If you aren't already a member you'll definitely want to join (it's free) for this awesome giveaway!


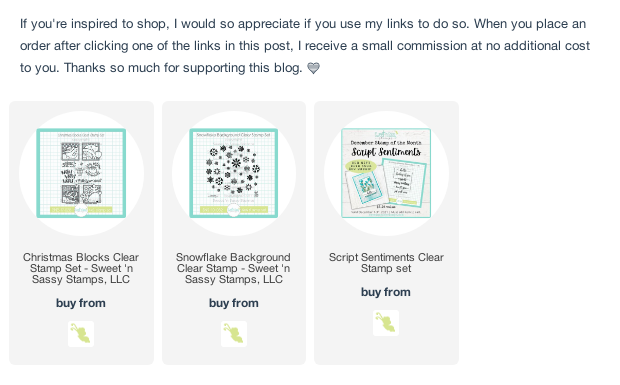
My card today features one of my favorite stamps from Christmas past, the Christmas Blocks set. I just love these sweet characters peeking our of their little boxes.  I colored the reindeer up with Copic markers, then fussy cut.  The square panel and the square card base are stamped in blues and greens with tthe lovely Snowflake Background.  I finished off with a bit of ribbon and a fun sentiment (now retired, I think) at the bottom, but the hello stamp from the December Stamp of the Month would fit perfectly here for a fun winter hello card. The Stamp of the Month is available for purchase individually or FREE with a $50 order in the month of December, and it's a totally awesome sentiment set! I can't wait to get mine!


We hope that you can find some time in the business of the holiday to create!

Squared Blessings


Hi friends! Today I’m popping in with a little autumn goodness. I love autumn leaves and could color them for days. It just seems like the world is ablaze with color when the leaves start falling. Definitely the touch of the Master’s hand!

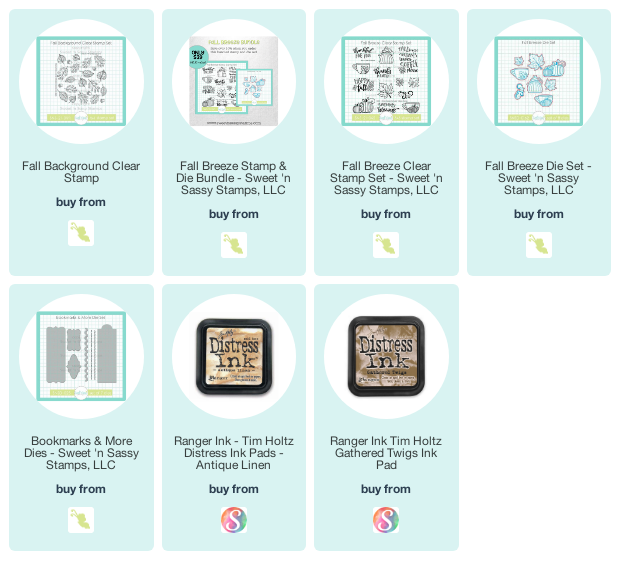
This month’s Stamp of the Month at Sweet ‘n Sassy Stamps is the 4 x 4” Fall Background set. It’s available for purchase or you can receive it as a FREE gift with a $60 order this month. Definitely a must have in my book. I stamped the background in Memento ink, then did a loose style of coloring and sponged. With antique linen and gathered twigs distress inks.  I then splattered on some watered down gathered twigs ink.

For my focal piece I stamped the sentiment from Fall Breeze and die cut with the Bookmarks & More Die set. Then I stamped the three sizes of leaves from Fall Breeze and colored up with Copic markers and fussy cut. I then added a bit of inking around the sentiment and layered everything together. Finished size is 4.25” square.

Compensated affiliate links are used where possible. When you place an order after clicking one of my links, I receive a small commission at no additional cost to you. Thanks so much for using my links and supporting this blog. 💙

December 2020 Sweet 'n Sassy Release Hop


Hi friends! Welcome to the Sweet 'n Sassy Stamps December Release Hop! Hop along with us as we share our projects with the fabulous December release with you. Don't forget to leave a little comment love for the designers linked below for a chance to win a $25 gift voucher to the Sweet 'n Sassy Stamps shop. Winner will be announced on the SNSS blog, Wednesday, December 23.


If you've arrived from the Sweet 'n Sassy Stamps Blog, you're already on stop 2, welcome to more stampy goodness from me! If not, be sure to head over to the blog for all the info and another card from me! If a link misbehaves along the way head on back there for the full hop list. All right, let's get hopping!


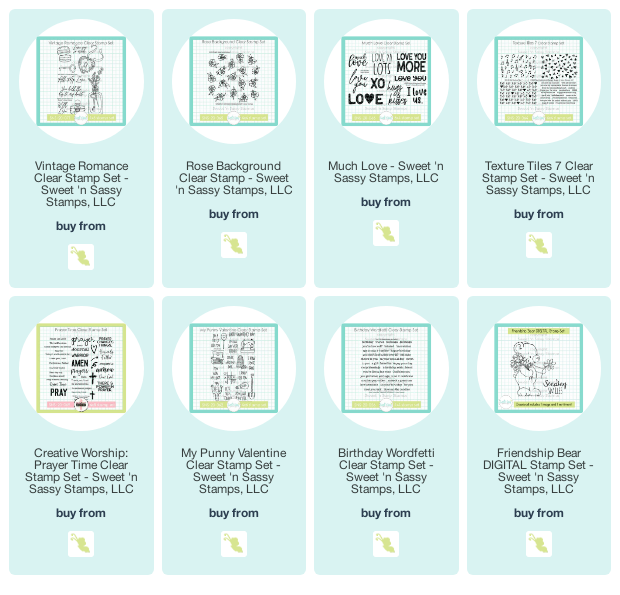
For my first card today I stamped the beautiful bottle image from Vintage Romance then colored with a combination of pearlescent watercolors, watercolor pencils, copic markers, and a white gel pen.  I then chose a few prima papers  to age a bit with distress inks, adding the sentiment from the December Stamp of the month, Much Love, directly on the patterned paper.  A bit of lace and a die cut wood frame finish things off.


My second card for today features Texture Tiles 7, My Punny Valentine, and Rose Background. I love how all the sets in this release mix and match so well! I started by masking off a square and stamping th heart background from Texture Tiles 7.  I then stamped, colored and fussy cut the shovel from My Punny Valentine, and stamped the sentiment from the same set.  The roses are stamped from the Rose Background, then colored and fussy cut.

 Thanks so much for stopping by! There's still a ton of inspiration on the hop, so be sure to click on over  to the next stop. 


The next stop on the hop is the fabulous Ceal Pritchett!

Sweet 'n Sassy Blog
Julee Tilman
Ceal Pritchett
Diane Zechman
Esther Asbury
Jane Bosi
Karen Decknick
Lee Ann Barrett
Lyn Tomlin
Michelle Hale
Sheri Gilson
Korin Sutherland

Compensated affiliate links are used where possible. When you place an order after clicking one of my links, I receive a small commission at no additional cost to you. Thanks so much for using my links and supporting this blog. 💙

December SNSS Release