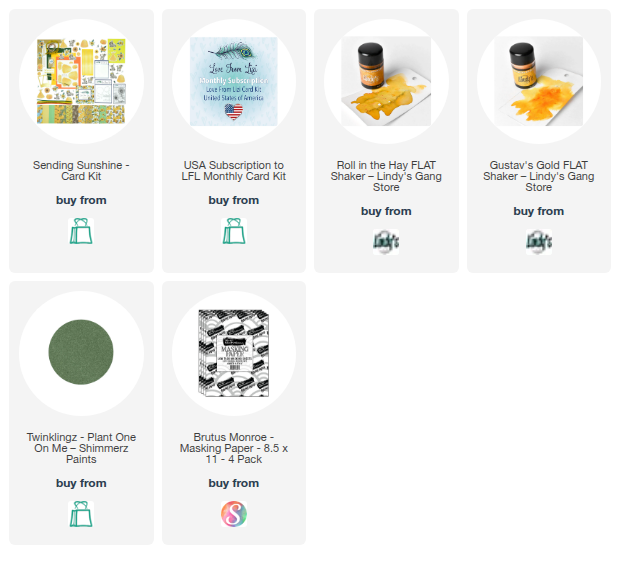
Ready for more sunshine?! ☀️ I'm back with another card from the Sending Sunshine Card Kit! If you saw my unboxing video, you know I was challenged to use the pipe cleaners, and guess what? I did! It makes for the perfect sunflower center!
The card began with stamping the large sunflower image onto watercolor paper, which I then masked for a seamless effect. While the image was masked, I created a dynamic watercolor background with orange and yellow inks. After removing the mask, I colored the sunflower petals and leaves. Once dry, I coiled a portion of the brown pipe cleaner and adhered it to the center of the flower with hot glue, then added fine detail glitter for a touch of sparkle.
I hand-tore the edge of the watercolor panel for a soft look and added dimension with a piece of the yellow foam sheet from the kit. The panel is adhered to a white A2 card base, with some of the included twine wrapped around it and tied with a bow. I finished the card with a sentiment from the kit's stamp and die set and a scattering of beautiful rhinestones. Such a fun card to make!
Thanks so much for stopping by today! I hope you have a fantastic day.
New month, new crafty project! 👋 I'm popping in to share a sweet card I made with the Sending Sunshine Card Kit from Love from Lizi. This time, I just had to make this adorable donkey ephemera the star of the show! ✨
I framed her with a gold polaroid frame that I covered in paper from the kit. Then I chose a fun print for the background and added the sunflower ephemera. I added a little sparkle to the flower's center with some liquid glue and glitter from the kit – it's so pretty in person! The sentiment is from the kit, and I finished it off with some gold photo corners. So fun!
Hi friends! Welcome to a brand new week! This month I have the great opportunity to play with the Sending Sunshine Card Kit from Love from Lizi. It's a fabulous kit filled with all sorts of crafty goodness, including the stamps, layering stencils, dies, and paper I use today. To see the whole kit, hop over to my YouTube channel to watch my unboxing video.
While you're there, I have a brand new card process VIDEO of the making of this pretty sunflower card. Sometimes I feel a little daunted by coloring flower images, so I was super excited to see there were layering stencils to easily color in this beautiful sunflower! So fun! You can watch me pull out the distress inks and go through the whole card making process below on the blog, or on my YouTube channel.
The colors I used for stenciling were scattered straw, mustard seed, wild honey, peeled paint, rustic wilderness, and walnut stain.
Thanks so much for stopping by today! I hope you have a fantastic day. September is Love from Lizi's 8th birthday, so head on over to the shop and check out all their new offerings.
Happy Valentine's Day! I'm so excited to share this sunny shaker card I made with the February Love from Lizi Card Kit. I wanted to give the beautiful ephemera pieces a little extra flair, so I decided to turn it into a shaker card!
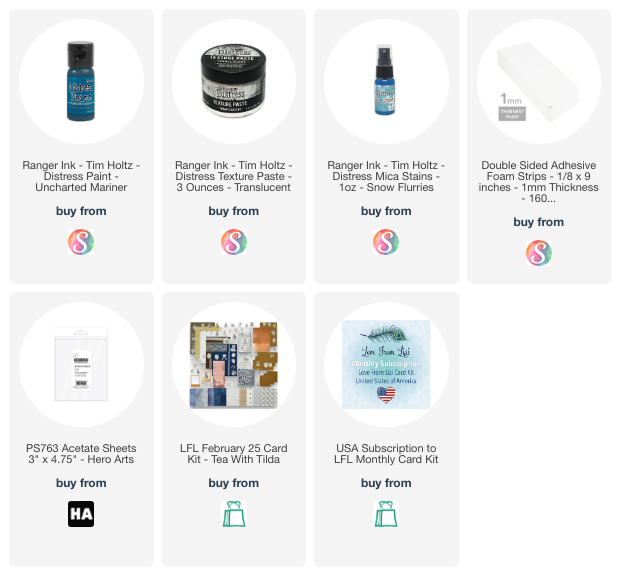
For this card, I went with a bright and cheerful color scheme using the sunny yellow and navy cardstock from the kit. I just love that butter yellow – it reminds me of sunshine! To add some texture, I used the Dotty Stencil from the kit and applied clear texture paste to the yellow cardstock. While that dried, I got to work on the shaker element.
I was really drawn to the mirrored polaroid frame included in the kit, so I decided to give it a makeover to match my colors. I painted the whole frame with Uncharted Mariner Distress Paint and then sprayed it with some mica spray for a touch of shimmer and texture. I love how it turned out!
For the shaker, I glued one of the floral ephemera pieces just below the acetate window and another on the outside of the frame. I filled the shaker with a mix of clear rhinestones from the kit, flatback pearls, sequins, and beads. To make sure there were always some sparkles showing, I glued a few of the shaker bits down to the yellow cardstock and let the rest flow freely.
To finish the card, I typed a sentiment on my typewriter, cut it into a banner shape, and adhered it to a scrap of yellow cardstock. I love how this card turned out – it's so bright and cheerful!
Thanks so much for stopping by today! I hope you have a fabulous day!
Hi friends! Today I'm popping in with a card I created with the Love from Lizi February Card Kit. I put on my mixed media hat and pressed record, so you can watch the process below or on my YouTube channel.
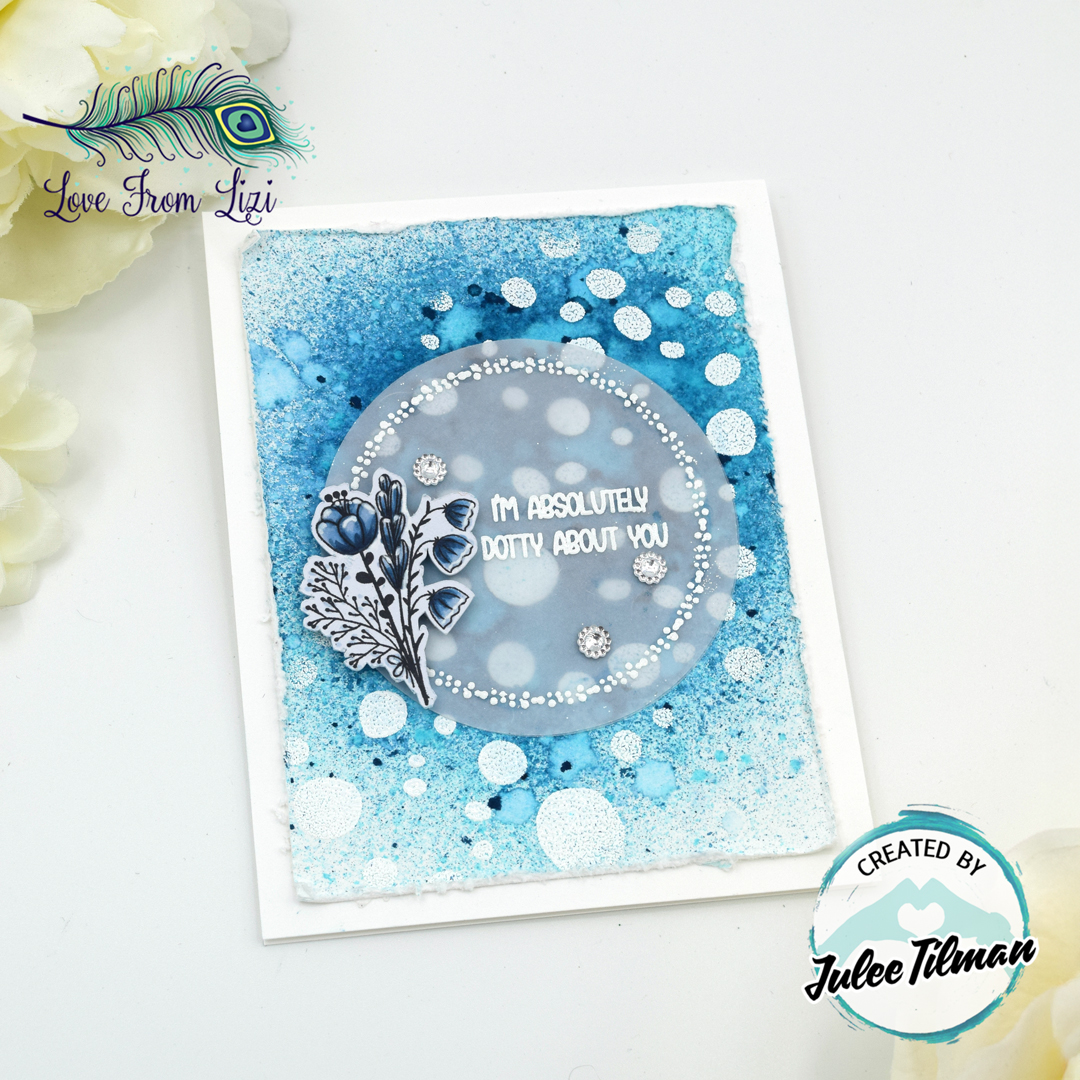
To start, I used a panel of mixed media paper - it can handle a good amount of wetness, which is perfect for this project! Then, I grabbed my blending brush and some white pigment ink, and used the Dotty Stencil from the February Card Kit to create a diagonal pattern from top right to bottom left. Next, I added white embossing powder, heat set, and it was time to get inky!
I love the look of emboss resist! There's something so cheerful about the crisp white against a vibrant background. I started by giving the embossed panel a light spritz of water, then added a touch of Tumbled Glass Distress Stain Spray. After letting it dry a bit, I spritzed it again and added Uncharted Mariner Distress Stain Spray. I repeated this process a few times, then used the spray nozzles to add some splatters of color to the background. Once I was happy with the look, I cut the panel down to 3.75" x 5" and roughed up the edges with a paper distresser.
Now onto creating the focal piece. First, I stamped the floral image onto the white cardstock that came with the kit and colored it in with B93, B95, and B99 Copic markers. Then I cut it out with my Brother Scan 'n Cut and accented the tips of the flowers with a white gel pen.
For the vellum circle, I embossed the circle frame and the sentiment from the stamp set in white. Then, I layered this onto another vellum circle to make it a bit more opaque. I layered everything together and added a few sparkly rhinestone embellishments from the card kit, finishing off with a top folding A2 card base/
Thank you so much for stopping by today! I hope you have a super creative weekend!
Hello friends! I'm excited to have the opportunity to play with the February Love from Lizi Card Kit this coming month as part of the Creator Collective. Get ready to sip and savor with "Tea with Tilda," this month's darling card kit! It's a delightful collection of products in a soothing palette of blues and neutrals, adorned with sweet florals and a charming mouse enjoying a tea party. What's not to love?
If you're curious about what is included in the kit, hop over to my YouTube channel or watch the unboxing video below. You can order the kit as a one time purchase while supplies last, or you can subscribe to the kit to ensure monthly delivery.
I love working on little miniature creations, so the included 3.5" set of notecards was the first thing from the kit to call my name. I decided to create a trio of note cards using the darling ephemera, papers and embellishments in the kit.
I started by selecting a couple of my favorite patterned papers from the kit and matted them onto navy blue cardstock. To give the card a vintage feel, I inked the edges of the papers and ephemera with frayed burlap distress ink. The lace border is the perfect touch to ground the ephemera cluster, and the mouse image, popped up on foam tape, is just too cute! The sentiment, embossed in navy ink on a yellow half circle, adds a cheerful touch. I finished the card with a gold pinstripe peel-off and some glossy accents and glitter glue for extra sparkle.
To create the second card, I gave the papers a vintage look by distressing them with ink and adding a thin cardstock mat. I then mounted the charming Tea with Tilda ephemera piece on dimensional foam tape to add depth. Next, I layered the "Tea Time" sentiment, cut from elegant mirrored rose gold cardstock, above the ephemera. On a thinner strip of paper, I stamped the border stamp three times for a repeating pattern and added a touch of delicate texture with a piece of embroidered flower lace. Next, I used rose gold peel-off circles, coated with glossy accents, to mimic dewdrops on the flowers. To set off this panel, I accented both sides with some of the stone blue ric rac peel-offs.
For the third card, I layered mirrored rose gold cardstock with faux stone paper for the background, separating them with a rose gold pin stripe peel-off. I added a Tilda ephemera, the "let's have a spot of tea" sentiment, and finished with glossy-accented circle peel-offs. This kit is so inspiring, I'm already planning more projects
Thanks so much for stopping by today! I hope you enjoyed these little creations and have a fabulously creative day!