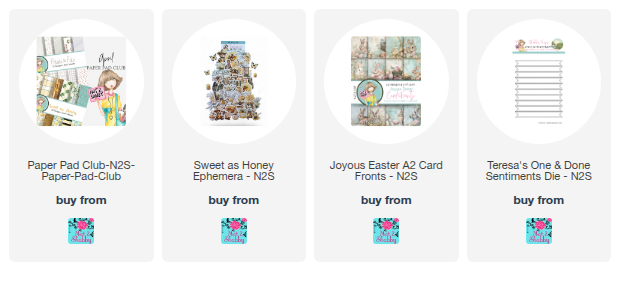
Hey friends! I am back today with a "bee-utiful" card that is just perfect for sending a little sunshine. When I create with ephemera, I like to level up some of the other elements. So here I used a honeycomb embossing folder to add a textured background to white cardstock.
Adding all that white adds a lot of contrast when I add the layers of patterned paper from the Sweet as Honey paper pad, which is part of the April Paper Pad Club.
I tattered the edges of my layers to give a bit of texture, then elevated the two pieces of Sweet as Honey ephemera with some foam tape. I highlighted with some Copic markers, then blinged things up with some glossy glaze and glitter. One can never have enough sparkle, right?
I finished off with a bonus sentiment from the Joyous Easter A2 card fronts, cut with the One & Done Sentiments Die.
Thanks so much for stopping by! I hope you have a fantastic day.
Hey there crafty friends! Today I'm popping in with a fresh card featuring the June Paper Pad Club from Not 2 Shabby. I'm loving all the summery red and green papers and wanted to showcase this beautiful girl from the Watermelon Summer Ephemera.
I started with scraps from previous projects, cutting two 1.25 x 1.5" panels from the watermelon plaid and soft watercolor watermelon papers. I added this to a white rectangle and layered onto a scallop mat cut from the Summer Gingham Paper Pad.
The girl is popped up on foam for some dimension, then I accented one of the squares with a sticker from the Sweet Summer Cottage PET Tape. I just love how it all coordinates. The hello word die was from last fall's retreat bundle and is cut from white cardstock that I used Copic markers to create a gradient on. I then layered it onto a vellum shadow layer and accented with another PET sticker.
Thanks so much for stopping by today! I hope you have a fabulous day!
Hello my crafty friends! I'm back today with a super fun no-stamping card using the April Paper Pad Club goodies from Not 2 Shabby! I've been totally loving this layout lately with the two horizontal rectangles and that white border between – it's such a cool way to make your background pop!
I chose one of my favorite patterns from the Denim Spring paper pad for the background and then had a blast collaging elements from the Springtime Denim ephemera pack to make a little scene. I added a sweet sentiment from the Bloom with Happiness set on a banner, and then sprinkled in some Blue Spring Awakening PET Tape stickers – they match this collection perfectly! A couple of sparkly enamel dots finished it all off.
Thanks so much for stopping by today! I hope you have a super creative weekend!
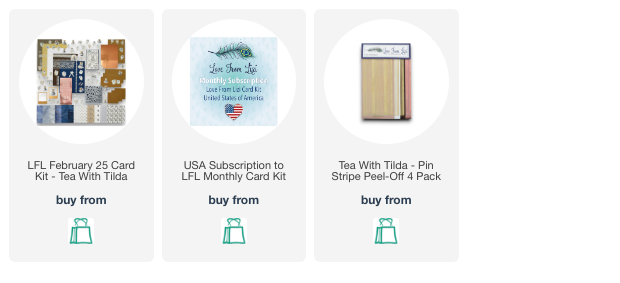
Hello friends! I'm excited to have the opportunity to play with the February Love from Lizi Card Kit this coming month as part of the Creator Collective. Get ready to sip and savor with "Tea with Tilda," this month's darling card kit! It's a delightful collection of products in a soothing palette of blues and neutrals, adorned with sweet florals and a charming mouse enjoying a tea party. What's not to love?
If you're curious about what is included in the kit, hop over to my YouTube channel or watch the unboxing video below. You can order the kit as a one time purchase while supplies last, or you can subscribe to the kit to ensure monthly delivery.
I love working on little miniature creations, so the included 3.5" set of notecards was the first thing from the kit to call my name. I decided to create a trio of note cards using the darling ephemera, papers and embellishments in the kit.
I started by selecting a couple of my favorite patterned papers from the kit and matted them onto navy blue cardstock. To give the card a vintage feel, I inked the edges of the papers and ephemera with frayed burlap distress ink. The lace border is the perfect touch to ground the ephemera cluster, and the mouse image, popped up on foam tape, is just too cute! The sentiment, embossed in navy ink on a yellow half circle, adds a cheerful touch. I finished the card with a gold pinstripe peel-off and some glossy accents and glitter glue for extra sparkle.
To create the second card, I gave the papers a vintage look by distressing them with ink and adding a thin cardstock mat. I then mounted the charming Tea with Tilda ephemera piece on dimensional foam tape to add depth. Next, I layered the "Tea Time" sentiment, cut from elegant mirrored rose gold cardstock, above the ephemera. On a thinner strip of paper, I stamped the border stamp three times for a repeating pattern and added a touch of delicate texture with a piece of embroidered flower lace. Next, I used rose gold peel-off circles, coated with glossy accents, to mimic dewdrops on the flowers. To set off this panel, I accented both sides with some of the stone blue ric rac peel-offs.
For the third card, I layered mirrored rose gold cardstock with faux stone paper for the background, separating them with a rose gold pin stripe peel-off. I added a Tilda ephemera, the "let's have a spot of tea" sentiment, and finished with glossy-accented circle peel-offs. This kit is so inspiring, I'm already planning more projects
Thanks so much for stopping by today! I hope you enjoyed these little creations and have a fabulously creative day!