Powered by Blogger.
Showing posts with label Reverse Confetti. Show all posts

Handcrafted Hello


Hi friends! Happy Friday! Can you believe it's already the end of March? This month has flown by. Today I'm popping in to share a card I created for a rainbow themed card swap. Whenever I have a chance to make a card that isn't for a design team, I like to pull from my pile of goodies that haven't seen ink yet. These little critters from Reverse Confetti fit the bill. Sadly, Reverse Confetti is out of business, but I still love their stamps!


The images are from the Love Wins, Rain or Shine and Crafty Critters stamp sets. I colored them up with Copic markers and then cut with the coordinating dies. 

Next I used a Jaded Blossom cloud stencil and some tumbled glass ink for some barely there clouds. The grass is from a retired Slimline Basics border die from The Cat's Pajamas, and I accented with Copic markers. This was a super fun card to create and send.

Thanks so much for stopping by today! I hope you have a fabulously creative start to your weekend.

Happy New Year

Hi friends! Welcome to a brand new year! I'm excited to share this fun new year's card with you today, wishing you all peace & joy throughout the coming year. 


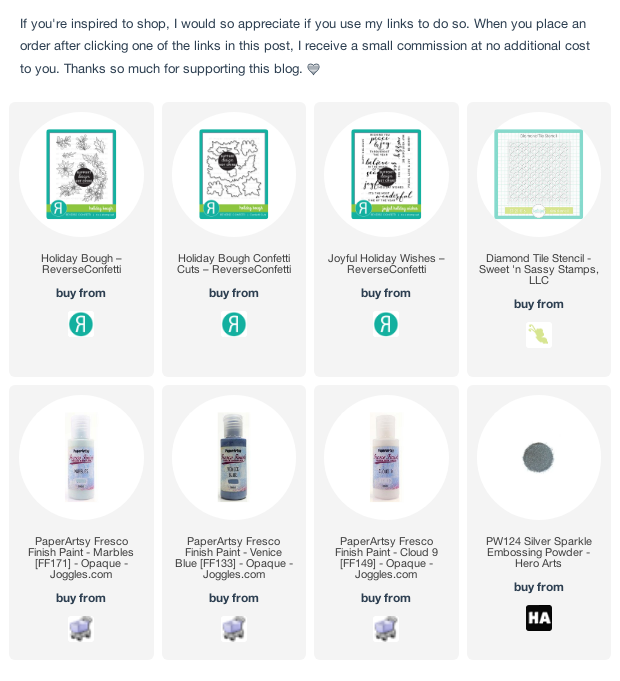
The creative process started with the Cling Wrap Finger Painting technique that was a challenge last month at Splitcoaststampers. I used a couple of blue and white paints from Paper Artsy on white cardstock.  When it was dry, I added a little texture with my Diamond Tile Stencil and some texture paste.


Next I pulled out the beautiful Holiday Bough set from Reverse Confetti, and stamped several of the images.  I colored with Zig markers, then die cut with the coordinating confetti cuts. Next I embossed the sentiment from Joyful Holiday Wishes in sparkle silver embossing powder on a die cut vellum circle. Then it was just a matter of layering everything together and adding a few silver pearl accents and some nuvo drops to finish things off.

Thanks so much for stopping by today! I hope you have a lovely start to the new year!

To the Candy

Hi friends! Happy Halloween weekend. My boys are so excited for the candy! They're dressing up like a bat and a cat this year and are very excited to go around the neighborhood since they didn't get to last year.


Today I'm sharing a fun little mini slimline scene card using the Boo Day stamp set from Reverse Confetti. I had some colored images from the set to use up from an earlier coloring session, so what better way than to create a spooky little scene?


Since today is NationalCatDay, I thought I’d make this cute little cat in the hat the star of the show and link up to the 2021 Cat Lovers Hop. I created some hills and fences with dies from my stash, then used the Pierced Round Top Layers Confetti Cuts as my "tombstones", stamping the spider web and a couple sentiments from Halloween Sentiments with white pigment ink.  I tucked the little ghostie behind.  

For the background layer, I embossed the mini slimline layer with a big dot folder, then stamped the star repeatedly generally in the center of each circle, then colored with Copics and added some stickles.  I finished with the little moon around the center star and a bunch of polymer clay slices and sprinkles for a candy trail.


Thanks so much for stopping by today! I hope you have a fabulous weekend!

Fab-boo-lous


Hi friends! I'm back today to share a couple of Halloween cards I created with Reverse Confetti stamps and dies. I am completely loving their new Hello Holidays patterned paper pad. So glad that they're coming out with new paper collections once again!
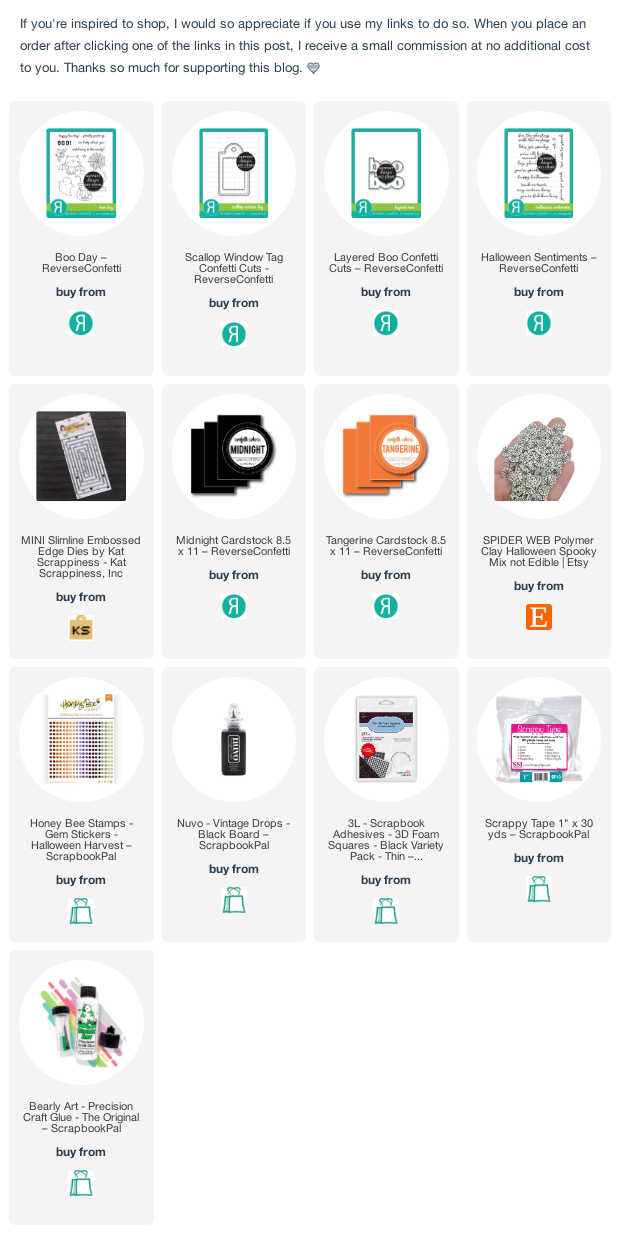
This little cat bat from the new Boo Day set reminds me of the "dritten" (half dragon, half kitten) from the Upside Down Magic series my boys have been reading. They love anything cat related!  I colored it up with Copic markers, then hand trimmed since I forgot to add the coordinating dies to my order! For the boo, I cut the Layered Boo Confetti Cuts from midnight and tangerine cardstock, then layered together and added some Nuvo Vintage Drops for some texture.


The tag shape is created with the Scallop Window Tag Confetti Cuts. I layered the top frame on thin dimensional foam squares for a little depth, and embossed the happy boo day sentiment in white at the top of the tag.  I used more Hello Holiday paper on the tag and for the card background, bordering my horizontal strip with scallop border die cuts. I finished off with some ribbon and gemstone accents.


For my next card, I used the same stamp set and confetti cuts, this time cutting the boo from vellum and the Hello Holidays paper and layering together. The sentiment is from the Halloween Sentiments set, embossed in black on tangerine cardstock. I layered some vellum behind this to tone down the background, then added the spider web and spider image from Boo Day hanging from underneath.  I finished this mini slimline card with a few polymer clay slices.


That's all for now. I hope you have a fab-boo-lous day!

Reverse Confetti 8th Birthday Release Hop


Hey friends! It's time to celebrate with Reverse Confetti! I'm so excited to be joining the celebration for their 8th birthday release. It's a spectacular release, filled with six new stamp sets, 9 new confetti cuts, and even a limited time FREE set with a qualifying purchase! Woohoo! Join us along the hop for some awesome inspiration with all the new goodies. If you've been hopping along, you just saw an amazing creation from Ali Farmer. After this stop, you'll be heading over to be wowed by Jeanne Jachna. The full hop list is at the bottom of this post. I have a couple of projects to share today, so grab a cuppa something awesome and hop along.


I absolutely love balloons, so my little crafty heart perked up when I saw the new Beautiful Balloons set. Such a beautiful set with separate pieces for the balloons, strings, and flowers. And with coordinating confetti cuts, it's a breeze to cut them all out and assemble a balloon bouquet. Here I colored the balloon with flowers image with Copic markers and die cut along with one of the string images.  The background for the card was so easy with the new Oval Window Cover Panel Confetti Cuts. I cut the cover panel from polar white, grape soda, and iced aqua card stock, nesting the three pieces together and blending a little iced aqua in the center oval. I then stamped the birthday wishes sentiment, hand trimmed, and embellished with a few enamel dots.

For my card, I stamped the Hooray and So Happy For You sentiments from Hooray on white cardstock, then masked off the bottom of the O in hooray and stamped the balloon string from Beautiful Balloons.  I then colored the hooray with Copic markers, as well as the plain balloon image. I added a little texture with glimmer paste and a confetti stencil, then layered the die cut balloon a few times and added it to the panel.  This is matted with RC aqua cardstock, then a couple of strips of patterned paper down the side finish things off.

I continued with the same color scheme for the next card, coloring the flower image from Beautiful Balloons a couple times and then die cutting.  I stamped the let's celebrate you sentiment from the same set in the center of a card panel, then added a few die cut layers of the oval frame from the Oval Window Cover Panel Confetti Cuts.  I placed the two flower images in opposite corners, then added some nuvo drops around the frame for accent.


For my final card, I went for a folk art look.  I cut the Oval Window Cover Panel from mist cardstock, then stamped the flower image from Beautiful Balloons in opposite corners with baby blue ink.  I then 
stamped the plain balloon three times on mist cardstock, stamping the flowers in navy in the center.  I then cut out by hand and inked with navy and baby blue inks, adding white gel pen accents to make the images stand out.


I layered these balloons over the window opening on different dimensional heights, then added the strings and popped the panel up on a white card base with foam tape.  I finished with the Oh, happy day! sentiment from the Hooray set.

Thanks so much for hanging out with me! Be sure to check out what everyone else on the hop is sharing today. And if I inspired you to shop, I'd love it if you'd use my affiliate links, for which I receive a small commission when you place an order, at no additional cost to you.

Purple Sympathy


Hi friends! Today I've got a sympathy card featuring stamps from Reverse Confetti. Are you a purple lover or a purple hater? I remember when I worked for a meeting planning company having grown men and women coming up to me irate that their name badges were purple.  I'd always tell them they were so lucky because purple is the color of royalty. LOL Before that I had no idea how polarizing a color could be.


Anyhow, I went with a purple background I made a while back in a distress ink class.  The vase image is from the Lily of the Valley set and I colored it with Copics and die cut with the coordinating confetti cuts.  The sentiment is from the same set and stamped in abyss onto a Circe Rays Duo confetti cut.  I added a thin black mat to set off my layers and glued everything down.

Thanks so much for stopping by today! I hope you have a lovely day!

Mojo Monday 556


Hi friends! It's Monday and time for a brand new Mojo Monday sketch! I hope you can find a little time in the next couple weeks to play along with me!

As always, we're playing just for fun. I'm an equal opportunity stamper, so feel free to use any papercrafting products your heart desires and enter as many creations as you like. Use the sketch as inspiration for your creation, then come link it up below so I can come take a look! The linky for this challenge will close on April 4, 2021. I have included dimensions on the graphic later in this post, but feel free to change them up to suit your needs, and never worry about substituting a shape or layer.


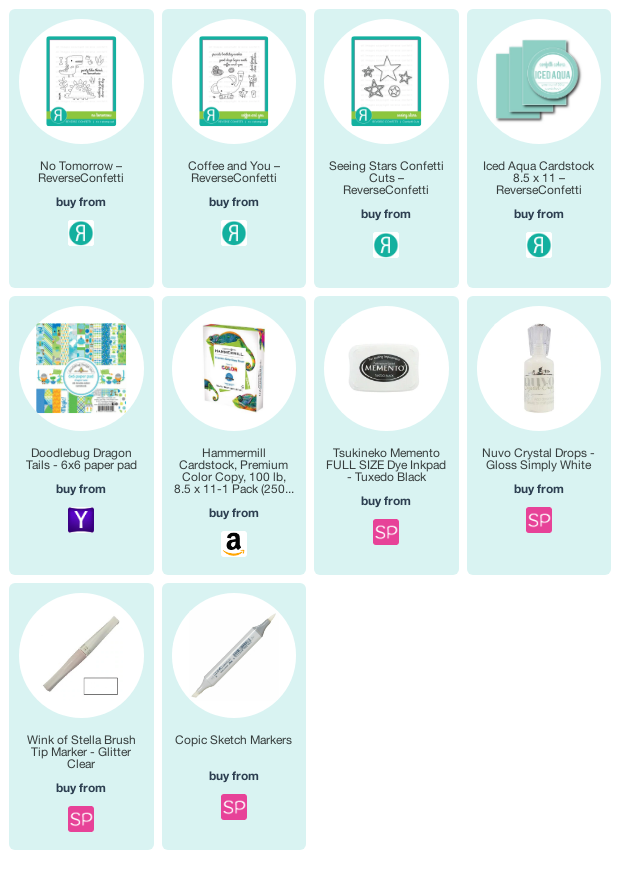
Today's card is another entry in the Spring/Summer Coffee Lovers Hop.  I just received a Reverse Confetti order with this sweet little dino set, and decided he needed to be drinking coffee. So I pulled out the Coffee & You set to go along with it, and got to work stamping, coloring, and cutting. My colors were chosen by this Dragon Tails paper I picked up at Tuesday Morning a while back.  The stars are cut with the Seeing Stars Confetti Cuts.

Alrighty, now it's your turn! I hope you've been inspired to create something with this sketch. Thanks so much for stopping by. 


Please join me for Mojo Monday!

Click here to enter

Compensated affiliate links are used where possible. When you place an order after clicking some of my links, I receive a small commission at no additional cost to you. Thanks so much for using my links and supporting this blog. ðŸ’™

Grande Birthday Wishes and a Sale!


Hi friends! I wanted to pop in quickly and share a super sale going on this weekend! Reverse Confetti is doing Spring Clearance with 25% off the site (excluding new releases) through March 21! No code needed! It's the perfect time to pick up a little something on your wishlist.

This little card is one I made during my Dirty Dozen term for Splitcoaststampers.  I used the sweet little Coffee & You set to create a starry scene with this sweet elephant and mouse set and coordinating dies.


Reverse Confetti March Release Hop


Hey friends! It's release day over at Reverse Confetti, and I'm so excited to be joining in the fun this month.  It's a spectacular release, and we're hopping along sharing inspiration with the new goodies. If you've been hopping along, you just saw an amazing creation from Dilay Nacar. After this stop, you'll be heading over to be wowed by Audrey Tokach.  The full hop list is at the bottom of this post. I have a few projects to share today, so grab a cuppa something awesome and hop along.


I'm a little bit smitten with bunny images lately, so the Hop into Spring set was the first thing I inked up.  How cute are these rascally rabbits?  I stamped the bunny and three of the tulip images, then colored with Copics and cut with the coordinating confetti cuts. The background is smooshed with distress inks, then I stamped a sentiment from the previously released Best Sentiments set, stamped in Wisteria and embossed with clear ink. My sun is created with the previously released Circle Rays Duo confetti cuts and lightly blended with yellow ink.


For my next card I used more of the images from this set, coloring with copics and cutting with the coordinating dies. I then used the new Head in the Clouds Cover Panel, over a rainbow blended background, then tucked the egg and flowers behind the clouds. The bunny is popped up on foam tape. I stamped the Hoppy and Easter from the set on a separate strip of cardstock, then popped up on foam and embellished with white gel pen accents and a stamped and cut carrot.


Next I turned to the beautiful new Lily of the Valley set. I had more rainbow blended backgrounds in my stash, and thought this one would pair well with the inner cuts from the new Flower Cover Panel. I cut the panel, used cut-n-peel wrap to glue down just the inner cuts, then with the outer panel still in place, coated the whole thing with iridescent glimmer paste and then pulled up the outer panel. While the glitter was drying, I stamped and colored the vase image from the set, then cut with the coordinating confetti cuts. The sentiment is stamped on a white strip of cardstock, and then I used the bottom of a Scallop Squares confetti cuts die cut.


For my final project today, I used Lily of the Valley again, coloring with Copics and adding a bit of stickles to the flowers.  I die cut with the coordinating confetti cuts and mounted on a die cut of foam sheet for dimension.

The sentiment is embossed in white on vellum, then backed with Artist-tac and die cut, to adhere over a die cut circle blended with distress inks.  I used the Flower Cover Panel in white on white for a subtle background. I finished with a strip of black cardstock embossed with the sending love & prayers sentiment.

Alright, thanks so much for hanging out with me! Be sure to check out what everyone else is sharing today.  Your next stop on the hop is Audrey Tokach.

Reverse Confetti + Hero Arts Partnership Hop and GIVEAWAY


Hero Arts is celebrating 45 years and counting. To honor our beloved industry, we have teamed up with some of our favorite friends, and have together released co-branded designs focused on friendship, giving, and community. Today we're celebrating the release of the new Better Together stamp set and coordinating Better Together Frame Cuts in collaboration with Reverse Confetti.

Ellie, daughter of Reverse Confetti owner, Jen del Muro, designed this uplifting and versatile multi-step floral set for the Hero Arts Partner collaboration. Both mother and daughter have a passion for equality and equity, and proceeds from this stamp set will be donated to the Human Rights Campaign.


For my first card, I had fun with the floral layering stamps in blues, then die cutting and layering together for some fun florals.  I added a little white gel pen accent and popped the top layer of flower and greenery up from the stem and scallop layer.  subtle stenciling makes the background, and I finished off with the title sentiment, then added two of the die cut scallop trims behind it for a little border trim.


For my second card, I decided to create a flower pot with the striped stamp, hand cutting the shape, then sponging with inks and stamping the scallop trim at the top.  Next I stamped the layered leaves a couple of times and cut with the coordinating dies.  I trimmed off one leaf from one of the die cuts, then layered them together to make a plant.  I paired this with the grow through what you go thrrough sentiment.

HOP PRIZES

We are giving away $50 gift cards to TWO lucky winners, drawn from comments left across the blog hop. One gift code will be to the Hero Arts store, and the other to Reverse Confetti. Comment on the hop by Thursday, February 25th at 11:59pm pst. The more blogs you leave comments on, the more chances to win!

Your next stop on the hop is Nichol Spohr.
FULL HOP LIST


Hero Arts 2021Catalog Release Blog Hop + GIVEAWAY


I'm super excited today to be joining in on the Hero Arts 2021 Catalog Blog Hop today!  There are so many fabulous new products in the shop that you're going to want to check out and lots of inspiration along the hop. I'm sharing a few cards with some of my faves today.  Be sure and hop along (link list later in the post) and leave some comment love for a chance to win in the awesome giveaway!

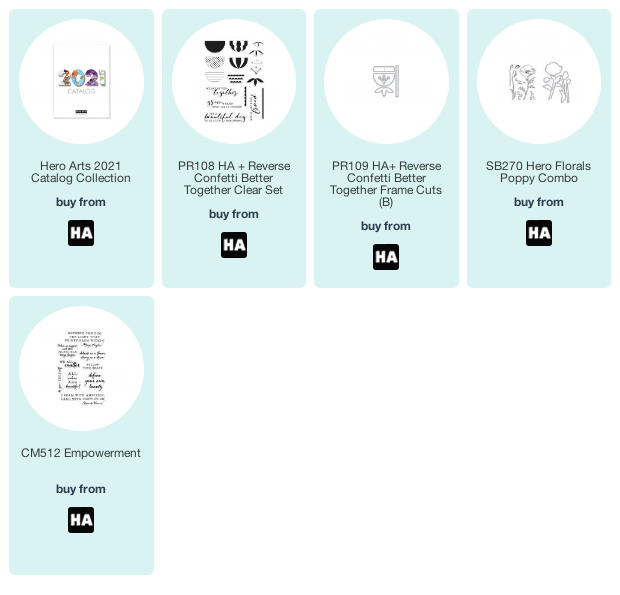
My first card uses the new Better Together stamp set and coordinating frame cuts. This is a partner collaboration with Hero Arts and proceeds from this stamp set will be donated to the Human Rights Campaign.  I love this floral layering set and had so much fun playing with it! You'll see a couple more cards with this set from me tomorrow, too.


I started by stamping out the flowers in a light and darker shade of both pink and purple. Setting things up in your MISTI, so you only have to align one time, makes the layer stamping a breeze.  I did the same with the leaf shapes in green, then die cut them all with the coordinating frame cuts.

The large sentiments in this set are perfect for both A2 cards and slimline cards.  I went with a slimline design with this one, masking off a rectangle on a white panel, then blending with blues and stamping the sentiment in black.  I matted with navy cardstock, then added the panel to the slimline card base with a foam sheet for added dimension.  Then I layered on the flowers and finished with some white gel pen accents and liquid drops.


My next card features a sentiment from Better Together paired with the gorgeous Hero Florals Poppy Combo. I colored up the poppies with Copic markers, then cut with the coordinating frame cuts and arranged in descending order on my card base. The sentiment is embossed in white on black cardstock and popped up on dimensionals. 


Last weekend I was lucky to be able to participate in a virtual gel press workshop.  The focal point of this card was one of the techniques in the class using bleach as a mask for a stamped image. I then cut the print with a circle die and matted on black.  The background is blended in red, orange, and yellow to match, and I finished with a sentiment from the fabulous new Empowerment set.


My final card for today uses a couple of my brayered off prints from this weekend. I thought the blue really matched the storm part of this sentiment from Empowerment, and then added some stamped and die cut flowers from the Hero Florals Poppy Combo. I watercolored the flowers, then accented with Copic markers.  The sentiment is embossed onto a strip of vellum.

That's all from me today. I hope you enjoyed these creations. There are tons of new products in the 
2021 Catalag Collection, and lots of inspiration with them along the hop! Check out the prize info and full hop list below.

Your next stop on the hop is Laurie Willison.

Prize Info
Comment on the hop by Wednesday, February 24th at 11:59pm pst for a chance to win one of three $50 gift certificates to the Hero Arts store. The more blogs you leave comments on, the more chances to win!


Full Blog Hop List


Compensated affiliate links are used where possible. When you place an order after clicking one of my links, I receive a small commission at no additional cost to you. Thanks so much for using my links and supporting this blog. 💙
Love in the Air

Hi friends! We've had some dreary, rainy days around here lately, so I've been wishing for blue sky and rainbows.  It seems that my wish made itself known as I created today's card!


I'm totally smitten with the new Big Love Confetti Cuts from Reverse Confetti. I cut it here from two styles of paper, then popped up the heart die cut on a foam sheet for a little dimension.  The cloud background is stenciled with mist and navy inks, then I stamped the sentiment from Love is in the Air on the stenciled background and adhered the love die cut above it.


This panel is popped up on a foam sheet and added to an A2 card base. Super quick and easy, and sure to bring a smile! 

Thanks so much for stopping by today! Hope your day is filled with blue skies and rainbows.

Reverse Confetti January Release Hop


Hey friends! It's release day over at Reverse Confetti, and I'm so excited to be joining in the fun this month.  It's a spectacular release, and we're hopping along sharing inspiration with the new goodies. If you've been hopping along, you just saw an amazing creation from Rebecca Keppel. After this stop, you'll be heading over to be wowed by Audrey Tokach.  The full hop list is at the bottom of this post. I have a few projects to share today, so grab a cuppa something awesome and hop along.


As soon as I opened my package, this little skunk from Love is in the Air was screaming my name. When hubby and I were first dating he always brought me back Pepé Le Pew and Penelope gifts whenever he went on a trip. I forget why it even started but it became a "thing". LOL  So this is going to be hubby's Valentine card.  I colored up our little skunk friend with Zig markers, then cut with the coordinating confetti cuts.

Next I cut the new Big Love Confetti Cuts, layering patterned paper letters cut from the From Cupid Paper Pad over white cardstock die cuts and popping up the heart die cut, blended with ink, and then highlighted with a white gel pen. I added some black and white print paper from the This & That Paper Pad behind as a contrast and completed the card with a panel of white stamped with the heart from Love is in the Air.


Next I pulled out the new Farmhouse Wreath set and colored it up in aqua and greens, then cut with the coordinating confetti cuts. I also cut the RC Aqua panel with the new Outlined Frame Cover Panel Confetti Cuts. Patterned paper from the Cheerful & Kind Paper Pad provides a backdrop for my collage of elements.  I added a Scalloped Squares Confetti Cuts frame and a tag from the Three Tags Confetti Cuts. A sentiment from Best Sentiments finishes things off.


Next I moved on to a couple of fun projects with the Pencil Treat Holder Confetti Cuts.  This die is for so much more than pencils!


First up, I thought the sweet little snail from Love is in the Air needed his own little mailbox. I cut the die cut from white cardstock, then scored about 1.75" from each end and connected with the little flaps.  I added a strip of paper to decorate, then used a die cut L from the Big Love Confetti Cuts as the flag, attaching with a heart shaped bard.  I colored up the smell and die cut, then adhered it to the front of a baggie of Hershey's nuggets that I tucked inside the mail box. Pretty cute snail mail, huh? 


For my final project today, I decided to make a bookmark from the Pencil Treat Holder. I cut it from colored cardstock, then added a strip of patterned paper to fit under the little flaps.  I accented the bottom with the sweet pup from Love is in the Air, then stamped the XOXO and be mine stamps for the sentiment panel, adding some white highlights to the xoxo.  I matted this with pieces from the Scalloped Squares, then finished the top with heart die cuts from the Big Love confetti cuts and finished with a tab of ribbon at the top. Such a super fun and easy project.

Alright, thanks so much for hanging out with me! Be sure to check out what everyone else is sharing today.  Your next stop on the hop is Audrey Tokach.


Compensated affiliate links are used where possible. When you place an order after clicking one of my links, I receive a small commission at no additional cost to you. Thanks so much for using my links and supporting this blog. 💙

January Release