Powered by Blogger.
Showing posts with label Diamond Tile Stencil. Show all posts

For the Birds


Hi friends!  I'm back today with a couple of cards featuring the Winter Birds stamp set and new coordinating dies.  I started this first card with a "soak up" print from stenciling with the Diamond Tile Stencil. Next I colored up the bird in some bright colors and die cut.  I added a Tall Grass Die cut from kraft cardstock and coated with frosted lace stickles in a sideways orientation to approximate some branches for the bird to be resting on.


I added a yellow Scallop Borders die cut as a divider, accenting it with a row of adhesive rhinestones.  The sentiment is from the Script Sentiments set and cut with the awesome coordinating dies. To finish off I added a Large Snowflakes die cut behind the bird and accented with a few more rhinestones.


Next up is a simple mini slimline Christmas card. The background is a suble tone on tone stenciling of the Snowstorm Stencil.  I used the Texture Tiles 4 stamp set to create the buffalo plaid horizontal strip.  The bird and branch from Winter Birds are colored with copics and cut with the coordinating dies. And the sentiment also has its coordinating die, so I layered it up 3 times for dimension.


Thanks so much for stopping by today! I hope you have an awesome day!

Special Days

Hi friends, today I'm popping in with a little inspiration with my newest release, Special Blooms. I love me some flowers, so couldn't wait to color these images up.

I went with a pink combo for the flowers, and a blue for the pot and background, coloring the images with Copic markers and then cutting with the coordinating die cuts.  I wanted a little more dimension, so I stamped and colored the pot flower again and cut out just the flower to pop up over my die cut image.


For the darker panel, I masked off a rectangle, then blended the entire panel with a stone blue. Next I stenciled over the blended piece with the Diamond Tile Stencil in a dark blue. Not wanting to waste the ink still on my stencil, I spritzed it with water and then pressed it to a white panel for the main card background.  I finished off with some blue cardstock, and a vellum sentiment embossed in blue.

Thanks so much for stopping by today! I hope you have a fabulous day!

Diamond Tile Hello


 Hi friends! I've been a bit under the weather this week, but am starting to feel better, so I took a little time to photograph some of the cards I've been making.  I'm not sure why that's the part of the blogging process that always holds me up, but it is what it is.  LOL.  Anyway today's card features the Diamond Tile Stencil, God is Faithful Bundle, and Script Sentiments from Sweet 'n Sassy Stamps.

My process started with the background, first lightly blending Tumbled Glass Distress Oxide ink onto a white card stock panel, fading to white on the one side.  I then placed the Diamond Tile Stencil over it and stenciled with the same color ink  lightening up the pressure as I moved across the panel to continue the fade.


The beautiful floral image from God is Faithful is colored with Copic markers in pinks and purples, then cut with the coordinating dies.  I also cut the floral shape from plain cardstock a couple of times and layered them together to give some dimension.

The sentiment panel is stamped with the hello from Script Sentiments, then I added a couple sprigs from the God is Faithful set on eighter side for embellishment.  I finished with some black matting to make things pop and a few small rhinestones.

Thanks so much for stopping by today! I hope you have a fabulously creative day!

Happy New Year
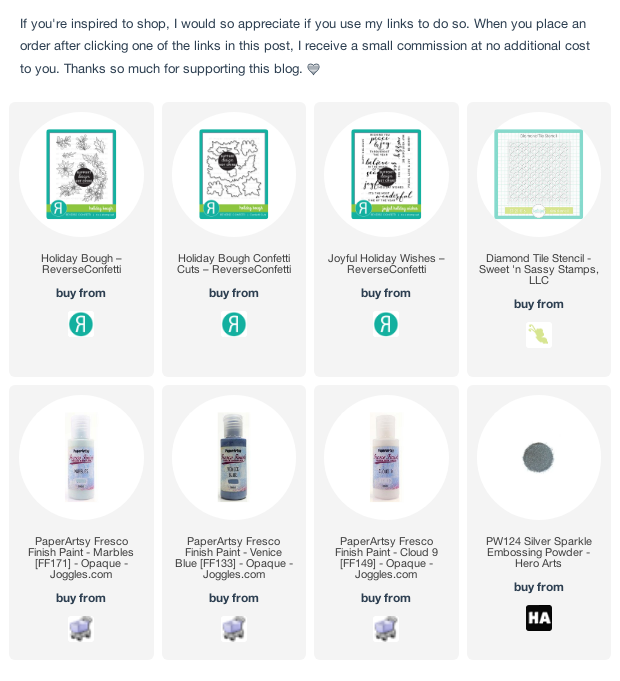
Hi friends! Welcome to a brand new year! I'm excited to share this fun new year's card with you today, wishing you all peace & joy throughout the coming year. 


The creative process started with the Cling Wrap Finger Painting technique that was a challenge last month at Splitcoaststampers. I used a couple of blue and white paints from Paper Artsy on white cardstock.  When it was dry, I added a little texture with my Diamond Tile Stencil and some texture paste.


Next I pulled out the beautiful Holiday Bough set from Reverse Confetti, and stamped several of the images.  I colored with Zig markers, then die cut with the coordinating confetti cuts. Next I embossed the sentiment from Joyful Holiday Wishes in sparkle silver embossing powder on a die cut vellum circle. Then it was just a matter of layering everything together and adding a few silver pearl accents and some nuvo drops to finish things off.

Thanks so much for stopping by today! I hope you have a lovely start to the new year!

Birthday Bonanza

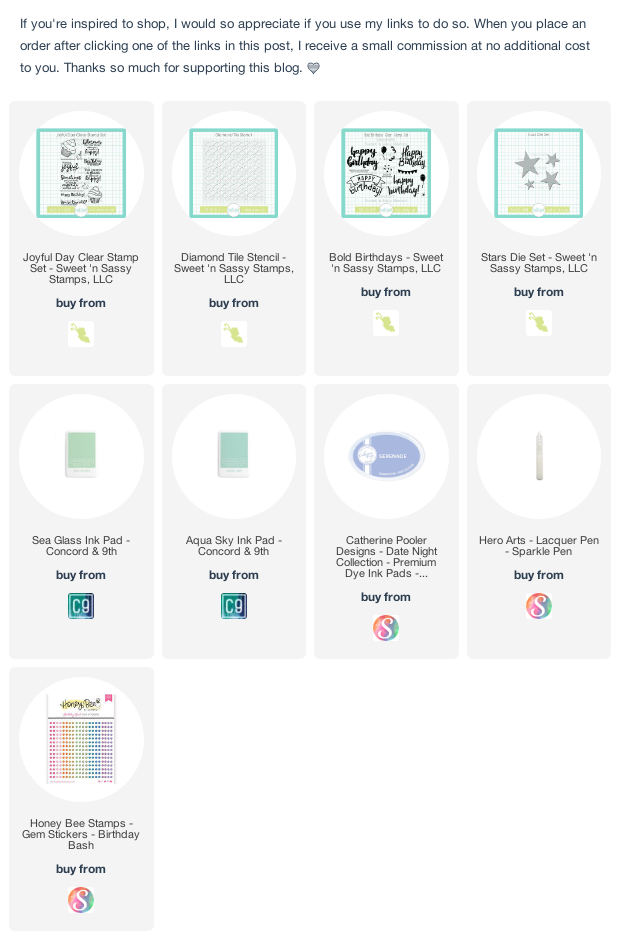
Hi friends! Today I’m popping in with a set of birthday cards I created with my Diamond Tile Stencil and Joyful Day stamp set from Sweet ‘n Sassy Stamps.


I started out with some stenciled backgrounds in pastel colors using Concord & 9th and Catherine Pooler inks. I then colored cupcakes from the Joyful Day set in coordinating colors and fussy cut to pop up on the backgrounds.


For the sentiments I pulled out the Bold Birthdays set, stamped in coordinating colors, and then hand trimmed with a thin white border. I wanted a few more accents, so on the nullaqua one, I stamped the star from Joyful Day randomly in one corner. I cut some stars using the Stars Die Set, then blended with the green and aqua colors to add as accents. I finished up with some rhinestones and sparkle lacquer pen accents. I 


Thanks so much for stopping by today! I hope you have a sweet day!
Good Times


Hi friends! I have a BEW digi set releasing in the Sweet 'n Sassy Stamps shop this week! This is a birthday themed set with lots of sentiments perfect for the inside and outside of your cards. And of course, there's a little bit of coffee, because that's just how I roll!


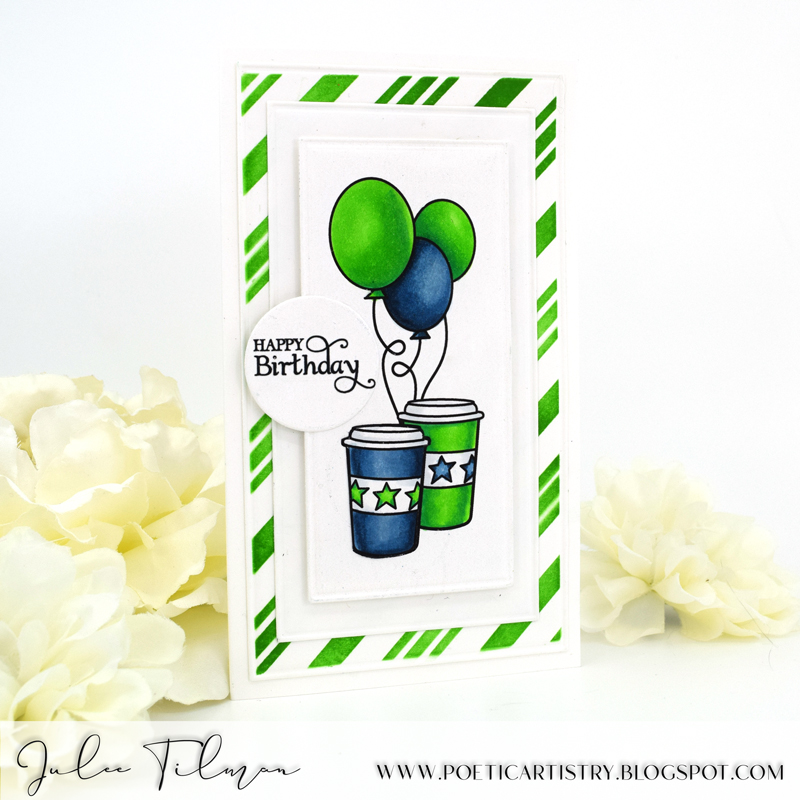
For my first card, I sized the coffee cup, balloon trio and sentiment for a mini slimline panel, then layered together before printing.  Once printed, I colored with copics in blues and greens for a masculine card. I layered this panel on white, then added a panel stenciled with my Peppermint Stripe Stencil as a background.


My second card uses the balloon image and a different sentiment from the set. I colored with Copiics, matted with midnight cardstock, then stenciled a background with my Diamond Tile Stencil and some dress blues ink from Catherine Pooler.  Super quick and easy!


Thanks so much for stopping by! I hope you have a fabulously creative day!


Diamond Tile Stencil


Hi friends! Today I'm super excited to have a new stencil design releasing at Sweet 'n Sassy Stamps today!  I absolutely love the way it turned out and have been having so much fun with it! 


The background for my card today was so fun to create. I started with the new Script Background, inking it up in blues and greens on white cardstock. Next I used Ranger texture paste with the Diamond Tile Stencil in the corners and set it aside to dry. Once it was dry, I cam back in with coordinating inks and blended over the top.  The texture paste created a resist, and I love how you can still see the script behind, but the stenciled part is still very vibrant.


I pulled out my new Joyful Day set and colored up the cupcake in coordinating colors, then added some stardust stickles for extra sparkle.  The balloon is from the Make a Wish set. I stamped the string directly on the background, then pieced the balloon portion over the top.  The sentiment and confetti on the die cut circle are from the Bold Birthdays set.

Here's a little in-process peek at something on my desk today using my new stencil. Isn't this pattern cool? 


Thanks so much for stopping by today! If you're heading to the shop to check out the stencil, don't miss my other Peppermint Stripe Stencil on sale this week! As well as a stencil and adorable stamp set from Jennifer Nilsson that released today.  Here's a little sampling of cards I've made with some of this week's sale products. I've linked up the sets/stencils used below.