Powered by Blogger.
Showing posts with label Peppermint Stripes Stencil. Show all posts

Christmas Sentiments Three Ways


Hi friends! Today I'm popping in to share a bit of inspiration with the new Christmas Sentiments set from Sweet 'n Sassy Stamps.

For this card I started with a background I had created previously with a clean up print  using the Peppermint Stripe Stencil. I then stamped the large flower from Poinsettia Greetings on the panel and on some white cardstock.


 I colored the white cardstock image with alcohol markers then fussy cut along the edge and attached to the striped panel and cut off the excess. The sentiment was then embossed in black in the corner and I finished off with a red mat and some sparkly enamel dots.


My second card today pairs the fun Christmas Cookies set with a sentiment from the Christmas Sentiments set. I colored the images with Alcohol markers and then cut them out. The sentiment frame is from the Decorative Frames set and cut with the coordinating dies. I colored it in with alcohol markers, then embossed the sentiment in white and used a white paint pen to add some "snow".  Papers were from my stash and I finished with a little green striped bow.


My third card uses the Peppermint Stripe Stencil over a watercolored background.  I embossed the sentiment in rose gold, then added a candy cane image from my Holiday Cheer set.

Thanks so much for stopping by today! I hope you have a fabulous day!

The Most Wonderful Time


Hi friends! I'm popping in today with a fun winter card featuring Sweet 'n Sassy Stamps.  I've been suffering from severe neck and shoulder pain lately,  so my crafting hasn't been as regular. I do have a few things I've created in the past few months that I haven't had a chance to share, so thought I'd pop in with one of those today.

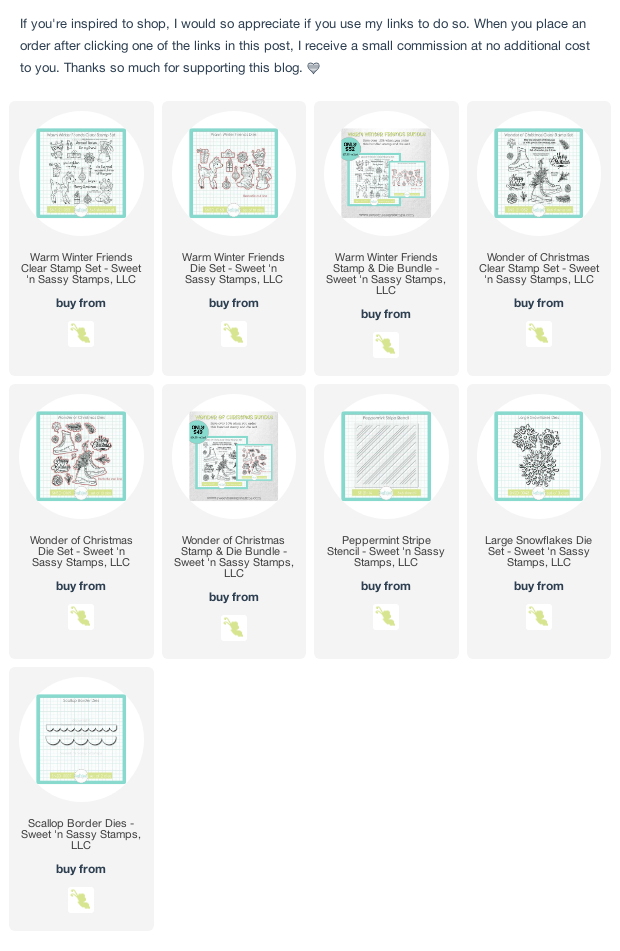
I love the darling Warm Winter Friends set! Those who've been around the blog for many years might know that I have an owl phobia. This might be the first owl I've ever deemed "cute". I absolutely love him with his scarf and glasses. I colored him up with Copic markers, then added some greenery behind him with the help of the beautiful Wonder of Christmas set and coordinating dies.


The background is done with my Peppermint Stripe Stencil.  I just love the plaid you can create with it! The background behind the sentiment uses the same stencil, only at a straight angle. There are so many looks you can achieve with this stencil.  I finished off with a Large Snowflake Die and a Scallop Border Die.

Thanks so much for stopping by today! I hope you're having a fabulous holiday season so far.

Good Times


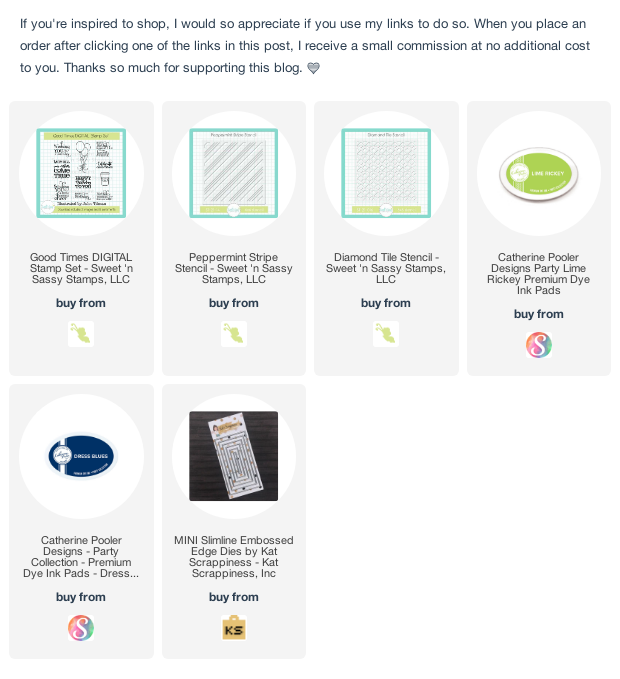
Hi friends! I have a BEW digi set releasing in the Sweet 'n Sassy Stamps shop this week! This is a birthday themed set with lots of sentiments perfect for the inside and outside of your cards. And of course, there's a little bit of coffee, because that's just how I roll!


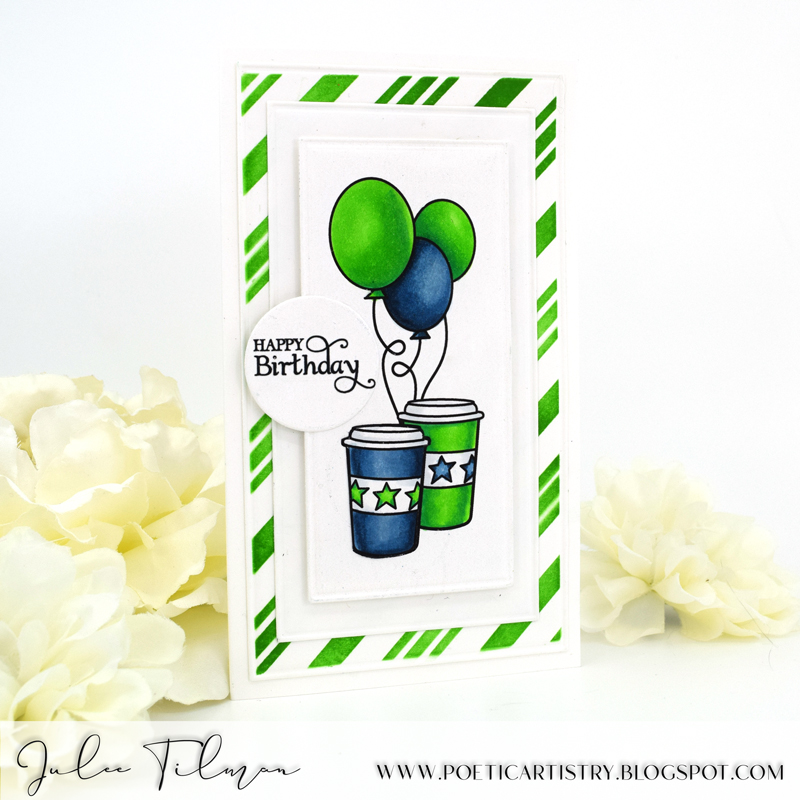
For my first card, I sized the coffee cup, balloon trio and sentiment for a mini slimline panel, then layered together before printing.  Once printed, I colored with copics in blues and greens for a masculine card. I layered this panel on white, then added a panel stenciled with my Peppermint Stripe Stencil as a background.


My second card uses the balloon image and a different sentiment from the set. I colored with Copiics, matted with midnight cardstock, then stenciled a background with my Diamond Tile Stencil and some dress blues ink from Catherine Pooler.  Super quick and easy!


Thanks so much for stopping by! I hope you have a fabulously creative day!


Peppermint Stripes


Hi friends! I'm super excited to have my first ever stencil design releasing with Sweet 'n Sassy Stamps this month. It released on October 1, but I'm a little behind the eight ball in blogging! LOL  Anyhow, I'm here today with my first makes with the Peppermint Stripe Stencil. I'm a huge fan of peppermint and diagonal stripes, so this is a match made in heaven for me! I had a blast with my first pass with this stencil, testing it with ink, glitter paste, and a mix of both. So much fun!

For my first card, I used mint tape to mask off the trio of thin stripes, then stenciled the bold lines in red.  Next I moved the tape to cover the red lines and added pink glitter paste to stencil the stripes.  I love how it looks like a real candy cane!


I recently received the coordinating dies for the classic Precious Poppies set, and could wait to use them. Poppies are red, so I figured they work for Christmas, right?  I added a sentiment tag with two sentiments from the Christmas Wordfetti set, then accented with a few little images stamped and die cut from the Wonder of Christmas Bundle.


My next card was inspired by my favorite wint-o-green mints. I did some masking and used sea glass on just the two outer thin stripes, then evergreen on all the other stripes for a fun wintergreen look.

I used the Christmas Silhouettes set and Karin markers for a soft watercolor effect, first stamping with the brusho, then coating the stamp lightly with water and stamping over it. When that was dry, I stamped again in clear embossing ink then embossed in clear. I love the look. I cut with the coordinating die cuts, then added the peace die cut from the Peace & Joy Word Dies, and a splash of color with the Doily Border Dies in cranberry and finished off with a gold poinsettia.


That third stenciled background hasn't made it onto a card yet, but I'm sure it won't be long. I used the stencil as is (no masking) with pink glitz glitter gel on red cardstock.

Thank so much for stopping by today! If you saw something you have to have, be sure to take advantage of our Earlybird Savings with 10% off individual new releases through Saturday, October 9.