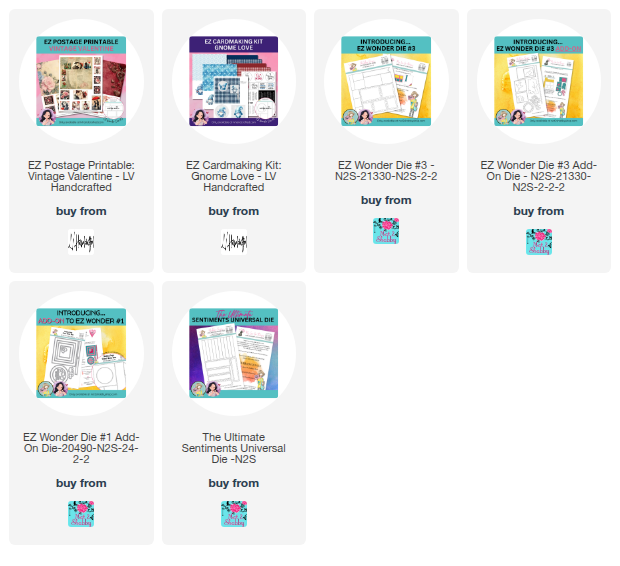
I am head-over-heels for the new Vintage Valentine EZ Postage Printablefrom LV Handcrafted! Here’s a quick look at how I put this romantic card together:
The Postage Grid: Cut using the EZ Wonder Die #3 from one of the pages in the collection.
The Layers: I matted the vintage couple and the heart and roses images on black EZ Wonder #3 Add-ons die cuts and added the fussy-cut heart and bottle as one of my vignettes.
The Sentiment: A little "crafty surgery" went into this! I snipped my sentiment from the Gnome Love Card Kit in half and created custom-width black banners by double-die-cutting them with the EZ Wonder #1 Add-ons.
The Glow-Up: A white gel pen for detail and Stardust Stickles for a hint of magic.
Does this collection tug at your heartstrings as much as mine? Let me know in the comments!
Hi friends! Today, I’m excited to share a "happy accident" project! Have you ever intended to cut your paper one way and ended up with something completely different? That’s exactly what happened to me this week, and it led to a trio of cards I absolutely love.
🌈 The "Happy Accident": From Scraps to Sunbursts
I originally planned to cut 2-inch strips, but I accidentally cut them to 1.5 inches instead. Rather than letting those strips go to waste, I pulled out a favorite old technique: the Sunburst pattern.
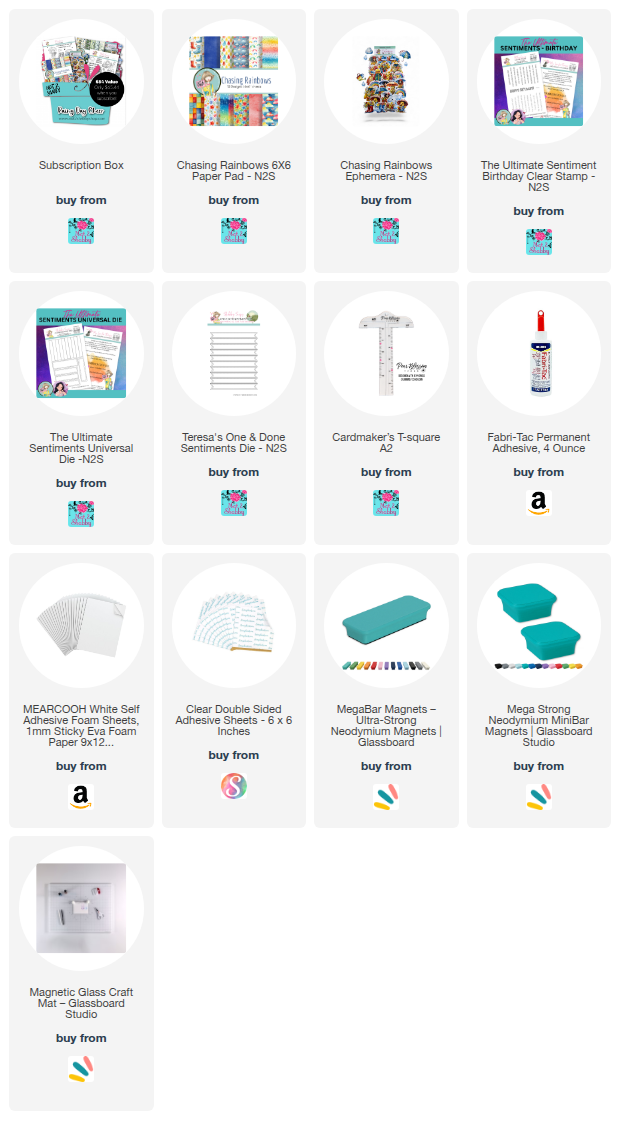
Using the Chasing Rainbows paper and ephemera from the Not 2 Shabby January Box of the Month, I was able to turn those accidental cuts into a vibrant starburst background. This collection is available as a subscription or as individual products in the shop, and the imagery is just perfect for this cheerful look.
✂️ How to Recreate the Look
Here is a quick breakdown of how I turned those scraps into a professional-looking trio of cards:
The Cut: I started with 1.5" x 6" strips of patterned paper and cut them diagonally from corner to corner to create long triangles.
The Layout: I arranged seven of these triangles into a starburst pattern on a 3.75" x 5.5" white card panel, lining up the points as closely as possible.
DIY Gold Pinstriping: To separate the patterns from the white space, I created my own "pinstripe" stickers by cutting thin strips of gold foil cardstock lined with double-sided adhesive.
Adding "Splash": Since these cards have a rainy day theme, I added colorful splatters using spray inks to give them a textured, artistic feel.
The Focal Points: I chose the adorable frog and duckling ephemera, which remind me of vintage Valentines. I popped them up on 1mm foam for just a hint of dimension without adding too much bulk for mailing.
📺 Watch the Process & Enter the Giveaway!
I’ve recorded the full process so you can see exactly how I pieced these together. This video is also part of a special video hop collaboration, which means there are prizes involved!
🎁 Giveaway Alert:Head over to the video to find the link for a $25 gift card giveaway to the Not 2 Shabby shop! Be sure to check out the full playlist in the description to see what the rest of the team has created.
Thanks so much for stopping by today! I hope you have a fabulous day!