Powered by Blogger.
Showing posts with label child. Show all posts

Happy Bee Day


Hi friends! I'm back with a little more inspiration featuring the May Box of the Month from Not 2 Shabby. The little bear stamps in this month's box are just too sweet and I had to color her up in coordinating colors to match the fun prints in the What's Buzzin' paper pack.


This was actually the first card I made with the kit, but I've been saving sharing it until my grand-niece's birthday party. She just turned 2 and is even more precious than this sweet little bumble bee bear! Since the bee stripes and the papers have black in them, I decided to go with black mats for all my layers. It's a crisp and simple way to bring a little punch to a pastel color palette.

I added a little bee image and a birthday sentiment, then accented with a few sparkling enamel dots.

Thanks so much for stopping by today! I hope you have a simply fantastic day.


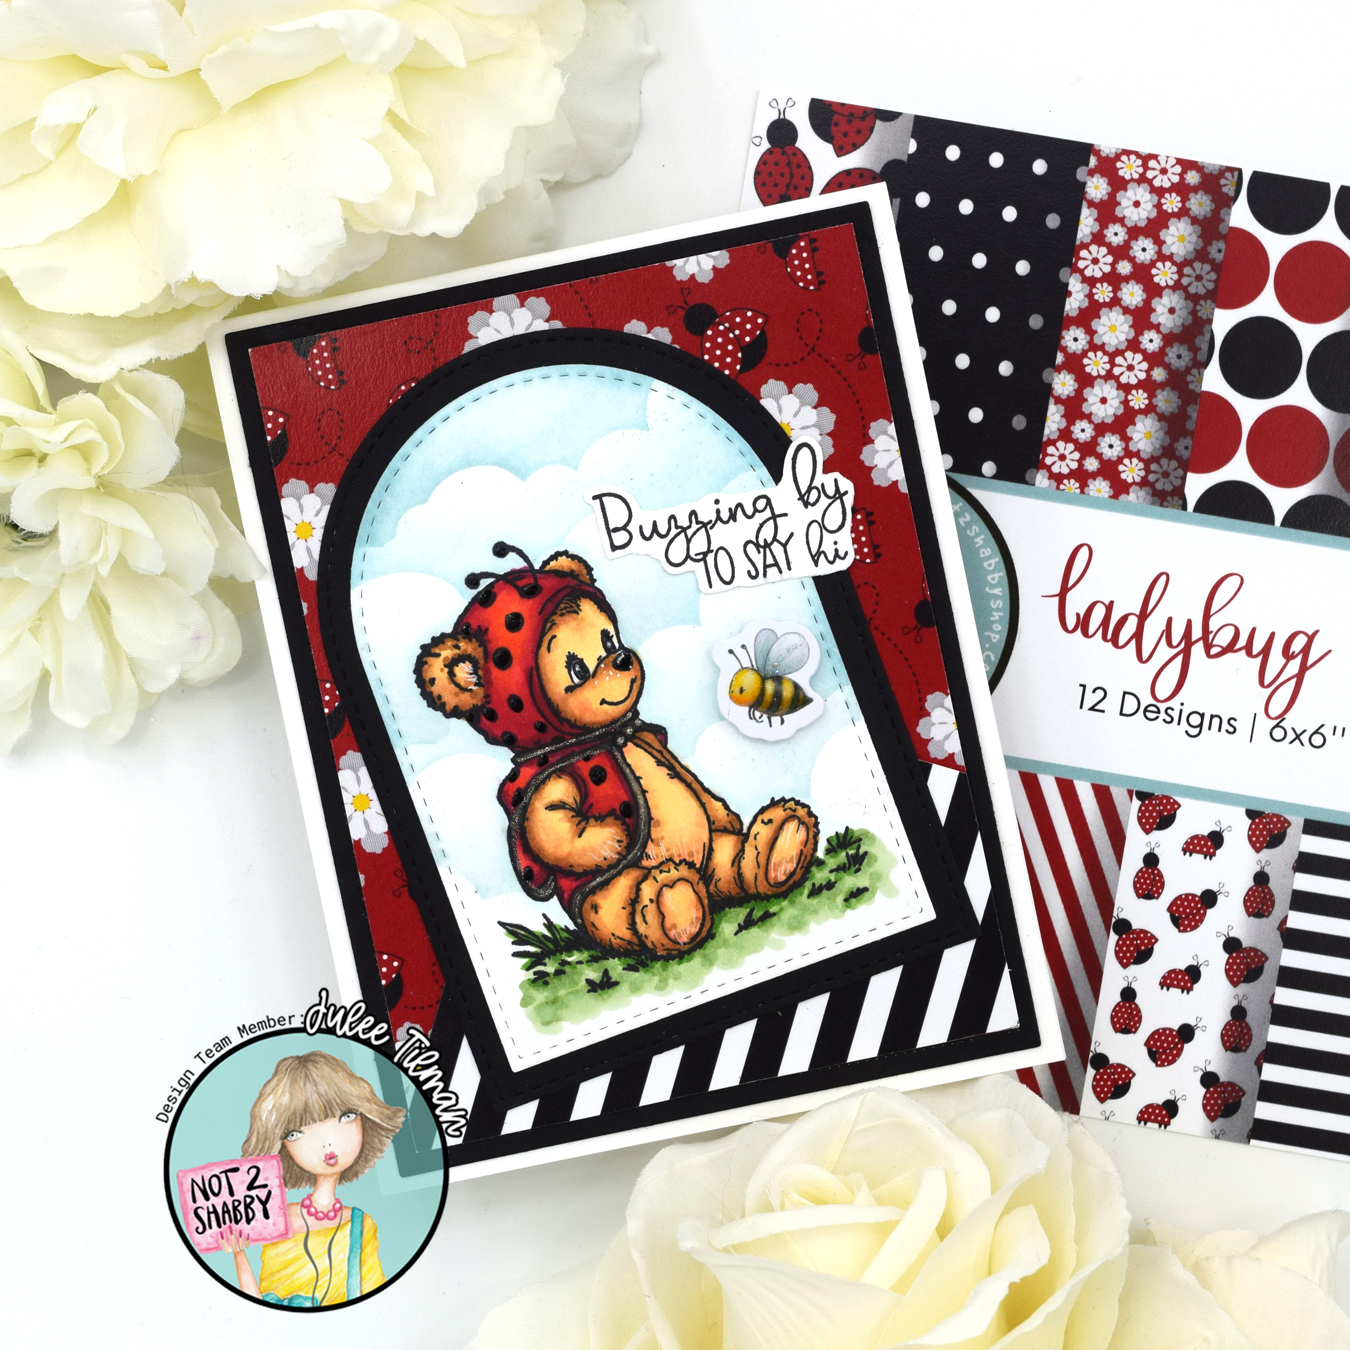
Buzzing By with a Hop


Hi friends! It's the 10th of the month and that means I'm taking part in a video inspiration hop with my fellow Not 2 Shabby design team members! In my video today I color up this adorable image, do a little masking and stenciling, then complete the card.  Your can watch it below or on my YouTube channel.


Thanks so much for stopping by! I hope you have a fantastic day!

Mojo Monday 556


Hi friends! It's Monday and time for a brand new Mojo Monday sketch! I hope you can find a little time in the next couple weeks to play along with me!

As always, we're playing just for fun. I'm an equal opportunity stamper, so feel free to use any papercrafting products your heart desires and enter as many creations as you like. Use the sketch as inspiration for your creation, then come link it up below so I can come take a look! The linky for this challenge will close on April 4, 2021. I have included dimensions on the graphic later in this post, but feel free to change them up to suit your needs, and never worry about substituting a shape or layer.


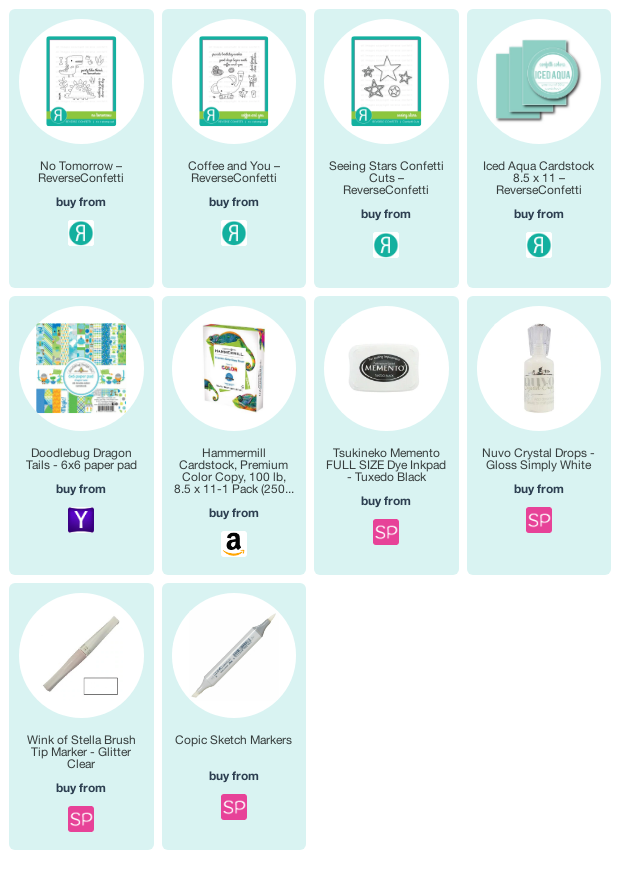
Today's card is another entry in the Spring/Summer Coffee Lovers Hop.  I just received a Reverse Confetti order with this sweet little dino set, and decided he needed to be drinking coffee. So I pulled out the Coffee & You set to go along with it, and got to work stamping, coloring, and cutting. My colors were chosen by this Dragon Tails paper I picked up at Tuesday Morning a while back.  The stars are cut with the Seeing Stars Confetti Cuts.

Alrighty, now it's your turn! I hope you've been inspired to create something with this sketch. Thanks so much for stopping by. 


Please join me for Mojo Monday!

Click here to enter

Compensated affiliate links are used where possible. When you place an order after clicking some of my links, I receive a small commission at no additional cost to you. Thanks so much for using my links and supporting this blog. ðŸ’™

Birthday Bunnies


Hi friends! Happy Wednesday! My boys turn 9 next week and I'm really not sure how that happened so fast! It's been a whirlwind for sure! Back when I was pregnant, I picked out some adorable little JellyCat plush bunnies for them. This little bunny from the Hoppy Spring set totally reminds me of those sweet bunnies, so I knew I had to use it on their cards.

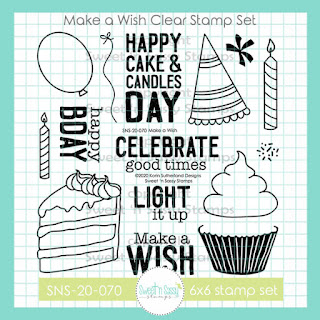
I colored the bunny up with Copics, then hand trimmed (there are coordinating dies, but mine haven't arrived quite yet).  For the background I knew I wanted to use blue and green, because those were their colors and how we kept track of them. Blue outfits for Kellan and green for Trevor, until they were about 2 years old, and Trevor just HAD to be blue, too! So I created a smooshed background with twisted citron, mowed lawn, broken china, and peacock feathers distress oxides. When it was dry, I stenciled over it using the Starry Night Stencil and some Ocean Poppy paper glaze. I finished off with a simple birthday sentiment from the Make a Wish set.

Thanks so much for stopping by today! I hope you have a wonderful week!

Compensated affiliate links are used where possible. When you place an order after clicking one of my links, I receive a small commission at no additional cost to you. Thanks so much for using my links and supporting this blog. 💙


An Awesome Shining Star


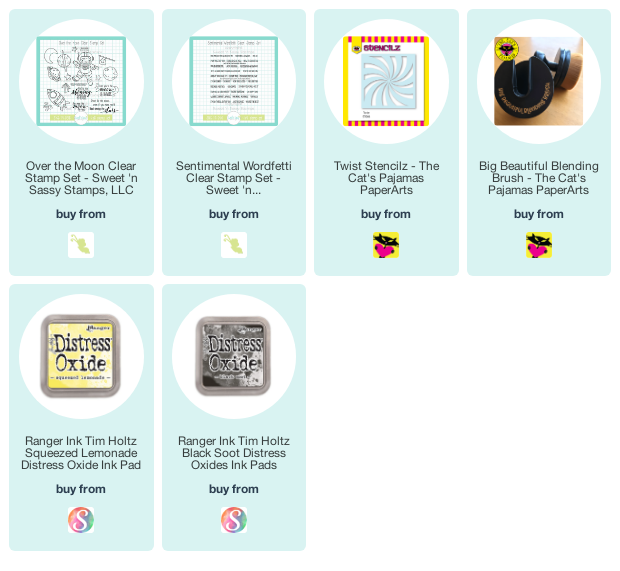
Hi friends! I'm popping in today to share another one of my cards from my time on the Splitoaststampers Dirty Dozen.  This card features the adorable Over the Moon set from Sweet 'n Sassy Stamps.

This was a fun congrats card I made for one of my little guys. I colored up my little astronaut with Zig real brush markers, then fussy cut and added a flag in his hand. The background is done with a stencil, shifting the stencil for the second color.  I added some splatters, then adhered to a white card panel I had stamped with the sentiment and some stars.  I finished off with a little banner and the you're awesome sentiment from Sentimental Wordfetti.


Thanks so much for stopping by today! I hope you have a fabulous day and a very Merry Christmas!

Compensated affiliate links are used where possible. When you place an order after clicking one of my links, I receive a small commission at no additional cost to you. Thanks so much for using my links and supporting this blog. 💙

Monstrous Birthday


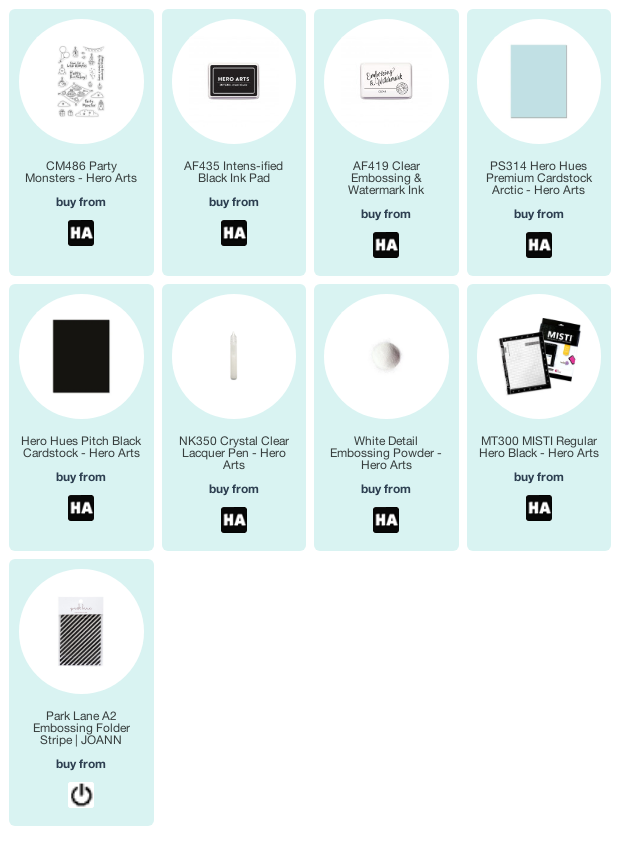
Hi friends! Today I'm popping in with a monstrously fun birthday card. I fell in love with these cutie monsters in the Party Monsters add-on when Hero Arts released their Hero Kids Monster Kit earlier this month. Perfect for my boys to play with, and also for making cards for their friends' birthdays!


I started by lining up five of the monster stamps from Party Monsters  in my MISTI, and then stamping, then moving the paper up and stamping again to get a full panel of monsters.  I then colored them all with Copic markers. To coordinate with the party theme, I added confetti dots with the same colors of markers all around the monsters, then cut the panel down to the size I wanted.

I had cut off one row of monsters, when I cut the panel down, so I fussy cut one of them to add to the sentiment panel.  I embossed the fun sentiment on pitch black cardstock, then layered it all onto a panel of arctic cardstock which I had embossed with a diagonal striped embossing folder. A couple thin black mats, some crystal clear lacquer pen accents, glitter, and a white card base and this little munster card is ready to party!

Compensated affiliate links are used where possible. When you place an order after clicking one of my links, I receive a small commission at no additional cost to you. Thanks so much for using my links and supporting this blog. 💙

Halloween Fun

Hi friends! I hope you're having a fabulous week so far. It's a short week for me, since the boys were off school Monday, and then again tomorrow and Friday. So this is what we refer to in our house as "fake Friday". Fake Fridays are the best, because we usually celebrate with an after-school coffee/hot cocoa run.


We're not trick or treating this year, so I've been trying to come up with some fun things for the boys. I think we'll do an egg hunt with plastic eggs filled with Halloween candy. I've also purchased some full-sized candy bars (Trevor says they taste better than the minis!) and little gifts, and thought I'd make some cards to add to their goodie bags.

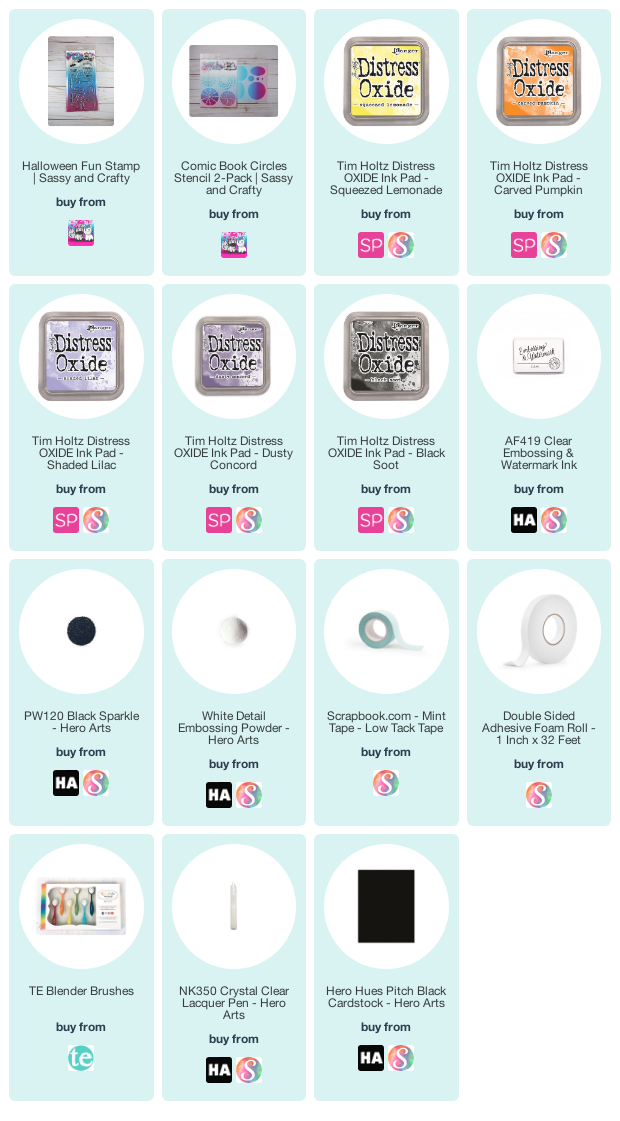
My boys love cats, so this sweet little kitty from the Halloween Fun  set was my first pick. I was inspired by the Sassy & Crafty Color Me Monday challenge for both the colors and the bones of the layout. Of course, being me, I had to bring my own flair to it.


I colored the cat and the bat with Copic markers, then fussy cut and added some glitter accents. Then I masked off just the center strip of a card panel and did some ink blending with squeezed lemonade, carved pumpkin, shaded lilac, and dusty concord.  When the blending was how I liked, I then used one of the circle patterns in the new Comic Book Circles Stencil, and stenciled it in black a few times across the strip.  To set off the strip, I added thin strips of patterned paper to the top and bottom.  I couldn't decide on my third element for the sketch, but when I was looking for my bat stickers (which I never found), I ran across a packet of paper spider web doilies.  I decided to emboss the black one in black sparkle embossing powder to thicken it up and then added it as my third element.


The sentiment is embossed in white on black card stock and I added a little bling for accent.  The final touch was a soft touch of blending around the edges with shaded lilac ink.


Thanks so much for stopping by today! I hope you have a fantastic day!

Compensated affiliate links are used where possible. When you place an order after clicking one of my affiliate links, I receive a small commission at no additional cost to you. Thanks so much for using my links and supporting this blog. 💙

TCP April Release Blog Hop + TCP Tuesday

Hi friends! It's release day at The Cat's Pajamas! We're hopping along one last time to celebrate this fabulous new release. Come along for some fresh inspiration with all the new products that are available to purchase NOW in the shop!


I'm the first stop on the hop, so let's get started! I've got a couple of fun cards to share today, so grab a cuppa something awesome and settle in. When you're done here, hop on over to see what Nancy is sharing today. If a link goes amiss along the way, the full hop list can be found on the TCP Blog.


How sweet is this father-son fishing image? It's from the adorable new Super set and I colored it up with Copic markers, then hand trimmed.  The sentiment is stamped on a white panel, and I added the You're O-FISHally the Best sentiment from Don't be Koi because it seemed to pair perfectly! I used patterned paper for the background and cut a die cut using the Cloud Border into individual clouds, then inked lightly with tumbled glass ink.  A bit of wash sets off my sentiment and finishes the card.


For my next card, I pulled out the sweet new Get Your Sparkle On set and colored up the bunny in a box image.  I added the # and awesome from the same set on a circle die cut, then stamped the number 8 from Silly Numbers and cut it out with Silly Numbers CutUps.  I chose 8 since my boys are eight, and most of their friends will be turning 8 soon. But I think the card would work well for any age!


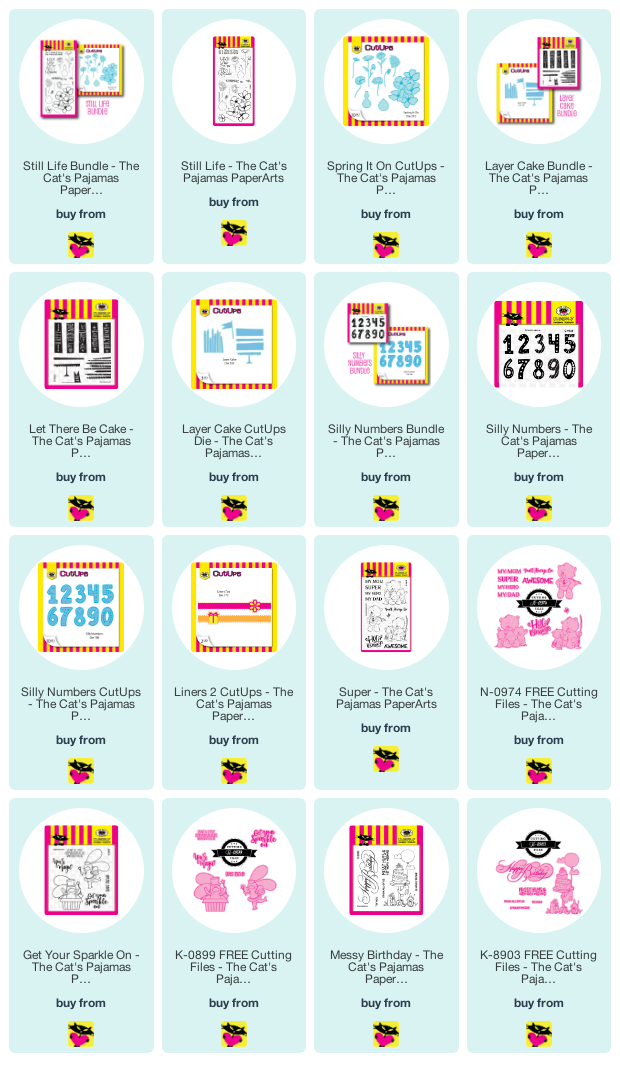
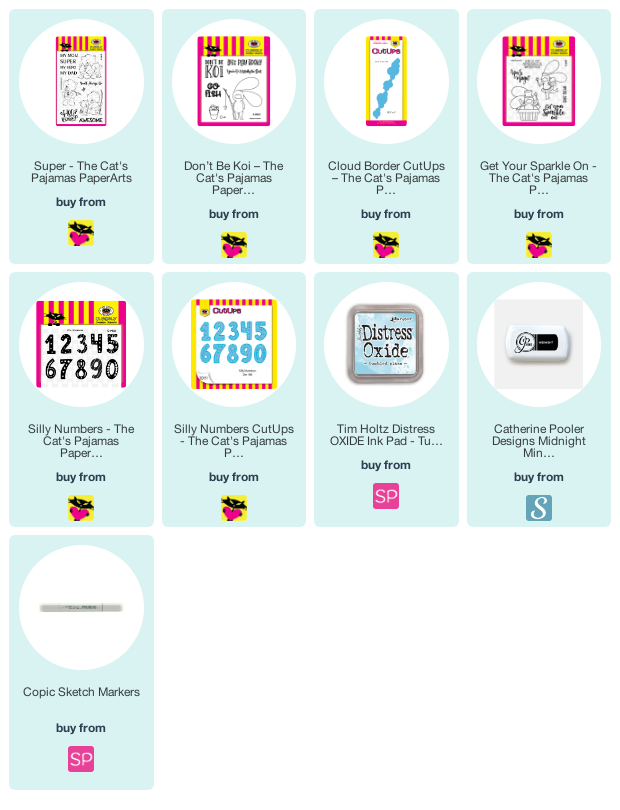
Well, that's all for me today! Thanks so much for stopping by! I hope you've enjoyed all the peeks and inspiration with this fabulous new release. I've linked my supplies as well as the entire release below for you, so be sure to check it out.


It's also the first Tuesday of the month, and that means it's time for a new TCP Tuesday challenge! Play along this month with cards that Share Hope. Link your creations up on the official challenge post on the TCP Blog for a chance to win this month's giveaway... a $50 gift voucher to the shop!


For my challenge card, I went with a happy little blue skies kind of card with this sweet little toadstool fairy from the Hello Spring set. I don't know about y'all, but the happiest parts of my days right now are spent outside where the screams and shrieks of 8 year olds disperse in the wind! 😂


Next up on the hop is the fabulous Nancy.

Compensated affiliate links are used where possible. When you place an order after clicking one of my links, I receive a small commission at no additional cost to you. Thanks so much for supporting this blog by using my links to shop. 💙

April 2020 Release
My Supply List
Mojo Monday 531

Hi everyone! It's time for another Mojo Monday sketch challenge! Are you ready to play?
As always, you're free to play along with any papercrafting products your heart desires and enter as many creations as you like. Use the sketch as inspiration for your creation, then come link it up below so I can come take a look! The linky for this challenge will close on March 1, 2020. I have included dimensions on the graphic later in this post, but feel free to change them up to suit your needs.


You're probably wondering why I have a beachy card in the middle of February! Well, today is officially my first day of being a Dirty Dozen Alumni. I created today's card for my first gallery launch back in August 2018 and can share it here now. This little beach babe with her beach bag from Tiddly Inks (sorry, I don't think she's in the shop anymore) all ready to hit the beach is so sweet! A darling little friend of the boys' loves pink, purple, and turquoise and had a birthday pool party this summer, so this card was the perfect way to celebrate with her.


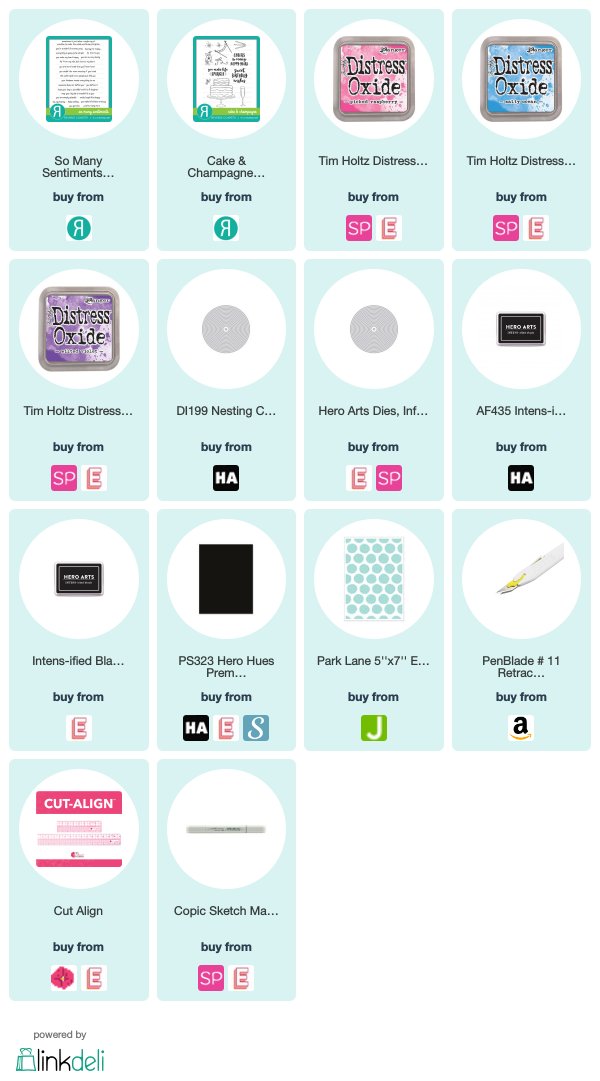
The background is smooshed with distress oxides in picked raspberry, salty ocean, and wilted violet.  I printed the digital image with a laser printer and colored with Copic markers. The sentiment strip from So Many Sentiments is stamped and then cut with the help of the Cut-Align, then I masked off another sentiment to stamp the birthday wishes from Cake & Champagne. A couple of rhinestones and a chipboard star finish things off.

Alrighty, now it's your turn! I hope you enjoy creating with this sketch! Can't wait to see what you create!


Join me for Mojo Monday!
Click here to enter

If you shop through the affiliated links below I get a small percentage of the sale price at no cost to you! It's not a lot, but it does help pay the monthly fees for the linkup widget for Mojo Monday and other web and email services that help me keep Mojo Monday running smoothly! Thanks so much! 💙

Paw-some Valentine


Hi friends! I'm back again with another card I made during the SNSS Winter Stamp-a-thon. Korin's live video showed a couple of watercolor techniques, and I just loved this one. You load up your brush with two colors of paint and then just swipe partially done the edge of the cardstock. I used a bit of water later on, so my colors aren't as distinct, but this was SO much fun!

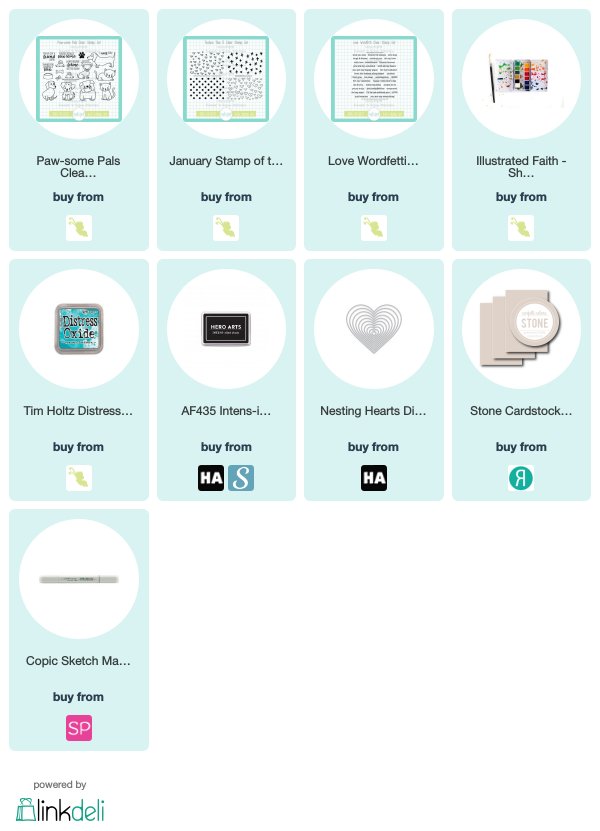
After I had done the swiping, I cut the watercolor paper down to card size and stamped the dotted background from Texture Tiles 5 in peacock feathers over the watercolor.  I then cut a heart from the excess watercolor paper for my sentiment piece.  The sentiment is from the Paw-some Pals (currently on sale) set and I added the valentine below it from the Love Wordfetti set.

Next I stamped the pup from Paw-some Pals on stone cardstock and then colored with Copics. I fussy cut him and popped him up over the heart.  Next I decided I wanted some splatters, so set my heart panel aside and flicked with the same watercolors I used for the swiping and some black as well.


Thanks so much for stopping by today! Have a great day!

Compensated affiliate links are used where possible. When you place an order after clicking one of my links, I receive a small commission at no additional cost to you. Thanks so much for shopping from my links and supporting this blog. 💙

Be Mine

Hi friends! Today I'm popping in with a quick little valentine card. I finished uploading my last monthly gallery for the Splitcoaststampers Design Team yesterday, and the theme was work of heart. I made tons of cards with hearts over the weekend in a big crafting blitz, and saved a few I could share here on the blog.


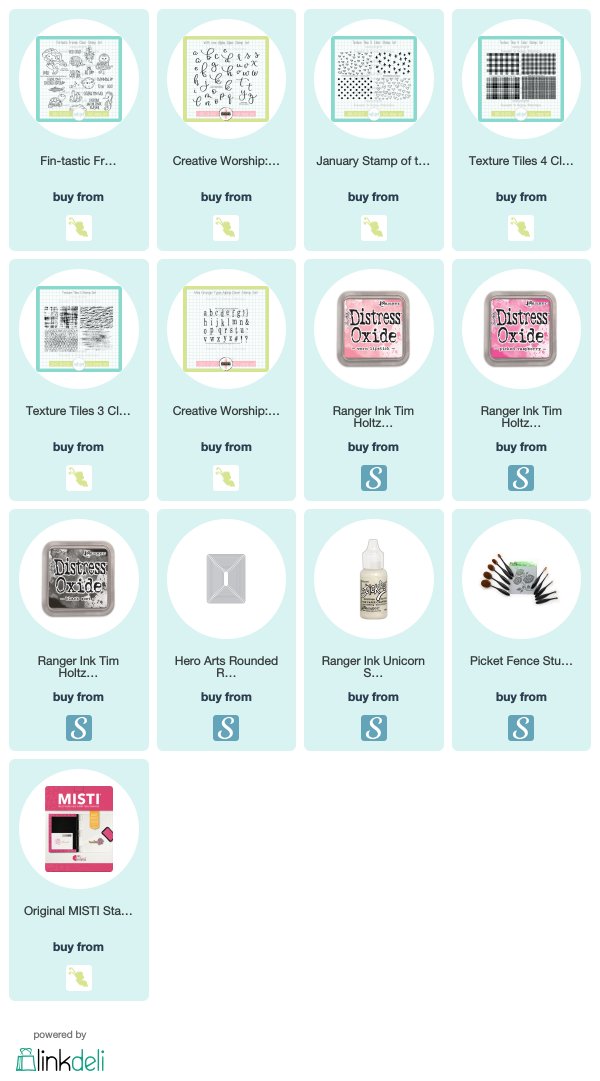
This little mermaid from Fin-tastic Friends was just calling out to be part of my world! I stamped her colored with Copics, and then hand trimmed around her, coating her outfit in unicorn stickles.


The sentiment panel is created with one of the plaid stamps in the Texture Tiles 4 set, then I stamped a distressed stamp from Texture Tiles 3 over the top of it and used the Mini Grunge Type Alpha for the be and the With Love Alpha for the mine.  This is cut with a rounded rectangle die and matted with basic gray.

The heart is stammped with the Texture Tiles 5 stamp set, which is this month's Stamp of the Month! That means you can earn this set for free with a $75 order during the month of January.  I'm always reaching for my Texture Tiles and the hearts and polka dots in this set are sure to be on my desk frequently! And if you love backgrounds as much as me, the Texture Tiles Bundle is a great value to pick up the first four sets in the series!


I finished off with a heart embossed background directly on the card base.

If you need this little mermaid, she's on sale as part of the Overstock Sale at SNSS. Hop on over to see all the deals.


Thanks so much for stopping by today! I hope you have a fin-tastic day!

Compensated affiliate links are used where possible. When you place an order after clicking one of my links, I receive a small commission at no additional cost to you. Thanks so much for using my links and supporting this blog. 💙