Hi friends! I'm back with another project featuring the Ultimate Snow Globe Shaker Die! This time I decided to use it as a snow globe. I just love the cute little scene building dies Linh included to create your own winter scene. As a kid, I had a snow globe very similar to this, with a blue sky, a snowman, and some snowy hills. So it seemed like the perfect time to recreate it.
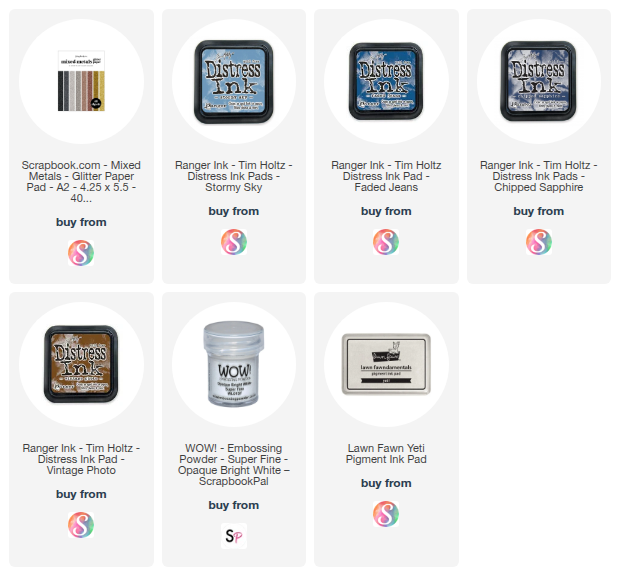
I started with the smaller of the large circles on white cardstock as well as some metallic cardstock. I used the hill border die on the glitter paper circle to create the slopes, then masked off the area where I wanted the hills to go on the white circle. I blended the sky with chipped sapphire, faded denim, and stormy sky distress ink, then dropped water droplets on it, for the effect of falling snow.
Next I cut out the snow man from white cardstock. I pieced in the nose and buttons with orange and black cardstock pieces, then used Copic markers for the hat, arms, and a bit of shading around his body. The tree was cut from evergreen cardstock and I added just a touch of texture with a dark green Copic.
I cut a few snowflakes from the same glitter paper for accents, then chose a dark background to let my snowglobe really stand out. The snow globe base is cut with woodgrain paper from the Farm Life paper pad. I sponged around the edges with vintage photo distress ink for a b it of depth, then embossed the Let it Snow sentiment from Winter Wishes directly onto the bas to finish things off.
Thanks so much for stopping by today! I hope you have a fabulous day!


4 comments
What fun, love the snowflake additions too. x
A wonderful snow globe Julee - love the way you used the water to create the falling snow in the background of the globe.
Blessings
Maxine
"Shaking it Up" perfectly captures how unexpected changes can lead to new perspectives—whether it’s in life or dealing with everyday problems. I had to adjust recently when I needed a phone back glass replacement, and it reminded me how small fixes can make a big difference.
“Shaking it Up” really resonates—sometimes a shake-up is exactly what’s needed to spot issues we’ve overlooked. I had a similar experience with my vehicle recently and ended up visiting a trusted car repair Dubai Al Quoz service. A routine check turned into a much-needed repair I didn’t even know I needed!
Post a Comment