Powered by Blogger.
Showing posts with label Blog Challenges. Show all posts

Sweet Watermelons and June Mood Board Challenge


Hi friends! Is June keeping you as busy as it's keeping me? Summer with the boys means lots of tennis, so my craft room is getting only sneaky visits! Good thing the new June Paper Pad Club from Not 2 Shabby is SO amazing – it's all about watermelons and adorable gnomes!

For this card, I started with that seriously delicious watercolor watermelon background. Next I grabbed a print with a bit more white space for contrast and sliced it into 1" x 3" strips. A quick mat with green cardstock, and then onto a vellum rectangle which helps soften that busy background beautifully.


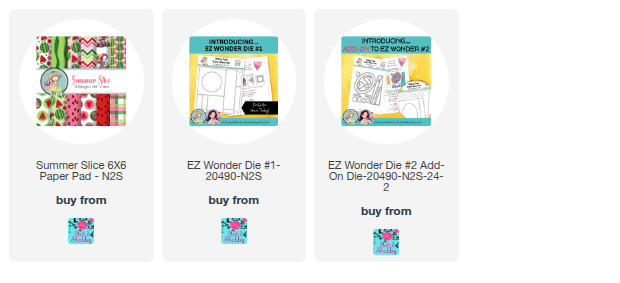
The charming gnome featured on this card is from the Summer Slice paper pad. Please note that for the initial month, the paper pads within the club are offered as a coordinated pair; however starting the next month they will be available for individual purchase. The sentiment is from the EZ Wonder #2 Add On and I die cut it onto a banner from the EZ Wonder Die #1 to finish things off.

If you're looking for a challenge this month, come play along with the June Mood Board Challenge at N2S for a chance to win a prize! Just use any N2S product and get inspired by the graphic below. Then link it up on the N2S blog.


Thanks so much for stopping by today! I hope you have a fantastic weekend!


April Jaded Blossom Spotlight and Challenge


Hi friends! It's the first Sunday of a new month and that means it's time to reveal a new challenge on the Jaded Blossom blog. This month the challenge is to use warm colors (pink/red/orange/yellow). I hope you can play along for a chance to win a Jaded Blossom stamp set of your choice!

March Challenge:
WARM COLORS
(must use at least one Jaded Blossom Product)


A new month brings a new monthly spotlight. This month’s spotlight is on the Tulips stamp set and coordinating outline dies. You can grab them for a steal this month, while supplies last.


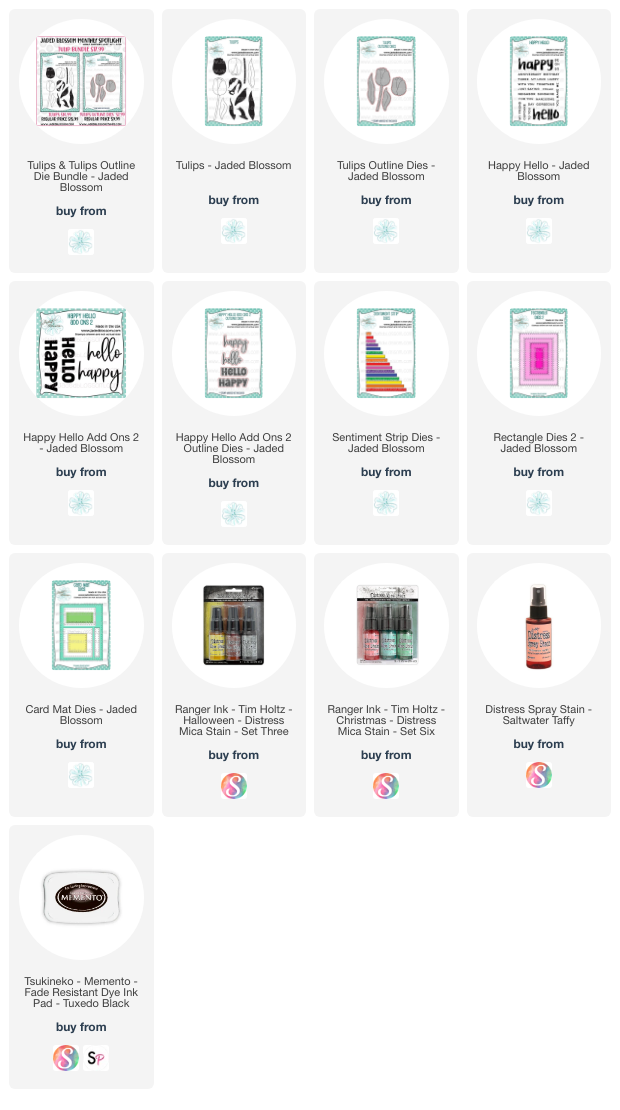
I love a tulip card, so was excited to pull this set out and give it another play. For the tulip, I stamped the outline pieces in memento black ink, then stamped the second layer stamp for the tulip and the leaves with barely there and skeleton leaves amalgam ink to give me a guideline to do the shading. Then I pulled out my Copics in R20, R21, and R22 for the bulb. For the leaves and stem, I did a light layer of Y11, then used YG3 and YG25. Green might be cheating a bit for the warm color challenge, but it's a yellow green, so I'm justifying it. Haha!


For the background, I pulled out some watercolor paper and some distress sprays and got to work.  First I sprayed with the harvest moon mica spray and dried.  Next I went it with the sugary gumdrop mica spray and watered down before drying.  Finally I added in a bit of the saltwater taffy distress spray stain and some water.  When it was dry, I flicked on some saltwater taffy splatters, then splattered with a bit of water.  I die cut the panel with the Rectangle Dies 2, then matted with the Card Mat Dies in black cardstock.

The hello sentiment is from the Happy Hello Add Ons 2 set, embossed in white, and then cut with the coordinating outline dies.  The sunshine is from the Happy Hello set and cut with the Sentiment Strips Dies. I finished with a few picket fence jewels for accent. 

Thanks so much for stopping by today! I’ll see you back here tomorrow for the start of sneak peeks for the Jaded Blossom April release.


Monster Dex


Hi friends! It's the first Sunday of a new month and that means it's time to reveal a new challenge on the Jaded Blossom blog. This month the challenge is to use a slanted sentiment. I hope you can play along!

October Challenge:
SLANTED SENTIMENT
(must use at least one Jaded Blossom Product)


For my project today I created a memory dex card, dressed up with the fabulous new Build a Booth: Monster Add Ons from Jaded Blossom. There are so many possibilities with this set, and the shape happened to be a great size match for the Rolodex Dies. This is my first ever Memory Dex card, although I've been collecting the stuff to make them for years. I signed up for a swap just to make sure I'd actually finally make one! It was so much fun.


I cut the main monster pieces from purple cardstock, then used the Mermaid Stencil to add some "scales". For the eyes, I cut the triangular piece three times, once from yellow, once from black, and once from white to layer behind each other to create eyelashes and lids. The eyelashes were created with the stitchmarks from the Gnome Dies: Monster Add Ons 2 set. I also used them for the bow center on the Bow Dies.

My slanted sentiment comes courtesy of the sign die cut in the Build a Booth Dies, embossed with a sentiment from the Candy Corn for Sale stamp set. I finished off with some googly eyes and a Doodlebug bat sprinkle.

It's Polka Time Baby


Hi friends! Today's the kick-off to the April Challenge over at Jaded Blossom, and this month we're crazy for POLKA DOTS! Check the Jaded Blossom blog for all the details and deadlines.

April Challenge:
POLKA DOTS
(must use at least one Jaded Blossom Product)


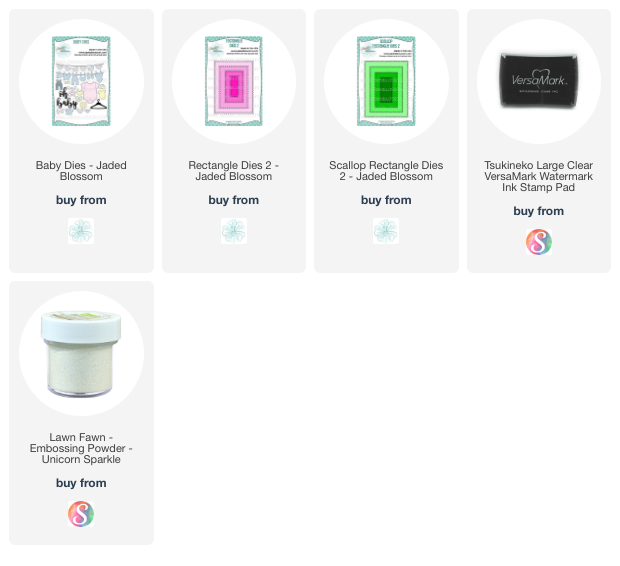
I was super excited to see that the Baby Dies are back in stock. Perfect timing, since I have a baby shower to attend this month. Polka dots seemed like a perfect pairing for a onesie, so I quickly got to work creating this sweet dies only card. I used some teeny pink pearls as snaps on the onesie and accents on the booties, hat, and hearts. My background layers use the Rectangle Dies 2 and Scallop Rectangle Dies 2.  The baby word is cut three times and layered for dimension. I then coated with embossing ink and embossed with a Sparkle embossing powder.
Thanks so much for stopping by today! I can't wait to see what great things this challenge inspires you to create.

Jaded Blossom March Challenge


Hi friends! It's time for a new monthly challenge over at Jaded Blossom. This month's theme is super easy - anything goes! Just use at least one Jaded Blossom product on your entry and you'll be in the drawing for a free stamp set.

March Challenge:

ANYTHING GOES!
(must use at least one Jaded Blossom Product)


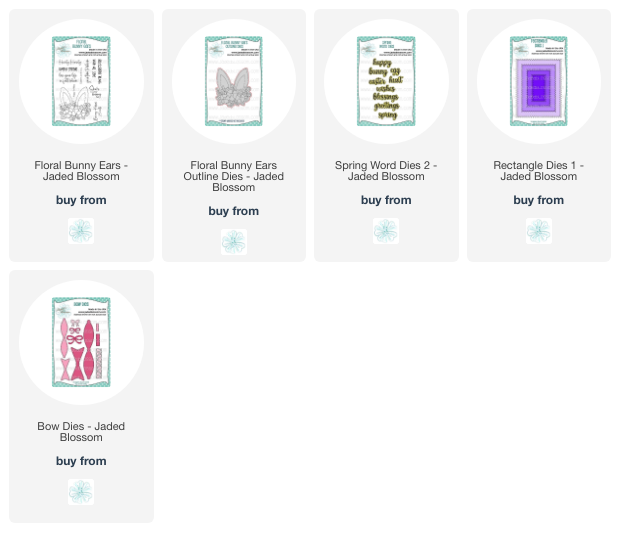
I had to have the Floral Bunny Ears set last year when it came out, but I ran out of time to make a card with it. So no better time than now to color it up and cut it out with the coordinating outline die.

During the February Cardmakers Success Summit there was a class on making shaker cards with word dies, do I decided to give it a try. Shaker cards and I are usually a recipe for disaster. I always forget something important and end up with a mess, but this was super easy and worked well for me.  I cut the easter word and shadow from a rectangle die cut of Doodlebug Hippity Hoppity paper, then created a shaker with a shiny sequin mix.  


Next I masked off the easter from the hoppy easter sentiment stamp, and stamped just the hoppy above the easter shaker element. I then finished off the card with a bow tie cut with the Bow Dies.

Thanks so much for stopping by today! I hope you have a fabulously creative day. We'd love to see you play along in the challenge. Head on over to the Jaded Blossom Blog for all the challenge details and more inspiration from my teamies.

Products Used:

Getting Sketchy with Hero Arts

Hi friends! Today I'm super excited to have a card sketch for the Stay Crafty with Hero challenge on the Hero Arts Blog. Y'all know I love sketches, and Hero Arts... so together it's the perfect blend.


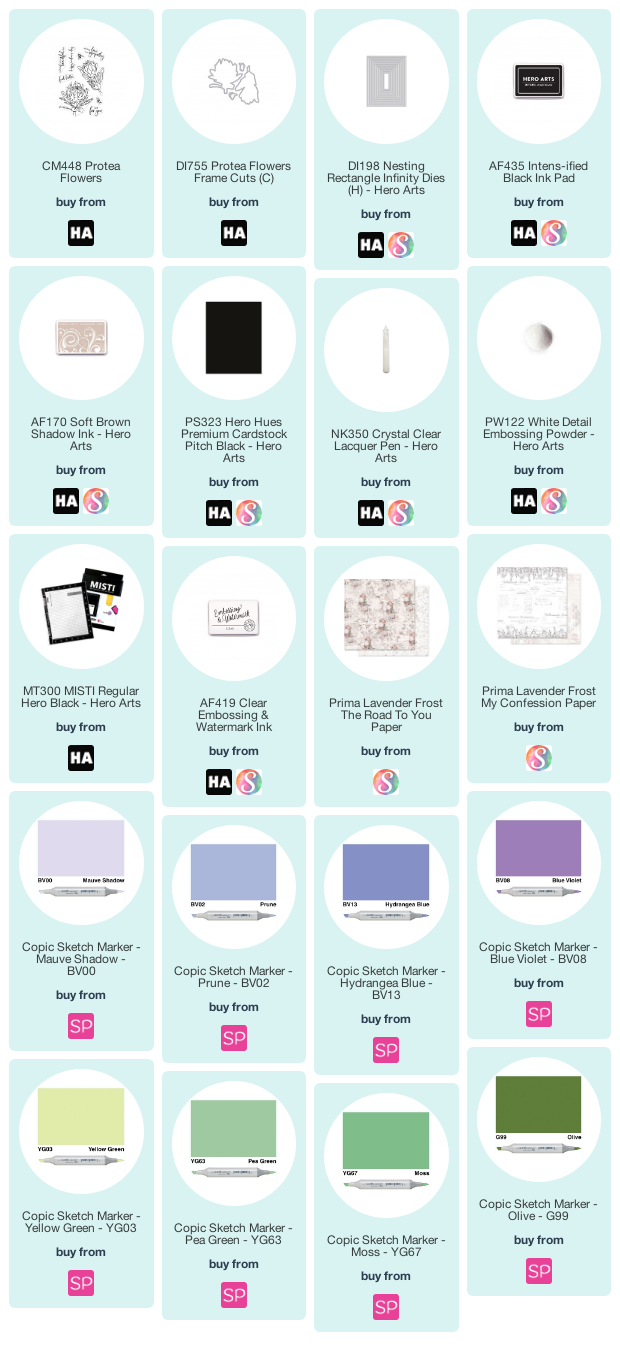
Recently a few of my friends have lost loved ones, so I knew I wanted to make a sympathy card with this sketch. While flipping through stamp sets, this beautiful bloom from Protea Flowers caught my eye and I immediately envisioned it in purple hues. So I stamped with Intens-ified Black Ink, then colored with Copic markers. After I finished coloring, I  die cut with the coordinating Protea Flowers Frame Cuts and accented the flower tips with the Crystal Clear Lacquer Pen and some loose glitter.


I set the flower aside to dry, then got to work cutting panels from Lavender Frost patterned paper. I wanted a soft, neutral background to really make the colors of the flower pop.  I used a 4 x 5.25" panel for the main panel, then a 1.5" x 5.25" panel of a different pattern for the vertical strip. The rectangle panel is cut to 2" x 3.5". I then sponged lightly around the edges of all the patterned paper layers with Soft Brown Shadow Ink and adhered together. To add more contrast between each panel and to keep the layers to a minimum, I used a thin black pen to trace around the vertical strip and rectangle for a subtle frame effect.

The sentiment is embossed with White Detail Embossing Powder on a Pitch Black die cut using the 2.25" x 1" rectangle from the Nesting Rectangle Infinity Dies. I then adhered my flower behind the sentiment, allowing the bottom leaf to peek out over the edge of the panel. The sentiment and flower are popped up with adhesive foam tape, then I matted the whole card panel with pitch black cardstock and adhered to an A2 size card base.


I hope you'll play along with the challenge! Head to the Hero Arts blog for the sketch and all the details, then link up your creation to the Inlinkz list at the bottom of their post to be entered into the drawing. Hero Arts will be giving a $35 gift certificate randomly to one person who plays along! 

Compensated affiliate links are used where possible. When you place an order after clicking one of my links, I receive a small commission at no additional cost to you. Thanks so much for using my links and supporting this blog. 💙

Hello Sweet Friend

Hi friends! Happy Wednesday! This month is a much lighter load than I've had for a while in design team work, so that means I get to just play in my studio part of the time this month! Woohoo!  I haven't played around in non-DT challenges for a while, so for today's card I was inspired by the Gina K. February Monthly Mix Challenge. The challenge is Just Add Texture, and this card definitely has that in spades!


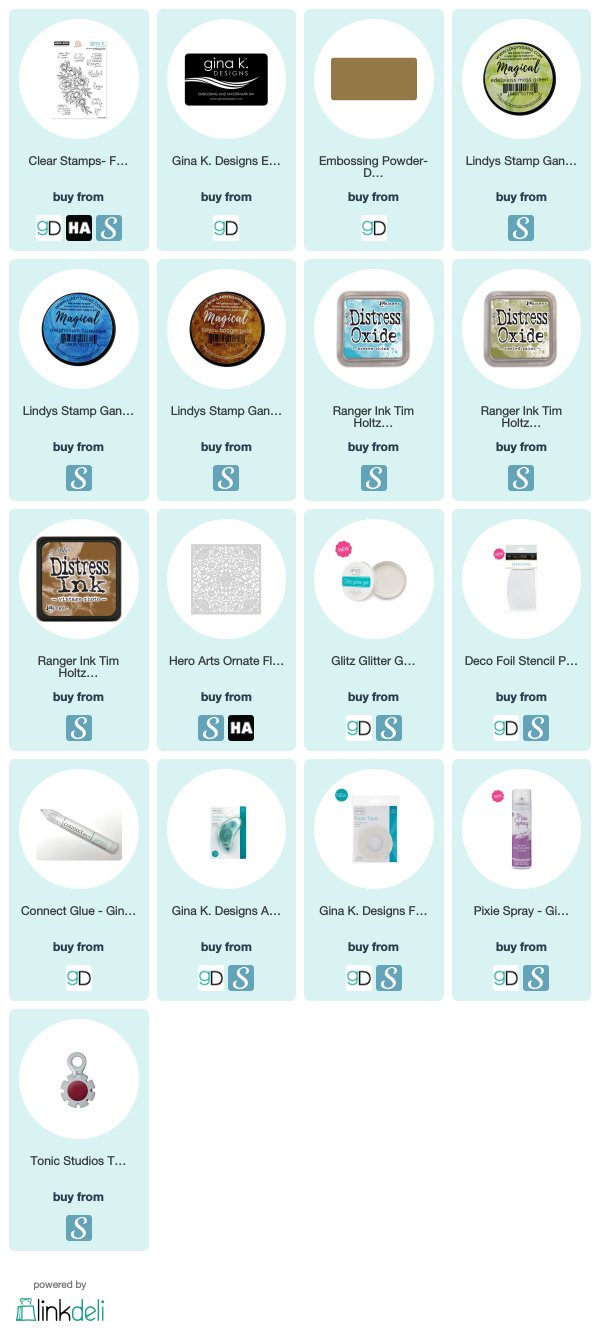
The Friendship Blooms partnership set from Gina K. Designs and Hero Arts has been on my wishlist since it released, and I finally got a chance to pick it up! I love every little thing about this set from the glorious floral image to the beautiful sentiments. I also recently added the new colors of Lindy's Magicals to my collection and couldn't wait to do a patina look with a few of them.


I started with watercolor paper, sprinkling first the dephinium turquoise, then the edelweiss moss green, and then the bayou boogie gold and spritzing and drying in between colors.  I did a couple layers of color, then embossed the large floral sentiment in gold. 

Next I fussy cut just around one side of the stamped image and set aside.  I pulled out some White Glitz glitter gel and a stencil and got to work on the background. This was the first time I tried the glitter gel and wowza... it's so beautiful! Love that shimmer!  When it was dry I used the same colors of Magicals over the stenciled background. When that was dry, I added in a bit of sandra dee sepia Magicals and then blended some broken china, peeled paint, and vintage photo distress oxides to deepen the colors around the edges.


The sentiment is embossed in gold embossing powder onto a circle die cut, then sponged and roughed up a bit with vintage photo ink.  I added the stamped piece over the top of the background with foam tape, then finished off with a seam binding bow and some distressed edges.

Such a fun card to make, and I still have a little turquoise ink under my fingernails! 😆 Thanks so much for stopping by today! I hope you have a fabulous day!

If you shop through the affiliated links below I get a small percentage of the sale price at no cost to you! It's not a lot, but it does help pay the monthly fees for the linkup widget for Mojo Monday and other web and email services that help me keep the blog running smoothly! Thanks so much! 💙

Grace is Enough

Hi friends! I'm popping in to share a card and process video I created last weekend for my inspiration challenge during the Sweet 'n Sassy Stamps Winter Stamp-a-thon in their Facebook group. The deadline to enter the challenges is tonight (1/25), so there's still time for a crafternoon if you're so inclined!


I had intended to have this card up in time for my challenge last week, but with sick boys in the house, ended up winging it that morning and didn't have time to edit the video until a bit later in the day. So the video is completely spur of the moment.. just me making a card. The voiceover is a bit rough because I'm totally out of practice! But sometimes you have to just start, right?


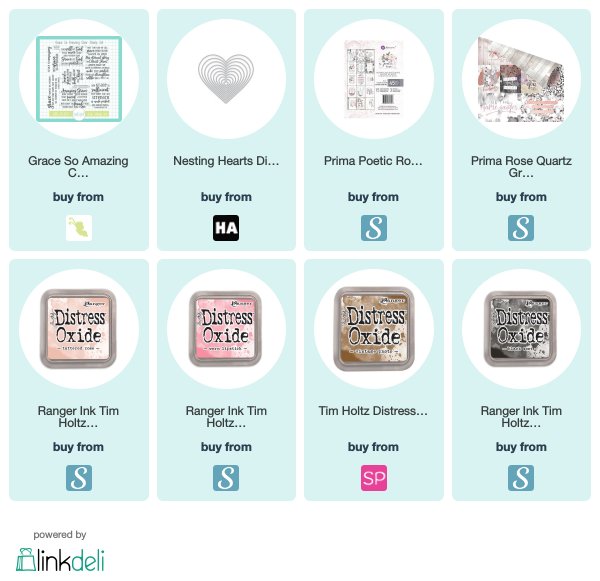
The card uses papers and ephemera from a couple different paper pads that I felt fit the inspiration photo. I distressed the edges of all the pieces with distress oxides, then stamped the sentiment from Grace So Amazing on a heart die cut and layered it all together with a bit of lace trim.  You can watch the quick process video below or on my YouTube channel.


Thanks so much for stopping by today! I hope you have a fabulous weekend!

Compensated affiliate links are used where possible. When you place an order after clicking one of my links, I receive a small commission at no additional cost to you. Thanks so much for shopping from my links and supporting this blog. 💙


Soft Pink and Hearts

Hi friends! There's a super fun online event going on over in the Sweet 'n Sassy Stamps VIP Facebook Group today!  Live stamping sessions with the team and card challenges every hour for most of the day. I'm hosting the 1PM Eastern challenge today.


I chose this lovey bedroom display as an inspiration. Just create a card using anything in the photo as your inspiration. All the challenge details are in the Facebook group. All of the challenges are open for a week, so there's plenty of time to play.


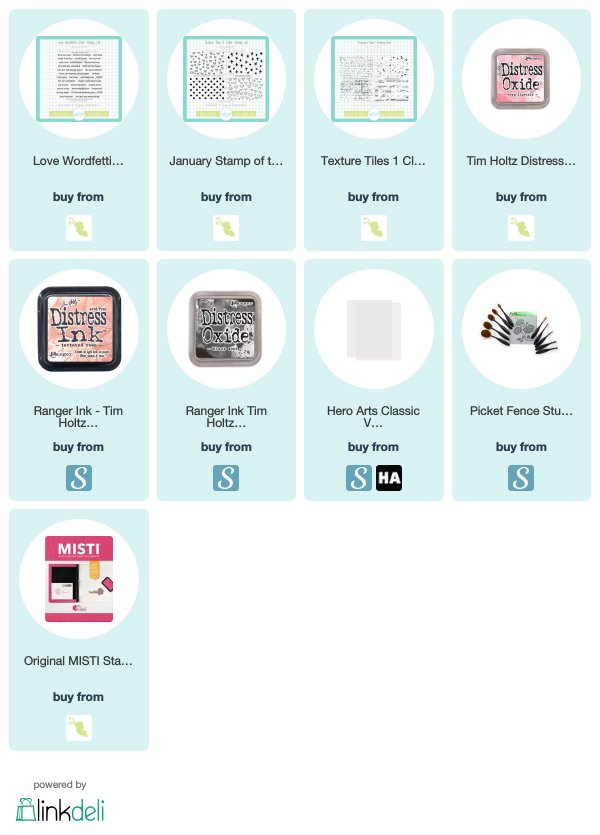
My inspiration was in the soft pinks and neutrals, along with the love theme.  I started by embossing the hearts from the Texture Tiles 5 set onto vellum.  I then cut a slightly smaller piece of cardstock and stamped it with the script stamp from Texture Tiles 1. I added a bit of tattered rose ink blending for just a hint of pink below.  I layered the two pieces together with washit tape. I just love the soft dreamy look when you overlay vellum.


The sentiment is from the Love Wordfetti set and I found a few pieces of ephemera from my stash for the heart and arrow images.  The heart paper is lightly sponged around the edges with worn lipstick ink and I added a bit of baker's twine behind my focal panel to complete the layout.

Thanks so much for stopping by today! I hope you have a fabulously creative weekend!

Compensated affiliate links are used where possible. When you place an order after clicking one of my links, I receive a small commission at no additional cost to you. Thanks so much for using my links and supporting this blog. 💙

On My Mind

Hi friends! I'm popping in with a quick little card I made with this week's sketch challenge over at Splitcoaststampers, combined with the yellow Diva Inspirations challenge.


This past weekend, Mark and I got a chance to have a little time to ourselves and he graciously tagged along as I snuck into the Craft Warehouse. All their mixed media was on sale 30% off and I just couldn't pass up full size bottles of the Jane Davenport INKredible Inks. I was so giddy about coming home to splash them around, but didn't have much time until yesterday afternoon.

As soon as I saw the sketch at Splitcoaststampers I knew I wanted to do a watercolor wash for the horizontal panel and butterflies for the stars.  I got to work taping off my rectangle, then used the the lemon sorbet and watermelon Inkredible Inks to do the wash. I then colored another strip of paper with the leftover inks and used it to die cut the mini butterflies from the Graceful Butterflies die set.

I embossed the sentiment from the new Hope Lifts set in white on the watercolored panel, then worked on the butterfly accent. The butterfly from Hope Lifts is embossed on white cardstock and on vellum, then cut with the Lifted Hope die set and the Butterfly Dreams die set. I painted with the same inks, then assembled and added some pearl accents.


Finished off the card with chicken wire embossing on the card base, a couple rounded corners and some distressed edges to complete the shabby feel.


Enabler's List
Stamps: Hope Lifts (Verve Stamps)
Paper: white, vellum, smoky slate
Ink: lemon sorbet, watermelon INKredible Inks (Jane Davenport), vellum
Accessories: Lifted Hope, Butterfly Dreams and Graceful Butterflies die sets (A Cut Above by VERVE), chicken wire embossing folder (Cuttlebug), pearls, white embossing powder, paper distresser

And if you're looking to pick up Verve's new release, this weekend is a great time, with free shipping on US orders over $35 placed April 13 - 17, 2018. Click here for deets.

How Sweet It Is

Hi friends! Happy February! Today I'm sharing a sweet little card I made for the Inspired By All The Little Things challenge. The fun photograph made me think of the how sweet it is to be loved by you sentiment in the Love Everlasting set, so I pulled that out to get started.


I stamped the sentiment several times in Sage Shadow with my MISTI for full coverage and then once in Versamark and embossed with clear embossing powder. Next I wanted to add in some of the texture I was drawn to on the cookies, so pulled out a couple embossing folders. I embossed just the side of the sentiment panel with one, then embossed the larger background piece with another.


Then it was just a matter of pulling together some flowers, lace and a little seam binding bow to finish things off.

Thanks so much for stopping by today! I hope you have a fabulous start to the month!

Enabler's List
Stamps: Love Everlasting (Verve Stamps)
Paper: julie nutting (Prima), white
Ink: sage shadow (SU!), versamark
Accessories: rectangle from Falling Leaves Die Set (A Cut Above by VERVE), flowers (Prima), lace, seam binding, embossing folders (Cuttlebug)