Powered by Blogger.
Showing posts with label St. Patrick's Day cards. Show all posts

Lucky Clover


Hi friends! It's the first Sunday of a new month and that means it's time to reveal a new challenge on the Jaded Blossom blog. This month the challenge is anything goes. I hope you can play along for a chance to win a Jaded Blossom stamp set of your choice!

March Challenge:
ANYTHING GOESthe
(must use at least one Jaded Blossom Product)


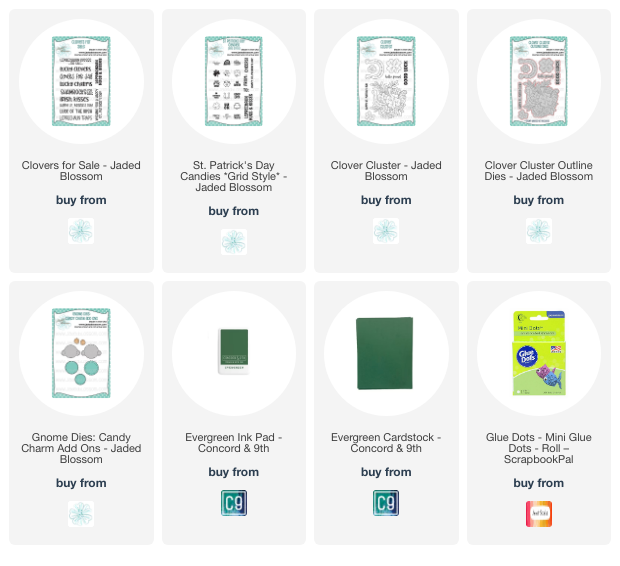
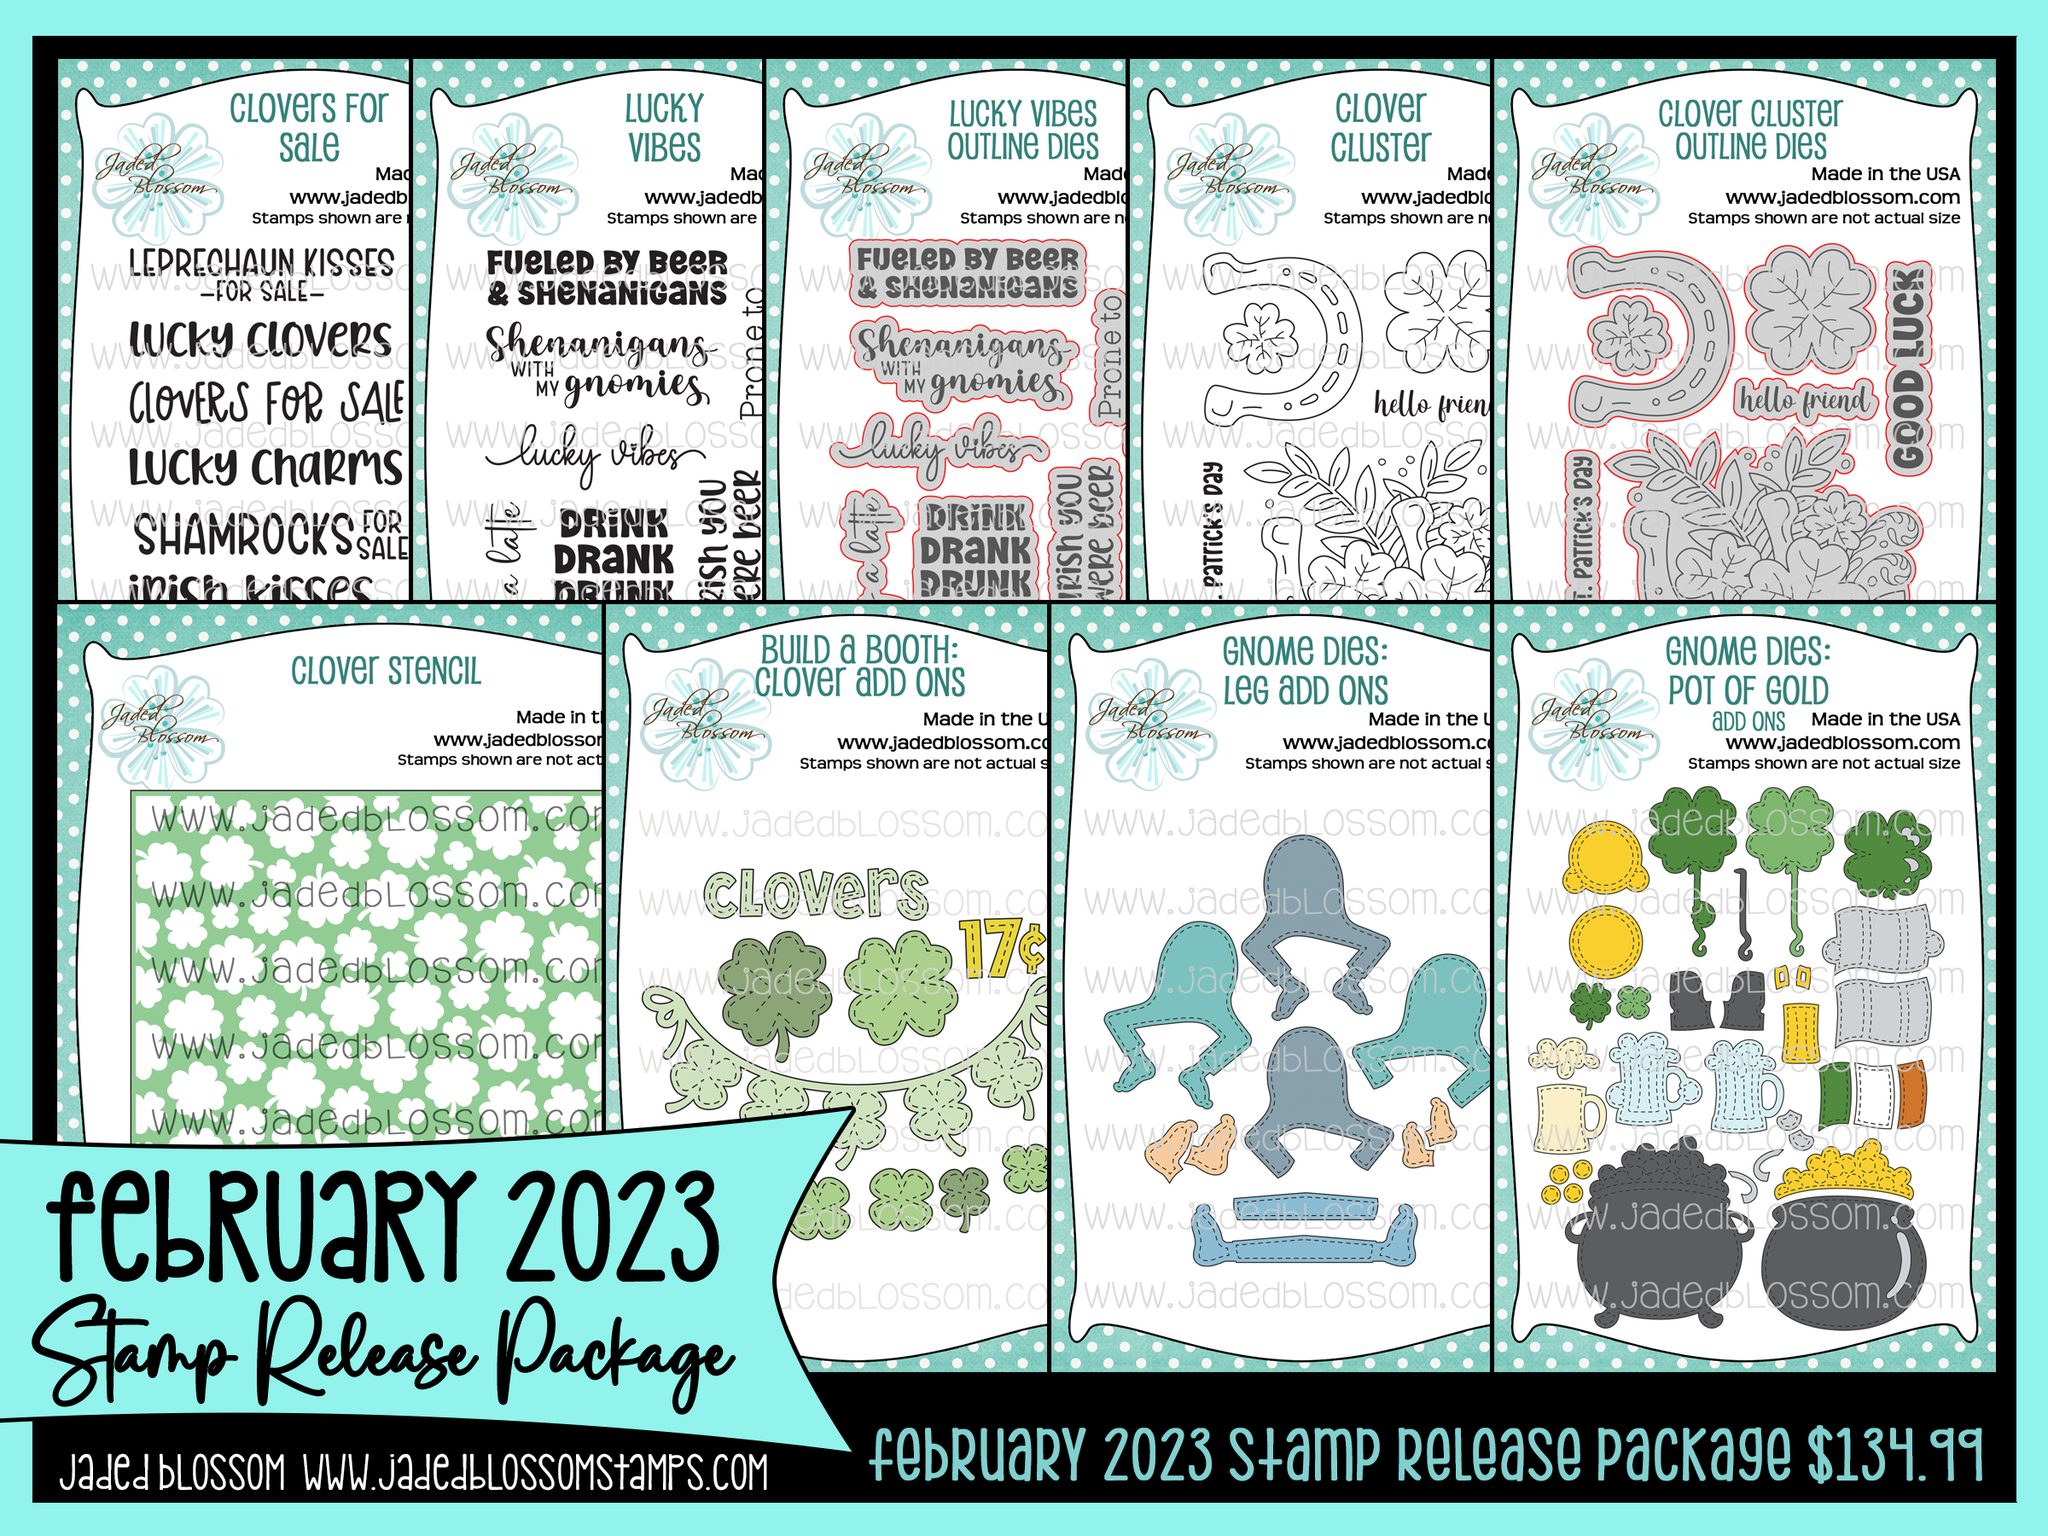
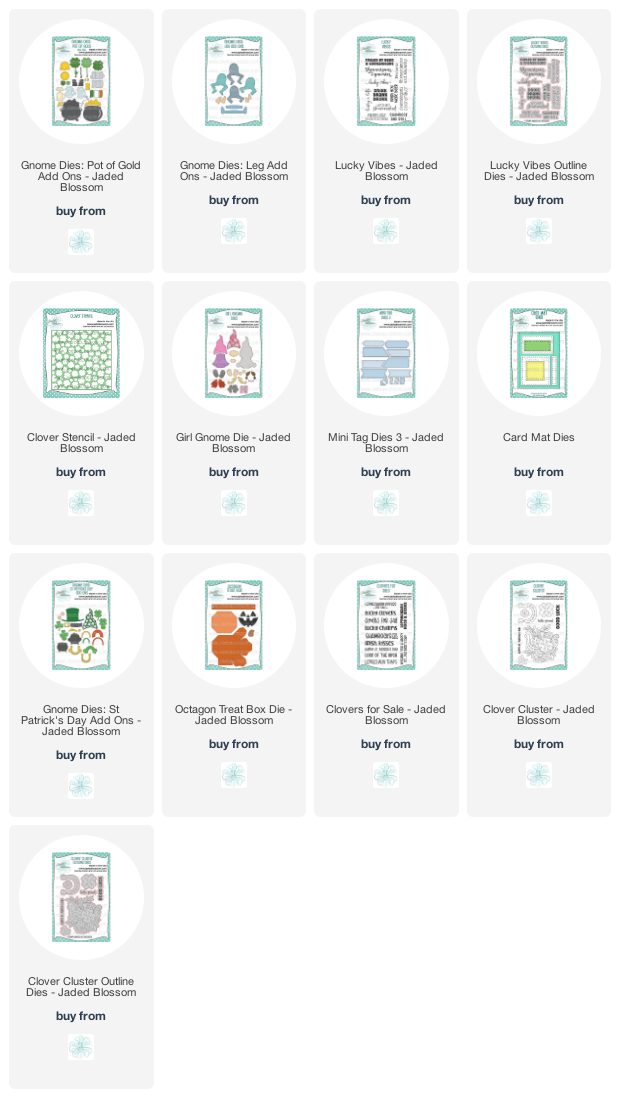
This month Jaded Blossom is bringing back their monthly spotlight. This month’s spotlight is on the Clover Cluster stamp set and coordinating outline dies. You can grab them for a steal this month, while supplies last.


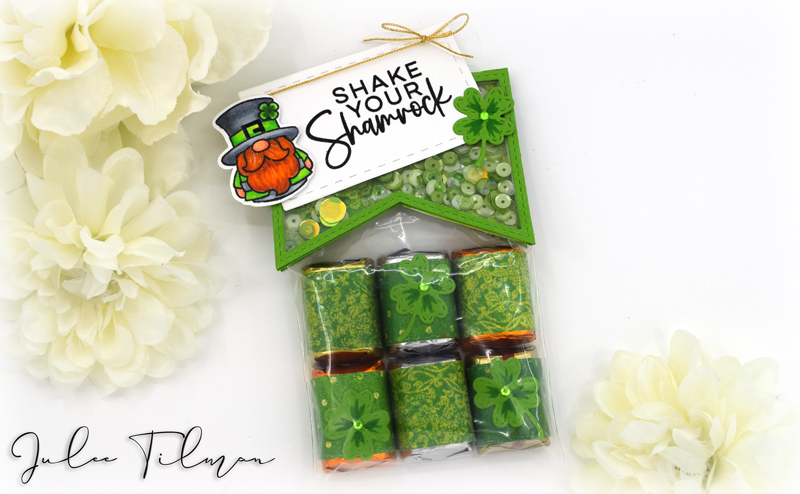
I love to color this Clover Cluster image, so couldn’t miss the opportunity to stamp it up and color with Copic markers. I fussy cut the solo horseshoe and top clover images, so I could layer them with a bit of dimension. The horseshoe is coated with glossy glaze and then sprinkled with glitter for some shimmer. I also added some accents to the image with green and black glaze pens. I then cut the whole image out with the coordinating outline dies and added the hello friend sentiment.


For the background I did a little smooshing with twisted citron, mowed lawn, and rustic wilderness distress oxides. I then layered the Window Card Mat Die over it and finished off with some scattered sequins for embellishment.

Thanks so much for stopping by today! I’ll see you back here tomorrow for the start of sneak peeks for the Jaded Blossom March release.


Happy Shamrock Day and Little Bunny Hello


Making a card and then stepping it up for a similar card can be a great way to get those creative juices flowing when you're lacking inspiration. Today I'm sharing a couple of cards that I did just that with using the February Paper Pad Club, Stamp/Die of the Month, and the Little Bunny Ephemera Add On.

I love St. Patrick's Day. Probably because if they hadn't decided to come a week early, my twins were scheduled for delivery on St. Patrick's Day. The NICU nurses decorated their cribs with shamrocks, so I smile each time I see one. 💚


So when I saw the Happy Shamrock Day sentiment in the Happy Spring Stamp of the Month set, I just knew I would have to make a card. I watercolored the watering can and some extra shamrocks with Zig Kuretake Clean Color Real Brush markers.  For a little backdrop, I lightly did a wash with green and splattered some brown onto a circle die cut, then die cut my stamped images and laid them out.  The sentiment is die cut with the coordinating Happy Spring shabby snip dies.

The papers are from the Sweet Little Bunny paper pad from the February Paper Pad Club. I just love this earthy color palette and the fun mix of geometrics and spring imagery.  I matted with some brown cardstock, keeping the layout simple to let my stamped image shine.  I finished off with a few sparkle enamel dots.


For my stepped up card, I wanted a similar look and feel, so chose one of the watering can ephemera pieces from the Little Bunny Ephemera. I had a smaller scrap of the brown geometric paper, so kept the vertical panel, but shortened it.  I then created a collage with several ephemera pieces and a mini doily.  The hello sentiment is from the Happy Spring set.  For a little bit more pizazz, I wrapped some embroidery thread around the card panel and tied with a bow.  A bit of stickles and some sparkle enamel dots finish things off.

Thanks so much for stopping by today! I hope you have a fantastically creative day!


Irish Kisses


Hi friends! Welcome to March! I'm ringing in the new month with some Irish Kisses!  The sentiment from the Clovers for Sale set is stamped in green and then embossed in clear. I hand cut at an angle on one side, then matted with green cardstock and added a hole punch to be able to tie my tag around a treat box.

I absolutely love decorating kisses with the Jaded Blossom's candies series of stamps. I don't love trying to get the cute stamped pieces to stay upright in a treat bag, though! LOL So today I decided to create a simple square tray for them to sit in.  I started with a 4 x 4" piece of cardstock and scored at 1/2" on all four sides. I then slit the squares on each corner to form tabs and glued together to form the tray. 


I used the  St. Patrick's Day Candies: Grid Style, then cut with the Candy Grid Die for the candy adornments, then matted with a circle die from the Gnome Dies: Candy Charms Add-ons.  I use glue dots to adhere the circles to the Hershey kisses. Shredded paper to keeps the pieces in place, then I slid the tray into a cellophane  bag and wrapped the twine and tag around it. I finished off with a few clovers from the Clover Cluster set behind the tag.

Thanks so much for stopping by today! I hope your March puts a spring in your step!

Products Used in Today's Project

Pot of Gold


Hi friends! I'm up on the Jaded Blossom blog today, sharing this fun little pot of gold at the end of the rainbow card. I must say, I'm a bit obsessed with the pot of gold die from the Gnome Dies: Pot of Gold Add-ons. It's the perfect size for both cards and treat making! Here I used it for a quick card along with the fabulous Triangle Card Mat Die. I chose some gingham prints in rainbow colors for the background, then added the pot of gold created with black and gold cardstock.  I finished off with a sentiment from Lucky Vibes cut with the coordinating outline dies.  Easy peasy!


If you haven't had a chance to peek at the fabulous February release, be sure to hop on over to Jaded Blossom and check it all out. Thanks so much for stopping by!

Products used in today's post:

Jaded Blossom February Release Blog Hop


Hey Everyone! Welcome to
Jaded Blossom's February Stamp Release Blog Hop
I'm the first stop on the hop, so grab a cuppa something yummy and hop along to see all the amazing creations from my teamies, plus a chance to win the giveaway! All the details and the complete hop list is at the bottom of this post.

Of course, I couldn't let the release go by without a girl gnomie. This little leprechaun gnome is the shenanigans coordinator, so keep an eye on her! {giggle} The sentiment is from Lucky Vibes and cut with the coordinating outline dies. I used the new Gnome Dies: Pot of Gold for her shoes and gold coin. The legs are the straight ones from the Gnome Dies: Leg Add Ons, cut in half so she stands upright.  The rest of her is from the Gnome Girl Dies. I couldn't resist using the hair bows as little decorations on her shoes. Aren't they the perfect size?


The background is created using the new Clover Stencil. I first swiped a piece of cardstock with a pale green ink, then used the stencil with a medium green ink.  I added a bit of microglaze so my colors wouldn't run too much, then replaced the stencil and used some sparkly glitter glaze for a bit of shine.

The rainbows are from the previously released Gnome Dies: St. Patrick's Day Add-ons, and I cut them from different greens, keeping things monochromatic. By the way, the February Jaded Blossom challenge this month is Monochromatic, and there's still time to enter!


My next project is a treat bog featuring the new Clover Cluster and Clovers for Sale sets. Who wouldn't want a bouquet of sour apple dum-dums for St. Patrick's Day? The box is created with the Octagon Treat Box.  I cut the octagon layer from patterned paper, then  colored up the clover cluster image in greens and pinks, then cut with the outline dies.  I had a few left over colored clovers, which I fussy cut and tucked in for a little extra dimension and color.  The sentiment is from the Clovers for Sale set, stamped onto a tag from the Mini Tag Dies 3 set.


Well, that's my projects in a nutshell. I think I used everything but the Build a Booth: Clover Add-ons  and the St. Patrick's Brewing Co Freebie today,  but I featured them on Day 2 and Day 3 during sneak peeks. The entire release is available in the shop now! Be sure to check out the Fun Extras section for some cute new Over the Rainbow Doodlebug products, too! Read on for all the deal and prize info, then be sure to head to the next stop on the hop... Nicole.


Regular Price for the Release Package is $143.99

FREEBIE OFFER: ST. PATRICK'S BREWING CO.
1) Free with orders $50 or more (before tax/shipping)
2) Order MUST contain at least 1 new release item
3) Freebie offer is ONLY Thursday, while supplies last


BLOG CANDY

One lucky winner will get to pick a stamp set of their choice!
Just leave a comment on all the blogs along the hop!
The more blogs you comment on the more chances you have to win!

Now on to the HOP....

Next up is Nicole

Just in case a link goes amiss along the way, here is the entire line up. Happy hopping!


Jaded Blossom products used in today's makes:

Jaded Blossom February Sneak Peeks Day 3


Hello friends! I'm back with Day 3 of sneak peeks from the Jaded Blossom February release! I've already mentioned how much fun I'm having with it, so I've got TWO makes to share with you again today.  Today we're peeking first looks at the Clover Cluster, Clover Cluster Outline Dies, and St. Patrick's Day Brewing Co. FREEBIE (it's free with a qualified purchase on Thursday - Friday only, while supplies last.) 


For my first project, I sat down and colored the beautiful image from Clover Cluster with Copics, then cut with the coordinating Clover Cluster Outline Dies.  I smooshed a background with aquas and greens, then added a diagonal striped paper to ground my image a bit. The hello friend sentiment cut with the outline dies, then I finished off with a few scattered rhinestones.


For my second card I pulled out the St. Patrick's Day Brewing Co. FREEBIE set. Whenever I see the word brew, I always think of coffee. I don't have anything against beer, other than I don't like the taste. But since I am a coffee lover, I decided to mask off the beer mug and put a java cup in it's place. It was sup simple to do. Then I colored my images and cut the panel with a Stitched Circle Die


For the background, I pulled out the Clover Stencil next and ink blended with a light and medium green for an ombre look. Next, I cut the dies from the Build a Booth: Clover Add-ons. I liked how the banner fit around the circle, so added it to the bottom, then grouped a bunch of the die cut clovers around the image to finish things off.

Thanks so much for stopping by today! I'll see you back here tomorrow for our New Release Blog Hop!

All right, now you've seen the whole release, it's your last chance to grab it at a discount exclusively in the Gotta Have it Now Package! Once the release is officially live tomorrow, the package is no longer available, but you will then be able to purchase each item individually. Here are the details for this month's release package:

We have our Gotta Have it Now Package for $134.99

February 2023 Release will include:

3 - 4 x 6 Stamp Sets
3 - New Dies
2 - New Outline Dies
1 - New Stencil
1 - Freebie Die

A la Carte Items available on Thursday 12 am PST 

NO PREORDERS! NO BACKORDERS!
No waiting WEEKS for your stamps. 
This Package is only available while supplies last!
*Freebie Stamp - Only Free Thursday-Friday with a $50+ purchase
or While Supplies Last.*

Regular price for the release package is $143.99


Jaded Blossom February Sneak Peeks Day 2


Hello friends! Happy Valentine's Day. While today the world is adorned with hearts, my craft room is colored green with all the projects I've been working on!  It's time for the Day 2 sneak peeks from the Jaded Blossom February release! This release is filled with the luck o' the Irish, and I am having so much fun playing with it. Today we are peeking first looks at the Build a Booth: Clover Add-ons, Clovers for Sale stamp set, and Clover Stencil. I'm sharing two treat making projects today, so let's get to it!

For my first project, I decided to make a treat bag for some green Sixlets candies. Sixlets were one of my favorite candies growing up, and the local candy boutique carries them in all the colors, so I made a mix of three different greens and added them to a clear treat bag.


Next I pulled out the Build a Booth Die, and cut two of the booths from desert storm cardstock.  I then cut all of the panels in the same color cardstock.  To connect my two panels, I pulled out the tray from the Candy Caddy Die and die cut it. I then measured the width of the booth and added 1/2 inch and cut down the candy caddy die cut. I then scored that at the cut end at 1/2" and made slits to mimic the tabs on the other side.  The smallest wood pieces from the Build a Booth set are the perfect size to cover the side of your tray if you cut just inside each of the nail holes. I then inked up the panels and adhered them, adding little green gemstones as "nails".  

I dressed the booth up with the Clover Add-Ons, cutting the ribbon from gold cardstock, then ink blending the clovers and letters. I then decorated a big gold paper clip with one of the shamrock dies, then added a circle and the 17 cents details. 


When I saw the size of the pot of gold in the Gnome Dies: Pot of Gold Add-ons I immediately thought it would be perfect to make a shaker. Fast forward to me sitting down at my desk and seeing the Lindor chocolates I had purchased the boys for Valentine's day. They love the extra dark, which just happens to have a black and gold wrapper. My little brain got twirling and I decided to make a little treat box for a chocolate. I used two pot of gold die cuts, cutting a hole in the center of one with the coin die from the same die set. I then made a little platform to hold them together by cutting cardstock approximately 1-3/8" x 2.5", scoring 3/8" on each of the long ends, then gluing between the two pots. I cut the coins from gold cardstock, then added the chocolate and glued the two pieces together at the top.


The sentiment is from the Clovers for Sale set, and I embossed in gold, then cut with the rectangle from the Build a Booth die set and matted with gold.  I used the clover balloon and string from the Gnome Dies: Pot of Gold Add-ons to make a little sign, then finished with the 17 cents die cuts from the Build a Booth: Clover Add-ons.

Thanks so much for stopping by today! If you have time, head on over to the Jaded Blossom Blog to see what my other teamies are sharing today. Their projects are so very fabulous. If you're not familiar with Jaded Blossom releases, they do sneak peeks leading up to release day. During the sneak peek period (February 13 - 15), the entire release is available for purchase at a discount exclusively in the Gotta Have it Now Package. Once the release is here on February 16, the package is no longer available, but you will then be able to purchase each item individually.  Here are the details for this month's release package:

We have our Gotta Have it Now Package for $134.99

February 2023 Release will include:

3 - 4 x 6 Stamp Sets
3 - New Dies
2 - New Outline Dies
1 - New Stencil
1 - Freebie Die

A la Carte Items available on Thursday 12 am PST 

NO PREORDERS! NO BACKORDERS!
No waiting WEEKS for your stamps. 
This Package is only available while supplies last!
*Freebie Die - Only Free Thursday with a $50+ purchase or While Supplies Last.*

Regular price for the release package is $143.99


Jaded Blossom February Sneak Peeks Day 1


I am so excited, today is the start of sneak peeks for the Jaded Blossom February release! This release is filled with the luck o' the Irish, and I am having sooooooo much fun playing with it. Today we are peeking first looks at the Gnome Dies: Pot of Gold Add-ons, Gnome Dies: Leg Add-Ons, Lucky Vibes stamp set, and Lucky Vibes Outline Dies. As luck would have it (giggle), I used all of these fabulous new products on today's card. I also paired it with the previously released Gnome Dies and Gnome Dies: St. Patrick's Day Add-ons.

If you're not familiar with Jaded Blossom releases, they do sneak peeks leading up to release day. During the sneak peek period (February 13 - 15), the entire release is available for purchase at a discount exclusively in the Gotta Have it Now Package. Once the release is here on February 16, the package is no longer available, but you will then be able to purchase each item individually.  Here are the details for this month's bundle.

  We have our Gotta Have it Now Package for $134.99

February 2023 Release will include:

3 - 4 x 6 Stamp Sets
3 - New Dies
2 - New Outline Dies
1 - New Stencil
1 - Freebie Die

A la Carte Items available on Thursday 12 am PST 

NO PREORDERS! NO BACKORDERS!
No waiting WEEKS for your stamps. 
This Package is only available while supplies last!
*Freebie Die - Only Free Thursday with a $50+ purchase or While Supplies Last.*

Regular price for the release package is $143.99


This card started with a smooshed background that I cleaned a stencil that will be peeked later in the week with. I loved how it looked, so got to work on my gnome. All of the pieces except the beard, mustache, and shoes were cut from white cardstock and colored with Copic markers. After my leaping leprechaun was assembled, I decided to add a border of the die cut gold coins to the bottom.
I just used the piece that tops the pot of gold and cut off the excess.  I also cut a few single gold coins to scatter around. I then chose the lucky a latte sentiment (big surprise that I reached for coffee, huh?)  from Lucky Vibes and die cut with the outline dies, then matted with a gold cardstock die cut of the outline.  I then glued everything together, adding a thin gold mat to the main panel, then finished off with some stickles on the clover.

Thanks so much for stopping by today! If you have time, head on over to the Jaded Blossom Blog to see what my other teamies are sharing today. Theit projects are simply spectacular.


Shake Your Shamrock


Hi friends! Happy St. Patrick's Day! I've got two little treat ideas to share with you today using the Lucky Charm and Irish Gnomes stamp sets from Jaded Blossom.

When I was nearing the end of my pregnancy with the twins, the hospital had scheduled me for a March 17 birth. Of course, the twins had other plans and came on their own schedule about a week earlier. They had to stay a while in the NICU, and their room and signs were all decked out in St. Patrick's Day cheer. So I get a little excited whenever this time of year rolls around and I see all the St. Patty's Day decor.


I love this Shake Your Shamrock sentiment from the Lucky Charm set and decided I needed to make the pennant treat topper into a shaker. The Hershey nuggets are wrapped in patterned paper cut with the Panels Die and I adorned three of them with a four leaf clover from the Gnomes: St. Patrick's Day Additions die set.  The sweet little gnome from Irish Gnomes is colored with Copics and cut with my Scan 'n Cut to finish off the gift.

My second treat project is a little gift card holder.  I colored up the gnome with horseshoe from Irish Gnomes, then fussy cut.  The coffee cup is from the original Gnomes Die Set and I stamped a teeny shamrock from Irish Gnomes on it for accent.  The Drink Up sentiment is from Lucky Charm.


My gift card envelope is a modification of an easy treat envelope I saw somewhere in blogland. Their original used 8" square patterned paper and had a larger treat, but my only St. Patty's Day pad was 6 x 6.  So I adlibbed and made it into a gift card holder.

This will make 2 envelopes:
  1. Cut 6.5 x 6.5" square of cardstock
  2. Cut 6" x 6" square of patterned paper
  3. Cut both the cardstock and patterned paper squares diagonally corner to corner to create 2 triangles of each.
  4. Adhere the patterned paper to the cardstock, leaving equal matting on all sides.  
  5. From the long 9" edge of your glued together triangle score at 3" from either side.
  6. Add thin adhesive along the inner bottom edge, then fold each flap in and burnish the adhesive.
Alrighty, that's all for today! I hope you have a fabulously creative day.

Mojo Monday 555


Hi friends! It's Monday and time for a brand new Mojo Monday sketch! I hope you can find a little time in the next couple weeks to play along with me!

As always, we're playing just for fun. I'm an equal opportunity stamper, so feel free to use any papercrafting products your heart desires and enter as many creations as you like. Use the sketch as inspiration for your creation, then come link it up below so I can come take a look! The linky for this challenge will close on March 21, 2021. I have included dimensions on the graphic later in this post, but feel free to change them up to suit your needs, and never worry about substituting a shape or layer.


First up, I wanted to let you know about a sale. One of my favorite companies, The Cat's Pajamas, (where I got my design team start way back when) has decided to go digital. They're having a going digital progressive sale to close out their physical inventory and there are great deals on so many amazing stamps, dies, stencils, and embellies! If you're able, I hope you'll consider helping Alma out with reclaiming the space in her house. I know how amazing y'all were when I closed Verve. Although it was heartbreaking to close, it felt so good to send off the stamps and dies knowing they were going to good homes and wouldn't be sitting collecting dust on a shelf staring at me every day! And little did I know just how much I would need that space this year! The boys go back to the school 5 days a week tomorrow, for the FIRST time in an entire year. The former Verve office has been a cozy little one room school house for us, and although 2020 was a tough year, I will forever cherish this time with them.


Anyhow, on with the card.  I chose the Sitting Shamrock Gnome Digi, coloring with Copic markers and then partially cutting with a circle die and then hand trimming around the shamrock.  I coated the shamrock with glossy glaze and glitter, then got to work with scraps from an old pad of Authentique paper. This is one of those sketches perfect for using up scraps!  The sentiment is from the Get Your Sparkle On set, stamped in green and embossed in clear. I used a subtle chicken wire embossed background and then finished off with some black matting.

Alrighty, now it's your turn! I hope you've been inspired to create something with this sketch. Thanks so much for stopping by. 

Please join me for Mojo Monday!

Click here to enter

Compensated affiliate links are used where possible. When you place an order after clicking some of my links, I receive a small commission at no additional cost to you. Thanks so much for using my links and supporting this blog. ðŸ’™