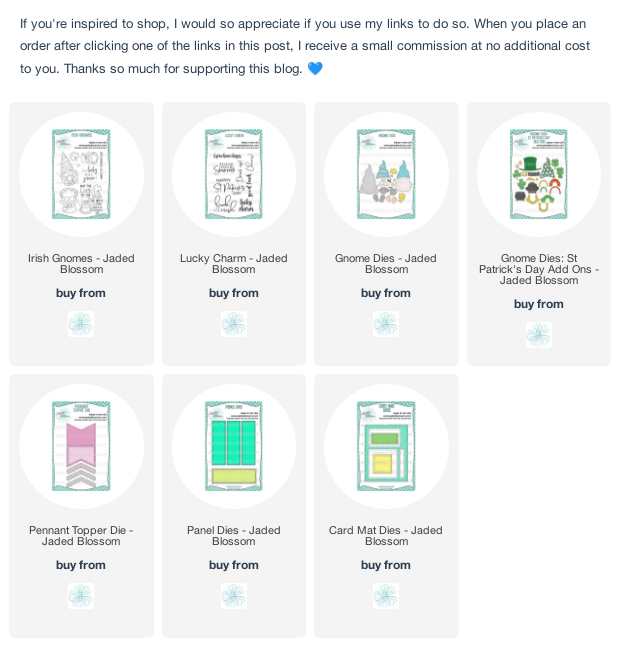
Hi friends! Happy St. Patrick's Day! I've got two little treat ideas to share with you today using the Lucky Charm and Irish Gnomes stamp sets from Jaded Blossom.
When I was nearing the end of my pregnancy with the twins, the hospital had scheduled me for a March 17 birth. Of course, the twins had other plans and came on their own schedule about a week earlier. They had to stay a while in the NICU, and their room and signs were all decked out in St. Patrick's Day cheer. So I get a little excited whenever this time of year rolls around and I see all the St. Patty's Day decor.
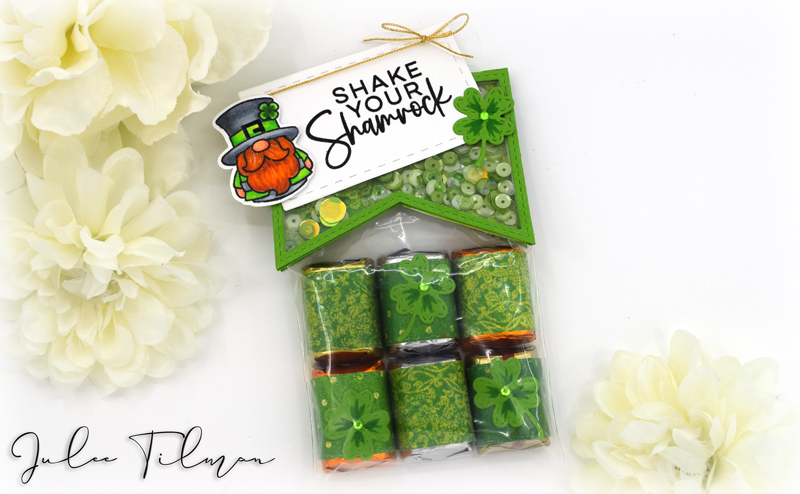
I love this Shake Your Shamrock sentiment from the Lucky Charm set and decided I needed to make the pennant treat topper into a shaker. The Hershey nuggets are wrapped in patterned paper cut with the Panels Die and I adorned three of them with a four leaf clover from the Gnomes: St. Patrick's Day Additions die set. The sweet little gnome from Irish Gnomes is colored with Copics and cut with my Scan 'n Cut to finish off the gift.
My second treat project is a little gift card holder. I colored up the gnome with horseshoe from Irish Gnomes, then fussy cut. The coffee cup is from the original Gnomes Die Set and I stamped a teeny shamrock from Irish Gnomes on it for accent. The Drink Up sentiment is from Lucky Charm.
My gift card envelope is a modification of an easy treat envelope I saw somewhere in blogland. Their original used 8" square patterned paper and had a larger treat, but my only St. Patty's Day pad was 6 x 6. So I adlibbed and made it into a gift card holder.
This will make 2 envelopes:
- Cut 6.5 x 6.5" square of cardstock
- Cut 6" x 6" square of patterned paper
- Cut both the cardstock and patterned paper squares diagonally corner to corner to create 2 triangles of each.
- Adhere the patterned paper to the cardstock, leaving equal matting on all sides.
- From the long 9" edge of your glued together triangle score at 3" from either side.
- Add thin adhesive along the inner bottom edge, then fold each flap in and burnish the adhesive.
Alrighty, that's all for today! I hope you have a fabulously creative day.


2 comments
Two cute projects Julee - love how you have used the images to make these different projects
Stay safe
Blessings
Maxine
so super cute
Post a Comment