Powered by Blogger.

Sweeter than Honey


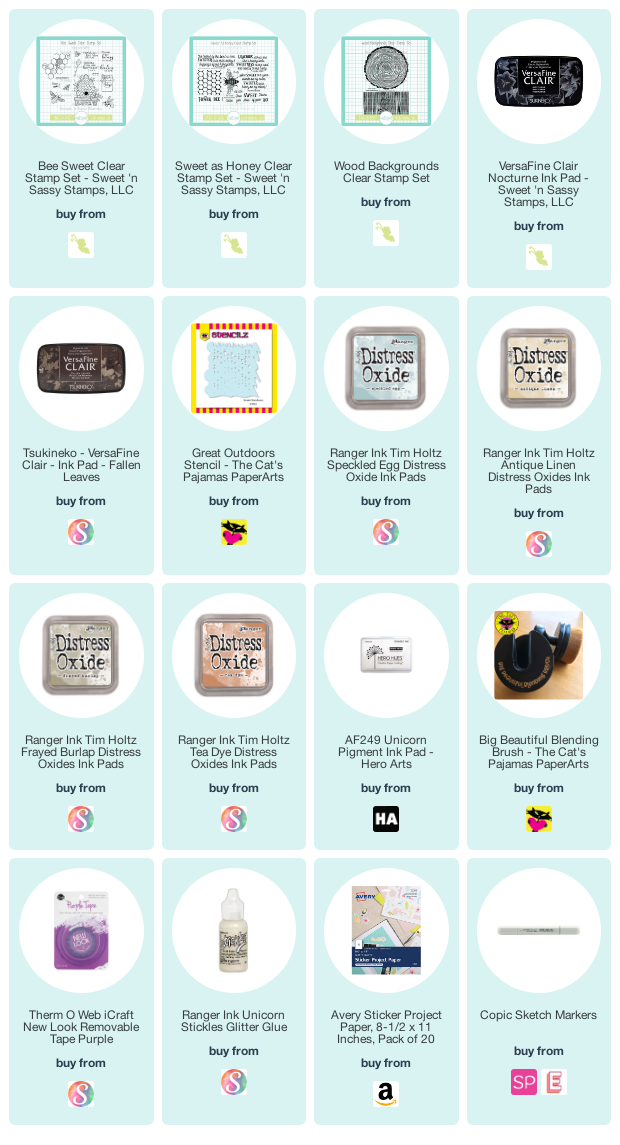
Hi friends, I've got an almost one layer creation for you today. I love this beautiful beehive image from the Bee Sweet set, and really wanted to make it the focal point of a card.

I stamped the hive first, then masked off the hive and each teeny leaf and stenciled the background with the Great Outdoors stencil and speckled egg distress oxide.  I went in with a heavier touch than I wanted, so I stenciled over again with some unicorn pigment to soften the color. I really love how it turned out.


I had also masked off the bottom section of the card and stamped the Wood Backgrounds as a thick bench for the hive to sit on.  I used a variety of brown inks and some Copics to blend it how I wanted.

The scripture verse is from the Sweet as Honey set and stamped directly over the hive.  I then stamped two little bees on the panel, then stamped them again on scrap cardstock, colored and layered just the fussy cut birdies and wings over the stamped bees for a little dimension.

Probably the masking took the most time, but I really enjoyed the whole process. Hope you did too!

Compensated affiliate links are used where possible. When you place an order after clicking one of my links, I receive a small commission at no additional cost to you. Thanks so much for using my links and supporting this blog. 💙
Strawberry Blessings


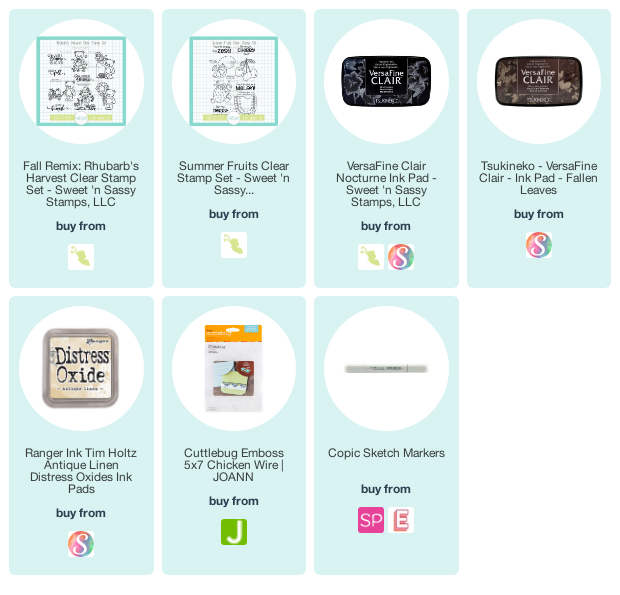
Hi friends, I'm popping in today with a quick card I created with the Summer Fruits set.  This berry image is so fun, and I liked the challenge of trying to color those blueberries.  I used a bit of wood grain paper for the background to give it a homespun feel.


A vertical panel is dry embossed with a chicken wire pattern and then lightly sponged with antique linen distress oxide.  The sentiment comes from the Rhubarb's Harvest set and is die cut and also sponged with antique linen.  It's a pretty simple card, but definitely has me wishing for some of my mom's homemade strawberry jam!

Thanks so much for stopping by today!

Compensated affiliate links are used where possible. When you place an order after clicking one of my links, I receive a small commission at no additional cost to you. Thanks so much for using my links and supporting this blog. 💙

Express Delivery and a New Release

Hi friends!  It's new release time at The Cat's Pajamas. and this one is all about Christmas in July.  I'm sitting this release out because.... well, 2020.  But it's ABSOLUTELY adorable, and you need to check it out!


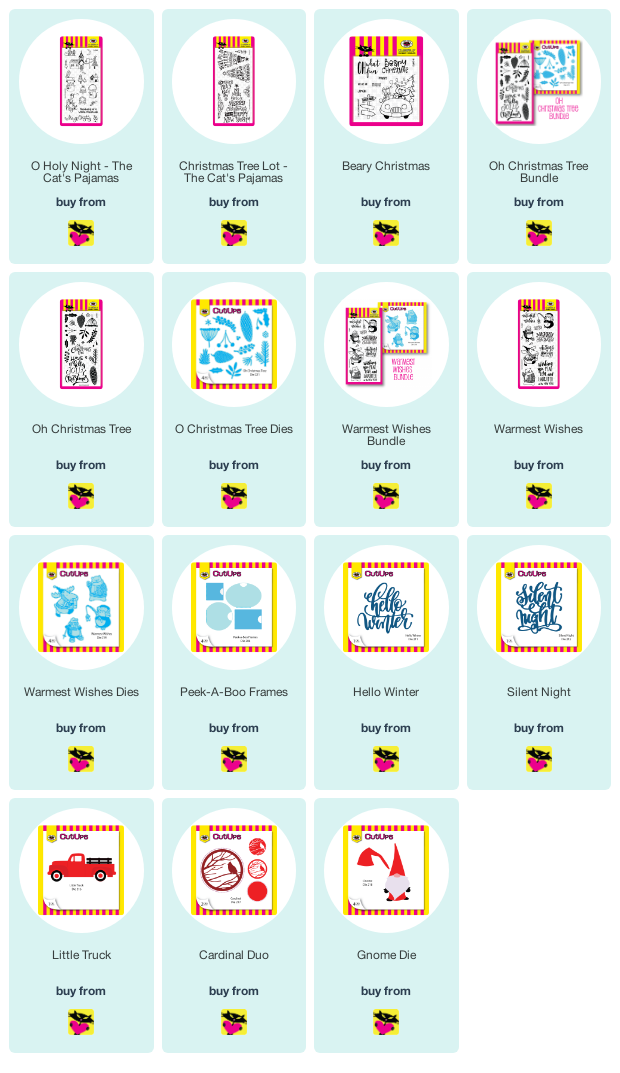
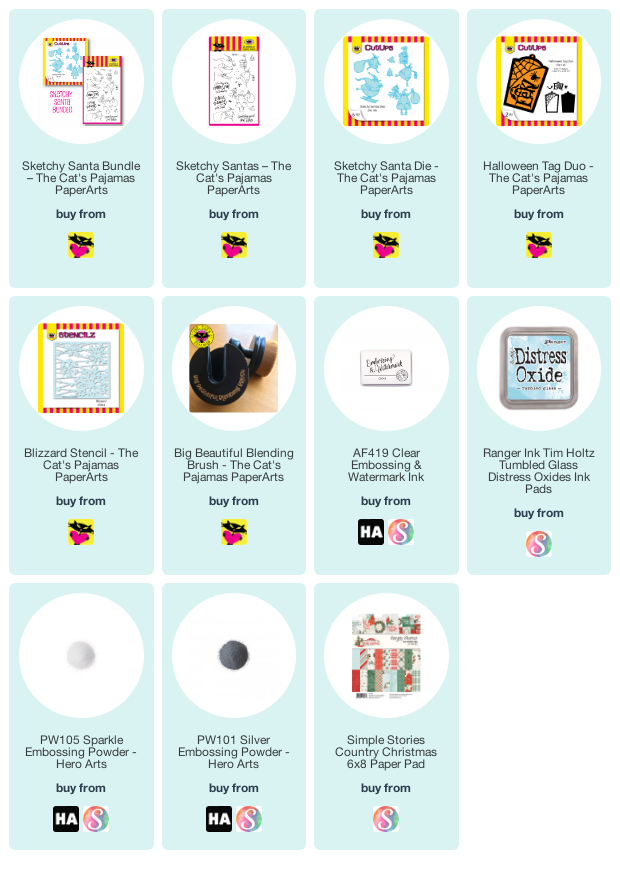
Since I don't have something with the new release to share, I thought I'd pull out another card I created during my Dirty Dozen time and can now share with y'all.  It uses the previously released Sketchy Santas set, which totally makes me giggle. I just love these fun Santa images, and they have coordinating dies, too! Buy them together in the bundle, for some sweet savings.


I stenciled the Blizzard stencil onto designer paper, then embossed with sparkle embossing powder for a fun textured background.  I hand cut a hill, then embossed with sparkle embossing powder as well, and layered onto my other panel with foam tape.  The Santa image is colored with Copics and die cut, adding a bit of frosted lace stickles to his beard for accent.

The tag uses the Halloween Tag Duo. I added patterned paper to the bottom half, lined with silver ribbon, and added some snowflakes and the express delivery sentiment embossed in silver to finish things off.

If you're looking for a fun challenge, the TCP Tuesday challenge this month is Christmas in July! TCP stamps are not required by we do love to see 'em. Enter on the TCP Blog for a chance to win this month's prize.


Below, I've linked the July release, available now in the TCP shop!

Compensated affiliate links are used where possible. When you place an order after clicking one of my links, I receive a small commission at no additional cost to you. Thanks so much for using my links and supporting this blog. 💙


July 2020 Release


My Supply List

Mojo Monday 542

Hi friends! Are you ready for another Mojo sketch?  I had a fun birthday weekend with my family and so I'm a little late posting this morning. As always, you're free to play along with any papercrafting products your heart desires and enter as many creations as you like. Use the sketch as inspiration for your creation, then come link it up below so I can come take a look! The linky for this challenge will close on August 9,  2020. I have included dimensions on the graphic later in this post, but feel free to change them up to suit your needs.


This sketch comes from this just for fun card I created with some new goodies.  I love tacos and this Taco About It set had to hop into my shopping cart. {grin}  I colored him up with Copic markers, using a fineliner to add some rings to turn the yucky tomatoes into yummy onions! LOL  I stamped the sentiment onto a large circle die cut and popped up my taco image on foam tape.  The circle is matted with a pinking circles die cut from shiny gold cardstock.

I used the same gold cardstock embossed with a stripes embossing folder for the cross panel, then embossed a white panel with the stripes in the opposit direction.  The patterned paper was black and white polka dots, but I added in some of the colors from my colored images to give a little party pizazz.
Alrighty, now it's your turn! I hope you enjoy creating with this sketch! Thanks so much for stopping by!

Please join me for Mojo Monday!
Click here to enter

Joy Comes


Hi friends! I'm popping in today with another slimline card. I'm really enjoying this new size after creating A2 cards for so many years. So I picked up a few 6 x 8 paper pads from JoAnn online recently to help create this size of card.  I fell in love with this plaid print from the Twilight collection, and took my color scheme from there.


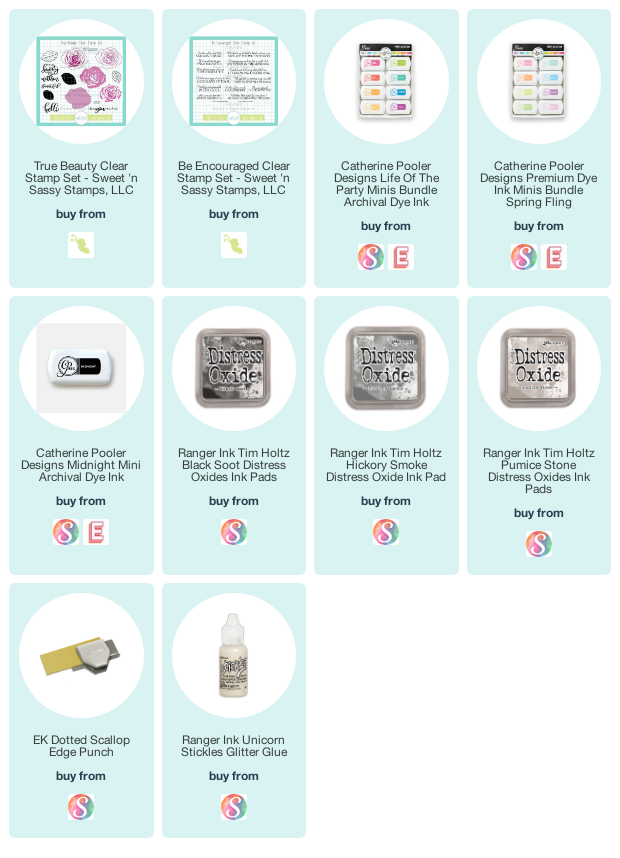
For my inner rectangle, I stamped one of the rose images from True Beauty in bellini ink all over the panel.  I sponged with tutti frutti and stamped a sentiment from Be Encouraged in the center.  This panel is matted with basic gray cardstock which I used an old EK Success edger punch on the bottom edge.

I wanted to play off the contrast of weeping and joy, so stamped two rose images, one in the peach colors and one in grey tones, then added the leaves in gray as well.  I tied a taffeta knotted bow around my layered panels, then adhered to an 8.5" x 3.5" card base.

Hope today's card brings a smile.

Compensated affiliate links are used where possible. When you place an order after clicking one of my links, I receive a small commission at no additional cost to you. Thanks so much for using my links and supporting this blog. 💙

The Most Wonderful Time

Hi friends! It's Christmas in July.... and my birthday! Definitely a wonderful time of the year in my book. LOL


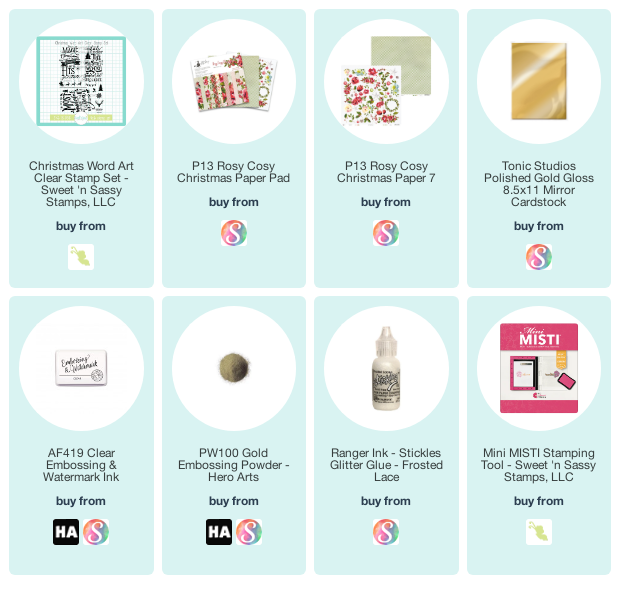
Today I'm sharing a quick little Christmas card I whipped up with a new to me Christmas set from Sweet 'n Sassy Stamps. This is the Christmas Word Art set, and it has a few beautiful large sentiments that make quick cards a breeze. Just add some patterned paper and you're all set.


I fell in love with the Rosy Cosy Christmas collection this year, so had to order it up, even though I've told myself again and again I don't need more Christmas paper! LOL But it's sooooooo pretty!  I cut the panel with the flowers and ornament down to 3 x 5.25", then added the plaid paper strip behind to fill out the card.  The sentiment from Christmas Word Art is embossed in gold on cream cardstock, and then I matted my panels with shiny gold cardstock.  I cut a little paper holly branch to pop up on the sentiment panel and then accented the berries with frosted lace stickles to finish things off.


Well, that's all about the card. Sweet 'n Sassy Stamps is having a Christmas in July sale this weekend with 25% all stamps in their Christmas and Winter categories.  It's a perfect time to pick up a little something for your holiday crafting!

Thanks so much for stopping by today! I hope you have the most wonderful day!

Compensated affiliate links are used where possible. When you place an order after clicking one of my links, I receive a small commission at no additional cost to you. Thanks so much for using my links and supporting this blog. 💙

Tis the Season and a Sale

'Tis the season for Christmas in July! Since my birthday is on the 25th, I'm usually all about adding a little festivity to the occasion. And Sweet 'n Sassy Stamps is doing just that this weekend with a Christmas in July Facebook event and sale.


Today I'm sharing a card I made during my Dirty Dozen time and can now share it here on my blog.  It's not necessarily a Christmas card, but it does use a Christmas set and has a wintery feel, so I'm calling it good, especially since you could easily change out the sentiment for a Christmas one! {grin} And Christmas sets can be used for more than Christmas!


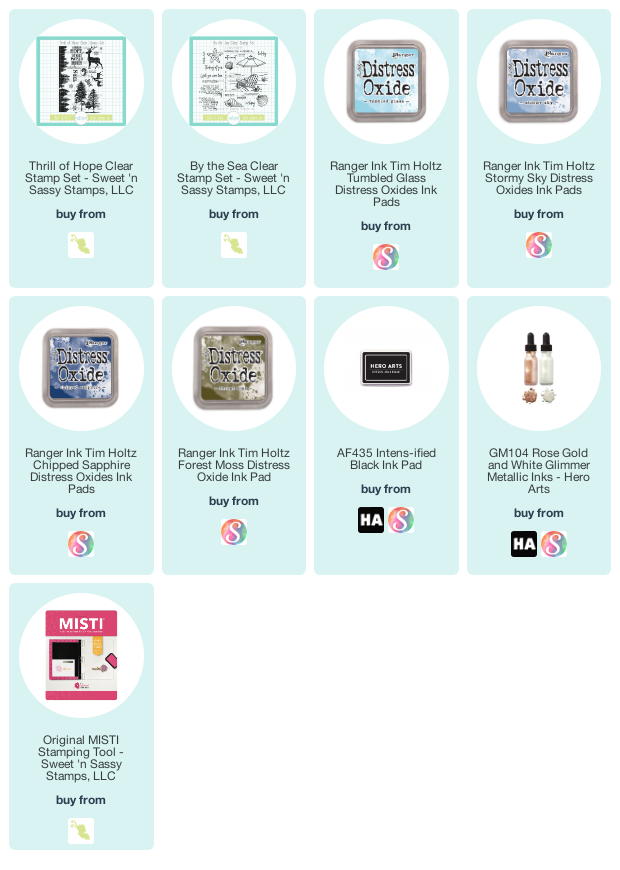
I created the card by stamping the border trees and the tree duo from the Thrill of Hope set in forest moss distress oxide, then embossing in clear. I then ink blended a sky with blue distress oxides. I laid the stamps down over my embossed images as a mask and flicked on white glimmer ink, then finished off with a thinking of you sentiment from By The Sea.

Head to the Sweet 'n Sassy Stamps Facebook page for lives and demos throughout the weekend, then check out the sale in the shop on stamps in the Christmas and Winter categories.
Compensated affiliate links are used where possible. When you place an order after clicking one of my links, I receive a small commission at no additional cost to you. Thanks so much for using my links and supporting this blog. 💙


One in a Melon

Hi friends! I hope you're having a good week!  I'm popping in with a just for fun card using the July Stamp of the Month from Sweet 'n Sassy Stamps.  Summer Fruits is available for purchase individually, or you can earn it as a free goodie with a $75 order in July. Woohoo!


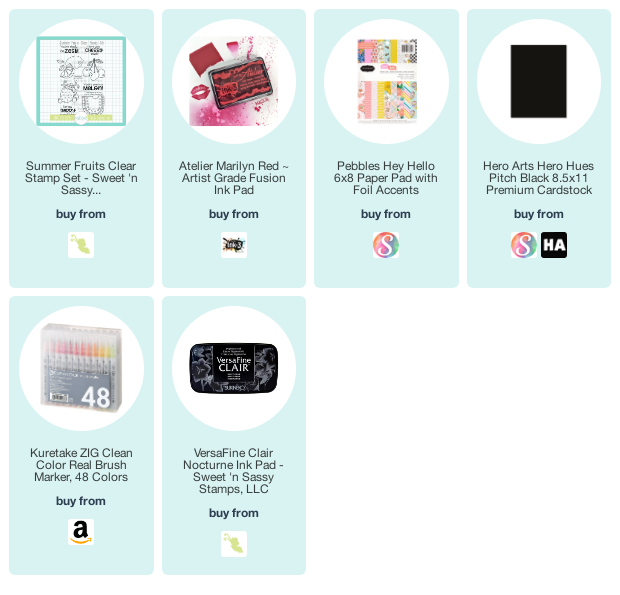
I still had a bunch of that Marilyn Red ink on my palette after creating my square card earlier this week, so I did a bit more smooshing for a fun background for this card.  Then I stamped the you're one in a melon sentiment from Summer Fruits repeatedly across the panel in black.  I stamped the watermelon image, watercoloring with zig clean color real bursh markers, as well as some of the marilyn red ink.


A little classy black and white gingham gives it a picnic feel, and I finished with a bit of stitched ribbon as an accent.

Thanks so much for stopping by today! Hope your day is super sweet!

Compensated affiliate links are used where possible. When you place an order after clicking one of my links, I receive a small commission at no additional cost to you. Thanks so much for using my links and supporting this blog. 💙

Yellow Submarine


Hi friends! As soon as I saw this awesome Submarine Fancy Die in the July Hero Arts release, I knew I had to make a yellow one!  Cue Beatles music now 🎜... and we lived beneath the waves in our yellow submarine!

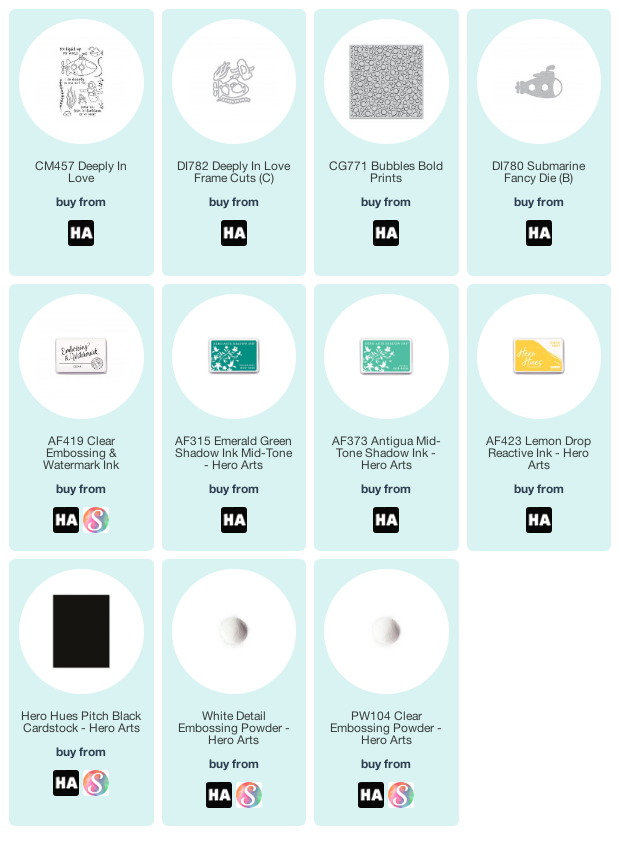
The die was cut from yellow polka dot paper and layered a couple times for thickness.  I then stamped the sentiment and wavy planet stamps from the Galaxy Peek-A-Boo Parts set on black paper to be the "windows".


The background is done with the Bubbles Bold Prints, embossed in white and then blended with splash and blue hawaii reactive inks.  I tucked in some greenery from the Deeply in Love add-on and then finished off with some "bubbles" using glass embellishments from a previous My Monthly Hero kit.

Hope this brought a smile. Have a fantastic day!

Compensated affiliate links are used where possible. When you place an order after clicking one of my links, I receive a small commission at no additional cost to you. Thanks so much for using my links and supporting this blog. 💙

Hi


Hi friends! Today I'm popping in with a grungy little bit of fun I worked on recently. Sometimes getting my fingers all stained with ink is the best therapy!

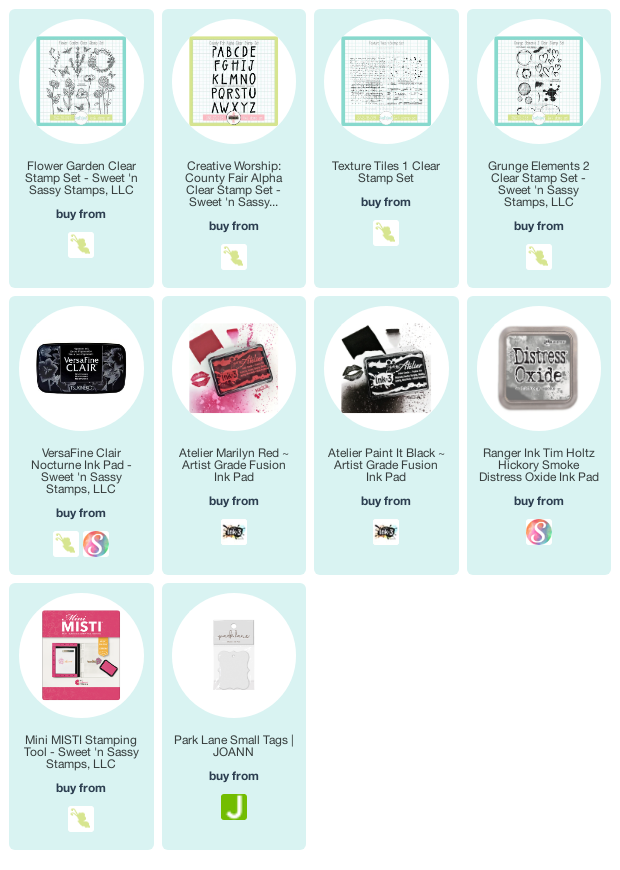
This card started with Marilyn Red Atelier ink.  I smooshed it onto a palette to grab a little ink with my waterbrush to color the sweet flowers from the Flower Garden set.  Used to my well used ink pads, I presssed quite heavily and came up with a whole lot of ink on my palette. It was the perfect excuse to start smooshing up a background. {grin}


So I dabbed a piece of acetate into the pool of red ink, then spritzed with water and smooshed onto heavy white cardstock a few times. I added in some texture with stamps from the Texture Tiles 1 and Grunge Elements 2 stamped in hickory smoke distress oxide.  I used a bit of the Paint it Black Atelier ink to add in some darker accents and also to edge around the sentiment panel.

The sentiment shape is a tag from Park Lane that I also smooshed with the watered down Marilyn Red ink, and then stamped with the County Fair Alpha in black.  I added the colored and hand trimmed flower spray to this tag with a bit of twine and a rhinestone.  The rectangle frame behind was from a previous mixed-media project where I cut frames from chipboard with rectangle dies, then coated with versamark and embossed with white embossing powder.  Ifinished off with some distressed edges and ink splatters.

Thanks so much for stopping by today! I hope you have a fabulous day!

Compensated affiliate links are used where possible. When you place an order after clicking one of my links, I receive a small commission at no additional cost to you. Thanks so much for using my links and supporting this blog. 💙

In Full Support

Hi friends! Welcome to another week. It's my birthday week, and I've been collecting a few new goodies for myself already. This weekend I had a little time to play with a few of them and it was so much fun!


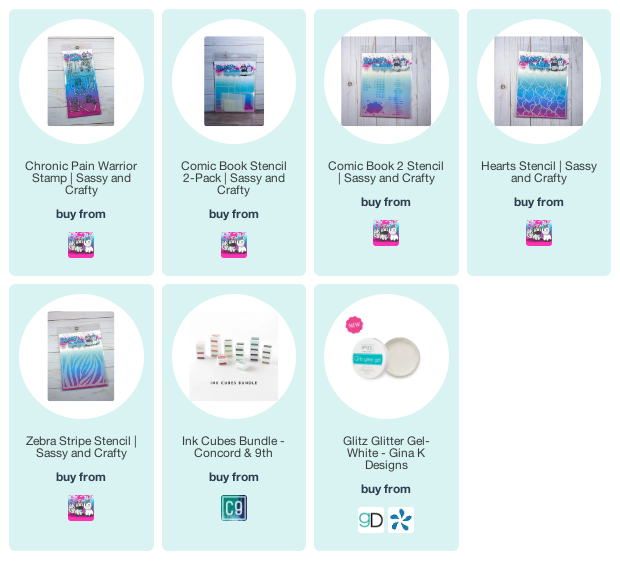
I was recently introduced to Sassy & Crafty Stamps. They're a new company... about 3 months old, and have some super cute stamps, amazing stencils, and one of my all time favorite things... sentiments that flow more like what you would actually write in a card.  I fell in love with this little zebra hanging out in a coffee cup, as well as this sentiment. {grin}

The stamps are from the Chronic Pain Warrior set. Along with new stamps and stencils from Sassy & Crafty, I also picked up the Ink Cubes Bundle from Concord & 9th.  I'm completely smitten with these inks! The pads are quality, and the palette of colors is beautiful.


I started the card by randomly stenciling the Comic Book 2 stencil on smooth bristol with sprout, parsley, evergreen, aqua sky, oceanside, and peacock.  Then I blended a bit of the same color inks around the edges.  Next, I layered the Comic Book stencil over that and stenciled with molding paste.

While that was drying, I stamped the zebra image and a few flowers and got to coloring.  I wanted a zebra cup, too, so masked off the zebra, and then used the Zebra Stripe stencil to add some zebra stripes with black ink. I used the C9 inks to watercolor the flowers, adding a few little accents with a copic marker.


When those were fussy cut, I cut my stenciled panel down, then layered the Comic Book stencil over it again and coated with a coat of Glitz Glitter Gel for some fabulous sparkle!  I set this aside to dry and got to work on the background.

I pulled out the Hearts stencil and blended the background with aqua sky, oceanside, and peacock. These inks were a dram to blend and I'm hooked!  I splattered the background with a bit of black ink, then layered all the elements together, adding thin black mats to frame my panels.

Thanks so much for stopping by today. Have a great week!

Compensated affiliate links are used where possible. When you place an order after clicking one of my links, I receive a small commission at no additional cost to you. Thanks so much for using my links and supporting this blog. ðŸ’™


Thoughts and Prayers

Hi friends! Today I'm popping in to share a shabby little card with the July Sweet 'n Sassy release.


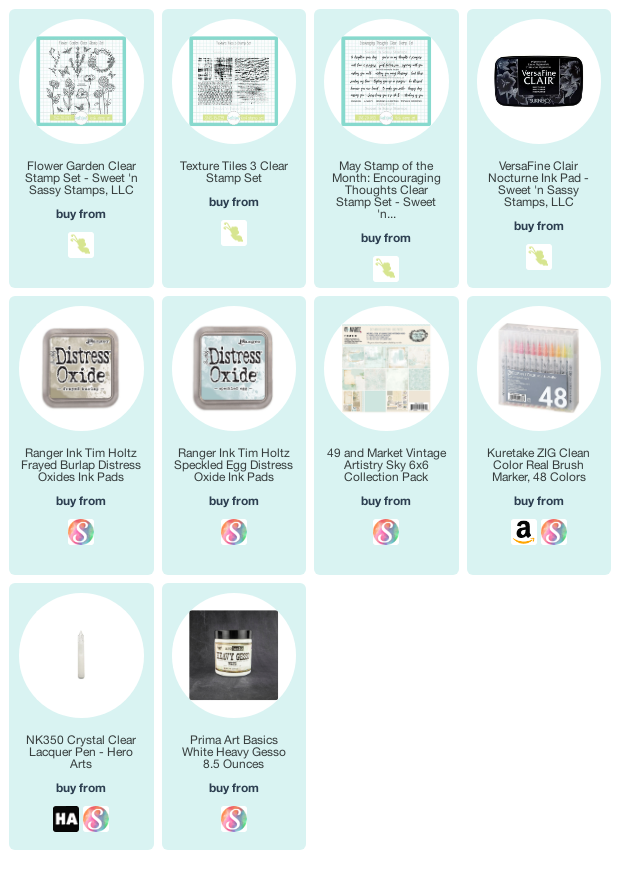
I started by coloring this beautiful flower image from the Flower Garden set with Zig clean color real brush markers. I then blended speckled egg distress ink around the edges and set aside.


I chose a background paper from the Sky collection from 49 and market (I'm totally smitten with this paper), then added a bit more interest to it with the Texture Tiles 3 set and speckled egg ink.  The paper pad has some fun little image pages that you can fussy cut, so I cut the little chevron element from that, then matted my image panel with crumb cake cardstock that I tore on one edge and also added some interest with the Texture Tiles 3 set and also a bit of dry brushed gesso.  This panel is wrapped with twine and I accented with a paper flower and button.

The little butterfly was stamped, colored, and fussy cut, then added as a little accent to the top right corner.  I finished with a sentiment from Encouraging Thoughts.

Thanks so much for stopping by! I hope you've been inspired.

Compensated affiliate links are used where possible. When you place an order after clicking one of my links, I receive a small commission at no additional cost to you. Thanks so much for using my links and supporting this blog. 💙

Light Up My World


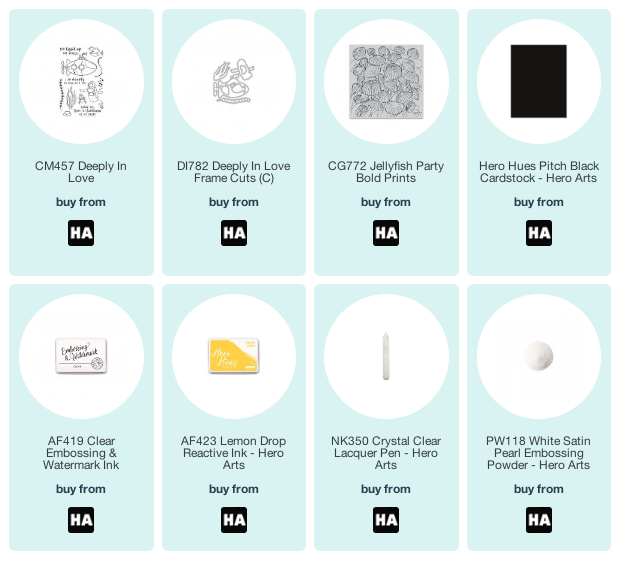
I  haven't used colored pencils for coloring pretty much since Copics came to the stamping world.  But I do love the look of them on black and kraft cardstock, so decided to dust my Prismacolor pencils off and work up a fun background.When I saw the you light up my world sentiment in the new Deeply in Love add-on, I just had to pair it with the previously released Jellyfish Party Bold Prints. And what better way to light up a card than with bright colors on a black background? I embossed the background on pitch black cardstock with White Satin Pearl embossing powder, then colored with Prismacolor pencils.


I then did the same thing with the greenery and rocks from Deeply in Love, then stamped the little hermit crab on white and colored, then cut them all out with the coordinating frame cuts.  The sentiment is stamped onto white cardstock and then blended with lemon drop reactive ink to make it shine. This was a super fun card, and I think I need to now dust off my gamsol and try a little pencil coloring again.

Thanks so much for stopping by! I hope you have a fabulous day!

Compensated affiliate links are used where possible. When you place an order after clicking one of my links, I receive a small commission at no additional cost to you. Thanks so much for using my links and supporting this blog. 💙

July 2020 New Release Blog Hop


Hi friends! Welcome to the July SNSS Release Hop! There's another fabulous release in the shop that we've been playing with and we're so excited to share our projects with you! Hop along and leave a little comment love for the designers linked later in this post and you might just be a lucky winner! One lucky comment from all the comments along the hop will win a $10 gift voucher to the SNSS shop. Winner will be announced on the SNSS blog, Wednesday, July 22.

If you've arrived from the Sweet 'n Sassy Stamps Blog, you're already on stop 2, welcome to more stampy goodness from me! If not, be sure to head over to the blog for all the info and another card from me! If a link misbehaves along the way head on back there for the full hop list. All right, let's get hopping!


I am smitten with the stamps in this month's release. Especially this Flower Garden set.  I love how easily the images can work together or alone for fabulous looks.  For this card, I started by stamping a few of the flowers on a card panel.  I then masked off the blooms where needed and added some of the leafy images in the background. I colored things with Copic markers, and hadn't realized my black ink wasn't quite dry, so got a few ink smudges from my hands.  I sanded them off, then without thinking decided to do a stenciled background of clouds.  The sanding streaks show a little bit, but it kind of gives a stormy effect, so I'm calling it a win!

I added a fun sentiment from a previously released, but new to me set, Just Say Jesus.  To add just a bit more flair, I stamped the butterfly on the sentiment panel, and then again to cut out and pop up.

Thanks so much for stopping by! There's still a ton of inspiration on the hop, so be sure to click on over  to the next stop.

The next stop on the hop is the fabulous Ceal Pritchett!


Sweet 'n Sassy Blog
Julee Tilman
Ceal Pritchett
Diane Zechman
Esther Asbury
Jane Bosi
Karen Decknick
Lee Ann Barrett
Lyn Tomlin
Sheri Gilson


Compensated affiliate links are used where possible. When you place an order after clicking one of my links, I receive a small commission at no additional cost to you. Thanks so much for using my links and supporting this blog. 💙


July SNSS Release


My Supply List