Powered by Blogger.
Showing posts with label Scrapaholics. Show all posts

Beautiful


Hi friends! Today I'm stopping in to share another mixed media card I made with the gorgeous Missy Whidden May Color Kit from Shimmerz. This one was inspired by one of the May Flowerz Dotz in the kit and I had lots of fun splishing and splashing!


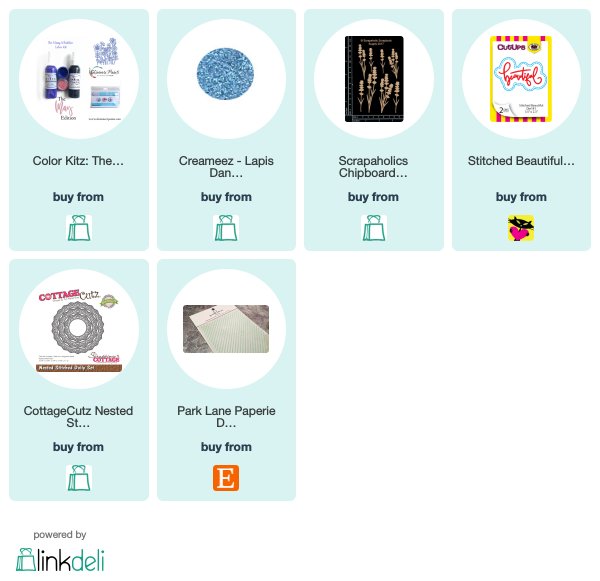
I started by smooshing the two exclusive kit colors, Rip van Periwinkle Vibez and Iris My Case Shimmerz onto a newsprint tag. I then added in some Lapis Dance Creameez to bring out some of the blues in the dotz embellishment. I added some cheesecloth to the tag to soften things up, then painted a little Lapis Dance circle to mat the dotz embellishment and layered onto some white cardstock die cuts.


The sentiment is cut with the Stitched Beautiful word die, then painted with the three colors I used above. The dotz image reminded me of some Lavender Pieces Scrapaholics chipboard I had in my stash, so I pulled them out and watercolored with the periwinkle, iris, and lapis to tuck behind the tag.


The card is finished off with a regular A2 sized card base, embossed with a diagonal stripes embossing folder and then splattered with the leftover inks on my palette.  I layered everything together and accented the tag with a seam binding bow for the final touch.

If you haven't picked up your May kit yet, be sure to head on over to the shop, while they're still available. These new colors are totally a-MAY-zing, and available exclusively in the kit right now.


Thanks so much for stopping by today! As always, if you place an order in the Shimmerz shop, mention my name, Julee Tilman, in the comments so they know who sent ya! Thanks so much for stopping by! I hope your day Shimmerz!

Compensated affiliate links are used where possible. When you place an order after clicking one of my links, I receive a small commission at no additional cost to you. Thanks so much for shopping from my links and supporting this blog. 💙
Bunny Hello

Hi friends! Today I'm popping in with a fun mixed media card using Shimmerz products.


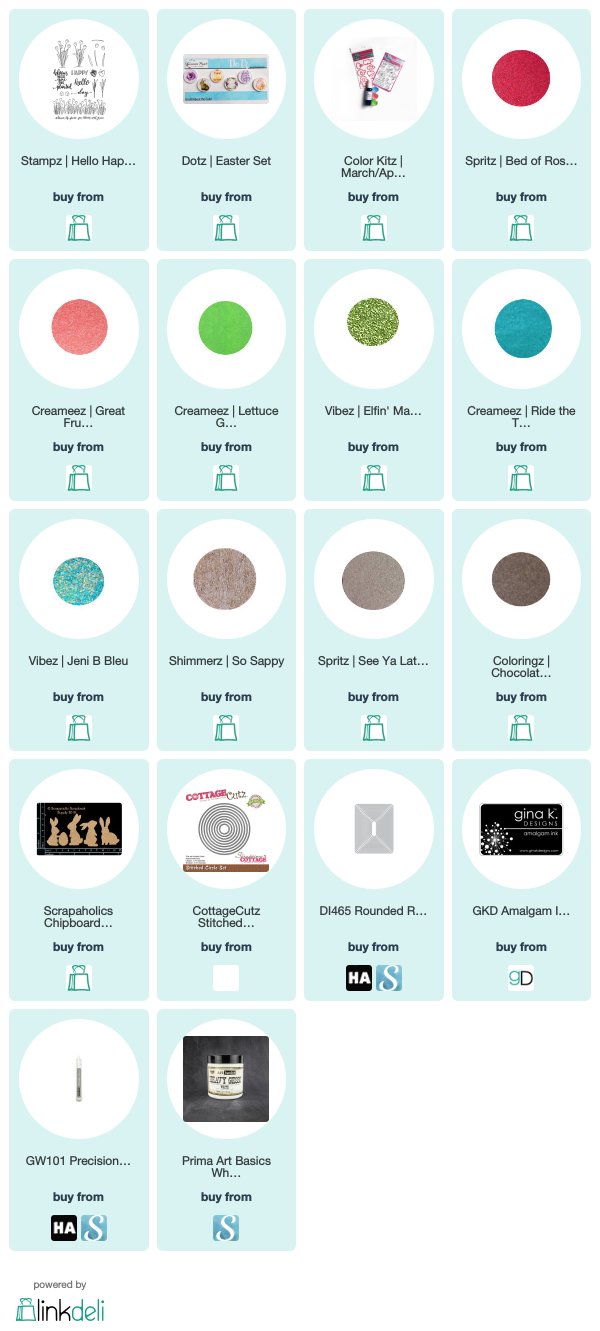
I started this card with the sweet little bunny in the Easter Dotz set in mind. Have you seen all the darling new Dotz sets that just released this week? Dotz are little 1" circle epoxy embellishments that are perfect for adding to your cards. They're so much fun! Here's the set that inspired the card...


Isn't it beautiful? With that cute li'l bunny in mind, I started making a background on watercolor paper smooshing See Ya Latte Spritz and Chocolate Brownie Coloringz until I had a nice earthy look.  I cut the panel down to 4 x 5.25" and then saved the remainder for the sentiment panel.


Next I stamped two of the tulip images from the Hello Happiness stamp set in waterproof ink, then pulled out the 3 Creameez colors from the March/April Cardmaking Kit. I painted the tulips with Great Fruit and Lettuce Get Together Creameez from the kit, then accented with Bed of Roses Spritz and Elfin' Magic Vibez. Next I painted in the ground, roughly sketching a line to connect the two stamped images, and then using See Ya Latte and Chocolate Brownie to color it in.

I then cut some very rough masks for the flowers and hill, so I could sponge Ride the Tide Creameez in for the sky.  Once this had dried, I added a few splatter accents to the sky with Jeni B Bleu Vibez. This panel is cut with a rounded rectangle die and matted on a neutral cardstock.  I then pulled out the leftover smooshed paper and stamped the hello sentiment on it. I die cut with a stitched circle and matted with the same neutral cardstock.  I added the bunny Dotz next to the sentiment and then set that aside to work on the chipboard bunny.


The chipboard bunny is from the Bunnies Set from Scrapaholics Chipboard. I gave him a coating of heavy gesso, then painted with a mixture of See Ya Latte, Chocolate Brownie and a little So Sappy Shimmerz. When he was done, I added a teeny black flatback pearl for his eye and then attached him to the card.  I added a seam binding bow around the top of my background panel, then layered everything together to finish things off.


Thanks so much for stopping by today! As always, if you place an order in the Shimmerz shop, mention my name, Julee Tilman, in the comments for a free mini surprise.


Affiliate links are used where possible. When you order from them, I receive a small commission at no additional cost to you and you receive happy mail! Win, win! Thanks so much for clicking on my links to shop. 💙

Painterly Hello

Hi friends! Today I'm popping in to share a shimmery card with you. My hubby's birthday is this week and in the mail he got a card from a company of which we're frequent customers. It was just a plain manufactured card with three brushstrokes of "paint" and a black and white sentiment, but it got the wheels in my head spinning. And since we've been having snowy days here of late, I thought it was the perfect opportunity to brighten my spirits with some bold splashes of color.


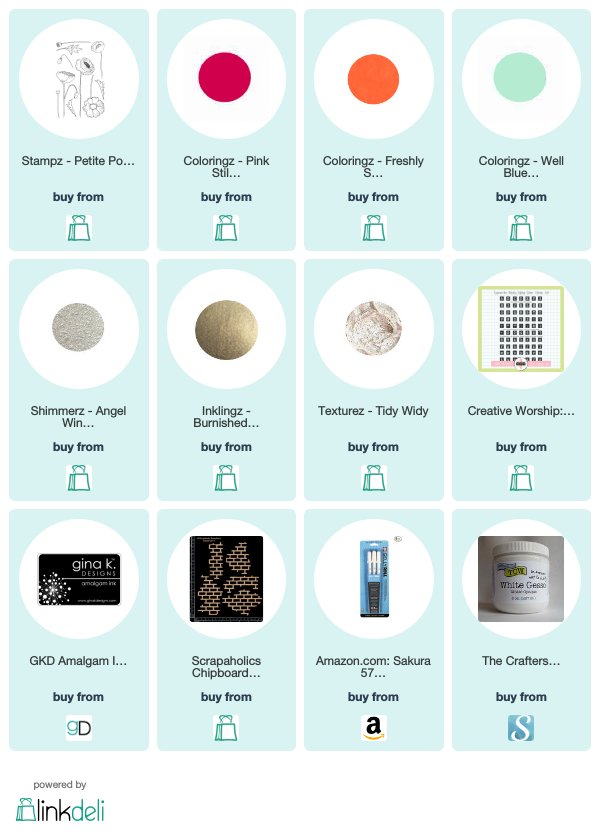
I headed up to my studio and decided on freshly squeezed, well blue me down and pink stilettos Coloringz, knowing that the pink stilettos would blend well with the other two colors if I used it as the middle swash of paint. I sprayed a bit of each color on my palette and then used a wide wet brush to make the blue and orange swashes, leaving room in between for the pink. When these were dry, I painted in the pink stilettos, overlapping the other two colors. Love that purple shade that's created from layering the blue and pink.


I then set this panel aside and pulled out the Petite Poppies Stampz set. I wanted to stick to this same color palette, so chose the blue for the flower, orange for the center of the flower and then mixed the blue and orange together for the stem and leaf. Once everything was dry, I coated with a layer of angel wings Shimmerz for that shine I love so much, then did a few accents with a white gel pen and fussy cut.


The brick Scrapaholics chipboard piece is coated with gesso so that it would pick up the true color when I sprayed it with the pink stilettos. When the spray was dry, I pounced on Tidy Widy Texturez in random places to give some depth. I used the new Typewriter Blocks Alpha set from Sweet 'n Sassy for the sentiment, then layered it all together and finished with some paint splatters with burnished buckle Inklingz.


Thanks so much for stopping by today! If you're in the mood to add some new colors to your life, head on over and check out the Shimmerz Shop. If you place an order, be sure to mention my name in the comment section of your order to receive a freebie!


Affiliate links are used where possible. When you order from them, I receive a small commission at no additional cost to you and you receive happy mail! Win, win! Thanks so much for clicking on my links to shop. 💙

You Make My Heart Smile

Hi friends! I'm on the Shimmerz Paints blog today sharing this fun mixed media card. I had so much fun creating this.


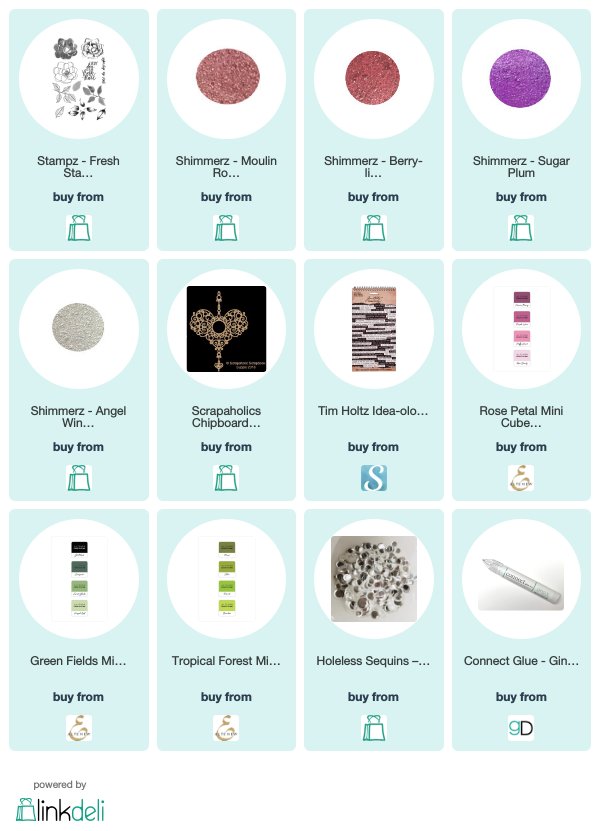
I started with the Heart Dangle chipboard from Scrapaholics, painting it with Moulin Rouge, Berry-licious and Sugar Plum Shimmerz. Isn't this a dreamy combination? While this was drying, I taped down and masked off a rectangle with post-it note tape to start on my background. I used the same colors of Shimmerz paint to paint the background, spritzing with water and lifting with a paper towel to get the splatter look.


I thought a flower would look perfect in the center of my painted chipboard heart, so I pulled out the Fresh Start Stampz set and did some three step stamping for the flower and leaves in pinks and greens. For the flowers I used Rose Quartz, Puffy Accent and Purple Wine inks from Altenew. The leaves were stamped in. Frayed Leaf, Forest Glades and Moss. I stamped two flowers and two leaf sprigs, then cut just portions of the second ones to layer and give the flower and leaves a bit more dimension. I curled up the top layer flower petals, too.

I thought my flower needed a little more pizazz, so I pulled out the Angel Wings Shimmerz and gave the flower and leaves a good coating. This is one of my favorite ways to add a bit of wow factor to stamped images. Love the shimmer it adds!


Done with my elements, I picked a sticker from the Small Talk idea-ology collection for my sentiment, snipped it in two and added to the bottom of the card. I layered everything together, using Gina K. Connect glue, outlined the background panel with a black permanent pen to give the illusion of a mat without extra bulk, then finished off with some sparkly scattered Silver Saucers Holeless Sequins.

Thanks so much for stopping by today! If you hadn't heard, the March Shimmerz Color Kit kicks off at 9AM Mountain today! It's a steal of a deal at 30% off and a great way to try out a few different products for your spring creations. There are limited quantities, so don't delay!


The March kit  is just $13.75 and includes the following:


If you place an order, put my name in the comments so they know who sent you! 


Affiliate links are used where possible. When you order, I receive a small commission at no additional cost to you and you receive happy mail! Win, win! Thanks so much for clicking on my links to shop
. 💙

Shimmerz Shep-Birds

Hi friends! Today I'm stopping by with a few cards using the new Shepp-Birds stamp set from Shimmerz. When I met with Stacey for coffee a few months ago, she mentioned a sweet little coo-coo bird scene that she had drawn, inspired by the passage "and shepherds watched their flocks by night". After chatting with her for a couple hours, I went home and on a whim whipped up a few sentiments I thought would match her idea and sent them her way.  And now here they are in stamp form.


My first card uses the title sentiment and the bird scene from the Shepp-Birds set. I did a bit of masking to bring the shep-bird's rock up a little higher, then got to work painting a snowy night scene for these little critters. My blues are colder than ice, winter's mist, and peacock's plume  with a little Silver Bells Shimmerz along with chance of rain Vibez. After I had painted the scene and those funny little birds, I embossed the sentiment and the star image in white and then flicked on some white India ink for a starry sky.  I did a bit of distressing, making a large square card so my painted scene could take center stage. I finished off with seam binding and some turquoise jingle bells.


For my next card, I masked off part of the bird image and stamped the flock of birds. They seemed a little Dr. Seuss-ish, so I colored them in reds and greens with Copic markers. I embossed a chicken wire design just above their heads, then went to work on the sentiment.

I did a bit of smooshing with palm reader, elfin' magic and evergreen on a piece of watercolor paper and then embossed the sentiment in red. I added some holly cut with the Mini Holiday Greens dies and then painted them in the same colors, accenting with a few red pearls from my stash.


My final card for today pairs  a sentiment from Shepp-Birds with the sweet You're Snow Amazing stamp set.  On a previous card, I had used just the snowman portion of the main stamp, so I painted the two little birdies and fussy cut to go with the flappy sentiment. A chipboard flourish from Scrapaholics gives them the perfect little perch. For the background I used some paper I picked up in the bulk section at Hobby Lobby, then stamped the snowflakes from You're Snow Amazing randomly in crumb cake on crumb cake. Then I went in again and stamped them randomly with So Sappy Shimmerz. A sweet little bow and rhinestone finish things off.

Thanks so much for stopping by today! If you're wanting some of the Shimmerz winter release stamp sets, quantities are limited, so be sure to snatch one up soon. If you place an order, remember to add my name in the order comments for a surprise freebie!


Affiliate links are used where possible. When you order, I receive a small commission at no additional cost to you and you receive happy mail! Win, win! Thanks so much for clicking on my links to shop. 💙

Stampz - Shepp-Birds
[ SHM ]
Stampz - You're Snow Amazing
[ SHM ]
Shimmerz - Colder Than Ice
[ SHM ]
Shimmerz - Winter's Mist
[ SHM ]
Shimmerz - Peacock's Plume
[ SHM ]
Vibez - Don't Rain on my Parade
[ SHM ]
Shimmerz -Silver Bells
[ SHM ]
Shimmerz - Buddy's Favorite Color
[ SHM ]
Coloringz - Scarlett's Fever
[ SHM ]
Vibez - Palm Reader
[ SHM ]
Shimmerz - Evergreen
[ SHM ]
Elfin' Magic
[ SHM ]
Shimmerz - So Sappy
[ SHM ]
Shimmerz - Pumpkin
[ SHM ]
Leafy Flourish Set 2 - Scrapaholics Chipboard
[ SCR ]
Tsukineko - VersaMark Watermark Ink Stamp Pad - Large - Clear
[ SBC | BLT ]
PW110 White Embossing Powder - Hero Arts
[ HA | SBC ]
PW127 Red Embossing Powder - Hero Arts
[ HA | SBC ]
Sizzix - Tim Holtz - Alterations Collection - Thinlits Die - Mini Holiday Greens
[ SBC ]
Dr. Ph. Martin's Bombay India Ink, 1.0 oz, White
[ AMZUS ]

Snow Amazing

Hi friends, I'm up on the Shimmerz Paints Blog today with my take on this month's color challenge. This month we eached picked a color from the product line to feature in a winter themed project. My chosen color was the beautiful Sugar Plum Shimmerz. I'm sharing another card as well as this one over on their blog, so hop on over when you're through with this post!


My card for today features the adorable new Snow Amazing stamp set. I first stamped the snowman image on watercolor paper and got to work painting him with sugar plum and royal purple shimmerz. I mixed a bit of the sugar plum to cold as ice shimmerz and then watered it down to do the shading on the snowman. I've never done purple shading on a snowman before, but it works! 😃 Next I fussy cut around him, leaving off the more difficult to cut branches and birdies to stamp on a different layer.

I then inked up the image just from the ornaments upward and stamped onto a piece of watercolor paper. I colored them with Shimmerz, then made a quick mask and taped off a section for a starry background. I then did a wash with Colder than Ice and when it had dried, I used a falling stars layering stencil to add winter's mist stars to the background. I then peeled up the tape and  added my fussy cut snowman over the top with collage medium. The branches are done in so sappy shimmerz and the carrot nose in pumpkin shimmerz.

The sentiment is stamped onto a vellum circle and I accented with a couple of chipboard snowflakes from the Scrapaholics Let it Snow set. I painted them with a coat of colder than ice and then accented each with a rhinestone. A seam binding bow across the bottom finishes things off.

Thanks so much for stopping by today! As always, if you place an order in the Shimmerz store, remember to put my name, Julee Tilman, in the comments to recieve a free little gift!


Links to  Scrapbook.com. Hero Arts, and Amazon are affiliate links. When you order, I receive a small commission at no additional cost to you and you receive happy mail! Win, win! Thanks so much for clicking on my links to shop. 💙


Stampz - You're Snow Amazing
[ SHM ]
Shimmerz - Sugar Plum
[ SHM ]
Shimmerz - Royal Purple
[ SHM ]
Shimmerz - Colder Than Ice
[ SHM ]
Shimmerz - Winter's Mist
[ SHM ]
Shimmerz - Pumpkin
[ SHM ]
Shimmerz - So Sappy
[ SHM ]
Shimmerz - Angel Wings
[ SHM ]
Let it Snow Chipboard - Scrapaholics
[ SCR ]
Tsukineko - VersaFine Clair - Ink Pad - Nocturne
[ SBC ]
Stampers Anonymous - Tim Holtz - Christmas - Layering Stencil - Falling Stars
[ SBC ]
Ranger Ink - Tim Holtz - Mini Ink Blending Tool - Round
[ SBC ]

Joy to the World

Hi friends! Today I'm popping in with a little mixed media card I made with chipboard from Scrapaholics. They've launched a line of chipboard manufactured in the US and have some really beautiful designs. For today's card I chose to work with the Flourish Dangle Ornaments.


I started by priming them to accept paint with a layer of gesso. Next I traced around the ornaments onto mixed media cardstock and then painted the ornaments with Me & Blue Inklingz and Winter's Mist Shimmerz.  While that was drying, I layed down a panel of mixed media cardstock, then painted the chipboard pieces with a layer of Silver Bells Shimmerz. Then I cut out the painted ornaments and glued them behind the chipboard with Fabri-Tac glue.

I used the panel I had underneath the chipboard, which now had some cool silver bells paint marks as my background, adding in Me & Blue, Ride the Tide Creameez and Winter's Mist. I then stenciled on some Falling Stars in Winter's Mist, then shifted the stencil a bit and did another stenciling with Silver Bells. To finish the background, I smooshed on some Anchor's Away Shimmerz to add a little depth.


For the sentiment, I chose the Peace, Love & Joy set from Hero Arts and embossed the two sentiments in silver directly onto the panel. I finished off with some distressed edges and a top folding card base.

Thanks so much for stopping by today! I hope your day is simply fabulous!

Links to  Scrapbook.com. Hero Arts, and Amazon are affiliate links. When you order, I receive a small commission at no additional cost to you and you receive happy mail! Win, win! Thanks so much for clicking on my links to shop. 💙  
Flourish Dangle Ornaments - Scrapaholics
[ SCR ]
CM309 Peace, Love & Joy
[ HA | SBC ]
Inklingz - Me & Blue
[ SHM ]
Creameez - Ride the Tide
[ SHM ]
Shimmerz -Silver Bells
[ SHM ]
Shimmerz - Winter's Mist
[ SHM ]
Shimmerz - Anchors Away
[ SHM ]
Tsukineko - VersaMark Watermark Ink Stamp Pad - Large - Clear
[ SBC ]
PW101 Silver Embossing Powder - Hero Arts
[ HA | SBC ]
Ranger Ink - Tim Holtz - Mini Ink Blending Tool - Round
[ SBC ]
Stampers Anonymous - Tim Holtz - Christmas - Layering Stencil - Falling Stars
[ SBC ]
Ranger Ink - Dylusions Mixed Media Cardstock - 8.5 x 11 - 10 Pack
[ SBC ]