Powered by Blogger.

Winter Bridge


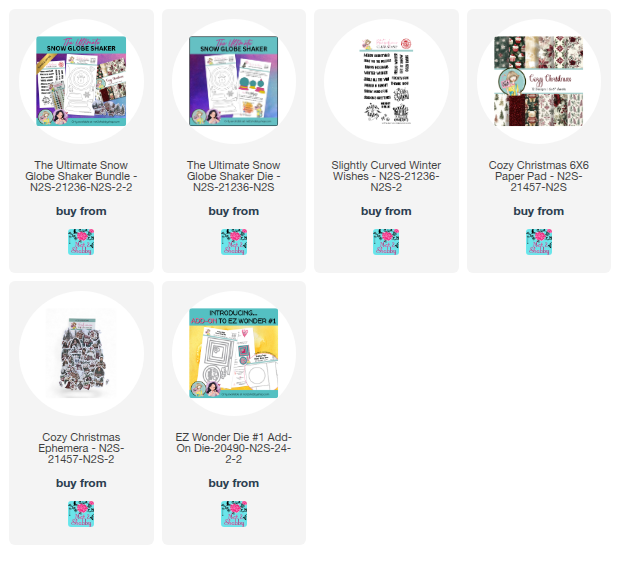
Hi friends! Today I'm popping in with more from the Ultimate Snow Globe Shaker Bundle! I love these pretty papers and ephemera so much that I had to make another card. I went for a peaceful winter wishes scene this time!

I gave the ephemera piece a little distressing with Brushed Corduroy ink, then cut it out with the large circle die. I added a gold foil mat behind it for some extra shine! For the backdrop, I paired the golden paper and that gorgeous poinsettia print, then covered the seam with a gold peel-off sticker and added some sparkly gold glitter snowflakes.


The best part? The sentiment from the Winter Wishes stamp set! Even though it's curved, you can easily straighten it out to fit on a banner die from the EZ Wonder #1 Add-Ons. I embossed it in gold, popped up the circle element, and added it all to a white card base. So much fun! 

Thanks so much for stopping by today! I hope you have a fantastic day!

Love from Lizi Sending Sunshine


Hi friends! Welcome to a brand new week! This month I have the great opportunity to play with the Sending Sunshine Card Kit from Love from Lizi. It's a fabulous kit filled with all sorts of crafty goodness, including the stamps, layering stencils, dies, and paper I use today. To see the whole kit, hop over to my YouTube channel to watch my unboxing video.


While you're there, I have a brand new card process VIDEO of the making of this pretty sunflower card. Sometimes I feel a little daunted by coloring flower images, so I was super excited to see there were layering stencils to easily color in this beautiful sunflower! So fun! You can watch me pull out the distress inks and go through the whole card making process below on the blog, or on my YouTube channel.


The colors I used for stenciling were scattered straw, mustard seed, wild honey, peeled paint, rustic wilderness, and walnut stain.

Thanks so much for stopping by today! I hope you have a fantastic day. September is Love from Lizi's 8th birthday, so head on over to the shop and check out all their new offerings.

Autumn Friendship


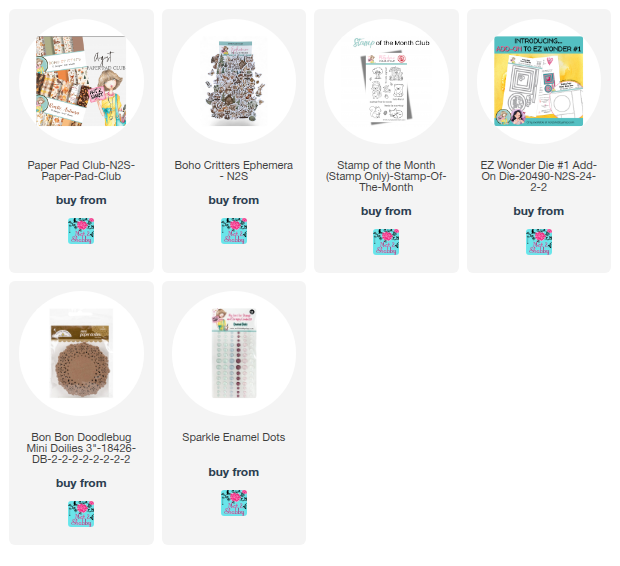
Hey friends! Today I'm back with a couple more cards featuring the Boho Critters paper pad, ephemera, and EZ Wonder Dies from Not 2 Shabby.

I've been having a lot of fun playing around with EZ Wonder Die #2. I don't find myself reaching for ovals in my cards very often, so I challenged myself to create a bit with this die set.  This first card features some of the beautiful ephemera in the Boho Critters Ephemera pack. I love the monotone neutrals and wanted to make a somewhat elegant card after making quite a few cutesy ones.


The center oval is the inner oval that's cut with the die. I used the solid side of the paper and embossed with an embossing folder. Since the paper has a white core, it was easy to lightly sand over the raised parts to make the leafy background stand out. The stamped sentiment is from the August Stamp of the Month and I stamped it onto one of the banner strips from the EZ Wonder #1 Add-ons. Next I layered a rectangle of patterned paper just smaller than the length of the skinny rectangle die cut and lightly sponged the edges with vintage photo ink. I then layered onto a pumice stone background and added the same color cardstock oval mat from the Add On dies. A few little sparkly enamel dots finish things off.


For the second card I used EZ Wonder Die #2 and Add-ons to create the oval frame with patterned paper and some gold foil.  This layer is popped up on foam tape for a little lift and I stamped a sentiment from the previously released Cozy Fall Wishes on the paper behind the frame, adding a few Copic accents to the doodles around the sentiment.

I thought the sentiment would work perfectly for these sweet critters I colored up from the August Stamp of the Month. I just love the idea of this little squirrel sharing his pinecone with a bear.  I finished off with a butterfly from the Boho Critters Ephemera and added everything to a kraft card base.

Thanks so much for stopping by today! I hope you have a fabulous start to the weekend! The boys have a tennis tournament this weekend and it's supposed to be 100 degrees, so we'll be catching some rays courtside!

Tiny Note Big Heart


Hi, friends! I'm popping in with two little notecards that were so quick and easy to make, featuring the Boho Critters Paper Pad (part of the August Paper Pad Club) and EZ Wonder Die #2 from Not 2 Shabby! I'm obsessed with this tiny bird print!


For the first card, I used the square from the EZ Wonder die  since I loved how it framed the bird perfectly! I added a mat, a partially embossed backdrop, and then the 'tiny note, big heart' sentiment. So simple and sweet. A few puffy heart stickers finish off this 3.5 x 5" card.


The second card uses the other angled die-cut piece paired with a gold foil piece to form a rectangle. I used the same sentiment on a banner from the EZ Wonder 1 Add Ons, with some heart die cuts from the EZ Wonder 2 Add Ons that I made super sparkly with Stickles! These were so much fun to make!

Thanks so much for stopping by today! 

Angelic Snowglobe

Hi friends! I'm switching things up today to share this fun snow globe creation! It's all thanks to the Ultimate Snowglobe Shaker Bundle. Isn't that angel ephemera just the prettiest? I just had to make her the star of the show! 😊


I'm loving how the Ultimate Shaker Die Set is so versatile. I paired it with some stitched arch dies from my stash for a unique shape! I put a vellum arch behind the base, glued on some gold glitter snowflakes, and then added the angel. After tucking a smaller acetate arch over her, I added foam tape for a bit of lift. The sentiment from the Winter Wishes stamp set is embossed in gold onto a vellum die-cut. I finished it all off with a paper backdrop from the Cozy Christmas paper pad and some sparkly enamel dots! ✨

Thanks so much for stopping by today! Hope you have a fabulous day!

Autumn Thanks


Hi friends! Today I'm popping in with a bit of inspiration with the August Paper Pad Club from Not 2 Shabby. After a Copic coloring session with the Stamp of the Month, I decided to create a scene with a few of the darling images.

While I love the look of masking images into fun scenes, I often forget or just stamp and color images before I have plan. So sometimes I do a bit of a hack to make it look like two images were masked.  Here the raccoon and stump images were cut individually with my Brother Scan 'n Cut with a 0.4" border. Then I layered them together how I wanted the raccoon to stand on the stump and marked off on the raccoon where the borders of the two images met up.  I then fussy cut away just the bottom border from the raccoon up to the markings and layered them together so it appears the border is seamless.


My layout came from some pieces I had left over from cutting the EZ Wonder Die #2. I inlaid the gold foil letters, then added a rectangle of Boho Critters paper for the backdrop of my images. I cut one of the gold foil pieces on the corners to get some "photo corner" pieces to accent the backdrop.  I finished off  with that darling little snail.

In other news, I've been super busy prepping for The Paper Escape retreat I'm teaching at this fall. While the VIP tickets with all the class kits have sold out, there's a new grab bag option available with 2-3 class kits, the bonus day of lives, and some sponsored swag and instructor destash supplies included for just $45. Tickets are limited, so act fast if you're wanting in on this fun grab bag!


Thanks so much for stopping by today! I hope you have a fabulously creative weekend!

Sweet Fall Tag with Not 2 Shabby


Hey friends! I'm popping in today with a sweet little tag I made using the adorable Boho Critters from this month's Not 2 Shabby Paper Pad Club! Seriously, how cute is this deer ephemera?!

I used the Boho Critters papers to create the tag, inking the edges for a nice, finished look. Then I added a Doodlebug mini doily around the side as a backdrop – so fun! To make it a bit sturdier, I cut and adhered another tag from cardstock to the back.


A few little ephemera bits create a fun fall scene, and the sentiment from the August Stamp of the Month was cut to fit perfectly using the EZ Wonder Die #1 Add Ons. Finished it off with some sparkly enamel dots and a flowy twine bow. Hope you love it

Thanks so much for stopping by today! I'm off for a little dental work, so probably won't be crafting today.

Not 2 Shabby August Inspiration Video Easy Autumn Treat Box


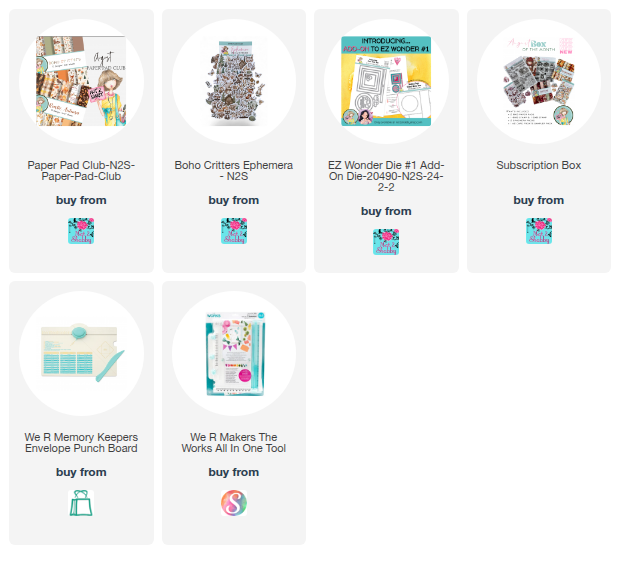
Hey friends! It's the 10th of the month and time for our monthly Not 2 Shabby Inspiration Video hop over on YouTube. Today I'm making this adorable little treat box with a 6 x 6 piece of patterned paper and the August Paper Pad Club selections. You can watch it below on the blog or on my YouTube channel.


Hi friends! This week has been a whirlwind. Right before the school year starts, my twins made the big decision to move into separate bedrooms. That meant giving up a big chunk of my craft storage, half of my office for a study room, and spending the week completely reorganizing! So, for today's video, I'm sharing the process of making this box in real time, without a voice-over or much editing. I hope you still enjoy seeing the creative process unfold!


Want to know how I made this adorable box? It's SO easy with an Envelope Punch Board! It's not my original idea, but I remembered making one a while back and knew it would be perfect for these sweet Boho Critters papers and ephemera from the August Paper Pad Club!

Here's the gist:

  1. Start with a 6x6 piece of paper.

  2. Line up the left edge with the board's ruler and punch and score at 2" and 4".

  3. Repeat for two more sides.

  4. On the final side, just punch at 2" and 4" – no scoring! The triangle section without a score line is the top of your box.

  5. Cut two small slits along the score lines on either side of the bottom triangle section to create tabs.

  6. Burnish your score lines, assemble, and fill with treasures!

It's so quick and easy, I made two!


Thanks so much for stopping by today! I hope you have a fabulous day!