Powered by Blogger.
Showing posts with label FoilPress. Show all posts

Look Mom, No Stamps

Seriously... how is it already the last day of October? Time just keeps on speeding by! Today I'm sharing a couple of cards I created earlier this month for the Crafter's Companion Gemini FoilPress Product Focus. I didn't use any stamps on either of them, which is unusual for me, but I love the way they turned out.


First up is a shabby chic card.  I foiled the Happy birthday and small butterfly dies that come with the FoilPress onto designer paper in gold, then cut one butterfly from cardstock and then foiled over it so I could pop it up.  The 3d embossing folder came with the Gemini Jr. and is so lovely! It embossed both a swirl and a linen texture that's just gorgeous. I debossed it by coating one side of the folder with brown ink and then running through my die cut machine.  I finished off with some paper flowers, lace trim, and gold beading.


My second card for today was actually one of my mistakes at learning to foil, but I was able to salvage it and really like the finished card!


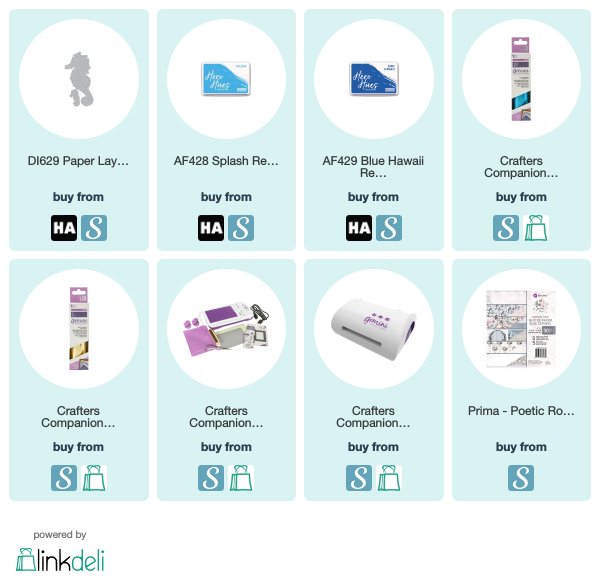
 I started by smooshing some blue hawaii and splash reactive inks onto water color paper.  Next I foiled the paper layering seahorse die in turquoise.  This is a very detailed die and it foiled, but the lines were so faith they were so hard to see on the background.  So I then decided to just cut the seahorse out, but I failed to tape it down and it slid just a bit.  I decided that was okay, though, so I  backed the negative of the die cut with the turquoise file, then popped up the seahorse for a little dimension.  I finished off with a sweet little Hello die included with the Gemini Jr.


Thanks so much for stopping by today! I hope you have a fabulous last day of the month!

Compensated affiliate links are used where possible. When you place an order after clicking one of my links, I receive a small commission at no additional cost to you. Thanks so much for using my links and supporting this blog. 💙
Leafy Thanks

Hi friends! Happy Monday! I'm popping in today with another fun card I made for the Splitcoaststampers Product Focus on the Gemini FoilPress.


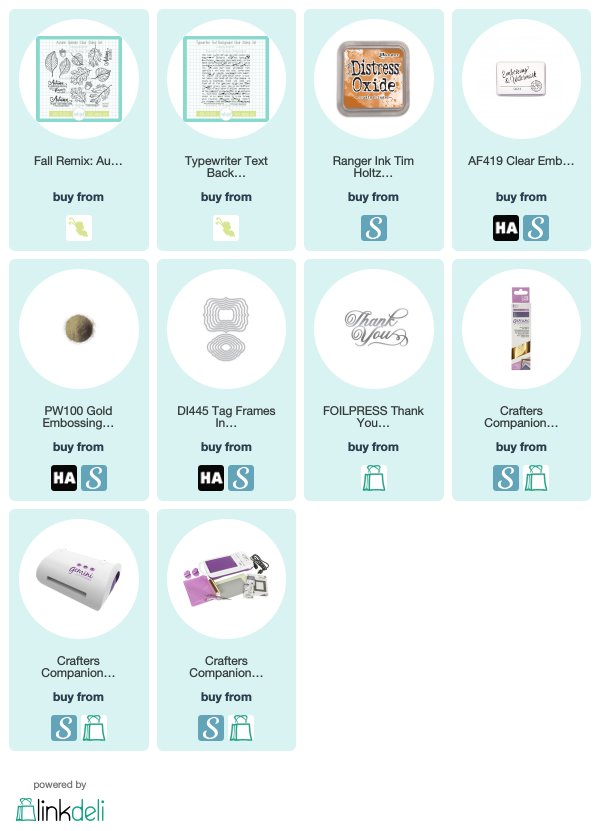
I started with the Typewriter Text Background from Sweet 'n Sassy Stamps. I love this stamp so much. I stamped it a couple times to cover the whole watercolor panel, then I embossed the leaves from Autumn Splendor in gold over the top of it. I used rusty hing distress oxide and a blender pen to color it in. Love this technique so much!


Next I moved on to the foiling portion of the card. I foiled the thank you die in gold by heating it on the Gemini FoilPress and then running it through the Gemini Jr. I cut this out with a Tags & Frames Infinity die, then cut a larger die and foiled the entire die cut and then swiped with the distress oxide to fill in any of the distressed parts.  A few shabby edges and I was finished.


Thanks so much for stopping by today! I hope you have a fabulous start to your week!


Compensated affiliate links are used where possible. When you place an order after clicking one of my links, I receive a small commission at no additional cost to you. Thanks so much for using my links and supporting this blog. 💙

Hello Gold Foil

Hi friends! Today I'm popping in with another one of the cards I made for the Gemini FoilPress Product Focus on Splitcoaststampers.


By far, one of my favorite things to do with the Gemini FoilPress was to foil an intricate die onto watercolor paper and then watercolor it. So pretty, and since you can use any of the thin dies from your stash in the machine, you can virtually turn any die into a stamp this way. So fun!


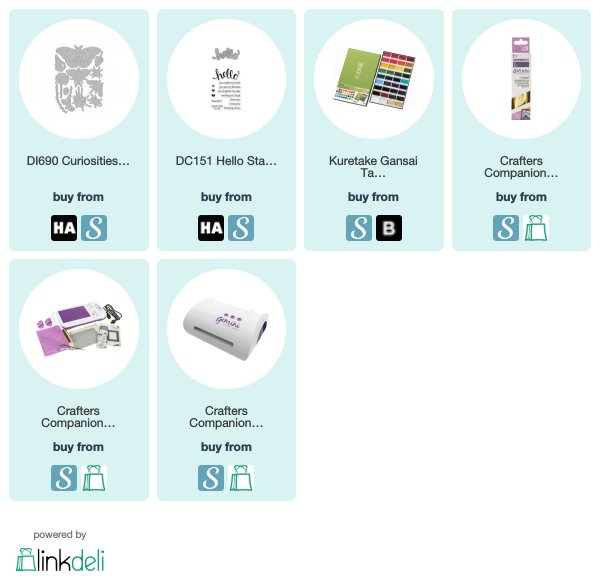
Here I foiled the butterfly from the Curiosities Silhouette Fancy Die Set in gold, then watercolored with Gansai Tambi watercolors.  I cut the hello die from the Hello Stamp & Cut from gold foil and added it above, then accented this square with gold ribbon and popped up on dimensionals.


To accent the base of the card, I die cut one of the dies included with the Gemini Jr. machine from cardstock and gold foil paper and then layered them together and glued behind my focal panel.


Thanks so much for stopping by today! Hope you're having a wonderful week!

Compensated affiliate links are used where possible. When you place an order after clicking one of my links, I receive a small commission at no additional cost to you. Thanks so much for using my links and supporting this blog. 💙 

October Sweet 'n Sassy Stamps Release Hop


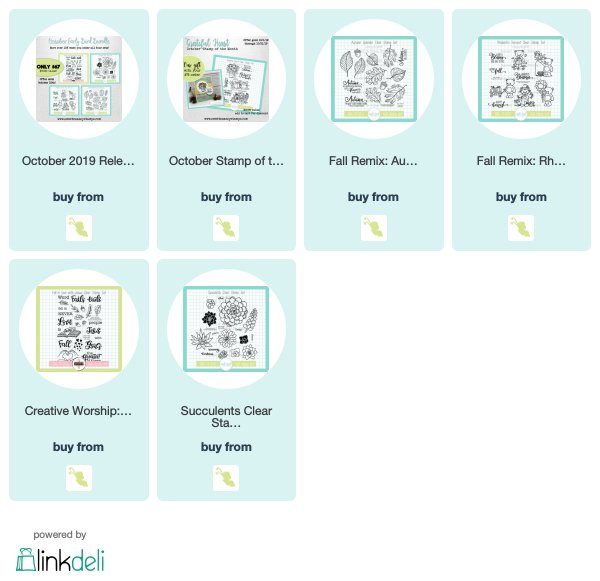
There's another fabulous release in the SNSS shop that we've been stamping with and we're so excited to share our projects with you! Hop along and leave a little comment love for the designers linked later in this post and you might just be a lucky winner! One lucky comment from all the comments along the hop will win a $10 gift voucher to the SNSS shop. Winner will be announced on the SNSS blog, Wednesday, October 23.

If you've arrived from the Sweet 'n Sassy Stamps Blog, you're already on stop 2, welcome to a second card from me! If a link misbehaves along the way head on back there for the full hop list. Alright, let's get hopping!

For my first card today, I chose to create with the gorgeous new Grateful Heart set. Grateful Heart is this month's Stamp of the Month, so you can earn it for free with a $75 order in the month of October. Woohoo! I just love this gorgeous pumpkin patch image and wanted to color them up in aqua like some of the pumpkins I've been seeing in the stores this season.


Once they were colored, I chose an elegant frame I had foiled and cut with the Gemini FoilPress. This foil stamp & cut die came with the machine and it is so beautiful.  I popped it up on foam tape over the pumpkins, then set that aside to work on the rest of the card.


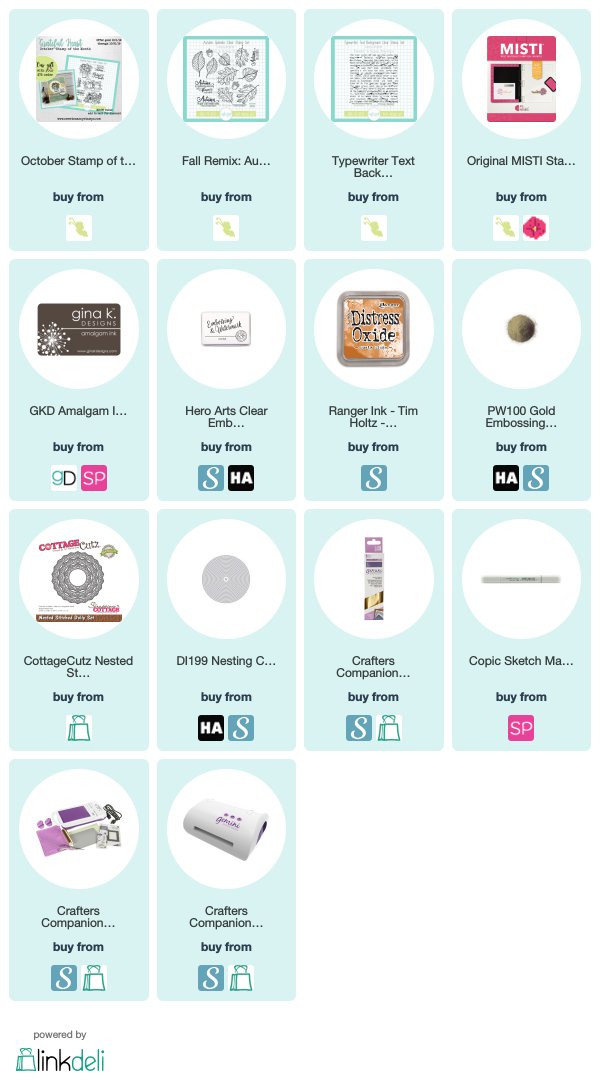
I was on a roll with the golden theme, so I continued on for my next card. I've been wanting the Typewriter Text Background for a good long while now and finally purchased it. I stamped it in rusty hinge distress oxide down a panel of watercolor cardstock.  Next I embossed leaves from Autumn Splendor in gold all over the background. I then colored in the leaves with rusty hinge and a blender pen. I just love the look!


To finish off the card, I embossed the sentiment in gold and matted with a shiny gold circle I layered over a foam circle for a bit of dimension.


Well, that's it for my cards today. We are have a fab Fall Sale in the shop, so be sure to check it out.


Okay, now it's time to see what the other designers have created for you today. I've linked up the entire release as well as my supply list below.

The next stop on the hop is the fabulous Cathy McCauley!


Compensated affiliate links are used where possible. When you place an order after clicking one of my links, I receive a small commission at no additional cost to you. Thanks so much for using my links and supporting this blog. 💙

SNSS October Release

My Supply List

It's Not Wasting If You're Trying


Hi friends! There's a new Product Focus over on Splitcoaststampers today and this time I had the great pleasure of reviewing the Gemini Jr. and Gemini FoilPress. You can read the whole product focus and find some instructional videos here... https://www.splitcoaststampers.com/resources/products/gemini_foilpress.


I actually had no idea what the FoilPress was when it arrived at my doorstep. I had heard of it, but assumed it was just another version of the Minc. Since I love my Minc, I didn't feel the need to investigate further.

But guess what? It's a completely different system that you can use with special foiling dies OR with the dies you already have in your collection! Beautiful foiled accents and no need to print designs out before hand? Yes, please!


Since I was learning both the Gemini Jr. and the FoilPress at the same time, I think it took me a bit longer than it should have to get things working. I sure am glad I persisted though, because I'm totally hooked now. There are some great tutorials on using the FoilPress, and I highly suggest using them. While I was watching a YouTube tutorial, Trevor came in and I told him I was learning how to use my new machine. Later he came back in at a point where I was getting really discouraged with a deadline looming and asked if I'd figured it out.  I told him, "I'm starting to, but I've wasted a lot of foil and paper." To which he replied, "Mama, it's not wasting if you're trying... it's LEARNING!" I mean seriously, he's only seven and he's coming up with this golden advice? Love that boy so much!

Anyhow, he was right! I was learning the whole time and ended up having so much fun I made 7 cards! And I just used it again on some cards for later this month!


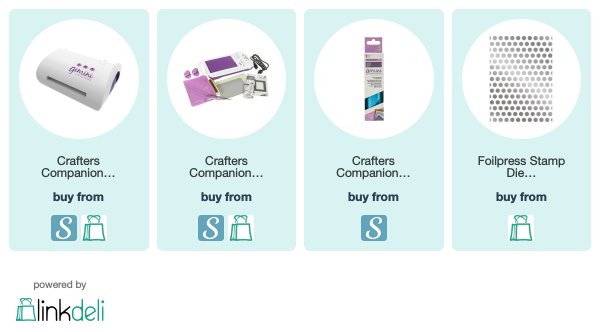
I used several different foil techniques on this card. The background is a foil stamp background plate. Love me some shiny polka dot and here I used electric blue foil on light gray cardstock.  I then used one of the stamp & cut foil dies that came with the FoilPress for the frame. These dies foil and cut the image out at the same time and wowy! is the reveal impressive when you pull off the foil carrier! I used this on the frame, laying a little vellum behind it for a subtle background for the sentiment.  The sentiment is from a die set that comes with the Gemini Jr.  I cut it from cardstock three times and glued together for thickness. I then sent the diecut through the FoilPress to foil over the top of it and it came out beautifully. This might be my new favorite thing! I recently got a Spectrum Noir Aquamarine sparkle glitter brush and it matched the electric blue perfectly, allowing me to color in some of the sides of the die cut that didn't get foiled completely.

I finished off with a prima butterly. It originally had gold accents, but I decided to add a little glue to those parts and then rub some of the electric blue foil onto it. Love the effect and now everything's matchy matchy!

Thanks so much for stopping by today! I hope your day shines!

Compensated affiliate links are used where possible. When you place an order after clicking one of my links, I receive a small commission at no additional cost to you. Thanks so much for using my links and supporting this blog. 💙