Hi friends! It's the first Monday of a new month and time for a fabulous
My Monthly Hero release! This month's kit has a super fun art deco theme, with sophistication, elegance and a bit of whimsy! I had so much fun playing with this kit. Seriously the ideas just keep on coming! I know you're going to have a blast pairing the
February MMH kit with
this month's add-ons to make some cards with flair
If you've been hopping along, you should have arrived from the one and only
Jennifer McGuire's blog. Your next stop after this will be
Laurie Willison. The entire hop list can be found later in this post.
Once again,
Hero Arts is generously giving away a fabulous prize for a lucky commenter along the hop.
Leave a little love in the comments section for all these amazing artists and if your name is drawn you'll receive this month's kit (or equivalent product if you're already a kit subscriber) absolutely free! If you're not a kit subscriber, you should really consider
subscribing. The kits frequently sell out and subscribing guarantees you'll never miss a kit. The kits are such a great value, with super fun and versatile images and accessories. Plus there's such a wealth of inspiration from the designers each month! Speaking of inspiration, let's get started...
This release had my mind just dancing with ideas, and the cards kept a coming! I'm sharing four cards today, so if you don't already have a cuppa something awesome by your side, you might want to go grab a cup to enjoy while I share my makes.
While it's hard to pick a favorite, Little Miss Misbehavin ranks pretty high in my book! I stamped her on watercolor paper and then colored with NeoColor II Watersoluble Crayons. Haven't used them in quite some time and it was fun trying to get a little striation on her fur stole. Asked my hubby what color a martini was after I had colored it and he said clear. 👀 But then he looked at my coloring and said I could just call it an apple-tini! Haha! Whatever it is, it looks like she's enjoying it! I then embossed the accent in gold on the negative of the fancy die included in the set and added her just above it.

For the background I did a little ink blending with twisted citron, salty ocean and blueprint sketch distress oxides on smooth bristol. I layered the fancy die from the kit cut from the gold shimmer cardstock from the December MMH kit, then on a white foam sheet for dimension. I inserted my stamped focal piece, then glued it all down. For the sentiment, I embossed it in gold, then added the accent bar on either side and the martini cut with the coordinating die from the kit.
Next I moved on to the fun dancer images in the kit, watercoloring with the NeoColor II Watercolor Crayons and then cutting with the coordinating dies from the main kit. I thought they looked perfect for this
Dancing Music Notes Confetti Die add-on. I cut the die from white cardstock and then again from shiny gold, reserving the confetti pieces. I layered the white die cut panel over black cardstock and then inlaid a few of the gold confetti pieces randomly. I popped the dancers up on foam tape, then accented with some of the Art Deco mirror confetti included in the main kit.
For the sentiment I embossed the party like it's 1922 sentiment in gold and the diamond accent on either side. I think this sentiment is perfect for so many occasions... a birthday, a dance, a party, an anniversary, etc. I finished by matting the sentiment strip on black cardstock, popping up on foam tape and adding a few more of the mirror confetti to finish things off. Sorry for the dark photo, my studio light decided to break at the welding to it's stand during my photo session yesterday and I'm down a light! But the show must go on, and at least I captured those shiny golden accents! 😀
Next up, I made this fun little wedding/anniversary card, pairing the main kit with a couple of the February add-ons. I was on a mission to figure out why these girl and guy images didn't have fully shaped heads, and finally determined that they fit well in the fancy die. I went about it the hard way, trying to line them up just right in my MISTI, then masking off, stamping and embossing the
Deco Flourish Bold Prints in gold. I ink blended the background with tumbled glass, salty ocean and blueprint sketch distress oxides. I then realized it would have been way simpler to just stamp the images on the negative of the diecut like I did on my misbehavin' card and insert them. Oh well, now YOU know and won't make my mistake! 😁
My images are colored with Copic markers and despite all my efforts, I didn't get things lined up quite perfectly when I stamped, so I just drew in the missing section of the girl's head. Then I layered down the fancy die from the kit cut from shiny gold paper and a white foam sheet. For the sentiment I used the beautiful
Deco Celebrations set and embossed in gold, then cut with a circle die.
In addition to the stamps, dies and confetti,
this month's kit also includes a fabulous stencil, big enough to cover an entire card front! I love me a stencil, so had to pull out the distress oxides again!
My heart went pitter patter when I saw this fabulous butterfly in the
Deco-rations set. My new favorite thing to do has been to stamp the image in intense black in my MISTI, then stamp again with Versamark ink and emboss with Sparkle embossing powder. I love the sparkle and you can then color with Copics like I did here, or whatever other medium you prefer.
For the background, I taped down the stencil and blended with tumbled glass, salty ocean and blueprint sketch distress oxides. I had originally planned to orient the card the other way with the light section on top, blending down to a darker hue at the bottom. But when all was said and done I though the card looked more balanced vertically, so changed course mid-way. I embossed the frame from
Deco Celebrations in black, then masket off the outer portion and ink blended the center. I then embossed the sentiment from
Deco-rations in the center and fussy cut the frame to pop up on. The butterfly is cut with the coordinating
Deco-rations Frame Cuts and adhered on one side only, allowing the other wing to pop up for more dimension.
Okay, that's all for me today. I hope you've enjoyed my makes from this fabulous release. If you're a kit subscriber, remember you can order any of
this month's lovely add-ons to ship with your kit with no additional shipping fees if you place your order before Thursday. All of the add-ons are added to the Hero Arts catalog and restocked. The kit is only available while supplies last, so grab yours while you can!
Here's a closer look at the
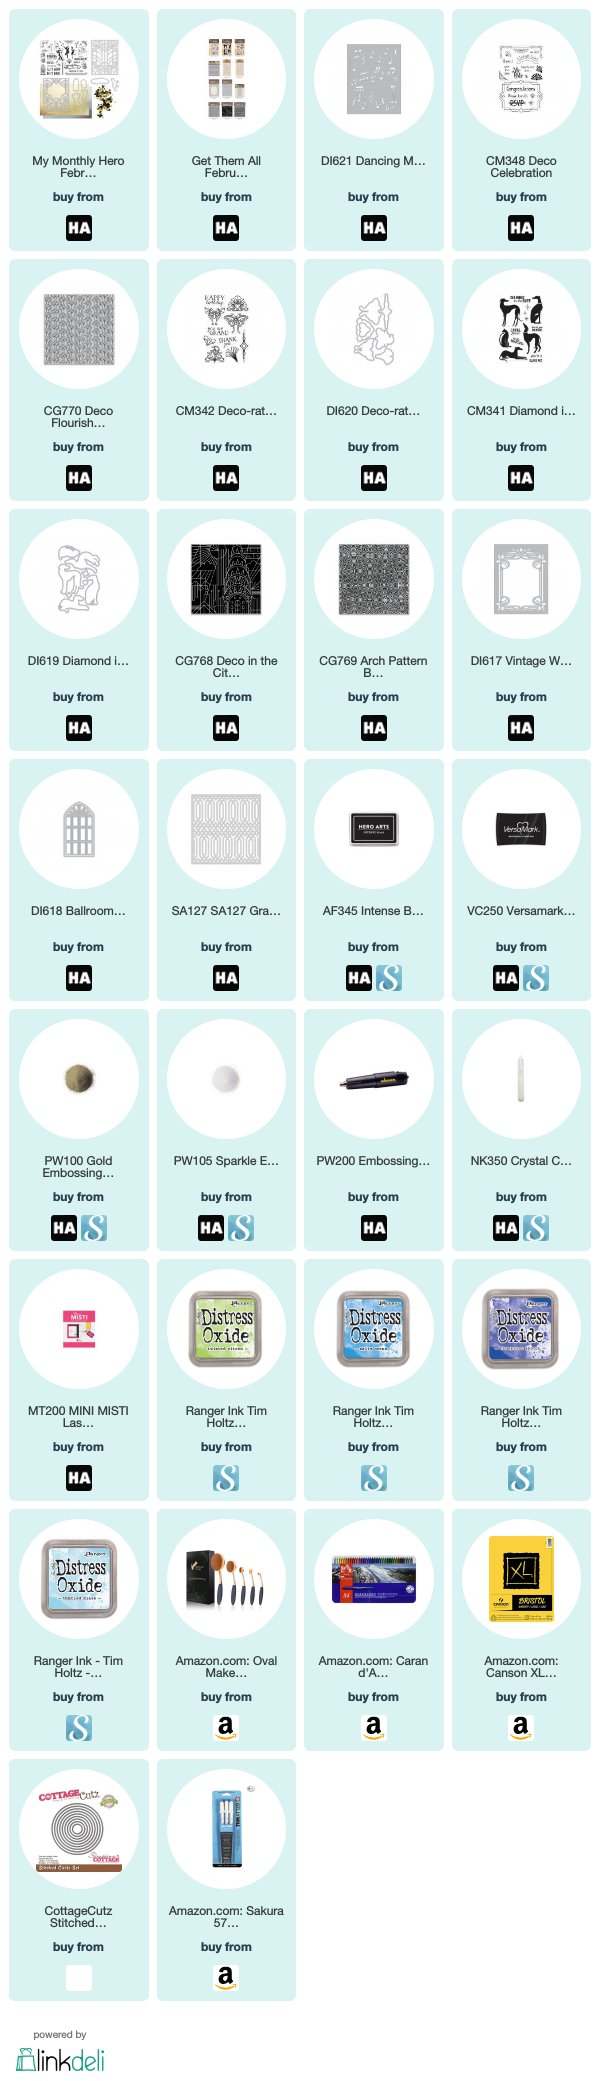
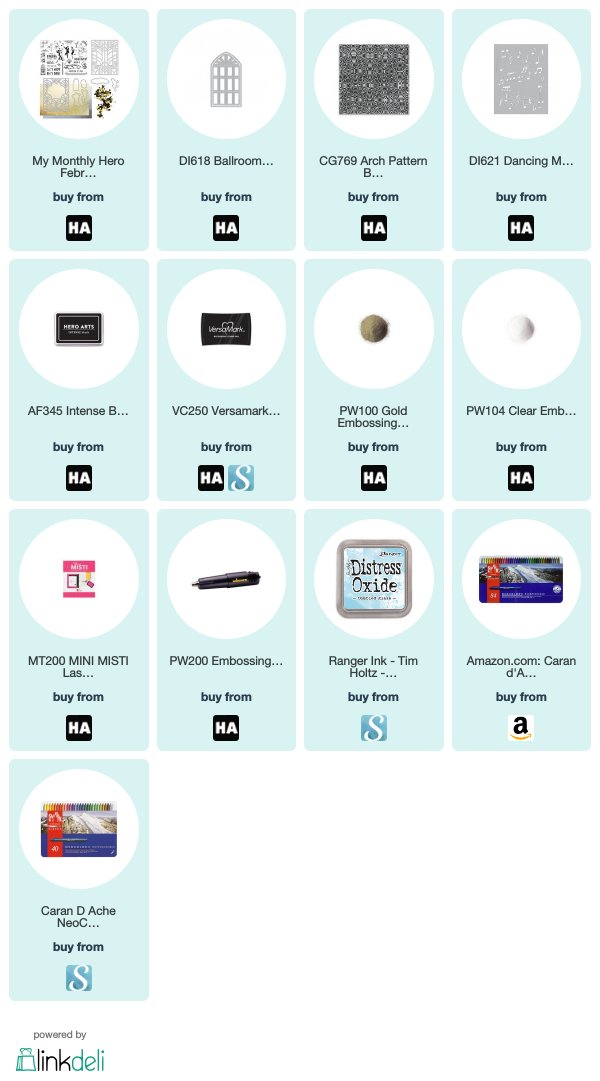
February My Monthly Hero kit. I've also linked the entire release along with the supplies I used for these cards below for your convenience.
For a chance to win the giveaway of this month's kit, leave some comments for the talented designers linked below. Here's the full hop list. Happy hopping!
Affiliate links are used where possible. When you order from them, I receive a small commission at no additional cost to you and you receive happy mail! Win, win! Thanks so much for clicking on my links to shop. 💙