One of my absolute favorite techniques for backgrounds is smooshing. My video shows (in turbo speed) me creating the background for this card and adding the elements. Watch it below or on YouTube. If you like it, be sure to give it a thumbs up and let me know if you like this style of video or prefer things to be at regular speed but a longer video. I'm still learning how to use the apps and editing software and think this one could have been slowed down just a bit. I'll work on that!
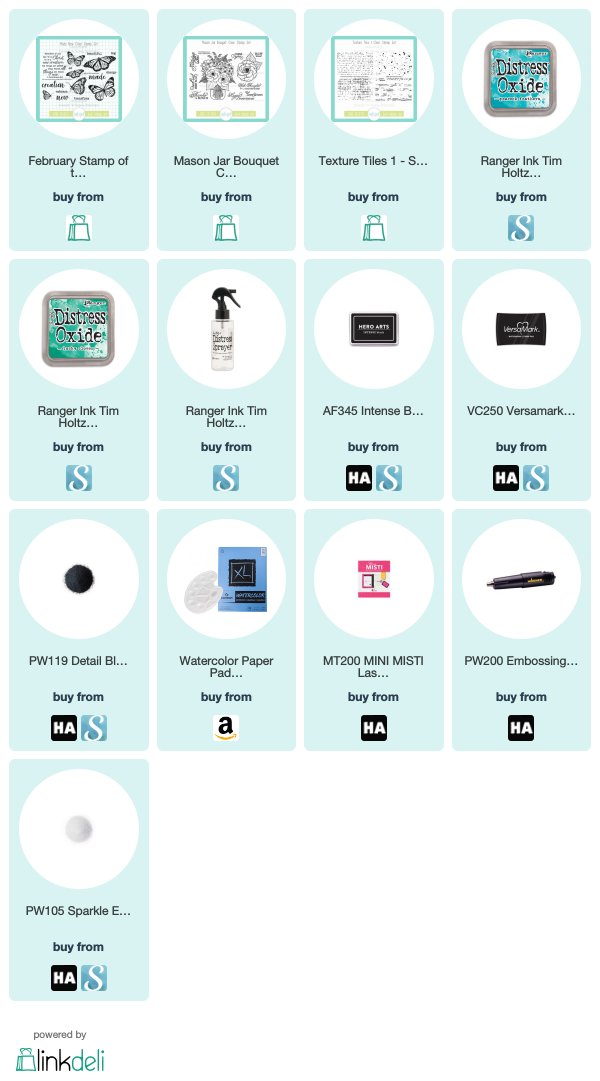
I started with Lucky Clover and Peacock feathers Distress Oxides, swiping a bit of each on a plastic bag and then smooshing onto a watercolor cardstock panel. I continued doing this, spritzing with water, heat drying, adding more color, and blotting until I was happy with the effect. Next I added a little bit of water to the ink and flicked on some splatters with a fan paintbrush. This is my favorite tool for adding splatters. I really love the splatter pattern.
When I was happy with the look, I decided where my butterflies should go. I had previously stamped these beauties from Made New in intense black and embossed with sparkle embossing powder. I then colored with Copic markers, accented with a white gelly roll pen and then fussy cut. I fussy cut just the body, intending to stamp the butterflies on the card and layer my fussy cut ones over them. I'm just noticing now that I forgot this step and these butterflies are antennae-less. Ack! Poor naked butterflies! Stamping mishap number nine bazillion and three. 😆
I used the butterflies as reference to help me place a little texture stamping with the graph stamp from Texture Tiles 1 randomly on the card. Next I embossed the with thoughts and prayers sentiment from Mason Jar Bouquet in black directly on the panel. I then added the butterflies, using liquid glue for the centers and popping the wings up with adhesive tape. Then all that was left was to adhere to a card base.
So what do you think? Let me know in the comments.
If you're in the mood to do a little shopping, I have a little promo for you. Use code JULEE10 to save 10% off any order over $10 in the Sweet 'n Sassy shop!
Affiliate links are used where possible. When you order from them, I receive a small commission at no additional cost to you and you receive happy mail! Win, win! Thanks so much for clicking on my links to shop. 💙


5 comments
Thanks for sharing the process video. I love this background and now I can make one.
Hi Julee,
I loved your video---such a great way to learn. I liked the tip on using a fan brush for splattering and I love the texture tiles background stamps you used. They're now on my wish list. Looking forward to more videos, but a little slower would be better for me. Thanks so much for the fun lesson!
Great job on you first video, Julee. I like that I could watch the process in just a few minutes. I've seen this type of smooshing done before, but newbie crafters might prefer a slightly slower pace. Love how your card turned out, even if the butterflies are antennae-less lol.
Julee, I love this card! Loved the idea so much I CASEd it for this week's Color Challenge over at Splitcoast Stampers: https://www.splitcoaststampers.com/gallery/photo/2916158?&cat=500&ppuser=140882
Thanks so much for the inspiration!
What a beautiful card, Julee, and a wonderful video! I really enjoyed seeing you do the ink smooshing with a plastic bag. Love how easy you made it look. I so would love to try this...and may. It would be great to build up my stash! Thanks again...love and hugs! xoxo
Post a Comment