

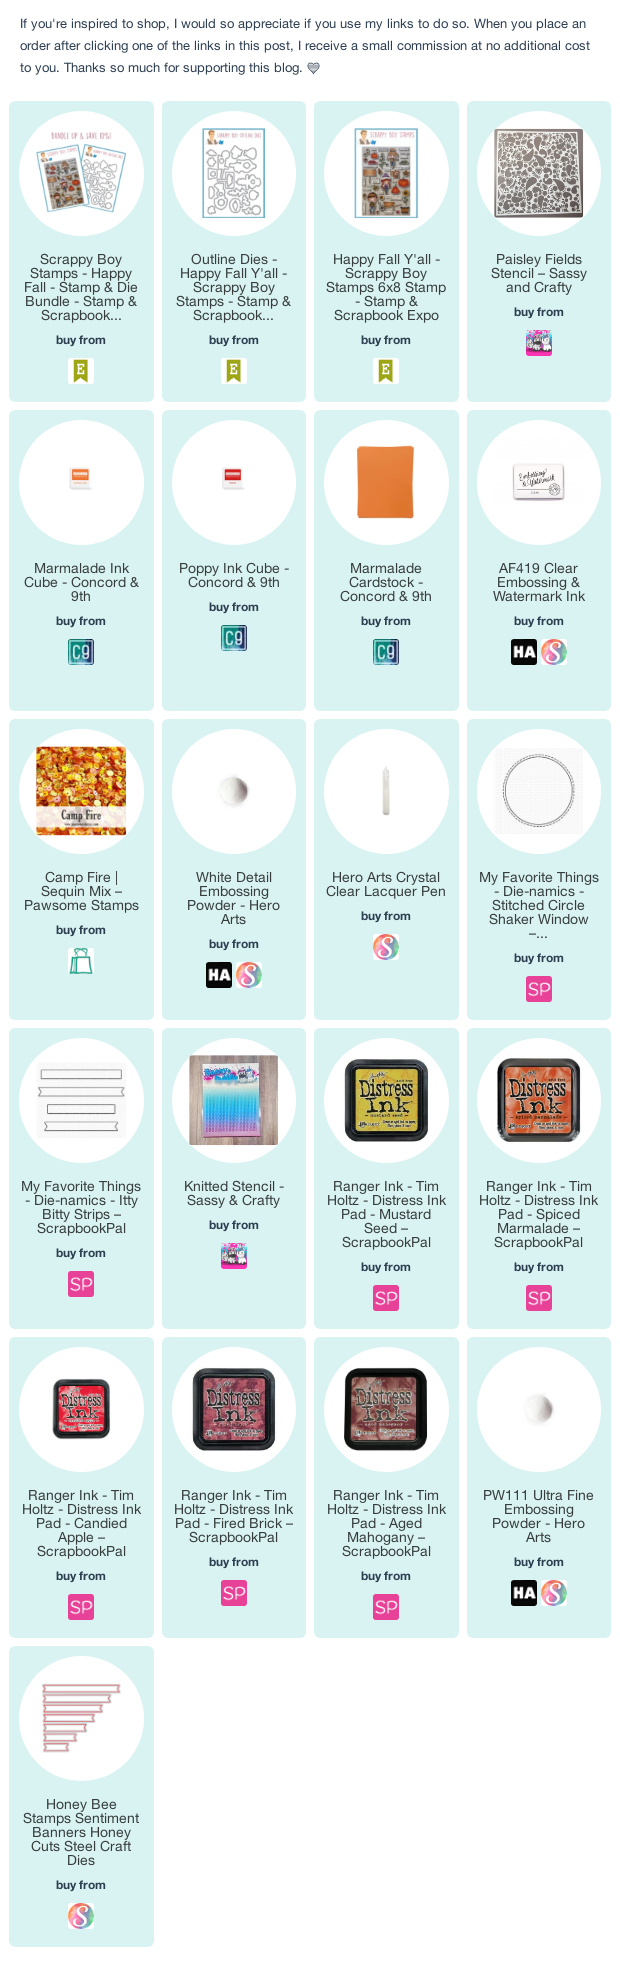
Hi friends! Today I'm popping in to share a couple of fall cards I made with the adorable Happy Fall Y'all stamp set from Scrappy Boy Stamps. I had so much fun coloring up these sweet images! The set has a massive amount of images and sentiments and was so much fun to play with.
First I decided to try my hand at a shaker card. I absolutely love shakers, but am kind of a hot mess when making them. I usually get ahead of myself because I'm so excited and forget the acetate when I'm creating my shaker frame, then end up getting glue everywhere. It's just utter creative chaos. LOL I guess that just means I need to make more of them until it becomes second nature, right?

Anyhow, I started by coloring up the beautiful pumpkin, sunflower, and leafy images from Happy Fall Y'all with Copic markers. I hand trimmed the images, although if you don't like fussy cutting, there are coordinating dies for the set. Once they were all cut out, I played around with the layering until I was happy, glued the front pumpkin and leaves cluster together and added some foam tape to the back of that.
Next I added some lacquer accents to the sunflowers and set those aside to dry while making the shaker. I grabbed a piece of orange cardstock and the Paisley Fields Stencil from Sassy & Crafty and stenciled it up using an orange and red shade. I cut the center with a circle die, then built up my shaker with acetate and a couple layers of foam sheet, and some pretty sequins.
Once everything was ready and dry, I glued to a white card base, and added all my stamped imagery to the front of the card. I accented with more sequins and a twine bow. The sentiment is embossed in white on brown cardstock, then colored with Copic markers for a candy corn look.

Next, I went for a mini slimline design with the adorable squirrel from the set. This is the stamp that sold me on this stamp set. Isn't he cute? After coloring and hand trimming the images, I got to work on the background. This time I blended cardstock with yellow, orange, and red distress inks, then stenciled over it with the Knitted Stencil from Sassy & Crafty. I wanted a bit more contrast, so went over the stencil again with embossing ink and then embossed with campfire embossing glaze. I like the warm, cozy background it created.

Next I stamped the hooray for and Autumn sentiments on white cardstock and inked with coordinating ink colors from my background. A dark brown mat and white card base finish off this mini slimline design.
Thanks so much for stopping by! I hope you have a fabulous day!


1 comment
beautiful cards
Post a Comment